Weebou Editorial Team
 9 min read

 In this article
A little preparation
Choose a space where children can move between two or three areas without squeezing past each other: a room with a clear floor, or a table plus a rug. Set out the materials before anyone arrives, but leave one decision open, such as where the finished thing will go. Keep the first shared task to about ten minutes and plan a second, longer go for another day. Groups of three to five work best; with more children, split into two teams with the same roles.
Offer roles as choices, not assignments: the carrier, the planner, the welcomer, the picture-maker. Say what the role does rather than who is good at it. Watch for the child who goes quiet and offer a position at the edge of the group rather than in the middle. Explain that anyone can pass or take a break and come back, and that the team can change its plan halfway through. For more on how children build a shared idea, see these notes on cooperative play.

What to know and try
A soft-toy rescue route
This is the clearest first teamwork task because the goal is visible from across the room. One child plans a path with cushions and tape marks, another carries toys one at a time in a light basket, a third welcomes each arrival at the shelter and says where it should sit. Nobody has to touch anything they do not want to, and the route can be rebuilt when a step proves awkward.
 You’ll need
- 6–8 soft toys
- Masking tape or cushion markers
- A light basket or shoebox
- Two chairs and a blanket for the shelter
How to do it
- Lay the toys at one end of the room and build a simple shelter at the other with two chairs and a blanket.
- Agree together where the path will go, using tape marks or cushions, then walk it once with empty hands.
- Say the roles out loud: path planner, carrier, welcomer, and someone who checks the route is clear.
- Let the carrier move one toy at a time in the basket while the welcomer says where each one sits.
- Pause after three toys and ask the team what is working and what feels slow.
- Change one part of the route together, then finish the rescue.
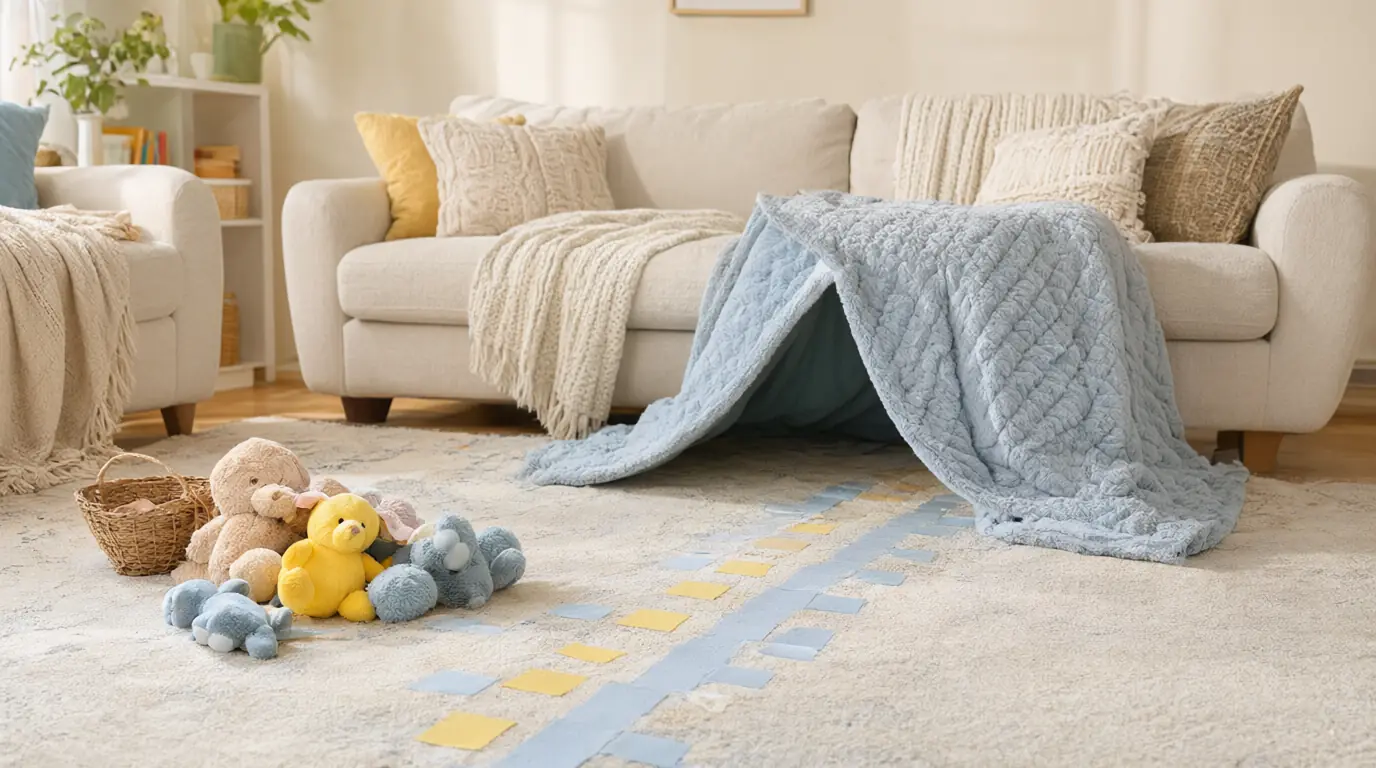
Make it your own: Younger children can carry one soft toy along a straight line with an adult beside them. Older children can add a narrow cushion bridge, a two-person carry for a big bear, or a written list of arrivals. A child who prefers not to carry can hold the shelter blanket open.
Build a neighbourhood together
Each child makes one place — a shop, a house, a park — and then the group decides how the places join up. The planning talk is where the teamwork happens: whose road goes where, whether the park sits between two buildings, which signs are needed. A child who does not want to build can draw signs, place trees or choose the names.
You’ll need
- Wooden blocks or empty boxes
- A large sheet of paper as the shared base
- Crayons and paper strips for signs
- Toy cars or small figures
How to do it
- Tape a large sheet of paper to the floor as the shared base, or mark the edge of a rug.
- Ask each child to choose one place to make and show where it will stand on the base.
- Once two places are built, stop and ask how people would get from one to the other.
- Let children add roads, a bridge or a path with paper strips, checking that the gaps fit.
- Invite signs and names for each place; an adult can write the words a child dictates.
- Walk a small figure around the finished neighbourhood and ask what is still missing.
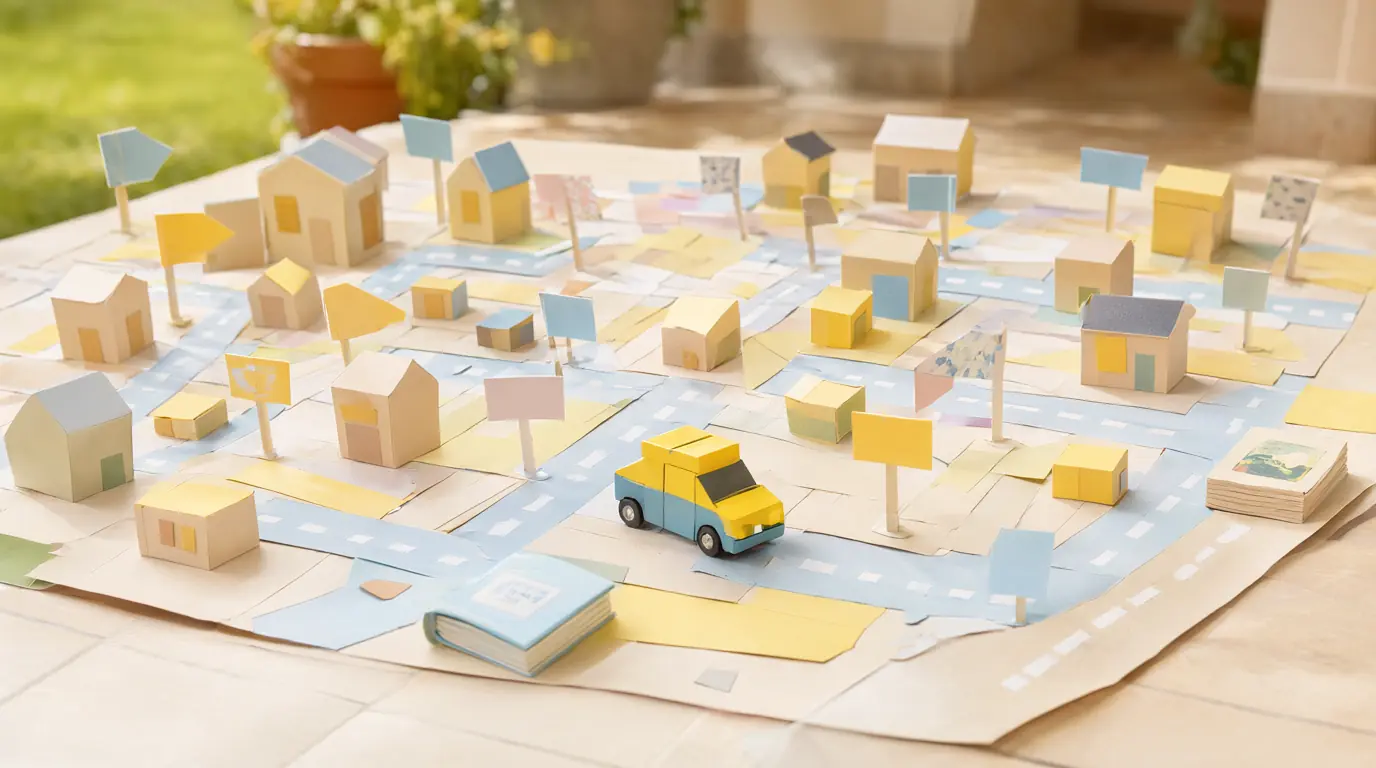
Make it your own: Two-year-olds can stack three blocks and park one car. Older children can agree a shared rule, such as every place needing a door onto a road, then draw a simple map afterwards. In a small space, build on a tray with one building each.
A group story in picture pieces
A story is something children can add to without touching anyone else's work. You hold the thread and they supply the pieces: a place, a character, a sound, a problem. The child who offers one word has contributed as much as the one who draws three pictures, and reading it back shows everyone exactly how their part was used.
You’ll need
- Six small squares of paper
- Thick crayons
- One larger sheet for the story map
- Tape
How to do it
- Start with a familiar opening, such as a small boat leaving a shore.
- Ask each child for one thing: who is on the boat, where it goes, what it hears.
- Give each child a paper square to draw their part while the others talk.
- Tape the squares onto the larger sheet in the order the group agrees.
- Read the story back, pointing at each picture and naming who made it.
- Ask whether anything should change, and let the owner of that picture decide.
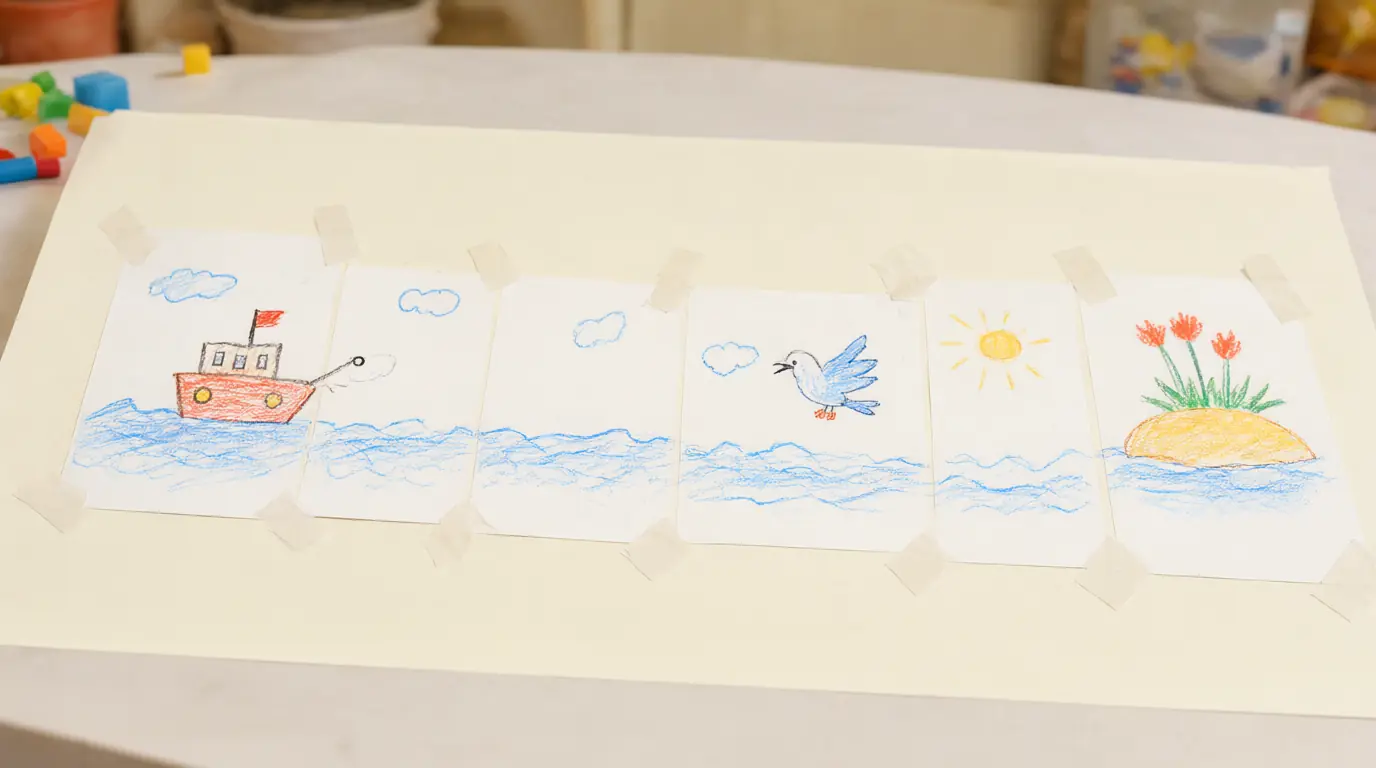
Make it your own: Younger children can supply a single sound or animal and let an adult draw it. Older children can plan a problem and an ending, or retell the story to a younger child. Anyone may pass and add their picture at the end instead.
Set up a shared materials station
Before a making session, hand the group the job of arranging the table so everybody can reach what they need. This is real teamwork with a testable result: if the shortest child cannot reach the glue, the plan needs changing. Sorting, labelling with pictures and checking heights gives children a practical reason to think about someone other than themselves.
You’ll need
- Four shallow tubs or trays
- Paper and crayons for picture labels
- The craft materials for the session
- Tape
How to do it
- Empty the craft materials onto a tray in the middle of the table.
- Ask the group to sort them into tubs in a way that makes sense to them.
- Let children draw a picture label for each tub and tape it to the front.
- Place the tubs, then ask each child to reach for one item they will need.
- Move anything that nobody can reach and test the arrangement again.
- Ask what should change next time and write the answer on a card.
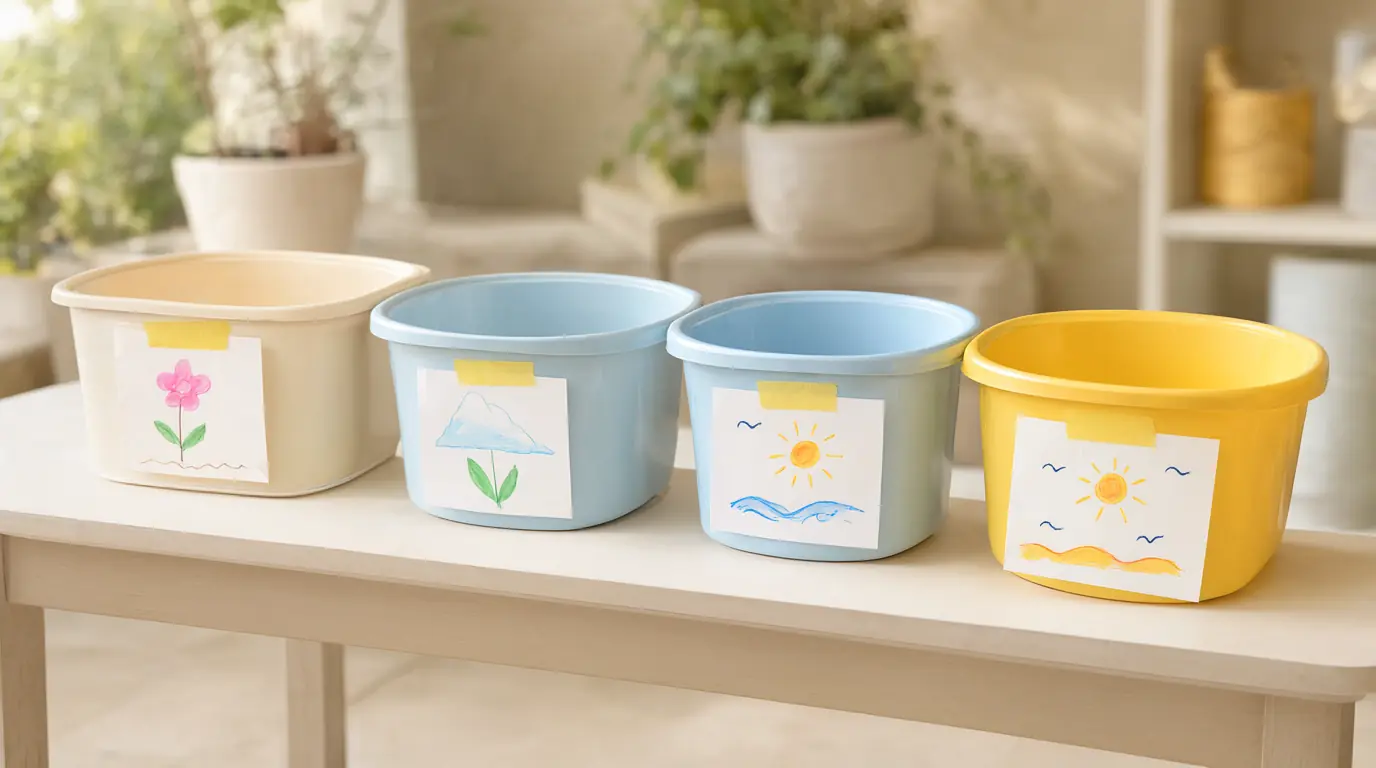
Make it your own: Toddlers can carry one tub to the table and name what is inside. Older children can measure how far each child reaches or draw a picture plan of the table. With one child, the same task becomes practice in arranging a space for a guest.
Obstacle course with a marshal at each station
Instead of racing, each child looks after one part of a course and explains it to the others. The marshal decides how many tries a thrower gets, where the beanbag landed and whether the next person is ready. Taking a turn as both player and helper shows children that a game is held up by everyone in it, not by the fastest person.
You’ll need
- Cushions, a skipping rope or a tape line
- Two or three beanbags
- A bucket or hoop as a target
- Paper and crayons for station signs
How to do it
- Set out three simple stations: step over, throw into, and balance along.
- Ask each child to choose one station to look after and make a sign for it.
- Explain the course together, with each marshal describing their own part.
- Play a round where everyone tries all three stations in any order.
- Let marshals decide when the next child may start and how many tries are allowed.
- Swap roles for a second round and ask which job felt harder.
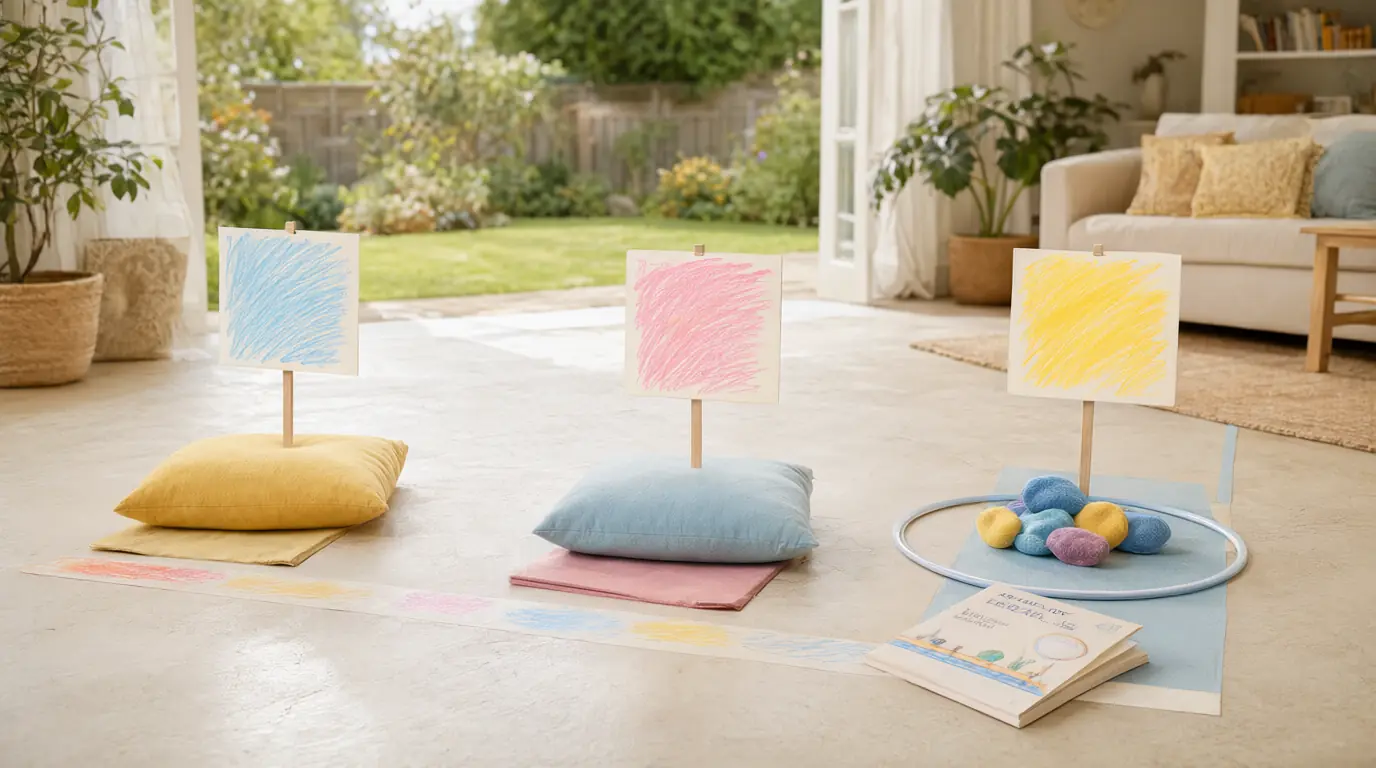
Make it your own: Younger children can marshal one station with an adult beside them, or simply hand out beanbags. Older children can time a round, change a rule and explain the change to the group. If space is tight, use three marks on the floor and no jumping.
Make it work for your family
Expect the first attempt to be bumpy. Children often all want the same role, so name the job rather than the child: 'We need someone to carry and someone to hold the shelter open.' If two children want to carry, split the toys into two loads or add a second basket. Say the plan out loud once before anyone starts, then let the group adjust it.
Watch for the child who stands back. Standing and watching is a way of joining, and a quiet offer of one small job usually works better than a push to take part. End while things are still going well and name one specific helpful action you saw. Avoid scoring, eliminating players or praising only the finished result. For more structured shared play, try these group games, or set a small problem for the team to solve.

Parents also ask
What is a good teamwork activity for a 3-year-old?
Carrying soft toys one at a time to a shelter is usually easiest. The goal is visible, the load is light, and there is a clear job for a child who would rather welcome arrivals than carry. Keep it to a few minutes and let the child choose their role.
How do I stop one child taking over a group activity?
Give each child a named part of the task rather than a share of the same job. If one child is building everything, offer them the planner or sign-maker role and pass the blocks to someone else. An adult can also hold the materials and hand them out on request.
What should I do if a child refuses to join in?
Let them watch from a comfortable spot and offer a small, optional job such as holding a bag or choosing where something goes. Watching before joining is common in children under four. Try again another day with a shorter task and fewer children.
Choose materials and activities that suit your child, supervise as needed and adapt the ideas to their interests and abilities. About our editorial approach