Weebou Editorial Team
 8 min read

 In this article
A little preparation
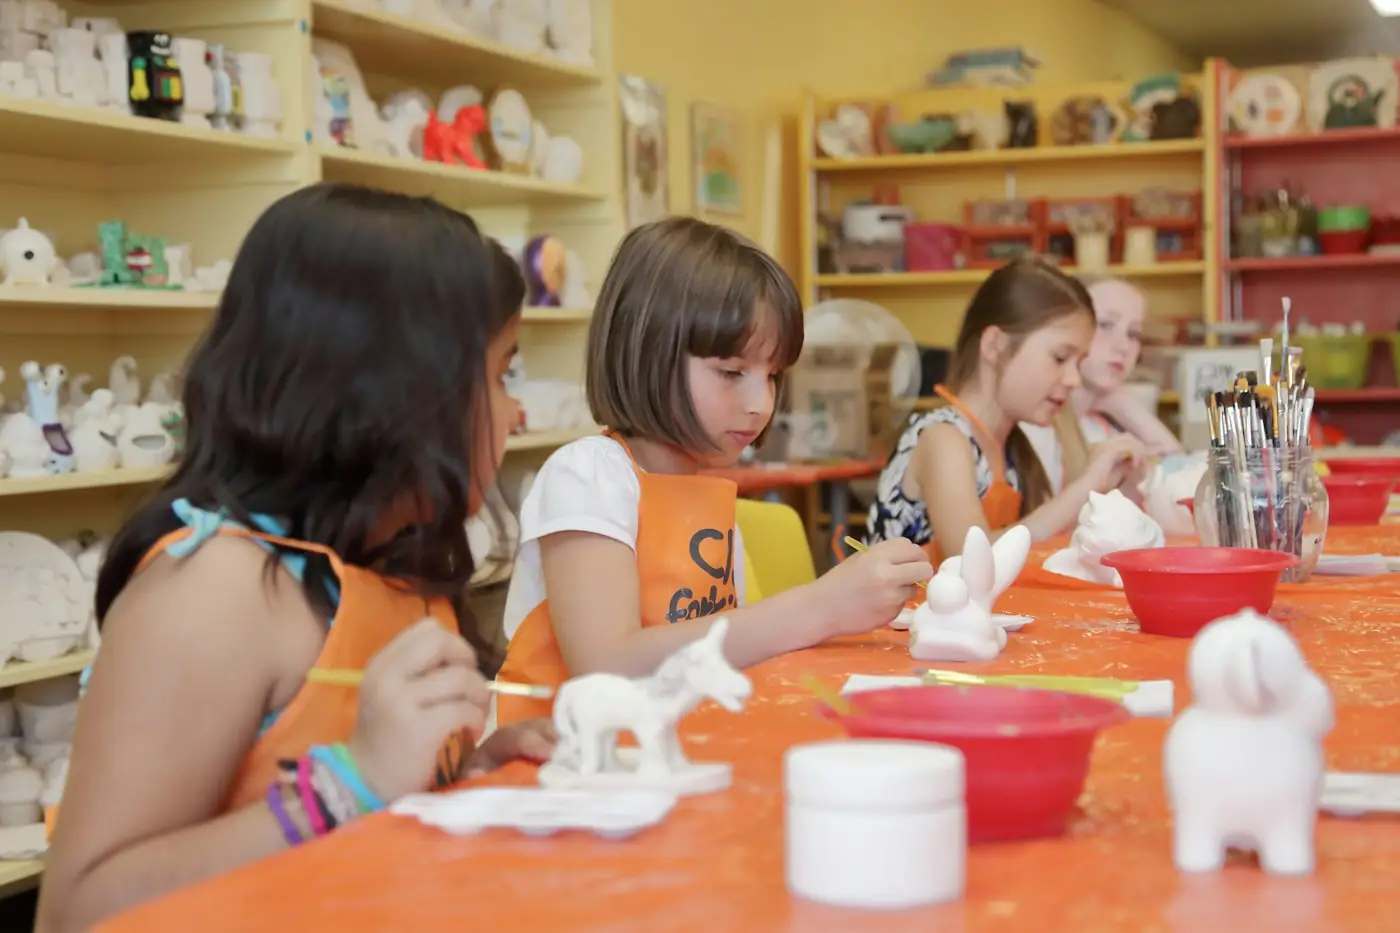
Put out a small, deliberate selection instead of the whole craft cupboard: three or four materials, one kind of glue, and one tool each. Cover the table with newspaper or a wipe-clean cloth, and put an apron or old shirt on your child. Washable paint and child-safe glue are best. An adult should handle anything that needs sharp scissors, and loose beads, googly eyes or other small decorations should stay out of reach of children who still put things in their mouths.
Show the materials and ask, ‘What could these turn into?’ instead of showing a finished example, which can make children feel their own version is wrong. Allow twenty to thirty minutes, plus a safe place for work to dry. Sit nearby and stay interested, describing what you see (‘You have put the red next to the blue’) in place of judging. If your child wants to change the plan halfway through, that is part of the process. Keep a box for ‘works in progress’ so that nothing has to be finished the same day.

Ideas to try together
Redesign a cardboard box
A clean cardboard box is a blank space with built-in walls, which makes it ideal for a child who likes to make places and objects. Rather than following a plan, they decide what the box becomes, and the answer may change halfway through. This is an excellent way to practise planning, problem-solving and fine-motor skills.
You’ll need
- 1 clean cardboard box, about shoebox size
- Washable paint and a brush
- Paper scraps and a glue stick
- Masking tape
How to do it
- Place the box on the table and ask, ‘What could this be?’
- Let your child turn it around and look inside before choosing an idea.
- An adult cuts any door or window the child describes, with sharp edges folded over.
- Paint the outside in whatever colours your child chooses and let it dry.
- Add paper scraps, tape and drawings to finish it, then use it in play.
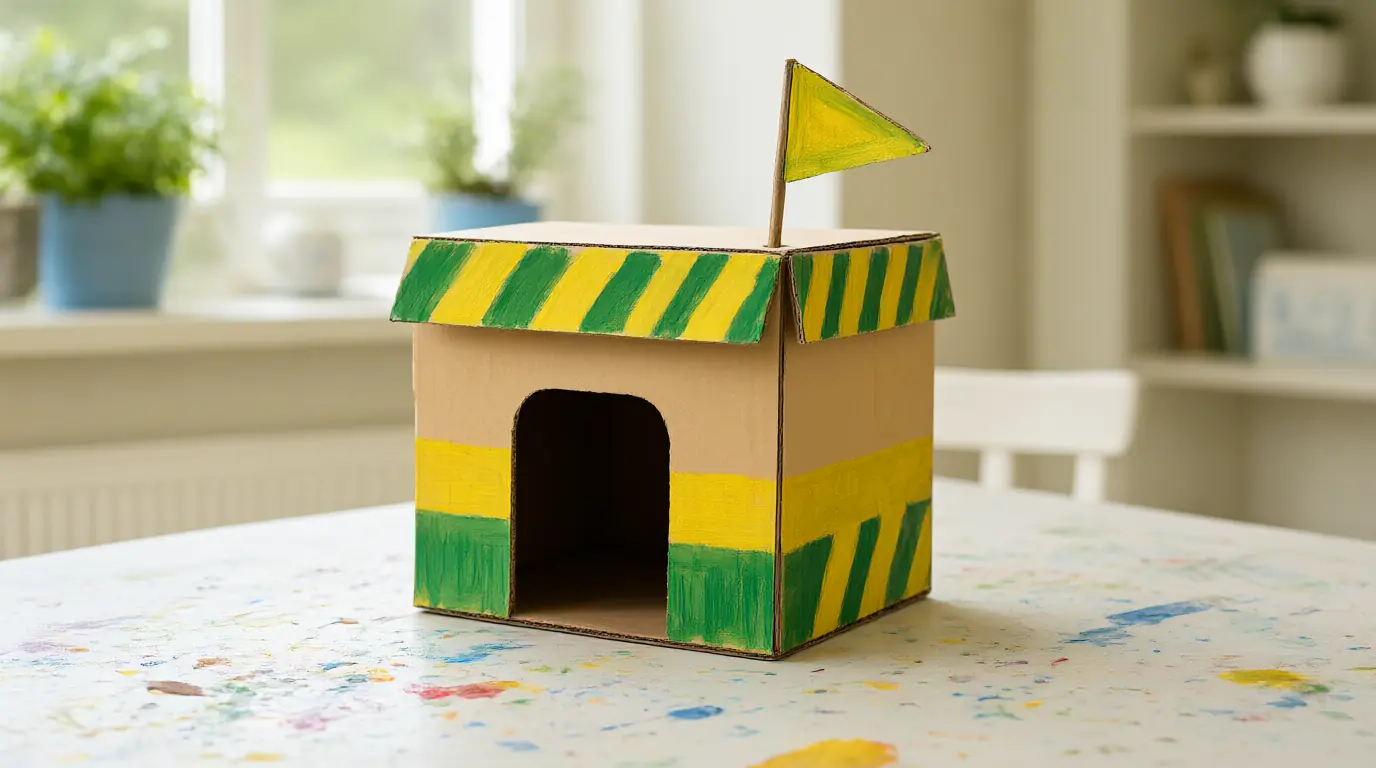
Make it your own: For younger children, skip the cutting and let them paint and stick on paper pieces. Older children can draw a plan first, then compare it with what they built.
Build a paper shape world
Large, simple paper shapes can become a town, a garden or just a satisfying pattern. Because the shapes are not glued at first, your child can try different arrangements and change their mind, which takes the pressure out of getting it right. This is a good first step towards composition and spatial thinking.
You’ll need
- Coloured paper pre-cut into circles, squares, triangles and long strips
- 1 large sheet of card as a base
- A glue stick
- Crayons for details
How to do it
- Spread out the shapes and let your child sort or look at them for a moment.
- Invite them to place shapes on the card without gluing, as a house, a tree or a pattern.
- Ask, ‘What happens if you move this one here?’ and let them rearrange.
- When they are happy, help them glue each shape down, one at a time.
- Add details with crayons, such as windows, paths or a sun.
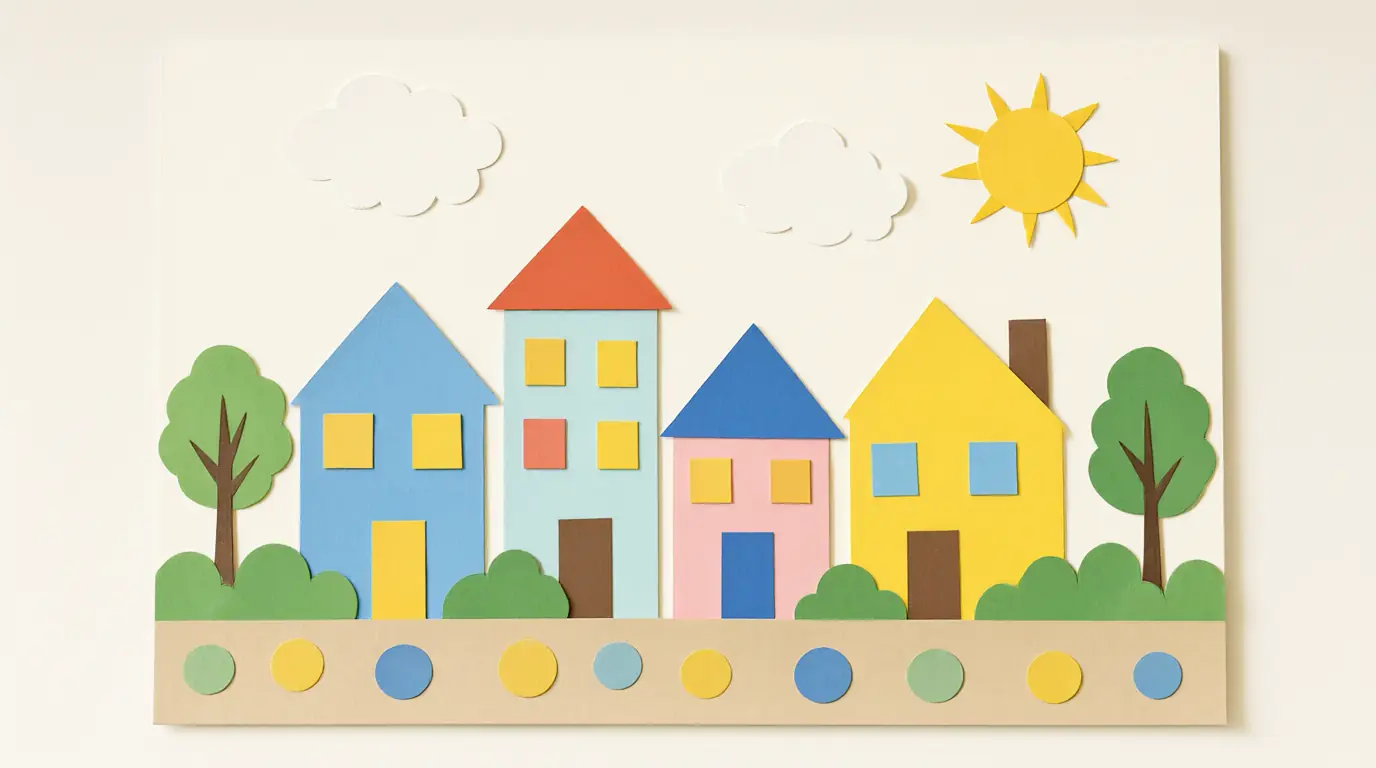
Make it your own: Younger children can place shapes freely without an aim. Older children might plan a map of their street or make a scene from a favourite story.
Make a sign for a toy shelf
A sign has a real job to do, and that gives a craft a purpose. Your child chooses what the shelf holds, draws the picture and decides how it looks. Pictures, dictated words or early letters all count, so this works for children at different stages of writing.
You’ll need
- A piece of thick card, about postcard size
- Pens or crayons
- Sticky tape or reusable putty
- Magazine or sticker pictures (optional)
How to do it
- Choose a shelf or box that needs a sign, such as the one for toy cars.
- Ask your child what picture would tell people what is inside.
- Let them draw it, or cut and stick a picture, on the card.
- If they want words, write what they say on the back or beside the picture.
- Fix the sign to the shelf and ask them to show a visitor how it works.
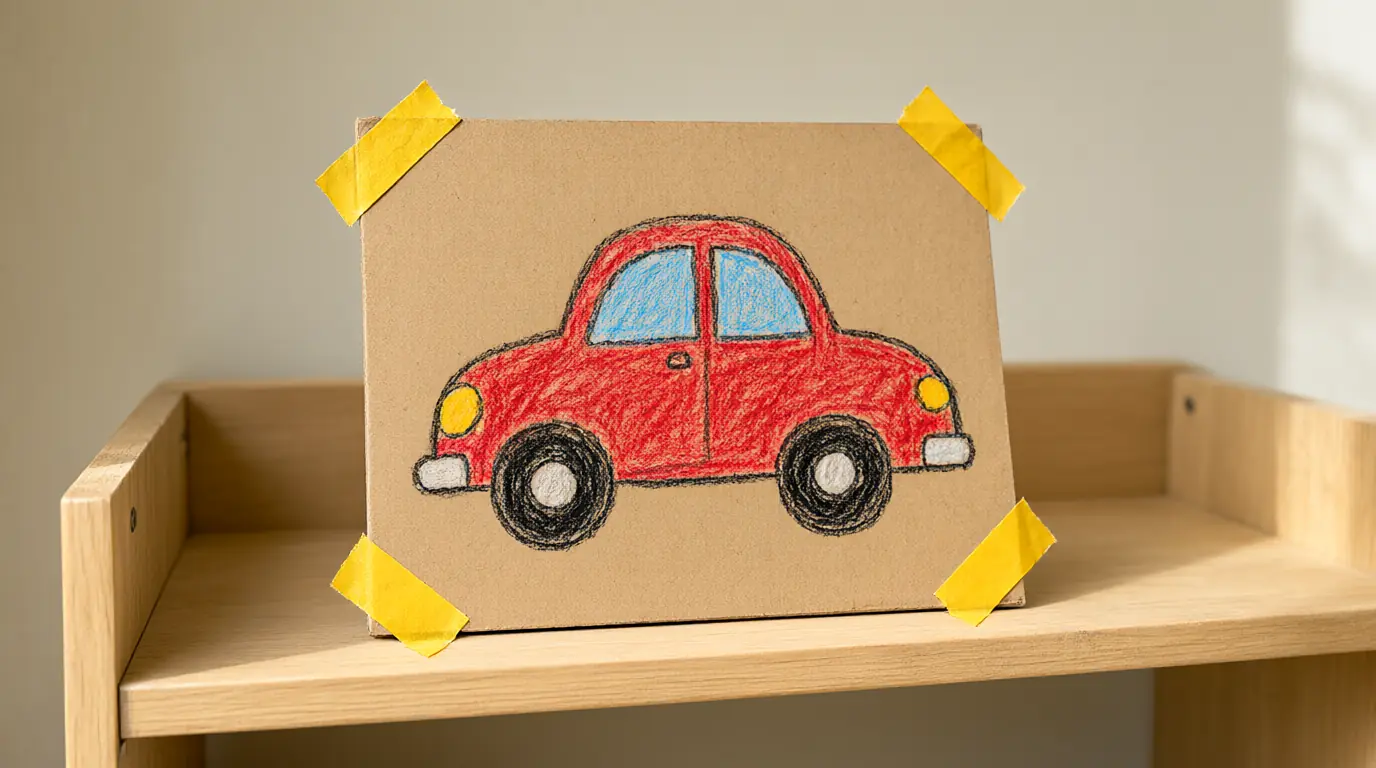
Make it your own: For younger children, a single drawing is enough. Older children can copy a short word, make a set of signs for the whole room or make a sign with an arrow.
Create a texture picture
Different surfaces feel and look different, and a collage lets children use them as an artist would. Talking about how each one adds something, rough, smooth, soft or shiny, builds vocabulary and attention to detail. The picture does not need to show anything recognisable; the texture can be the point.
You’ll need
- A sheet of thick card
- Scraps of felt, sandpaper, corrugated card and foil
- Child-safe glue and a brush
- A tray to hold the pieces
How to do it
- Lay out the scraps on a tray and let your child feel each one.
- Ask which ones feel rough, soft or smooth and sort them.
- Arrange pieces on the card to make a picture or a pattern.
- Glue each piece in place, pressing it gently for a few seconds.
- Close your eyes and trace the picture with a finger, saying what you feel.
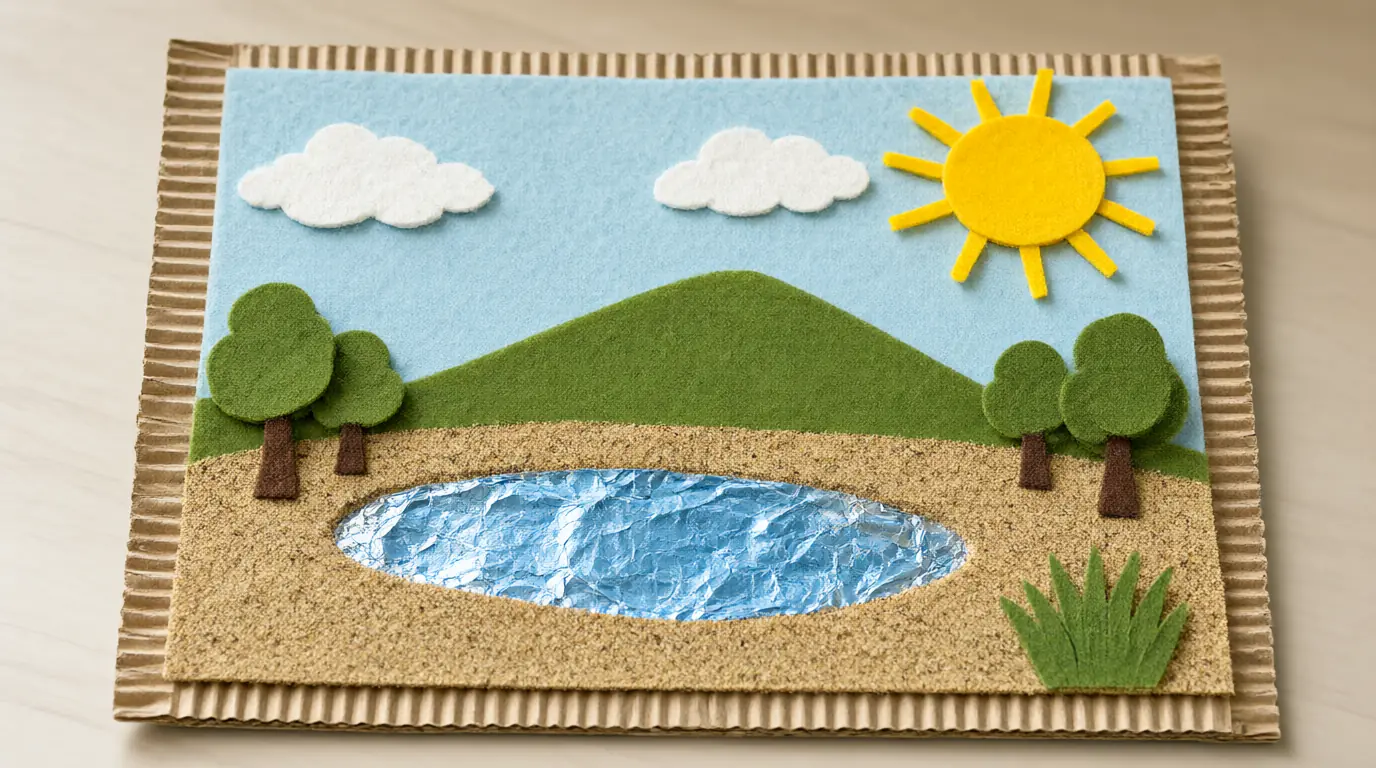
Make it your own: Younger children can stick two or three large pieces. Older children can make a picture where each texture stands for something, such as foil for a pond.
Make a tape-and-tube sculpture
Sculpture gives children a chance to think in three dimensions, which is a change from drawing on paper. Building from tubes, lids and boxes lets them test ideas about balance and structure, and find out what is stable. Masking tape is forgiving, so children can pull things off and try again.
You’ll need
- Cardboard tubes, small boxes and clean lids
- A roll of masking tape
- A sheet of card as a base
- Washable paint (optional)
How to do it
- Tip the materials on to the table and let your child choose a few.
- Show how to tape one piece to the base so it stands up.
- Let your child join more pieces, testing whether it balances.
- If it falls, ask, ‘What could we change to make it stronger?’
- When finished, paint or decorate it and give it a name.
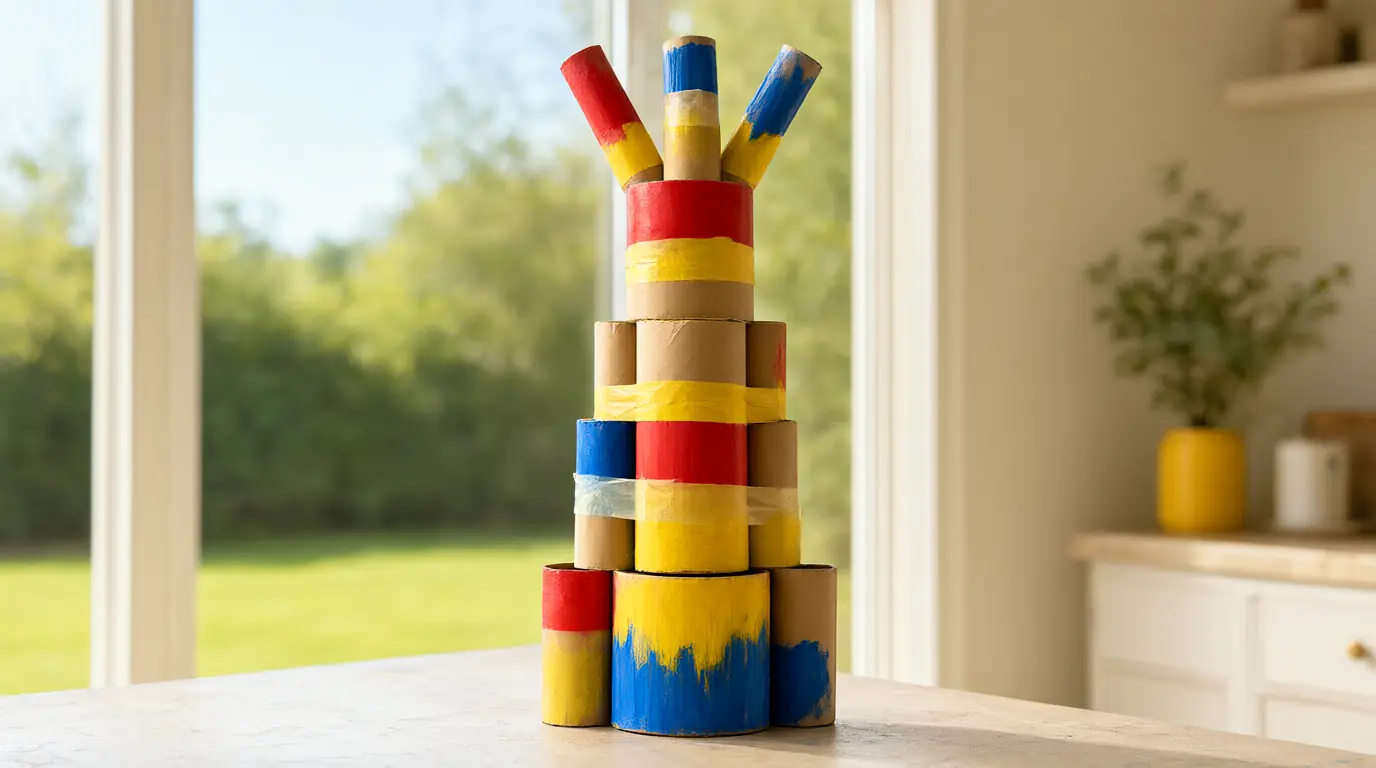
Make it your own: Younger children can make a tower from two or three pieces. Older children can aim for a particular shape, such as a bridge or a rocket, and compare plans.

Make it work for your family
Ask permission before you add anything to your child’s work, and offer help with one difficult step, such as holding a join, instead of taking over the design. A project that looks messy to an adult may be exactly what the child intended. Praise effort and choices (‘You tried three different ways to make it stand up’) and avoid ranking the results.
Store a small tray of reusable odds and ends, such as cardboard tubes, scraps of fabric, pieces of ribbon and clean lids, so that your child can start something quickly. Photograph finished work before it is taken apart, and decide together where it will be displayed. For more material-led projects, see these easy painting ideas for kids and these crafts for toddlers with big materials.

Parents also ask
What are good arts and crafts for a 3-year-old?
Three-year-olds often enjoy big, simple processes: painting with chunky brushes, sticking paper shapes, tearing paper or squeezing play dough. Keep materials large and safe, offer few choices and focus on the doing rather than the result.
How do I stop crafts getting too messy?
Cover the table, use an apron, and put out only the materials needed. A tray for each child, a bowl of water and a cloth help contain the mess. Washable paint and glue make cleaning easier, and a mess is often part of a good session.
Should I show my child how to make a craft?
You can show a technique, such as how to use a glue stick, but avoid showing a finished model that your child feels they must copy. Offering materials and a question tends to produce more varied, confident work.
Choose materials and activities that suit your child, supervise as needed and adapt the ideas to their interests and abilities. About our editorial approach