Weebou Editorial Team
 10 min read
 In this article
A little preparation
Set aside a low table or a clear patch of floor and keep the materials in one shallow box, so a project can start in a couple of minutes. Most of these activities take 15 to 30 minutes. The moon drawings are the exception: they need a few short looks spread over two or three weeks. If you plan to go outside in the evening, aim for dusk rather than waking your child later. Sunshine activities work best in the morning, when shadows are long and easy to trace.
An adult handles batteries, scissors and any cutting of thick cardboard, and keeps a torch pointed away from faces and eyes. For sky watching, stay with your child, keep gates closed and look only at the moon and stars — never directly at the sun. Small parts such as marbles or bottle caps go into a sealed bag afterwards if a younger sibling still mouths objects. Before you begin, you might enjoy these preschool STEM ideas for the same habit of asking and testing.

Ideas to try together
Moon drawings on one page
This is the slowest and most rewarding project. Drawing the moon's apparent shape on different evenings shows your child that the sky changes, and it gives you a record to look back at together. Keep the page somewhere visible so your child can add to it whenever the moon is easy to see. It is a drawing exercise, not a test of accuracy, so treat the marks as drawings to talk about rather than something to correct.
 You’ll need
- One sheet of thick paper or a small sketchbook
- A pencil and two or three crayons
- A window, balcony or garden with a view of the sky
- A clipboard or a book to lean on
How to do it
- Find out roughly when the moon will be visible, and choose a moment that fits your evening routine.
- Look together from a window or doorway, with the lights behind you switched off if you can.
- Ask your child to draw the shape they can see: a thin curve, half a circle or almost a full one.
- Draw your own version on the same page beside theirs, so there are two observations to compare later.
- Repeat two or three evenings later, and let your child say what has changed before you explain anything.
- On a cloudy night, draw the cloud instead, and note that you could not see the moon that evening.
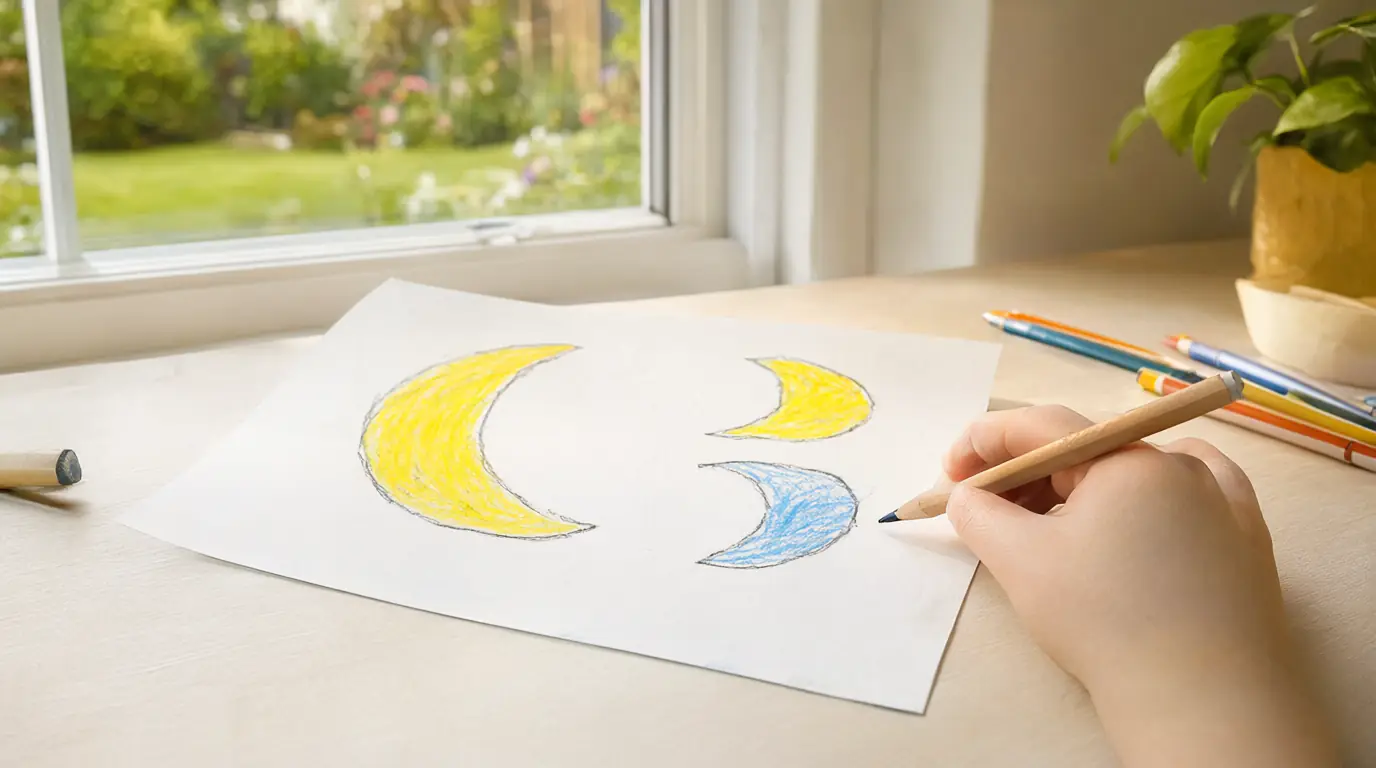
Make it your own: Younger children can simply point and make one big shape with a crayon. Older ones can work out whether the moon is growing or shrinking and draw the line of that change. If evenings do not work in your family, watch the daytime moon instead.
A rover route across a block landscape
Building a pretend landscape first gives the rover something real to do. Children decide where the rocks are, then discover that a route has to be tested and changed — the same loop engineers use. The driving and the rebuilding are the point, not the finished vehicle.
You’ll need
- A cardboard box or tube for the rover body
- Four bottle caps and thick tape for wheels
- Large wooden or foam blocks for the landscape
- A soft ball to mark the landing spot
How to do it
- Build a landscape on the floor: blocks as rocks, a cushion as a crater and a soft ball as the landing spot.
- Make the rover from a small box with tape and bottle caps, or let your child push the box along without wheels.
- Ask your child to drive the rover from the landing spot to a chosen target without knocking the blocks down.
- When they hit a block, ask what the rover needs: a wider gap, a flatter route or a different starting point.
- Change one thing at a time and try again, then leave the landscape out so the route can be improved later.
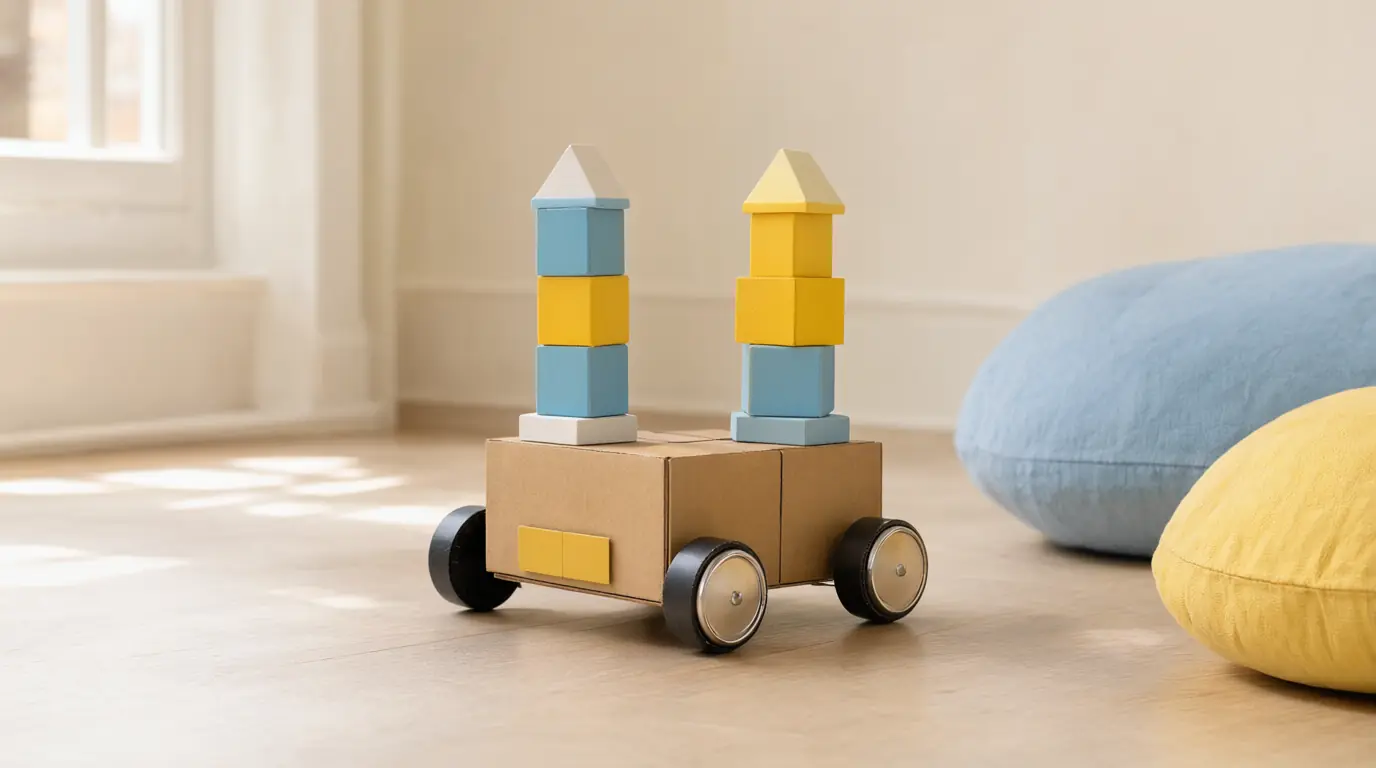
Make it your own: Two-year-olds can push a plain box between two cushions with no building at all. Older children can draw the route as a map before they drive it. If the floor is busy, use a tabletop landscape with small bricks and a matchbox rover.
A torch-and-ball light model
One ball and one torch explain more than a picture does. As your child turns the ball, they can see for themselves that only the side facing the light is bright, and that the dark part does not disappear. This is a model of daylight and night on a round object, and it is worth saying so.
You’ll need
- A large light-coloured ball
- A torch with working batteries
- A dim room or a dark corner
- A bowl or ring of card to keep the ball still
How to do it
- Dim the room and put the ball on a bowl or ring so it does not roll away.
- Hold the torch at arm's length and shine it steadily at one side of the ball.
- Ask your child to find the bright side and the dark side, and to say which one they think is daytime.
- Turn the ball slowly a quarter of the way round and ask what happened to the bright part.
- Let your child hold the torch, keeping it pointed at the ball and not at faces.
- Finish by saying clearly which parts were real and which were only a model.
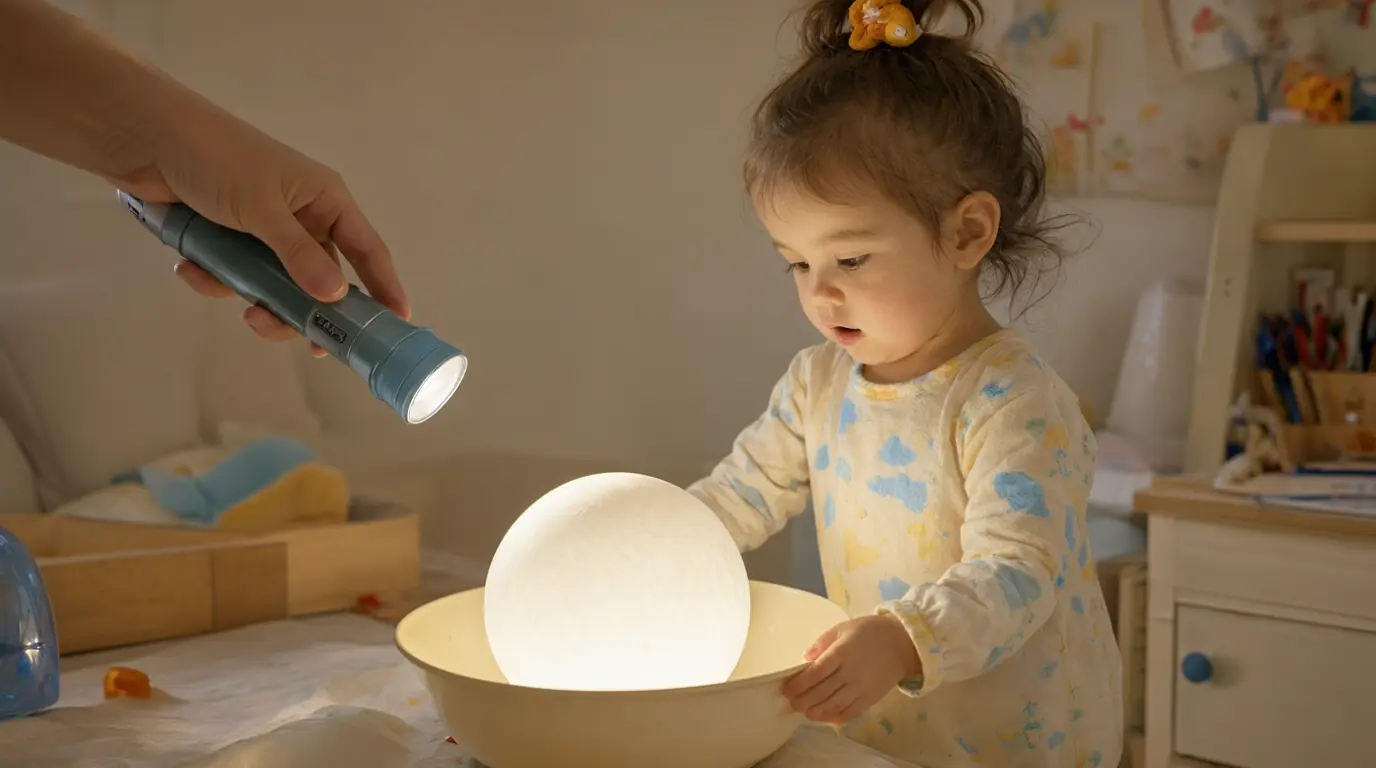
Make it your own: Younger children can simply watch you turn the ball and name the bright side. Older ones can predict where the bright part will move before you turn it, then check. A bedside lamp on a dim setting works if you would rather not use a torch.
Shadow tracing with a small toy
Outside on a sunny morning, a toy casts a clear shadow that a child can draw around. Coming back later and tracing the same toy again shows that the shadow has moved, which is a patient way to notice how the sun's light changes through the day. It needs sunlight, paper and something to hold the paper down.
You’ll need
- A sheet of paper or light card
- A small toy animal or figure that stands up
- Chalk or a pencil
- Two stones or clips to weigh the paper down
How to do it
- Put the paper on a flat, sunny step or path and hold the corners down with stones or clips.
- Stand the toy at one end of the paper and wait a moment until the shadow is clear.
- Ask your child to draw around the shadow's outline with chalk or a pencil.
- Leave the paper and toy in place so the first outline stays visible.
- Come back an hour or two later and trace the new shadow on the same sheet in a different colour.
- Look at the two outlines together and ask your child which one they think is older.
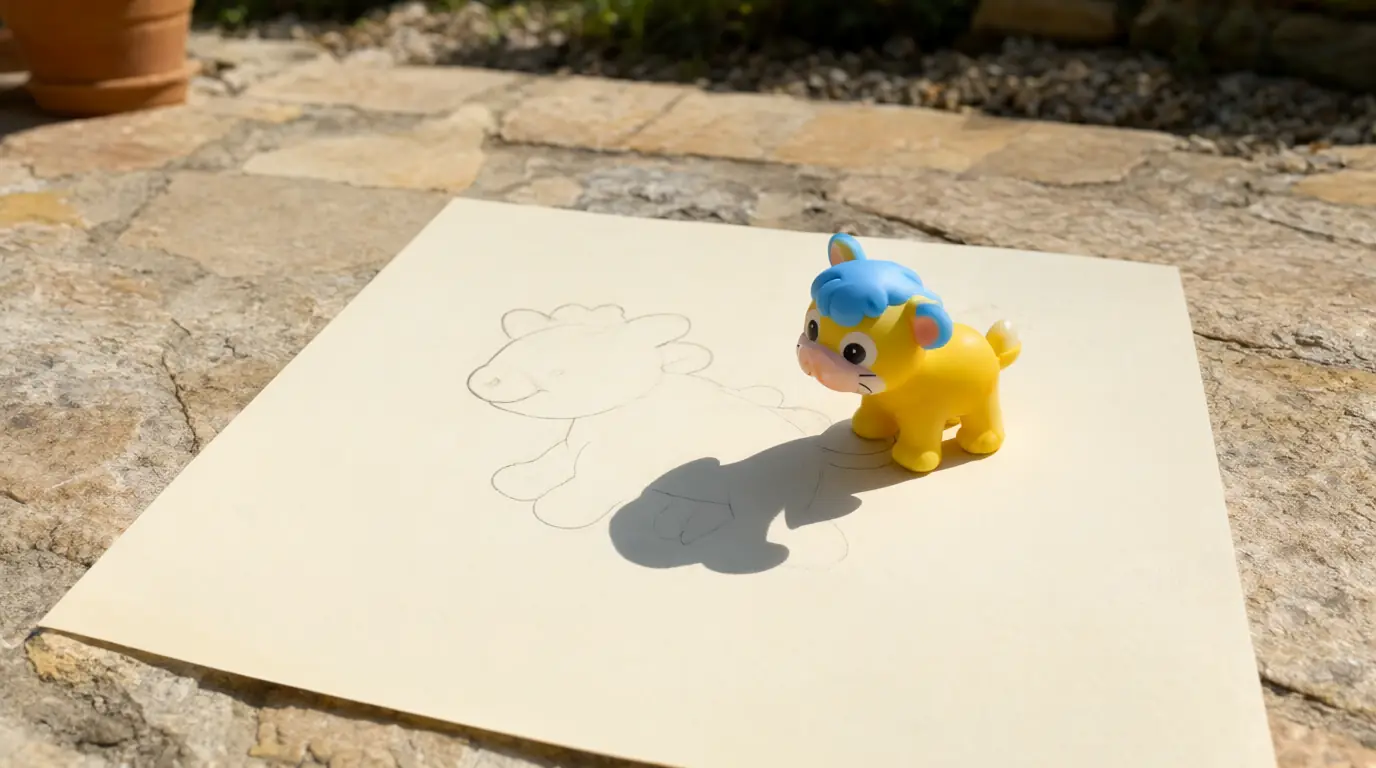
Make it your own: Younger children can point at the shadow while you draw the outline, then colour it in. Older children can try three times in a day and put the outlines in order. On a cloudy day, use a lamp indoors instead.
A mission box with a packing list
Packing a pretend mission box turns a list into a story. Your child chooses what a traveller might need, sketches it and then invents a moment when that item saves the day. It mixes drawing, decision-making and talk, and it all fits inside one small box.
You’ll need
- A small cardboard box with a lid
- Paper and crayons for sketches
- A cardboard tube, string or a paper map
- A few real small objects, such as a spoon or a sponge
How to do it
- Ask what a pretend explorer would need to see, carry or use in a place with no shops.
- Let your child draw each chosen item on a separate small square of paper.
- Fold the drawings into the box or lay them inside, alongside one or two real objects.
- Close the lid and ask when the box would be opened — at landing, at bedtime or in an emergency.
- Invent a short story together in which one packed item solves a problem.
- Ask your child to sort the contents into things we really have and things we only imagine.
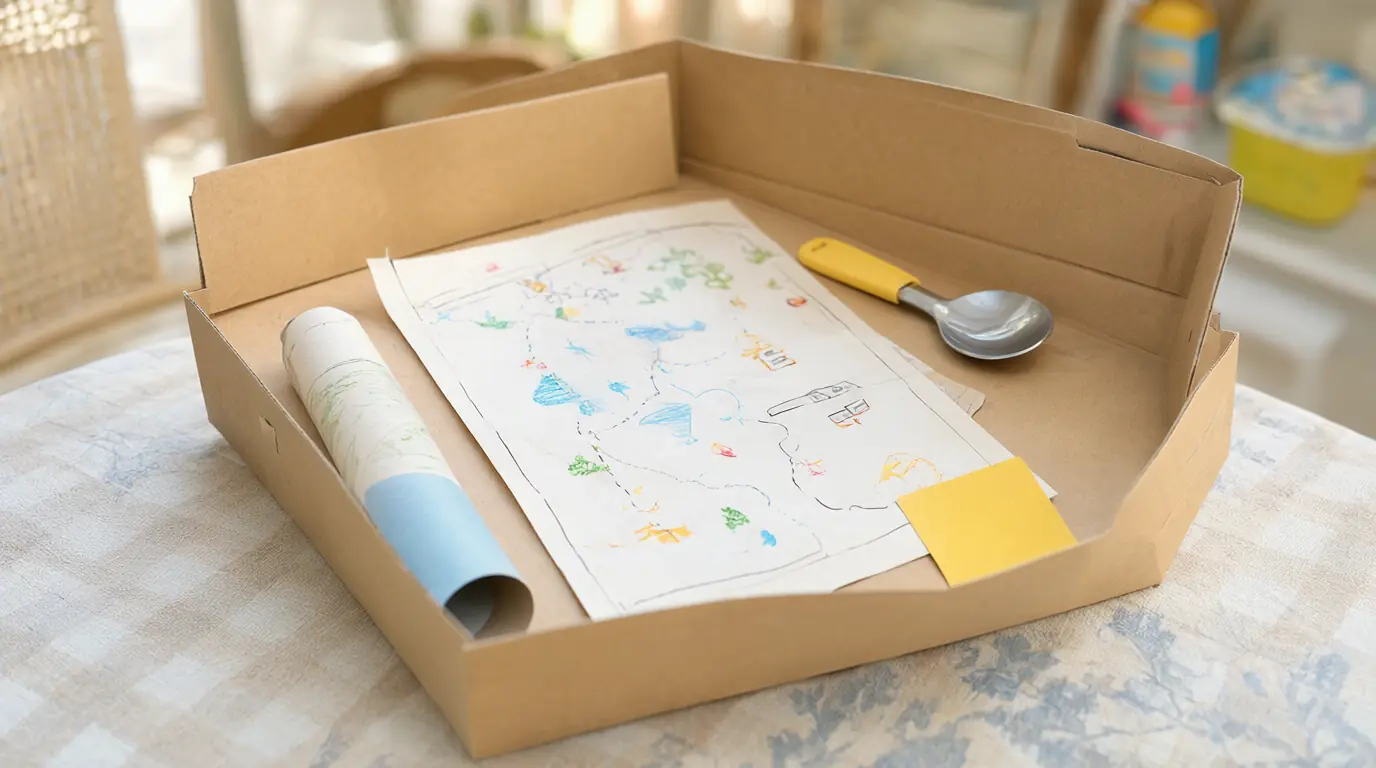
Make it your own: Younger children can pack three real objects and name them. Older ones can set a weight limit and choose five items only. If drawing is tiring, cut pictures from an old catalogue instead and glue them onto the squares.

Make it work for your family
If your child loses interest halfway, stop and leave the materials out rather than finishing the project yourself. Interest usually returns the next day, and a half-built rover is a good reason to come back. When a question comes up that you cannot answer, write it down in your child's own words and look it up together later; the habit of checking matters more than the answer.
Keep night watching short and warm. Two minutes of looking is plenty for a young child, and a coat, a blanket and a nightlight on the way back make it easier to settle afterwards. If your child is frightened by the dark, sit together in a lit doorway and look from there. It also helps to say plainly which parts were pretend. For more of the same approach, try these science games built around looking and testing, and a few engineering invitations if your child keeps returning to the rover.

Parents also ask
What are good space activities for a 3-year-old?
Pushing a cardboard box rover between cushions, holding a torch while you shine it on a big ball, and looking at the moon from a doorway for two minutes. All three need no reading, no cutting and no small parts, and each one can be repeated whenever your child asks.
How do I explain day and night to a young child?
Use a ball and a torch. Dim the room, shine the light steadily on one side of the ball and let your child find the bright and dark halves. Turn the ball slowly so the bright part moves, and say clearly that this is a model of something much bigger.
Can we watch the moon in the daytime?
Yes. A daytime moon is often visible in the morning or late afternoon, depending on the phase, and it is far easier for young children than staying up. Look from a window or doorway, draw the shape you both see, then try again a few days later to compare.
Choose materials and activities that suit your child, supervise as needed and adapt the ideas to their interests and abilities. About our editorial approach