Weebou Editorial Team
 9 min read
 In this article
A little preparation
Choose one surface your child can reach without climbing, and stop the paper sliding: a strip of low-tack tape at the top corners works better than a stack of loose sheets. Two or three tools are plenty to begin with — a chunky crayon, a felt tip and a soft pencil — because a crowded pot makes choosing harder. Keep the paper large at first, at least A3, so the whole arm can move. Ten or fifteen minutes is a typical session; many children draw for two minutes, wander off and come back later.
Sit beside your child rather than opposite, and work on your own sheet if you want to join in. Avoid drawing a model on their page unless they ask, and ask before writing a date or a name on it. Use materials labelled washable and non-toxic, keep small caps and snapped points away from children who still mouth things, and expect a few marks on the table. If your child avoids the feel of crayon, chalk or a brush may suit better, and these fine-motor activities offer other routes into mark-making.

What to know and try
Say what you see, then stop talking
A running commentary tells your child what you noticed without deciding what the picture means. Saying “you went round and round there” or “that line is very heavy” invites a reply but does not demand one. If your child says it is a dog, accept the dog. If they say nothing, the marks may simply be marks, and that is a finished piece of work rather than a stage to hurry past.
How to do it
- Wait until your child pauses or steps back before saying anything.
- Describe one thing you can actually see: a colour, a shape, a direction, a heavy patch.
- Ask one open question at most, such as “what happened here?”
- Accept the answer exactly as given and repeat a word from it back.
- If the answer is “nothing”, say “that’s fine” and return to your own drawing.
Make it your own: With a toddler, name colours and movements and leave it there. With an older child, ask what they would add next or which part took longest. A child who is not speaking yet can point to the part they want you to notice.
A bigger page and a broader tool
When a drawing keeps shrinking into one corner, the paper may be the problem rather than the child. A length of wallpaper lining, a flattened cardboard box or two A3 sheets taped together gives the whole arm somewhere to go. Broad crayons, chunky chalk or a fat brush reduce the grip strength needed, so movement becomes the point rather than control. Big surfaces also suit children who draw best while standing or kneeling.
You’ll need
- A long sheet of paper or flattened cardboard
- Low-tack tape
- Two or three chunky crayons
- A clear floor or table space
How to do it
- Tape the paper down at all four corners so it cannot slide.
- Put out two crayons, not the whole box.
- Draw one long line yourself across the page, slowly, and stop.
- Let your child fill the space in any direction, including off the paper if the floor is protected.
- When they finish, stand back together and look at the whole sheet rather than a corner of it.
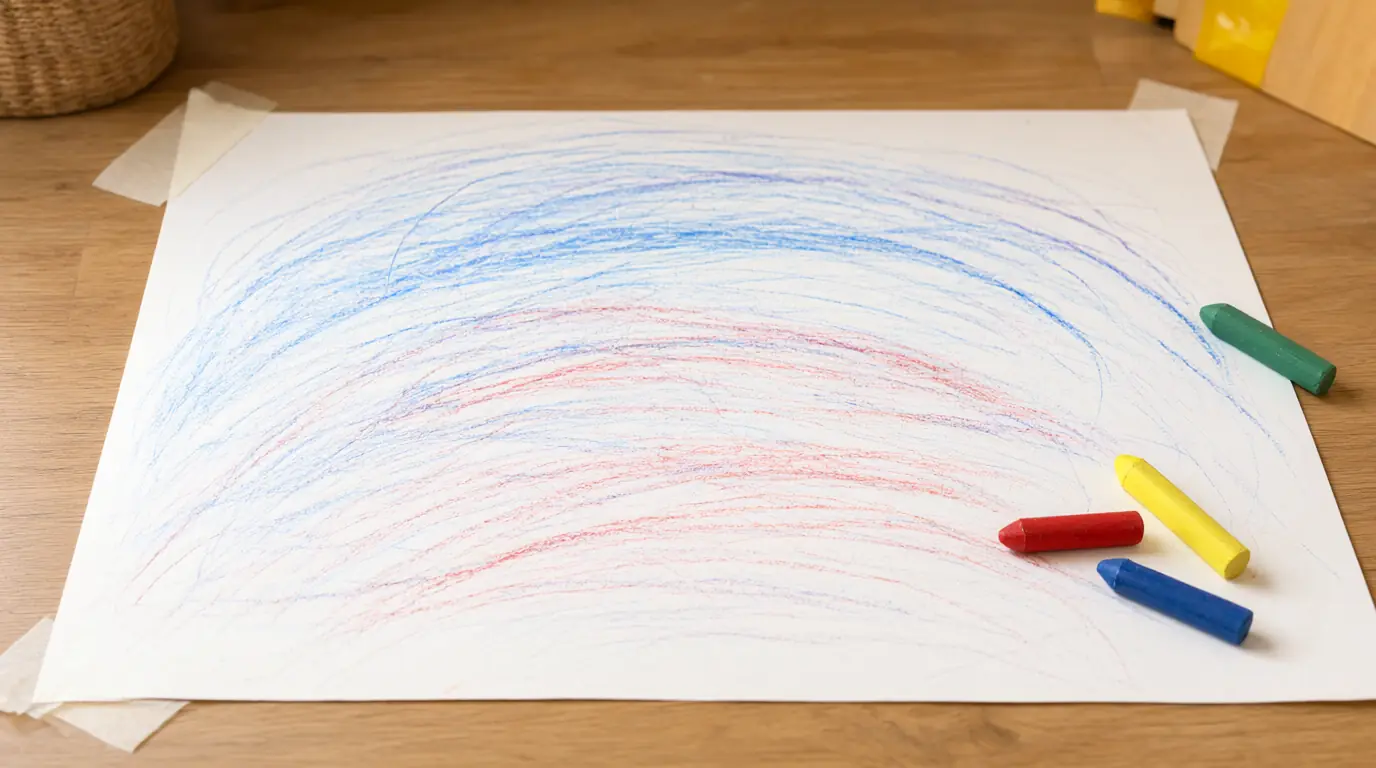
Make it your own: Younger children can work on the floor with one colour. Older children can add a second layer in a different colour on top, or plan a scene that uses the whole length. In a small flat, tape the paper to a door or a cupboard instead.
Give the drawing a job to do
Drawings become more purposeful when they are used for something. A sign for a pretend shop, a map for toy cars, a card for a grandparent or a plan for a den all give the marks a reason to exist beyond looking like an adult’s picture. Children often add more detail for a real audience, and they can dictate words for you to write alongside their own marks.
You’ll need
- Small cards or offcuts of paper
- Felt tips and a crayon
- Tape or sticky putty
- A pretend shop, toy cars or a den to label
How to do it
- Ask what the drawing needs to do: tell someone, show a route, mark a price or warn people.
- Choose a size of paper that suits the job — a small card for a sign, a big sheet for a map.
- Let your child make the marks while you keep your hands off the page.
- Write their dictated words exactly as they say them, in a corner they choose.
- Stick the finished piece where it is needed and use it during play.
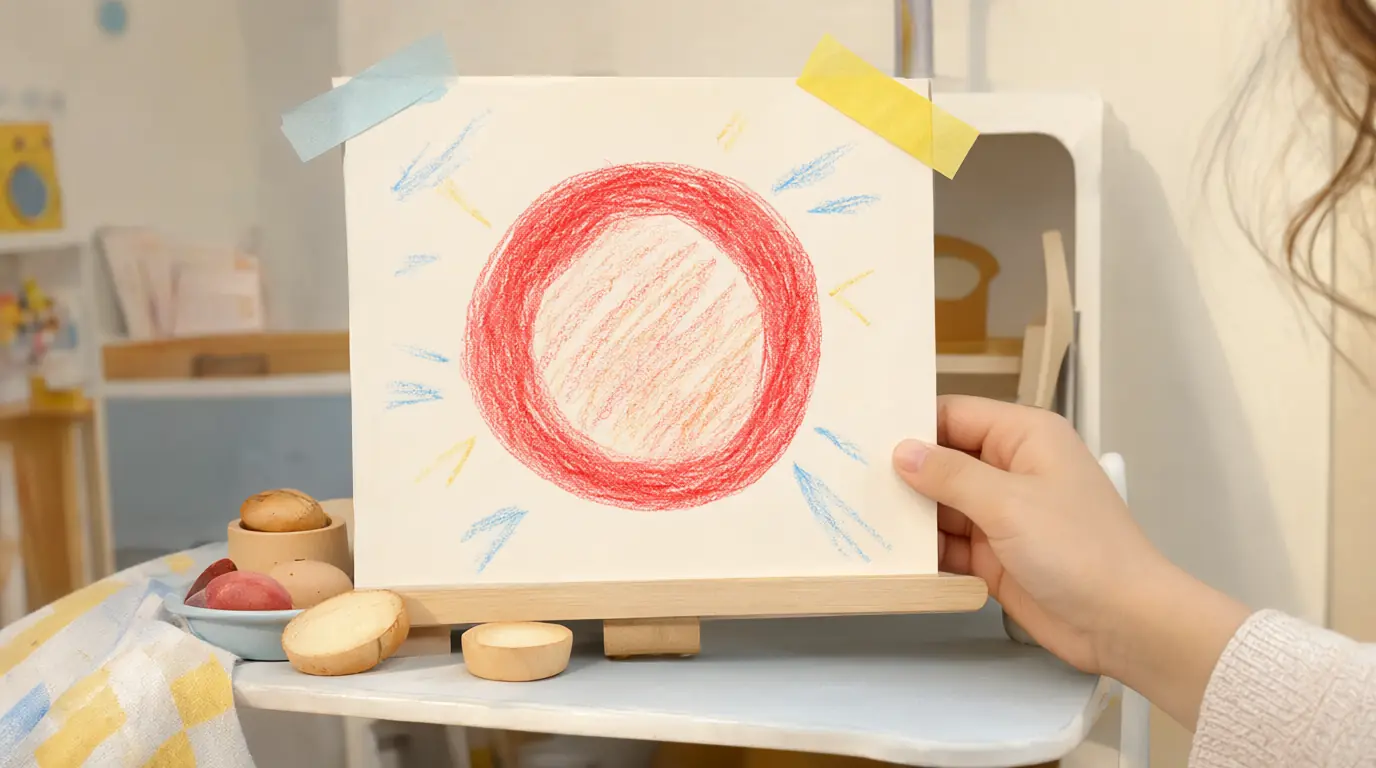
Make it your own: Toddlers can make one bold mark for a sign and watch you tape it up. Older children can add arrows, labels and prices, or make a set of signs for different rooms. A child who finds drawing hard may prefer to dictate while you write and they decorate the border.
Change one thing and try again
Varying a single element shows children that drawings are decisions rather than fixed outputs. Change the tool, the hand, the height or the speed and the same idea comes out differently. This is also a gentle way to build hand control without worksheets: painting standing up uses the shoulder, drawing under a table uses the wrist, and a soft brush asks for a lighter touch than a crayon.
You’ll need
- The same paper three times
- A crayon, a felt tip and a paintbrush
- A low table and a spot on the floor
- An old shirt or apron
How to do it
- Ask your child to draw the same thing — a house, a face, a swirl — with a crayon.
- Offer a brush and paint and repeat it on a fresh sheet.
- Try one version standing up at a table or easel.
- Try another with the non-dominant hand, and let everyone have a go, including you.
- Lay all the versions side by side and ask which felt best to make, not which looks best.
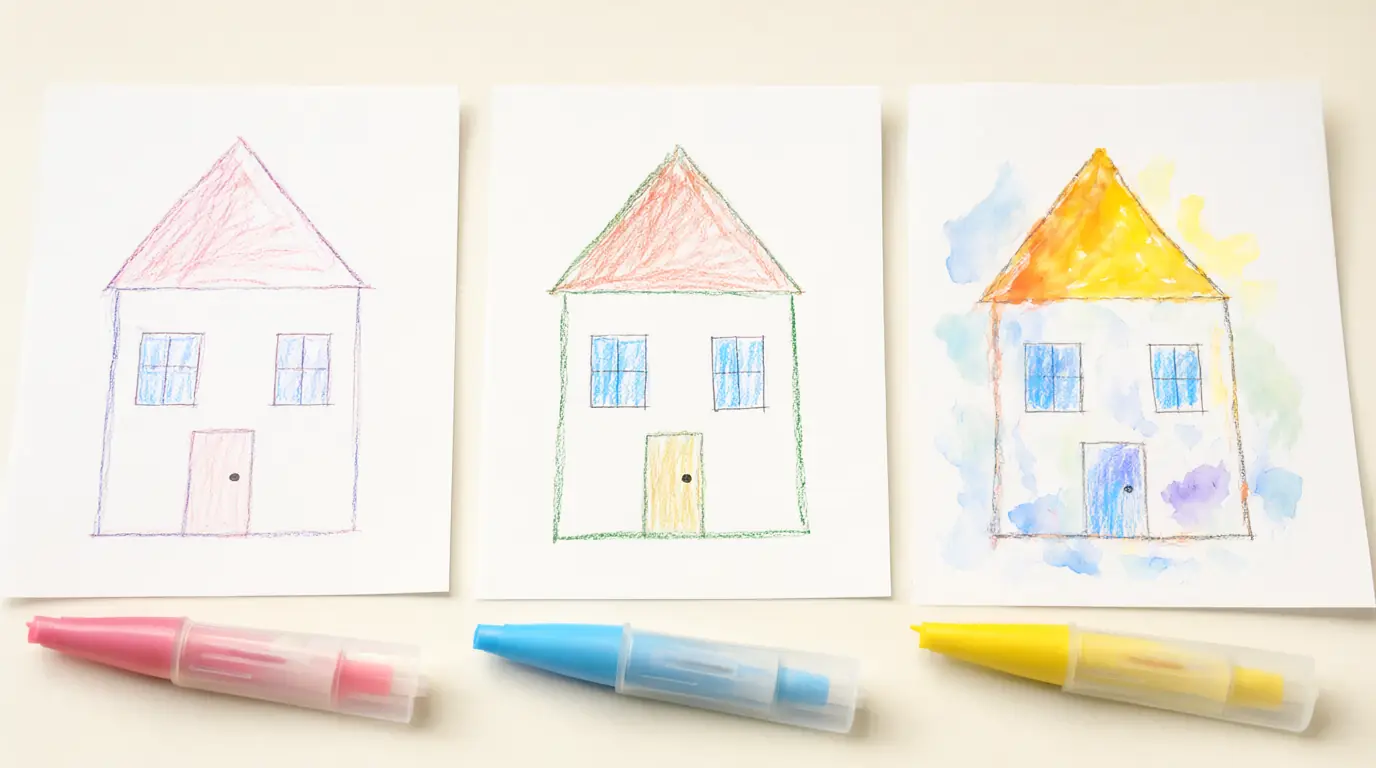
Make it your own: Younger children can simply explore the tools without repeating a subject. Older children can time themselves, draw with eyes closed or use a very long stick of chalk outdoors. Children with limited hand strength may do best with paints and large brushes first.
Look back at a few pages together
Comparing drawings over months shows change without ranking it. A child who sees their own earlier work often notices things an adult misses: a new colour, a person with legs, a story that reappeared. Keep the conversation about what they remember and what they were interested in at the time, not about which drawing is better or how much they have improved.
How to do it
- Choose three or four drawings with your child, not the whole pile.
- Ask what they remember about making each one: where they were, what the tools were.
- Point out one concrete difference, such as more colours or a new shape.
- Ask whether they would like to try that idea again now.
- Put the chosen drawings back in the folder or on the wall, wherever your child decides.
Make it your own: With a young child, look at two drawings only and keep it to a minute. Older children can sort their drawings into piles by subject or mood. If a child dislikes looking back, photograph the work instead and let the paper go without discussion.

Make it work for your family
If a child refuses to draw, leave a single sheet and one crayon out and say nothing more. Pressure is the quickest way to end the activity. Children who dislike mess can draw in a shallow tray or with a finger on a steamy window; children who dislike sitting can draw standing at a low easel or lying on their tummy on the floor.
Expect long stretches of the same mark — circles for weeks, then boxes, then figures with arms coming out of the head. That repetition is practise, not a stuck stage. Keep a folder of drawings only if your child agrees, date them on the back rather than the front, and let them choose what stays. For related ideas, see these colouring games and simple creativity games. If you have wider concerns about hand use, attention or a sudden loss of skills, talk to your child’s teacher or health professional rather than reading it from a drawing.

Parents also ask
At what age do children start drawing recognisable pictures?
It varies widely. Many children begin naming their scribbles around three or four, then move towards enclosed shapes and simple figures over the following years. Some draw people early and scenes much later; others stay with pattern and colour. Interest, practice and the tools available matter as much as age, so compare a child with their earlier self rather than with a chart.
Should I show my child how to draw a person or a house?
Occasionally, on your own sheet, is fine — children learn by watching. Drawing on their page or correcting their version tends to make them copy rather than invent. If they ask for help, draw beside them and describe what you are doing, then hand the pencil back and let their version stand as it is.
What does it mean if my child presses very hard or only draws one thing?
Heavy pressure is often about the feel of the tool or the effort of gripping, and one repeated subject is usually a favourite idea being explored thoroughly. Offer softer materials such as paint or chalk and a thicker crayon. If hand use seems painful, or skills suddenly change, raise it with your child’s teacher or health professional.
Sources & further reading
Explore these primary sources for further context on this topic.
Choose materials and activities that suit your child, supervise as needed and adapt the ideas to their interests and abilities. About our editorial approach