Weebou Editorial Team
 9 min read
 In this article
A little preparation
Choose one invitation and set it up on a low table, the floor or a shallow tray where a spill does no harm. Gather everything before you start so your child is not left waiting: one or two small toy vehicles of the same size, large blocks, thick paper, child-safe tape, unbreakable cups and a towel. An adult cuts any cardboard and covers raw corrugated edges with tape. Keep small parts, bottle caps and anything that fits through a toilet roll away from children who still mouth objects, and stay within arm's reach for anything involving water. If you would like more starting points, these preschool engineering invitations overlap neatly with this set.
Plan for 15 to 25 minutes and finish while your child still wants more. Testing works best with one thing changing at a time: same car, same starting line, same floor, one new ramp height. Give younger or older siblings their own copy of the same materials so nobody has to wait a turn. Expect mess and keep a towel nearby rather than moving the play away from your child's reach.

Ideas to try together
Ramp with one thing changed
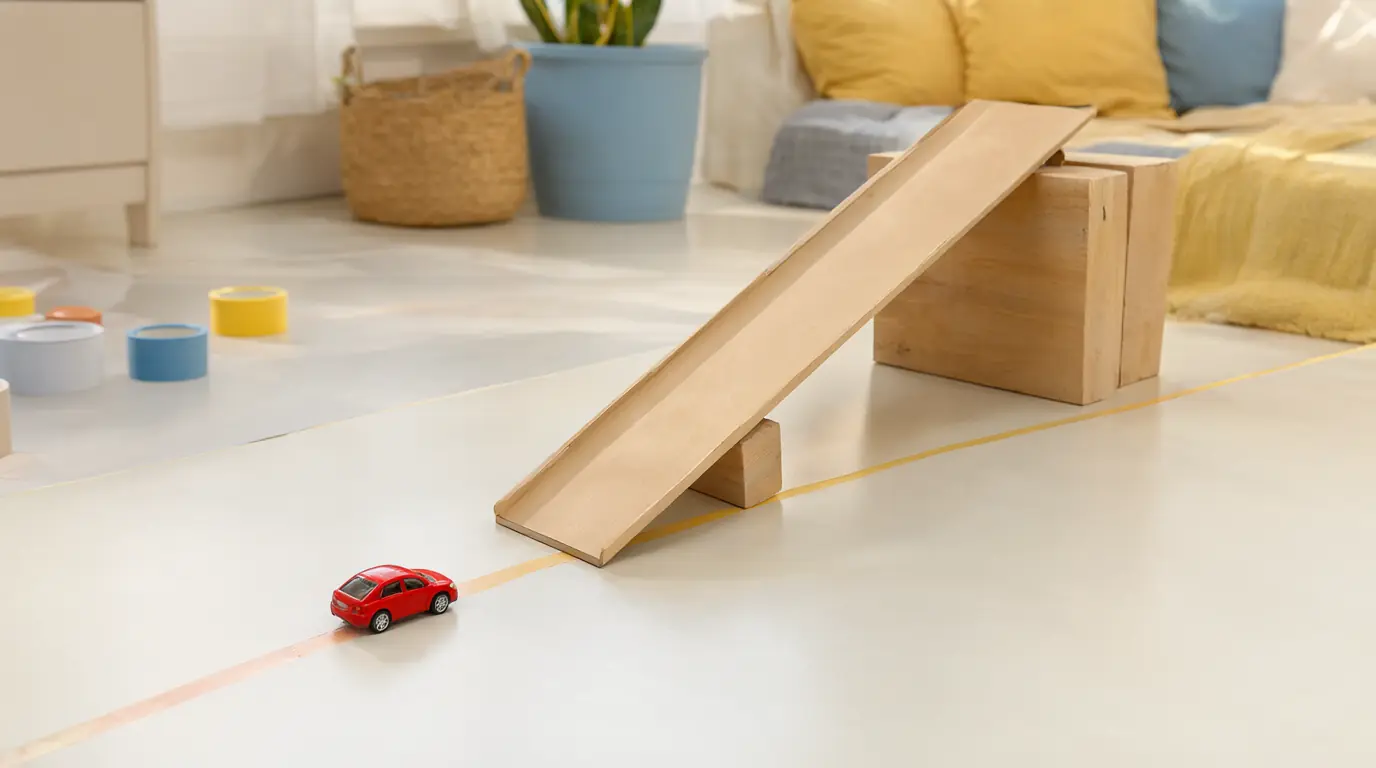
Start with motion, because it gives instant feedback. Your child rolls a car, watches it slow and stop, then changes one thing and rolls again. The comparison teaches the shape of a fair test: same car, same starting line, same floor, one new ramp height. Marks on the floor turn an impression into something you can look at together.
 You’ll need
- A long strip of sturdy cardboard
- Two or three large wooden blocks
- One small toy car
- Masking tape
- A shallow box lid to catch the car
How to do it
- Tape a start line on the floor and prop the cardboard on one block to make a low ramp.
- Let your child place the car on the line at the top and let go without pushing.
- Point to where the car stops, or mark it, and say the distance out loud together.
- Raise the same ramp onto two blocks and roll the car again from the same line.
- Ask which roll went further before you answer, then compare the two stopping points.
- Change something else only when your child suggests it: a heavier car, a smoother surface or a longer ramp.
Make it your own: For a two- or three-year-old, keep the ramp low and skip the marking: roll the car and say further or not so far. Older children can draw the two stopping points and invent a third test of their own.
Paper roof that holds a soft toy
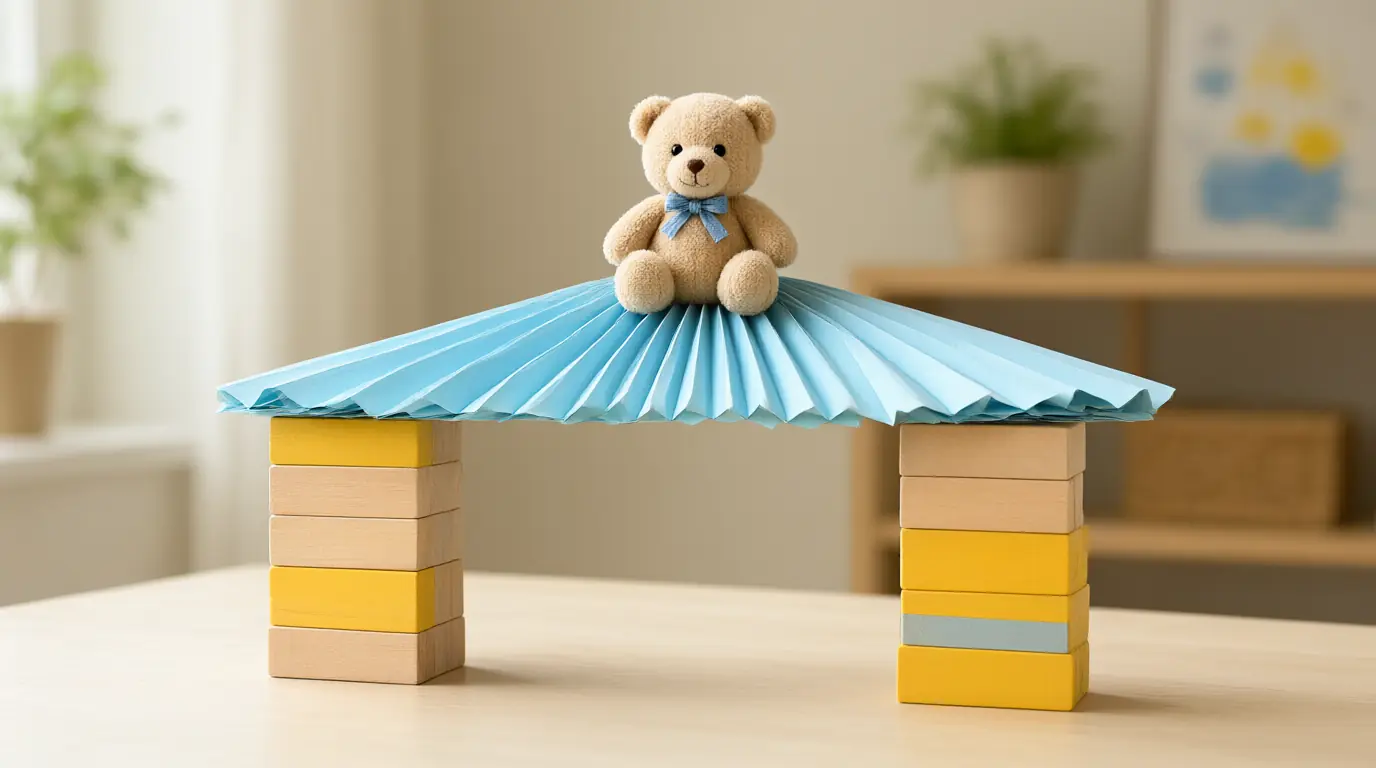
A flat sheet of paper laid across two blocks makes a roof that sags the moment anything rests on it. Folding the same paper into a wide pleat changes what it can hold, and your child can feel the difference with their own hands. It is a quiet way to show that shape, rather than thickness, often decides how strong something is.
You’ll need
- Two stacks of large wooden blocks
- Three sheets of thick paper
- A lightweight soft toy
- Child-safe tape
How to do it
- Lay one flat sheet across the two blocks and check that the gap is smaller than the paper.
- Ask your child to slide the soft toy underneath, then to rest it gently on top and watch what happens.
- Take the paper off and fold it into a wide pleat, like a fan, before laying it back across the blocks.
- Test the toy in the same way again and talk about what is different about the paper now.
- Try a third version with two sheets taped into a shallow arch, then let your child choose which roof stays up.
Make it your own: Younger children can press down on the paper with a flat hand instead of balancing a toy, which is easier to see and feel. If the shelter becomes a favourite, draw it afterwards and ask which part they would change next.
Bridge that spans a wider gap
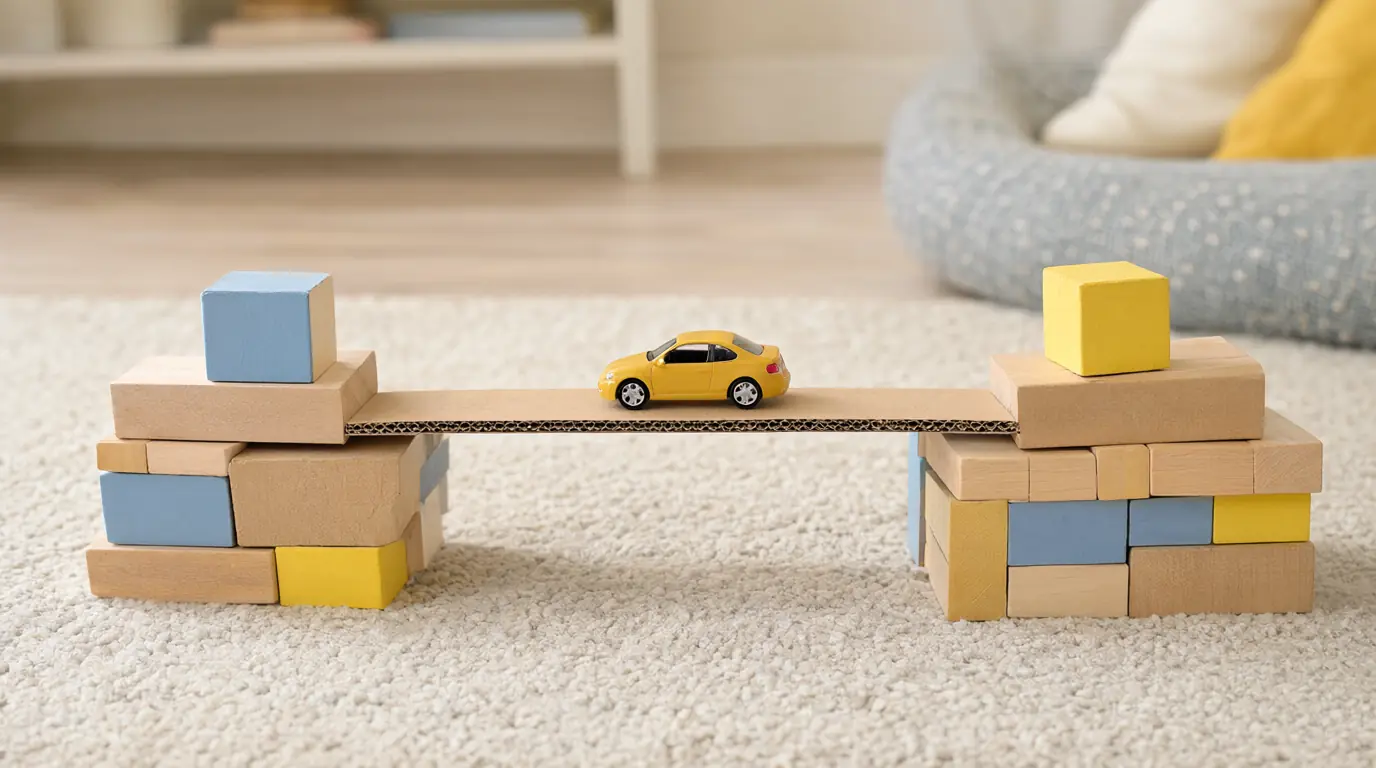
Bridges add a real problem to solve, because the span is longer than the material. A single cardboard strip bends in the middle, and your child has to think about supports, layers or a different shape. This is often the point where children start describing their plan out loud before they build it.
You’ll need
- Two stacks of large blocks
- Cardboard strips in two different lengths
- A folded paper strip
- One small toy car
- Child-safe tape
How to do it
- Build two block banks with a gap between them that is wider than one cardboard strip.
- Ask what could go across, then let your child choose a strip and try it.
- Place the car in the middle of the strip and watch how far the cardboard bends.
- Take the strip away and try a folded or doubled strip, or two strips taped side by side.
- Test with the same car and the same gap each time, and name the change out loud.
- Keep the strongest bridge standing for a while so your child can drive more cars across it.
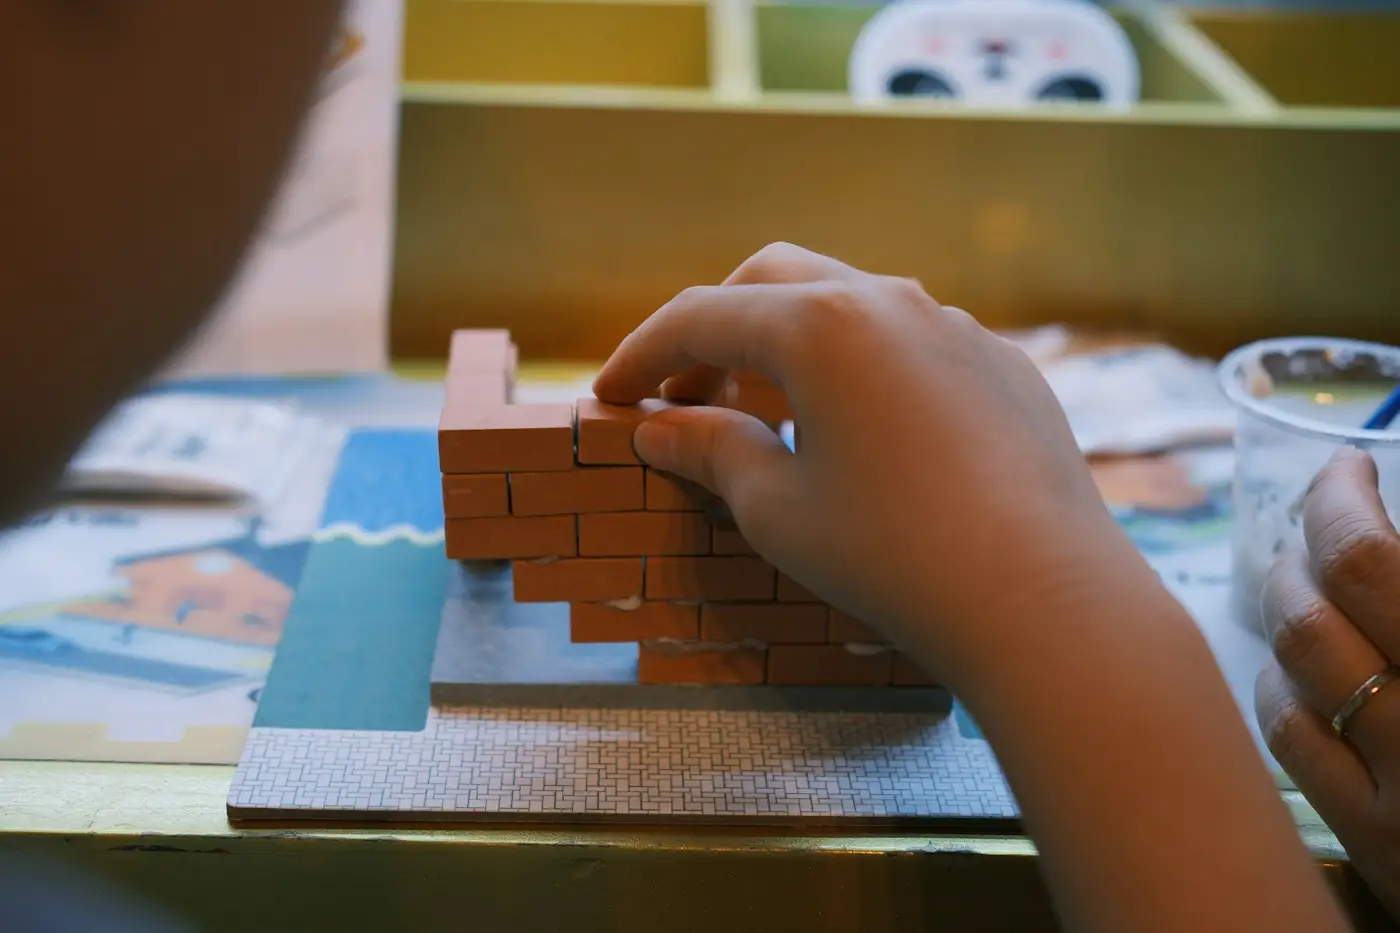
Make it your own: A younger child can bridge a gap that is only just too wide, so a little help succeeds. Older children can measure the gap in blocks, add one support and explain what that support is doing. These building games use the same habit.
Cargo boat that carries bottle caps
Water gives immediate, honest feedback: a boat floats, tilts or sinks, and your child can see why. Loading one cap at a time turns the play into a slow test with a clear question attached to it. Keep the water shallow and stay beside your child for the whole game.
You’ll need
- A shallow tray of water
- A folded paper boat and a plastic lid
- Small plastic bottle caps
- A towel underneath
How to do it
- Float the lid and the folded paper boat in the shallow tray side by side.
- Let your child add one bottle cap to the lid, then one to the paper boat.
- Count the caps each one holds before it tips over or softens.
- Ask why one tipped sooner, then offer a wider base such as a second lid taped underneath.
- Try the test again with the flatter lid and compare the two counts.
- Tip the water out together and leave both boats to dry on the towel.
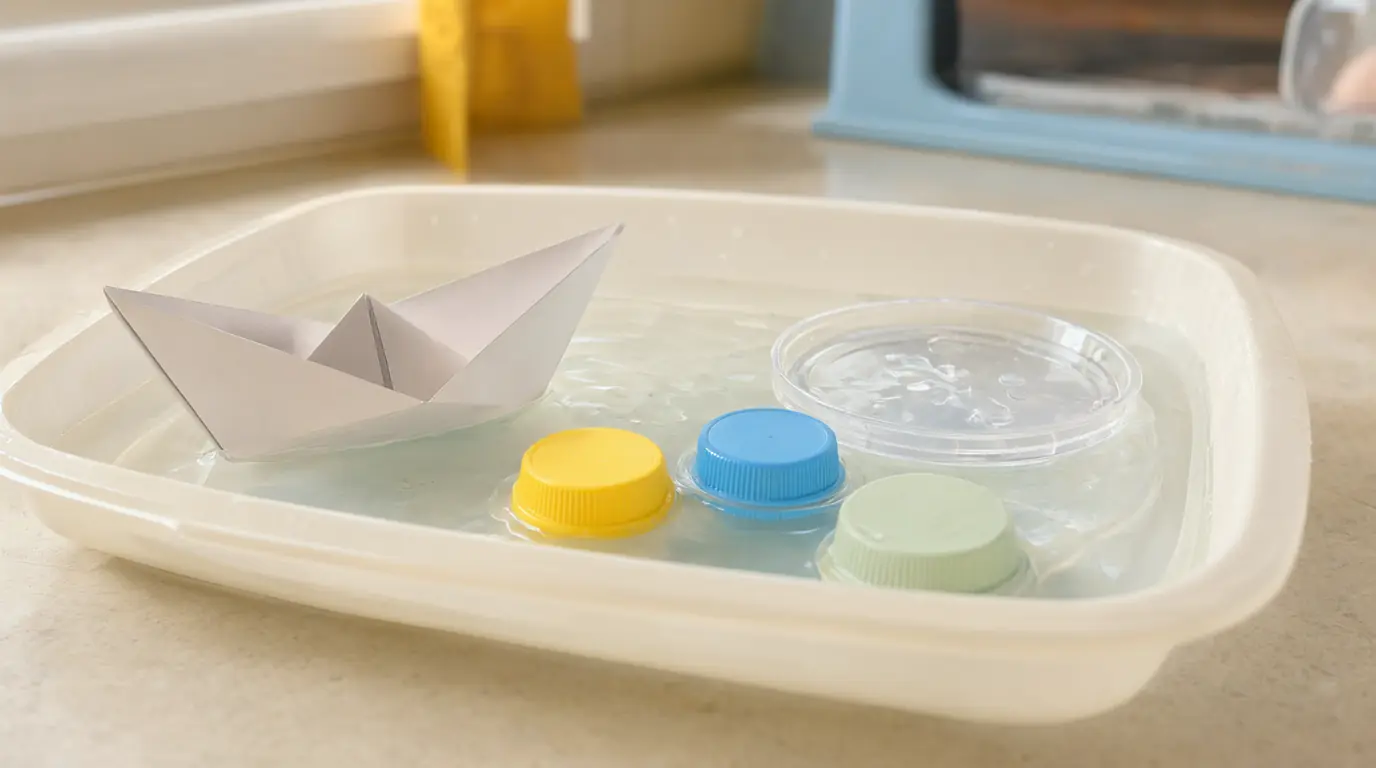
Make it your own: Under-threes can simply scoop and float while you keep one hand on the tray. Older children can draw the two boats and write the number of caps beside each, then predict what a wider boat would carry.
Flashlight wall that changes shadow size
A flashlight makes cause and effect easy to see. Move the light closer and the shadow grows; slide a toy sideways and the shadow moves the other way. Children often repeat this far longer than adults expect, testing the same idea until they can predict what will happen next.
You’ll need
- A working flashlight
- A pale wall or a large sheet of paper taped up
- Two or three small toys and shapes
- A dim corner or a large blanket
How to do it
- Tape a large sheet of paper on the wall, then dim the room or drape a blanket to block some light.
- Hold the flashlight a step away from the paper and let your child move a toy in front of it.
- Move the light slowly closer and ask what is happening to the shadow.
- Ask your child to make the shadow bigger without touching the flashlight, then try their idea.
- Line up two toys and check whether the shadows keep their order, then swap the toys and look again.
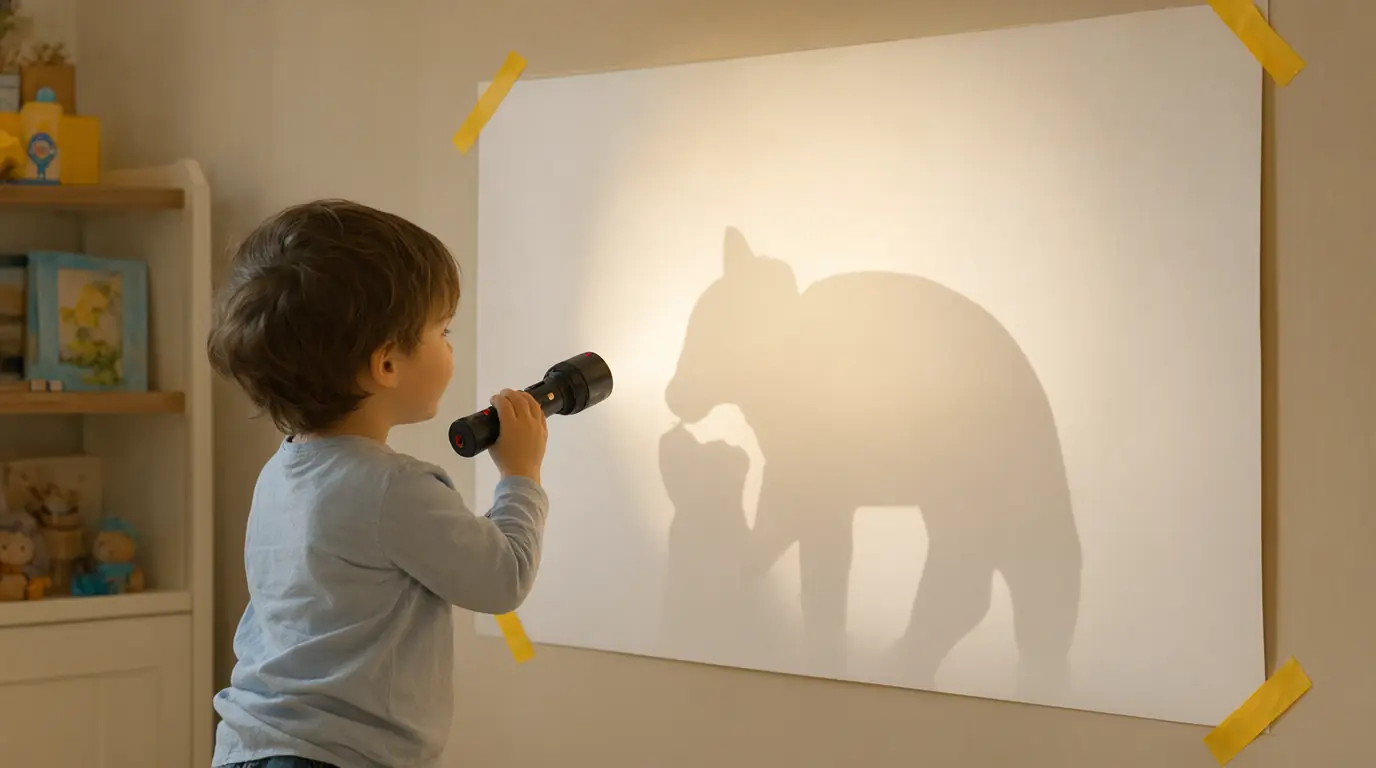
Make it your own: Younger children can hold the toy while you hold the light, or the other way round. Older children can trace one shadow with a pencil, move the toy and trace the new one to compare the two shapes.

Make it work for your family
If the car shoots off the ramp, widen the cardboard and lower the ramp instead of asking your child to push more gently. If the paper roof collapses on the first try, that is information, not failure: describe what you noticed and change one thing. When attention drifts, ask your child to predict before the next test, because making a guess keeps them watching. A boat test that gets too splashy can pause until the floor is dry.
Photograph each version before you tidy up so your child can compare the first ramp with the last one. Two or three pictures are enough, and looking back at them together later is where most of the explaining happens. For more invitations that begin with a question rather than an answer, try these science games built around looking and testing.

Parents also ask
What are some easy STEM activities for preschoolers at home?
Ramps, paper roofs, bridges, boats and flashlight shadows all work with things you probably already own. Pick one question, such as what happens when the ramp gets higher, and let your child test it two or three times before you change anything else.
Do preschoolers need special STEM toys?
No. Blocks, cardboard, thick paper, unbreakable cups, a towel and a flashlight cover most first tests. Ready-made kits can be enjoyable, but the learning comes from your child changing one thing and noticing the result, which plain materials allow just as well.
What counts as a fair test for a young child?
Keep everything the same except the one thing you want to learn about: the same car, the same starting line, the same floor, one new ramp height. Then compare the two results and ask your child to explain the difference in their own words.
Choose materials and activities that suit your child, supervise as needed and adapt the ideas to their interests and abilities. About our editorial approach