Weebou Editorial Team
 8 min read

 In this article
A little preparation
Choose a flat, sturdy surface, such as a table or a clear patch of floor, and put out only the materials for one challenge. Cardboard strips, paper, masking tape and large blocks are ideal, and an adult should do any cutting with scissors. Keep structures low, test with lightweight objects and decide together where the testing area begins and ends so that falling things do not hit anyone.
Start with a clear question: ‘Can a car cross this gap?’ or ‘Will the roof keep the doll dry?’ Let your child sketch a plan first, even if it is only a few lines, because it gives you both something to compare with the result. Build one version, test it, and change only one thing at a time. A design that fails is a normal and useful step, and you can say so: ‘Now we know that did not work, so what shall we try?’ Plan for fifteen to thirty minutes, and keep the structure for another day.

Ideas to try together
Bridge the gap for a toy car
A gap between two stacks of blocks is a first real engineering problem: how do you span a space? Children try flat strips, folded strips and supports, and quickly discover that shape matters. The test is clear, because the car either crosses or it does not.
 You’ll need
- 10 large wooden or plastic blocks
- 3 or 4 strips of thick cardboard
- A lightweight toy car
- Masking tape
How to do it
- Build two stacks of blocks about 20 cm apart and tell your child the car needs to get from one to the other.
- Lay a flat cardboard strip across the gap and test it with the car.
- Notice what happens, and ask: ‘Does it bend, slide or hold?’
- Try folding the strip into an accordion shape, or add a block underneath for support.
- Test again with the same car, then try a longer gap.
- Draw the best bridge on a sheet of paper and keep it as a plan.
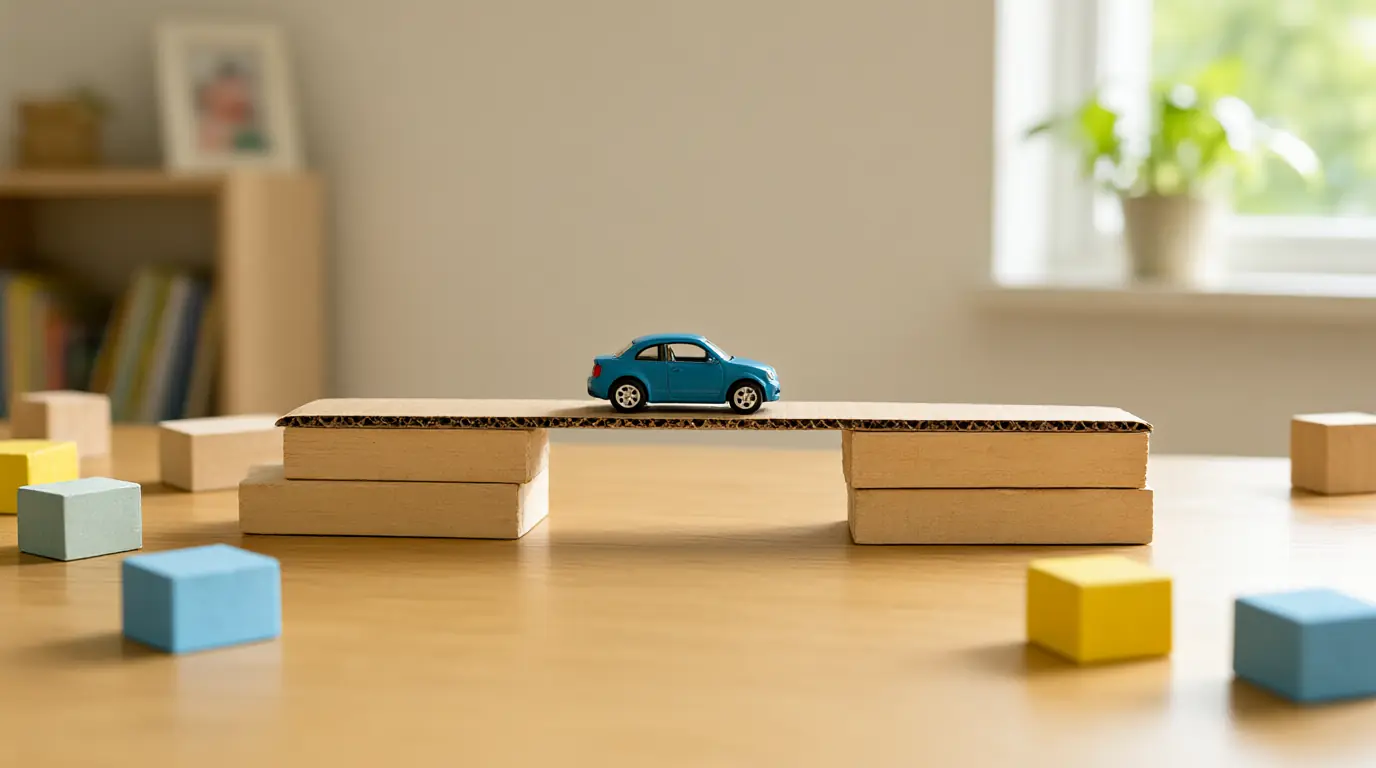
Make it your own: Younger children can use a very narrow gap and a rigid piece of card. Older children can predict which strip will hold before they test it, and count how many tries it takes.
Ramp a parcel to the box
A ramp shows children how changing the slope changes the speed, and gives them a clear target. They test, adjust and test again, which is how real engineers improve a design. The game works with a soft parcel, so there is no mess and nothing breaks.
You’ll need
- A flat piece of cardboard about 40 cm long
- A small box wrapped in plain paper to be the parcel
- A large cardboard box for the target
- Books or blocks to raise one end
How to do it
- Place the large box on the floor as the target.
- Rest one end of the cardboard on a book and the other on the floor to make a ramp.
- Let the parcel slide down the ramp and watch where it stops.
- Change the slope by adding a book or taking one away, and test again.
- Move the target closer or further away and see what changes.
- Reset the parcel each time and keep hands clear of its path.
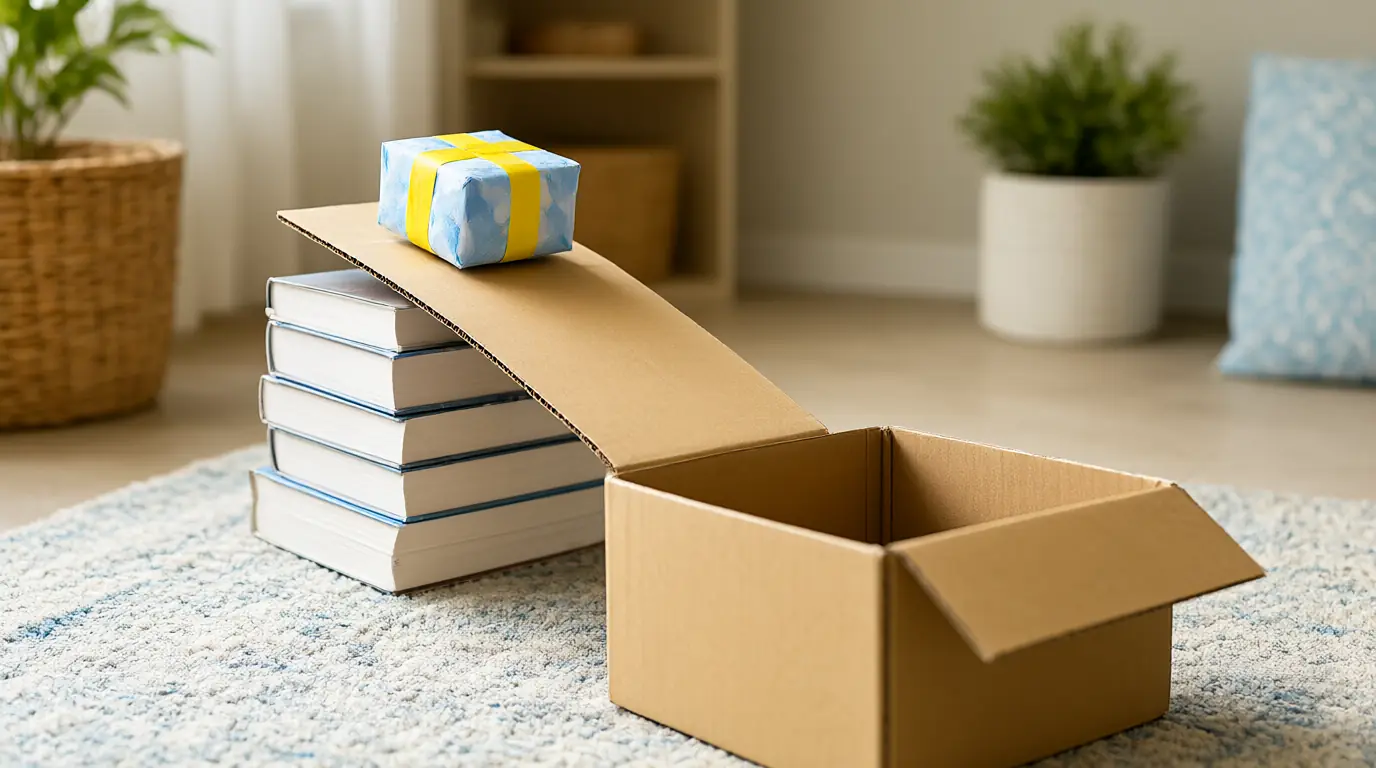
Make it your own: Younger children can slide a soft toy down a gentle ramp. Older children can mark where each parcel stops with tape and compare the marks for a high and a low ramp.
Roof for a dry house
A roof needs to cover the whole opening and hold its shape, so children think about size, folds and edges. A gentle sprinkle outdoors, or paper raindrops indoors, shows whether it works. They learn to look closely at where the rain gets in and what to change.
You’ll need
- A small box with one side open, as a house
- A small toy figure
- Sheets of paper and thin card
- A watering can or spray bottle, used outdoors or over a tray
How to do it
- Place the toy figure inside the box and say it needs to stay dry.
- Make a roof from a flat sheet of paper and set it on top.
- Sprinkle a little water from a watering can above the house and look inside.
- Check where the water got in, and make the roof bigger or fold it into a tent shape.
- Test the new roof in the same way.
- Decide which roof kept the figure driest and explain why.
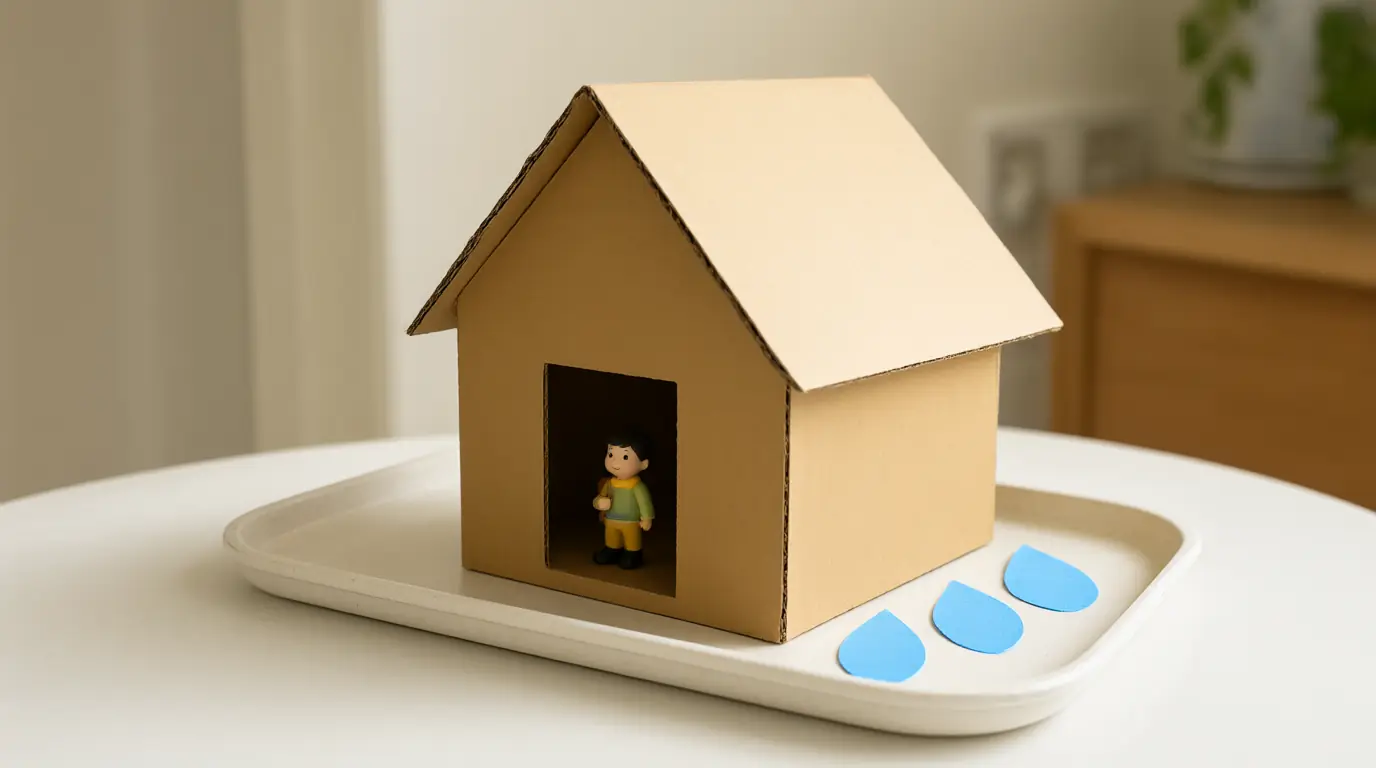
Make it your own: Younger children can use drawn raindrops cut from paper and drop them from above. Older children can try thin card against paper and say which is better.
A tower that stands up
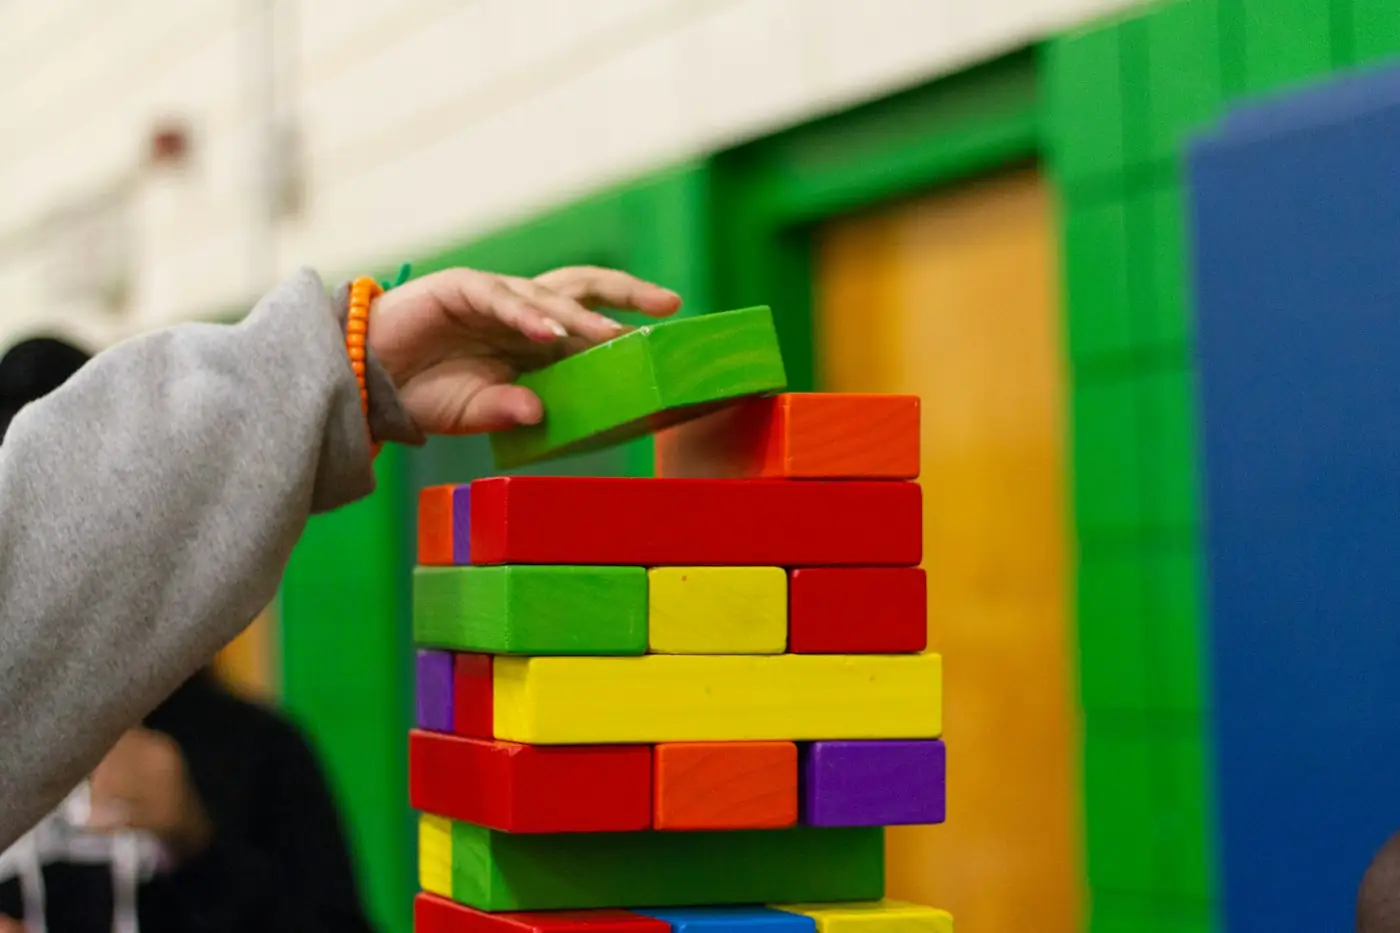
Building a tower on a wobbly surface teaches children about balance and base size. They find out that a wide base is steadier than a narrow one, and that the same blocks can be arranged to stand or fall. It is a simple experiment with an obvious result.
You’ll need
- 12 to 20 wooden blocks of the same size
- A flat tray as the base
- A cardboard sheet to stand on a cushion
- A small soft toy for the top
How to do it
- Build a tower of five blocks on the tray, one on top of another.
- Gently nudge the tray and see whether it stays upright.
- Rebuild the tower with a wider base, using two blocks side by side at the bottom.
- Nudge the tray again and compare the two towers.
- Try placing the soft toy on the top and see whether the tower holds.
- Draw the tallest tower that stayed up.
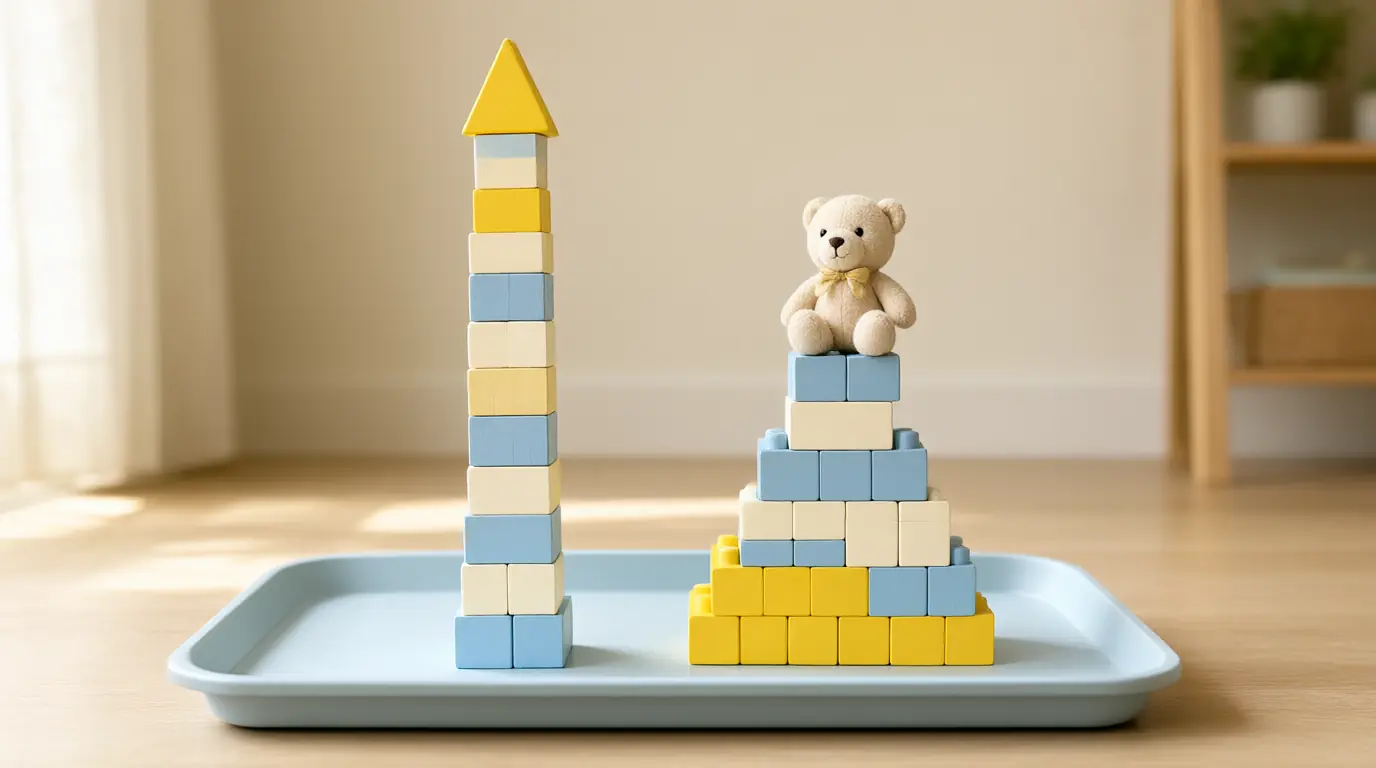
Make it your own: Younger children can stack and knock down, which is also an experiment. Older children can build a tower on a cushion and find out what changes when the surface is soft.
Float a foil boat
Shaping a flat piece of foil into a boat shows how shape affects floating. A flat sheet sinks while a boat with sides floats, and children can see the difference for themselves. Adding large blocks as cargo makes the boat a real test and gives a natural way to count.
You’ll need
- Squares of kitchen foil about 20 cm wide
- A shallow basin or tray with a few centimetres of water
- A few large wooden blocks as cargo
- A towel
How to do it
- Place a flat square of foil on the water and watch what happens.
- Fold up the edges to make a boat shape with sides.
- Set the boat on the water and check whether it floats.
- Add one block at a time and count how many it can carry.
- Reshape the boat, making it wider or with higher sides, and test again.
- Dry the boat and the floor, and remember that an adult stays beside the water throughout.
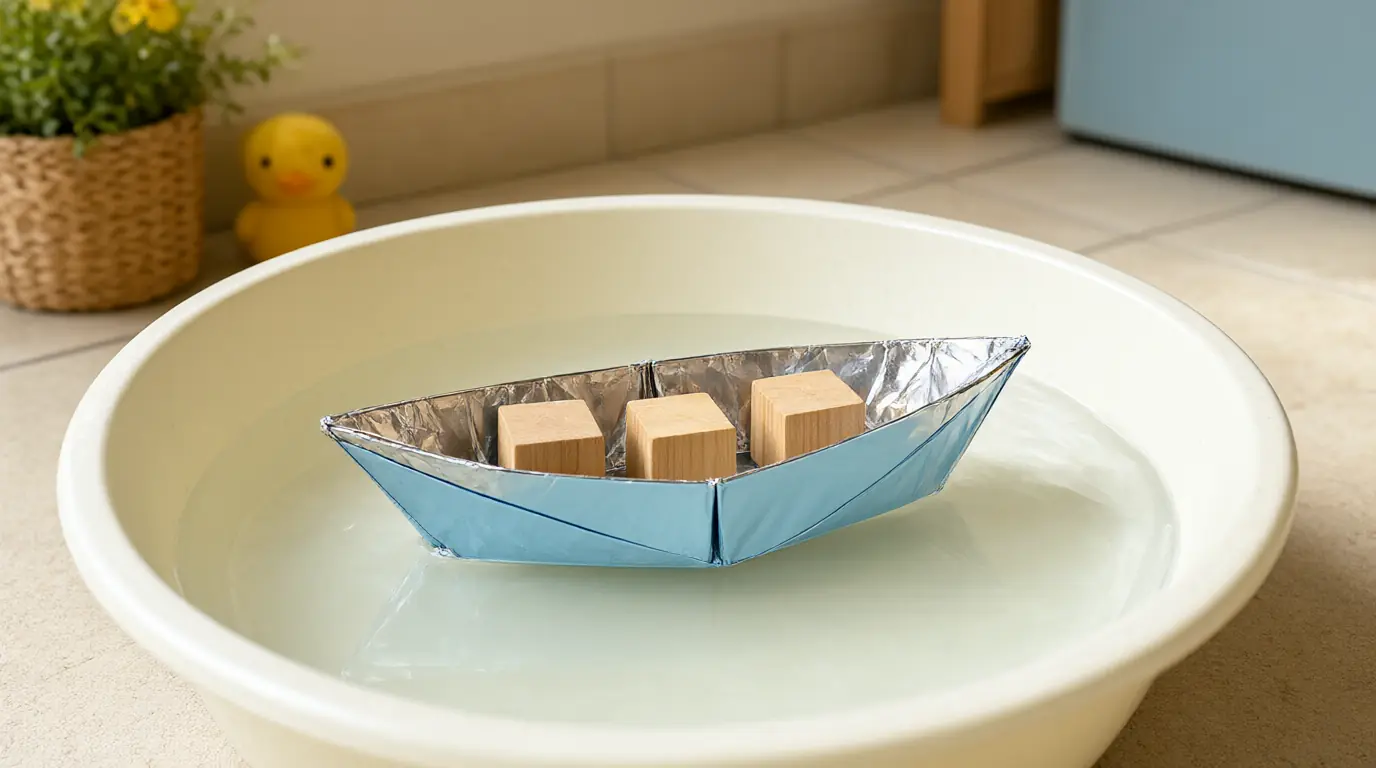
Make it your own: Younger children can place pre-folded boats on the water. Older children can race two designs across the tray by blowing, or predict how many blocks each boat can hold.

Make it work for your family
Ask which part your child wants to improve rather than redesigning everything at once. Changing one thing at a time makes it clear what worked, and children enjoy being in charge of the next step. Keep a quick sketch of the first version so you can compare the two later without relying on memory.
If your child is upset when something falls, name the feeling and treat it as information: ‘The tower fell, so now we know a narrow base is wobbly.’ For more building ideas try building games for kids or the wider problem-solving activities for kids, and preschool STEM ideas for more questions to test. Keep all water play supervised at arm’s length and tip basins out afterwards.

Parents also ask
What is engineering for young children?
For young children, engineering means solving a practical problem by designing, building and testing something. It is not about formal knowledge. A bridge for a toy car or a roof for a figure is an engineering challenge, because the child plans, tries and improves.
What materials are best for engineering activities at home?
Cardboard, paper, tape, blocks, foil and a toy car go a long way. Choose large pieces that are safe for your child to handle, and do the cutting yourself. Free recycling often provides the best material: boxes, tubes and sturdy packaging.
What should I do when a design fails?
Treat it as a useful result, not a mistake. Ask what happened, where it went wrong and what one thing you could change. Test again with that single change. Children learn that improving a design is the normal next step, not a sign of failure.
Choose materials and activities that suit your child, supervise as needed and adapt the ideas to their interests and abilities. About our editorial approach