Weebou Editorial Team
 In this article
A little preparation
Choose a pumpkin that is firm, unbroken and light enough for your child to lift with two hands, and set it on a low table over a wipe-clean cloth or a shallow tray. Look it over first: a small bruise is fine for looking and rolling, but put aside any soft patch. Keep a damp cloth nearby for sticky hands and move anything small enough to go into a mouth well out of reach.
Plan the session around 15 to 25 minutes, with any cutting done by an adult just before your child joins in. The seed scooping and ramp ideas both need floor space, so clear a strip of room and move breakables out of the way; a pumpkin rolling off a table is heavy. Wash hands together before and after handling the inside, and keep pumpkin flesh away from mouths, as raw pumpkin is not a snack. Set out only the materials for one idea at a time, and if you want more counting talk, these preschool maths activities use the same everyday materials.

Ideas to try together
Detective look: what is on the outside?
Before anything is cut, a pumpkin rewards slow looking. Children often describe it as simply orange and round, then discover pale ribs, a dry stem, a scar and a dent when asked to compare two sides. Naming those differences is early science and early descriptive language at once, and the drawing gives you a record to return to later.
 You’ll need
- 1 firm pumpkin on a tray
- A magnifier if you have one
- A sheet of thick paper
- Thick crayons
How to do it
- Set the pumpkin on the tray and ask your child to walk around it once without touching.
- Ask two questions: which side is the bumpiest, and where does the colour change?
- Turn the pumpkin over together and look at the flat base and the stem.
- Offer a magnifier and let your child look closely at the skin near the stem.
- Invite a drawing of the one detail they found most interesting, not the whole pumpkin.
- Write their words underneath, such as 'the pale stripe' or 'the dry stem'.
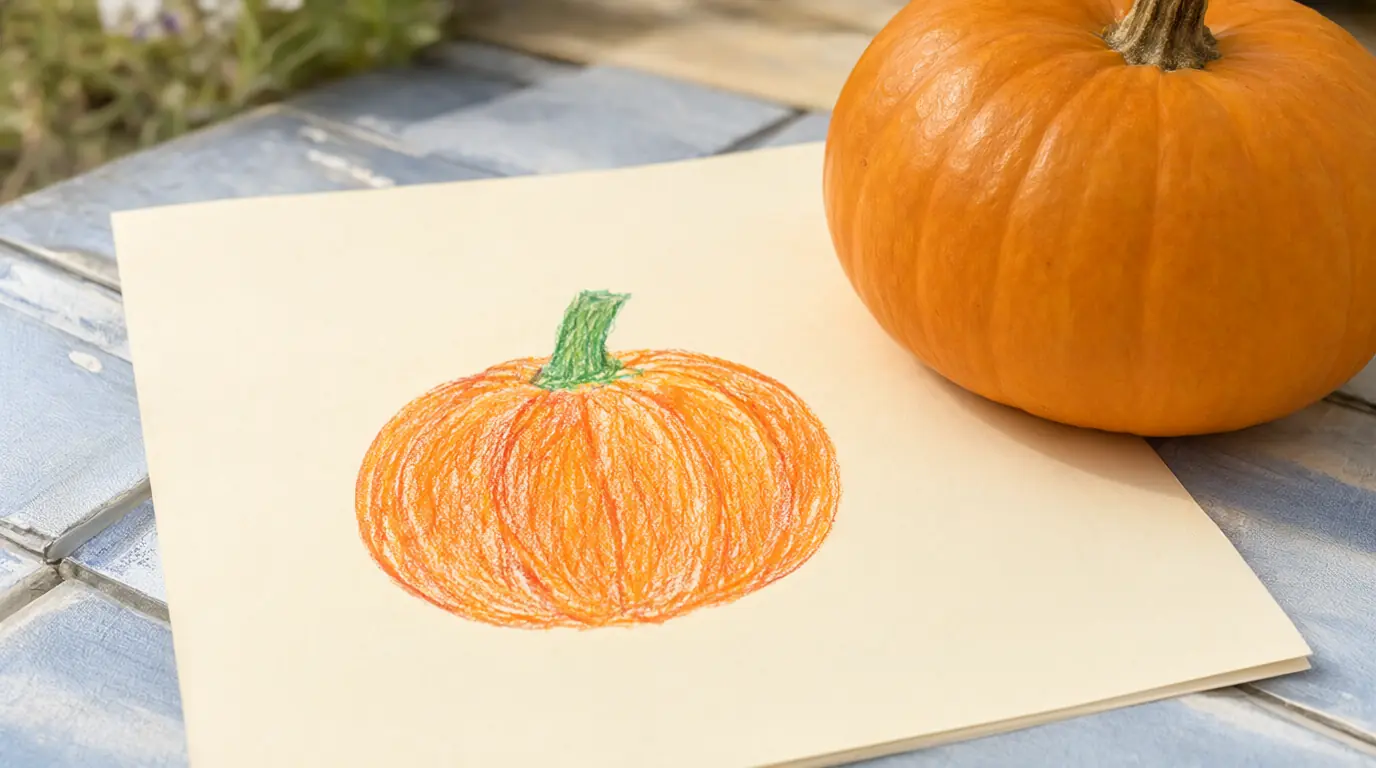
Make it your own: A two-year-old can point and name colours while you hold the pumpkin steady. Older children can draw two views side by side, label the parts, or sort three pumpkins from smallest to largest before choosing one to draw.
Paper strip measuring and block counting
Wrapping a strip around the pumpkin is a satisfying job because the paper has to cooperate: it slides, overlaps and springs back. Comparing that strip with a row of blocks turns a fiddly task into counting with a purpose. Nothing needs to be written in centimetres for the measurement to feel real to a child.
You’ll need
- 1 pumpkin
- A long strip of paper
- A thick crayon
- A dozen wooden blocks or building bricks
How to do it
- Wrap the paper strip around the widest part of the pumpkin and pinch the overlap point.
- Mark that spot with a crayon, then lay the strip flat on the table.
- Lay blocks along the strip from the end to the mark, lining them up edge to edge.
- Count the blocks together, touching each one as you say the number.
- Hold the strip upright beside the pumpkin, mark its height and measure that with blocks too.
- Ask whether the around measurement or the height used more blocks, and how they know.
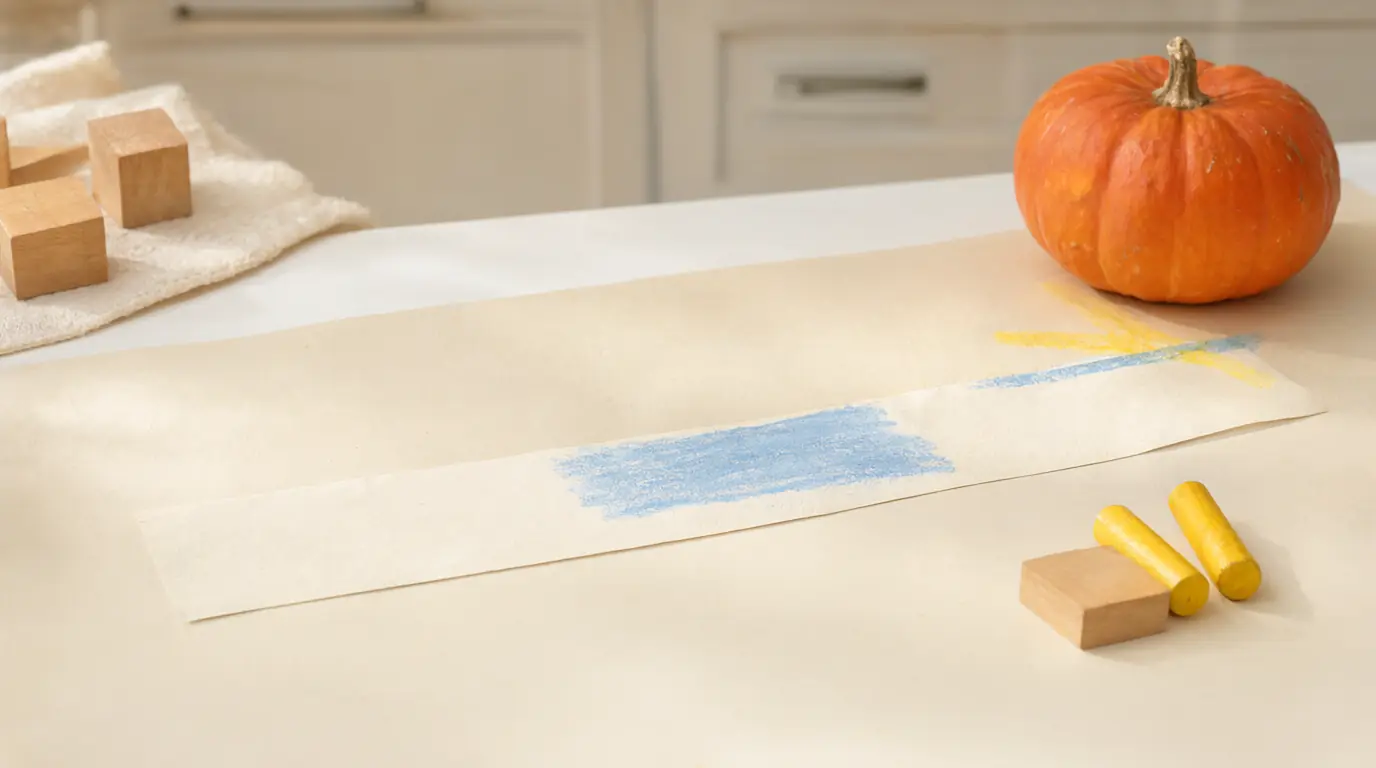
Make it your own: Younger children can simply wrap and unroll the strip and count three or four blocks. Older ones can measure a second pumpkin, compare the two strips side by side and predict which will need more blocks before checking.
Does it roll straight? A ramp test
A board propped on a book makes a simple ramp, and a pumpkin is a pleasingly unpredictable thing to send down it. Children quickly notice that the ridges pull it sideways and that a rounder object travels further. That is a real test with a result they can see, which is why it fits alongside these science games.
You’ll need
- A smooth board or sturdy tray
- One book to raise one end
- A small pumpkin
- A soft ball or an apple for comparison
- A strip of paper as a finish line
How to do it
- Prop one end of the board on a book so the slope stays gentle.
- Put the pumpkin at the top and let it go without pushing.
- Watch where it stops and mark the place with the paper strip.
- Send the ball down the same ramp and compare the two finishing places.
- Try again with the pumpkin turned a quarter turn and talk about why the path changed.
- Let your child change the slope by one book at a time, then test again.
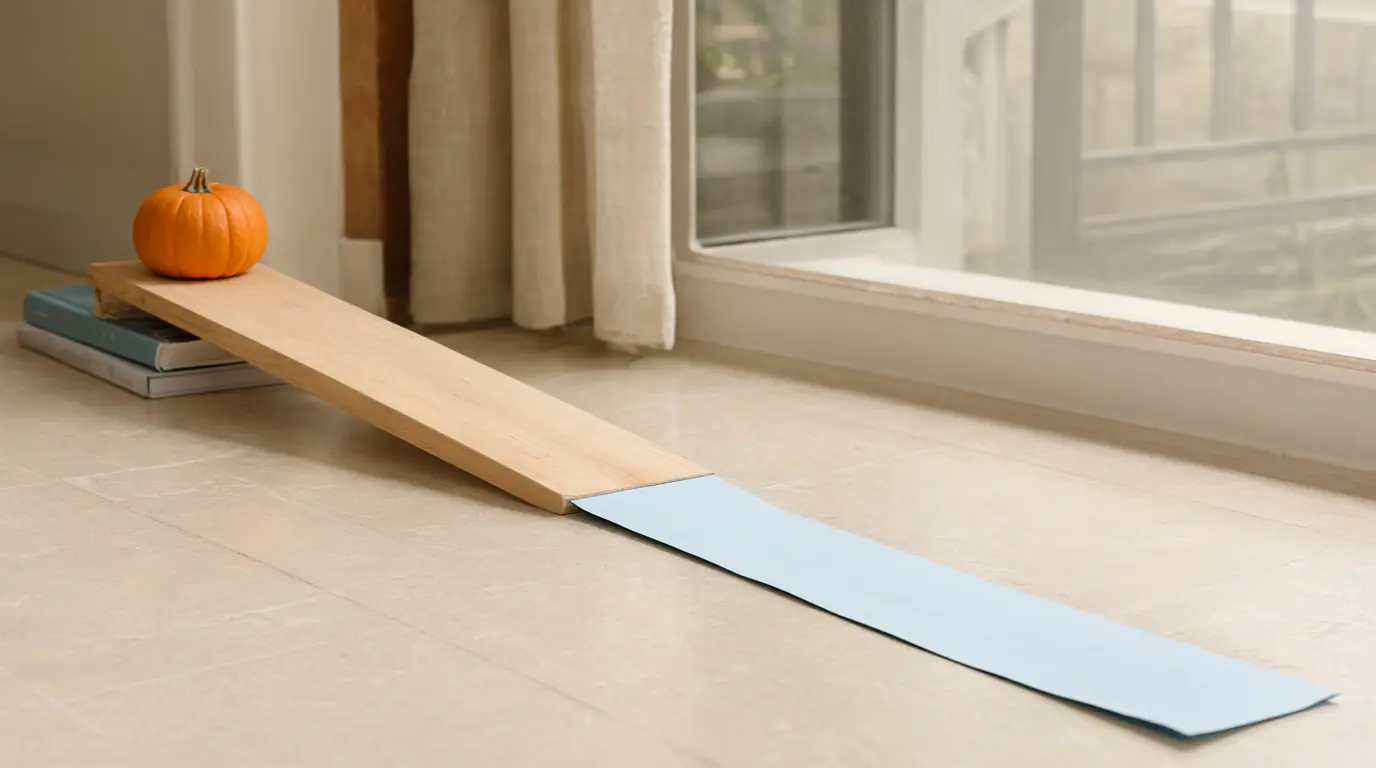
Make it your own: Toddlers can watch and fetch the pumpkin back after each go. Older children can predict the finishing point before releasing, or line up three round things and rank them from furthest to nearest.
Scoop, count and sort the seeds
An adult opens the pumpkin; the child does the scooping, which is the interesting part. Seeds are slippery, countable and easy to arrange in rows, so one tray supports counting, sorting by size and a conversation about what a seed is for. Cleaned and dried, they can be kept for spring planting.
You’ll need
- 1 pumpkin, prepared in halves by an adult
- A metal spoon or ice-cream scoop
- A shallow tray
- Paper towels
- Two small bowls
How to do it
- An adult prepares two halves and sets one on the tray.
- Show your child how to scoop with the spoon rather than a hand, then let them take over.
- Tip the seeds into one bowl and the stringy flesh into the other.
- Rinse the seeds in a colander together and spread them on paper towels.
- Count them in groups of five, moving each group to its own spot on the tray.
- Leave the seeds to dry flat for a few days, then store them in a paper envelope.
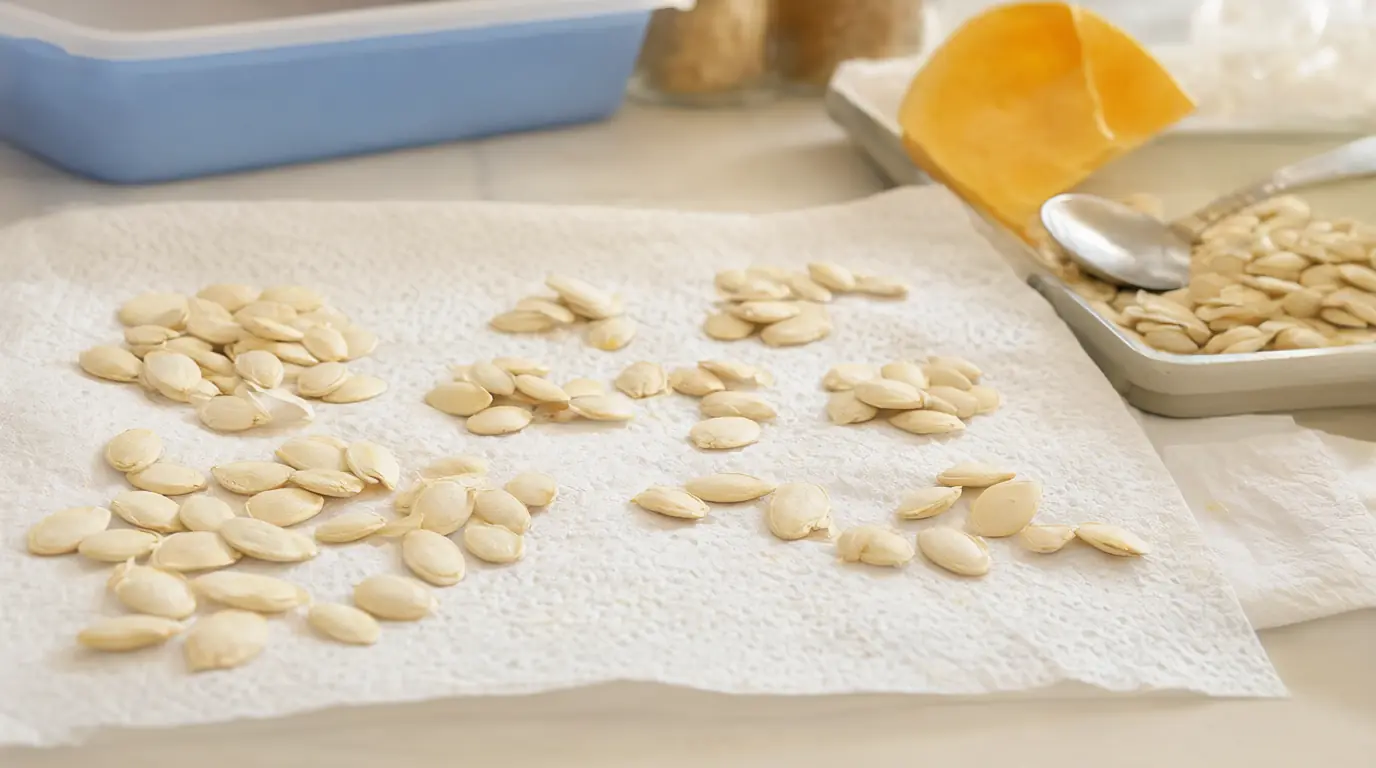
Make it your own: A child who dislikes wet textures can scoop from further away with a long-handled spoon, or count dry seeds poured from a packet instead. Older children can estimate first, then count to check and compare the two numbers.
A four-picture pumpkin journey
Stories about how things arrive help children put events in order, which is the same skill they use later to retell a book. Four squares are enough: a seed, a plant, a pumpkin in a shop and the pumpkin at your door. Your child supplies the order and the words; you supply the writing.
You’ll need
- Four squares of paper
- Thick crayons
- A pencil for writing your child's words
How to do it
- Lay the four squares in a row and ask what happened first.
- Let your child draw one picture per square, in whatever order they choose.
- Ask what happens between the pictures and write their sentence under each one.
- Shuffle two squares and ask whether the story still works.
- Read the finished story aloud, pointing to each picture as you go.
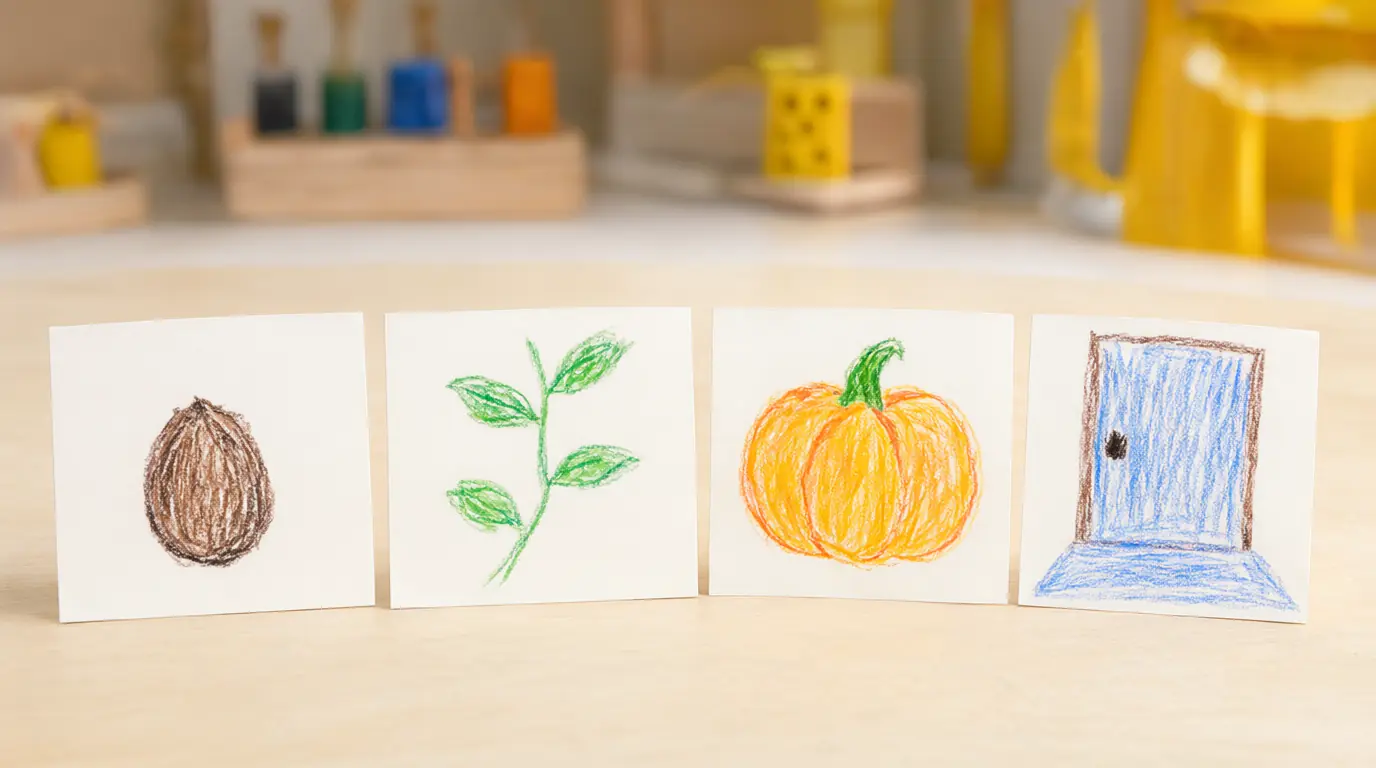
Make it your own: Younger children can manage two pictures, a seed and a pumpkin. Older ones can add a problem, such as a pumpkin that rolls away, plus a fifth square showing how it was solved.

Make it work for your family
If your child loses interest halfway, keep the pumpkin out for a few days and return to a different idea rather than finishing the one you started. When the ridges make drawing awkward, tape the paper to the table and let your child draw from slightly further back. If the rolling test sends the pumpkin under the sofa, shorten the ramp instead of chasing it every time.
Stop using the pumpkin once it feels soft, smells sour or shows mould, and wash the tray and table afterwards. Seeds kept for planting need to be completely dry before they go into an envelope, or they will go mouldy. For more seasonal play, try these pumpkin crafts or a set of fall activities that use what is already in the garden.

Parents also ask
What can preschoolers learn from a pumpkin?
One pumpkin supports counting, comparing size and weight, describing texture and colour, and putting events in order. Scooping seeds adds fine motor practise and a first idea of how plants grow. None of it needs a worksheet: the questions you ask while handling the pumpkin do most of the work.
Is it safe for young children to touch the inside of a pumpkin?
Usually yes, as long as they do not eat it and wash their hands afterwards. Raw pumpkin is not a snack and the flesh is slippery underfoot. A child who dislikes the texture can scoop with a long-handled spoon from further away, or watch while an adult empties the halves.
What can we do with pumpkin seeds afterwards?
Rinse them, spread them on paper towels and leave them to dry flat for about a week. Dry seeds store well in a paper envelope and can be planted in spring, or glued onto card for a picture. Seeds from a shop pumpkin may not grow exactly like the parent, but they often sprout.
Choose materials and activities that suit your child, supervise as needed and adapt the ideas to their interests and abilities. About our editorial approach