Weebou Editorial Team
 In this article
A little preparation
Choose a firm, unbroken pumpkin that sits steadily without being held. Wash off any soil, dry the skin well and place it on a shallow tray over a wipe-clean surface: paint and paper slide on a damp pumpkin. Set out only the materials for the project you have chosen; extras can wait until your child asks for them.
Use paints and glue labelled for children and follow their age guidance. An adult handles any cutting that needs sharp scissors, and loose seeds, small decorations and other choking hazards stay away from children who still mouth objects. Allow roughly 15 to 25 minutes of making time, with a separate dry spot for paint or glue to set. Before you start, show the materials and ask what your child would like to change about the pumpkin. A finished example can explain the technique, but your child does not need to copy it.

Ideas to try together
Painted stars, dots and wandering stripes
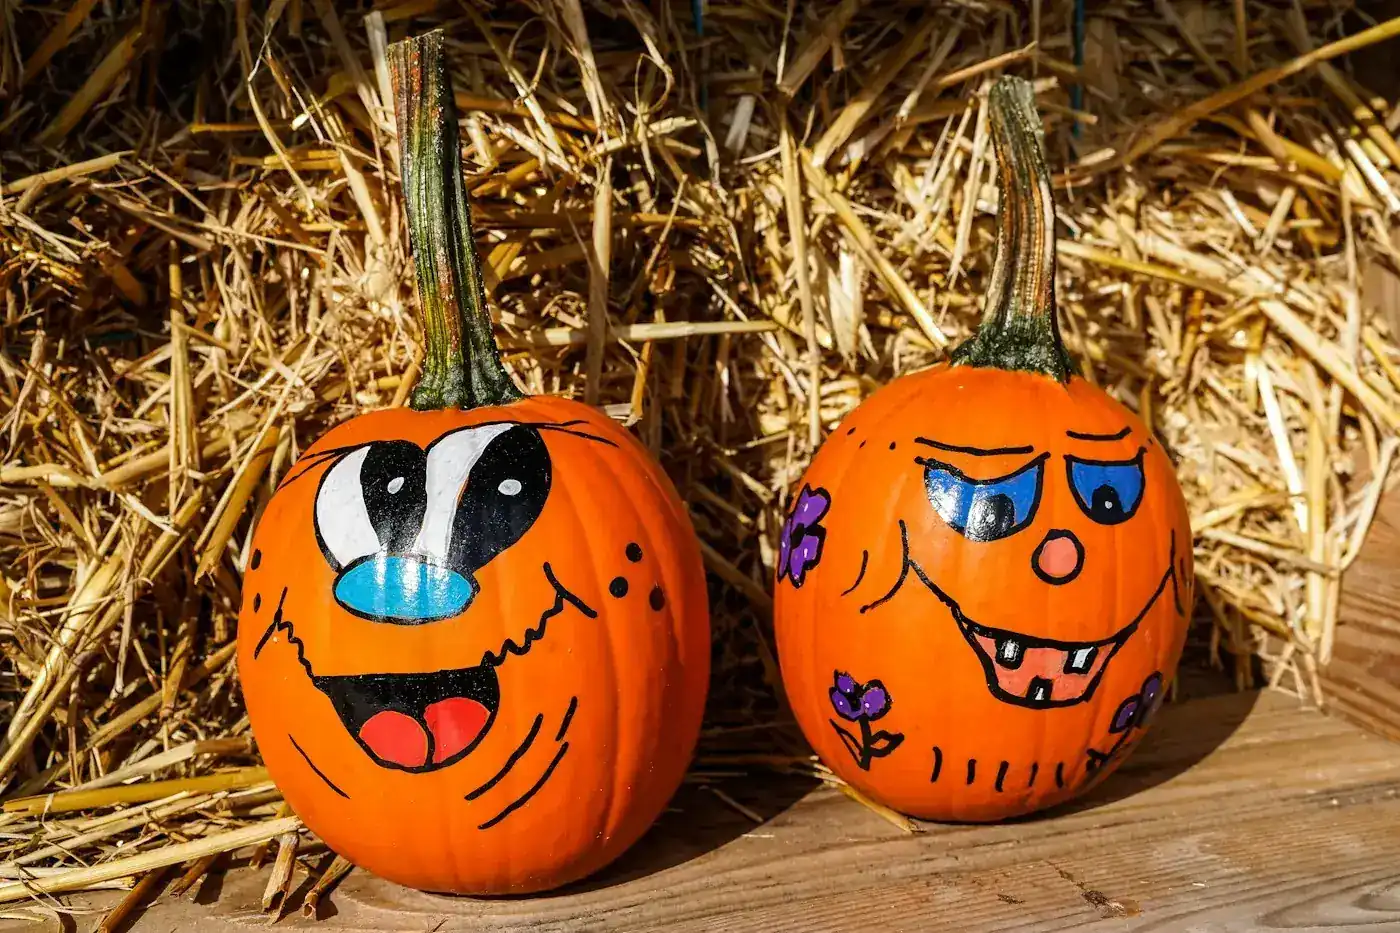
This is the simplest place to start: one pumpkin, one brush and a couple of colours. The curved skin makes even familiar marks feel new, and the ridges give natural lines to follow. Dots made with the end of a thick brush are easier for small hands than detailed shapes.
 You’ll need
- 1 dry mini pumpkin on a tray
- 2 colours of washable paint in a shallow dish
- A thick brush (plus a cotton bud for dots)
- An apron or old T-shirt
How to do it
- Start with one colour and let your child explore how the brush moves across the curved skin.
- Invite a few large marks, then turn the tray to reach a fresh side rather than lifting the pumpkin.
- Make dots by pressing the end of the brush or a cotton bud straight down.
- Paint broad stripes along the ridges, or let your child invent a star-like mark of their own.
- Add the second colour once the first layer has started to dry if you want crisp marks; otherwise let the colours mix and talk about what changes.
- Leave the pumpkin on its tray to dry completely before displaying it.
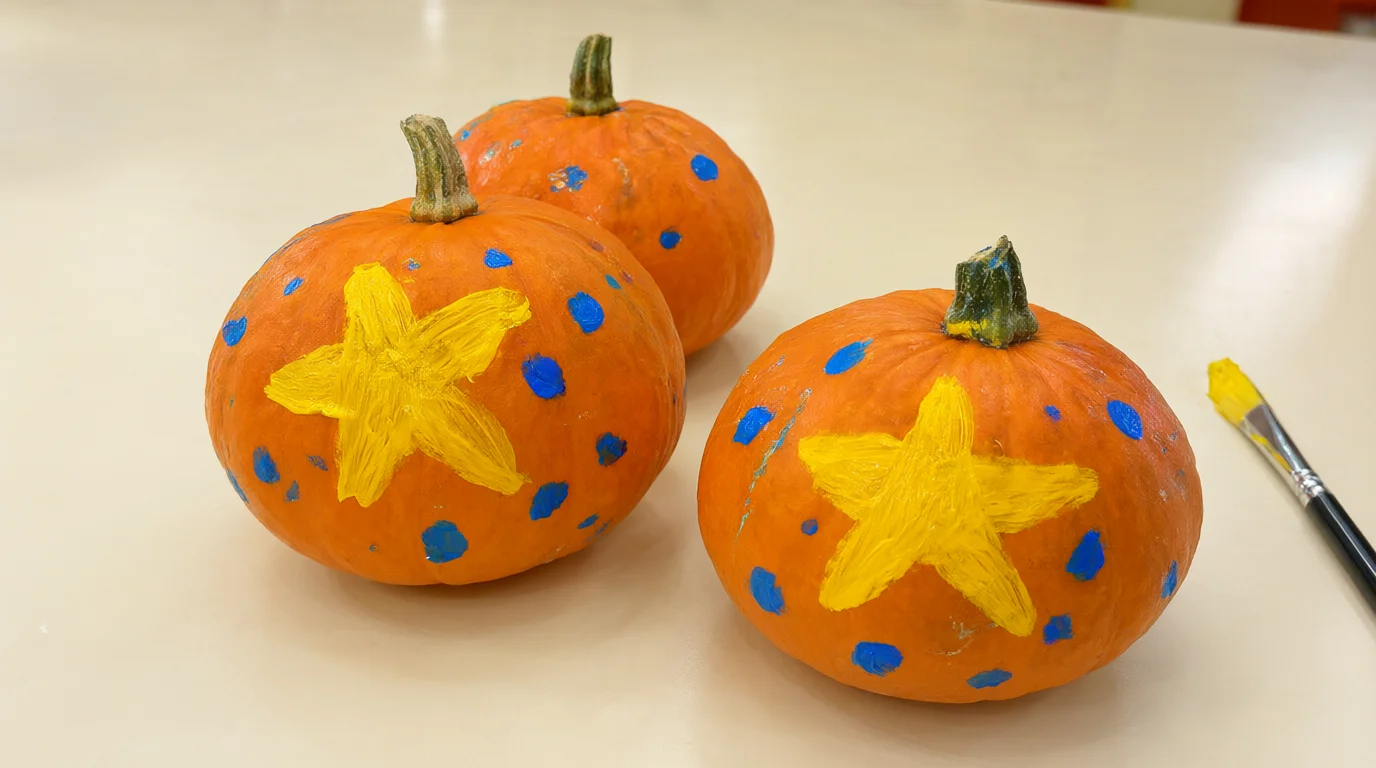
Make it your own: Younger children can cover just one side with big dabs. Older preschoolers can repeat a dot-stripe-dot pattern all the way around. If paint runs down a ridge, turn the drip into part of the design.
Paper faces that change their feelings
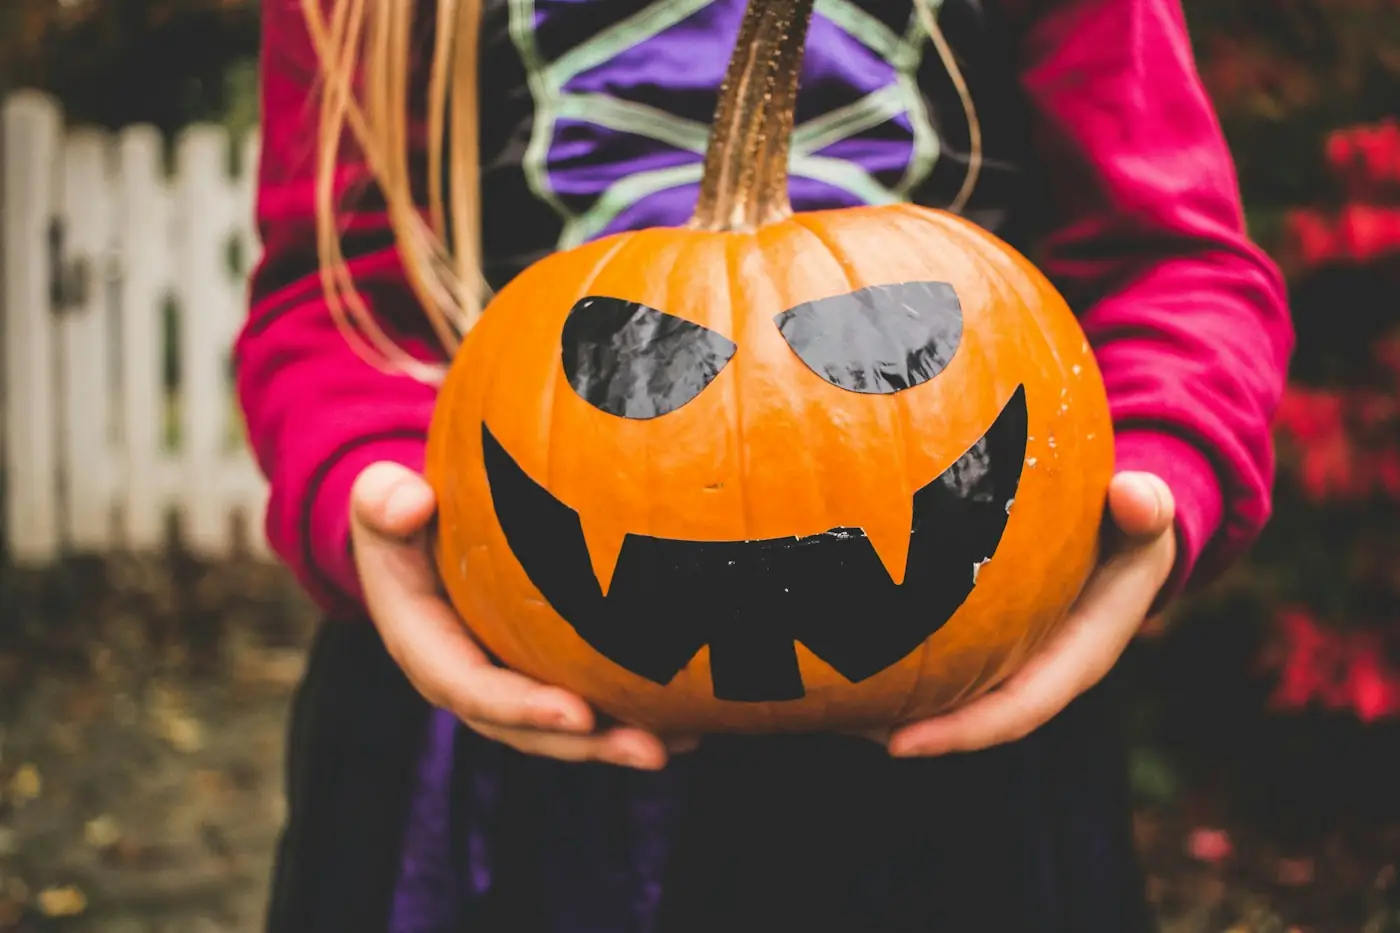
Paper faces let children try several expressions before choosing one, which makes this craft a gentle way to talk about feelings. The same face can look surprised to one child and excited to another, and both answers are fine.
You’ll need
- 1 dry pumpkin
- Pre-cut paper ovals, curved mouths and thick eyebrow strips in sturdy paper
- Child-safe glue stick or removable putty (test it first on the skin)
How to do it
- Arrange a face flat on the table without glue.
- Move the eyebrows up and down and turn the mouth over. Ask what the face seems to be feeling now.
- Let your child choose a favourite expression.
- Help attach the pieces to the dry pumpkin, pressing each one gently for a few seconds; broad shapes hold best on curved skin.
- Leave the pumpkin on its tray while the pieces settle, then ask what happened just before it made that face.
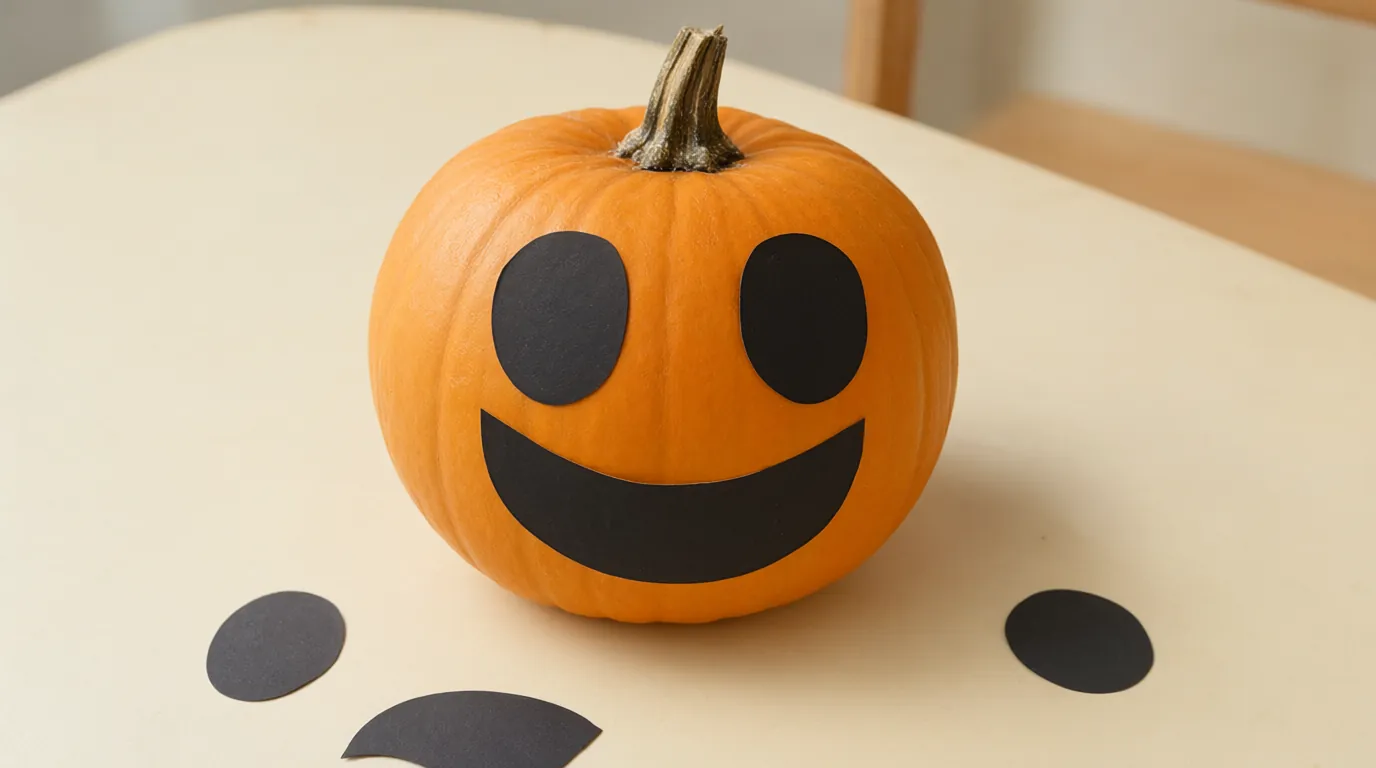
Make it your own: If your child wants to keep changing the expression, make several paper faces on a separate sheet instead of pulling glued pieces off. Skip small plastic eyes for children who still put objects in their mouth.
A story wrapped around a pumpkin
A drawn paper band turns the pumpkin into a little carousel: as you rotate it, the story appears picture by picture. It suits children who love drawing as well as those who prefer to talk while an adult writes.
You’ll need
- A wide strip of paper long enough to circle the pumpkin, with a little overlap
- Thick crayons
- Tape
How to do it
- Measure the strip around the widest part of the pumpkin, adding a small overlap.
- Lay it flat and invite your child to draw a place, a character or a series of marks that stands for a story. A house, a tree and a sun are plenty.
- Keep both short ends clear so the overlap will not hide an important picture.
- Wrap the strip loosely around the pumpkin and tape the paper ends to each other, not to the pumpkin.
- Turn the pumpkin slowly together and tell the story as each picture comes into view.
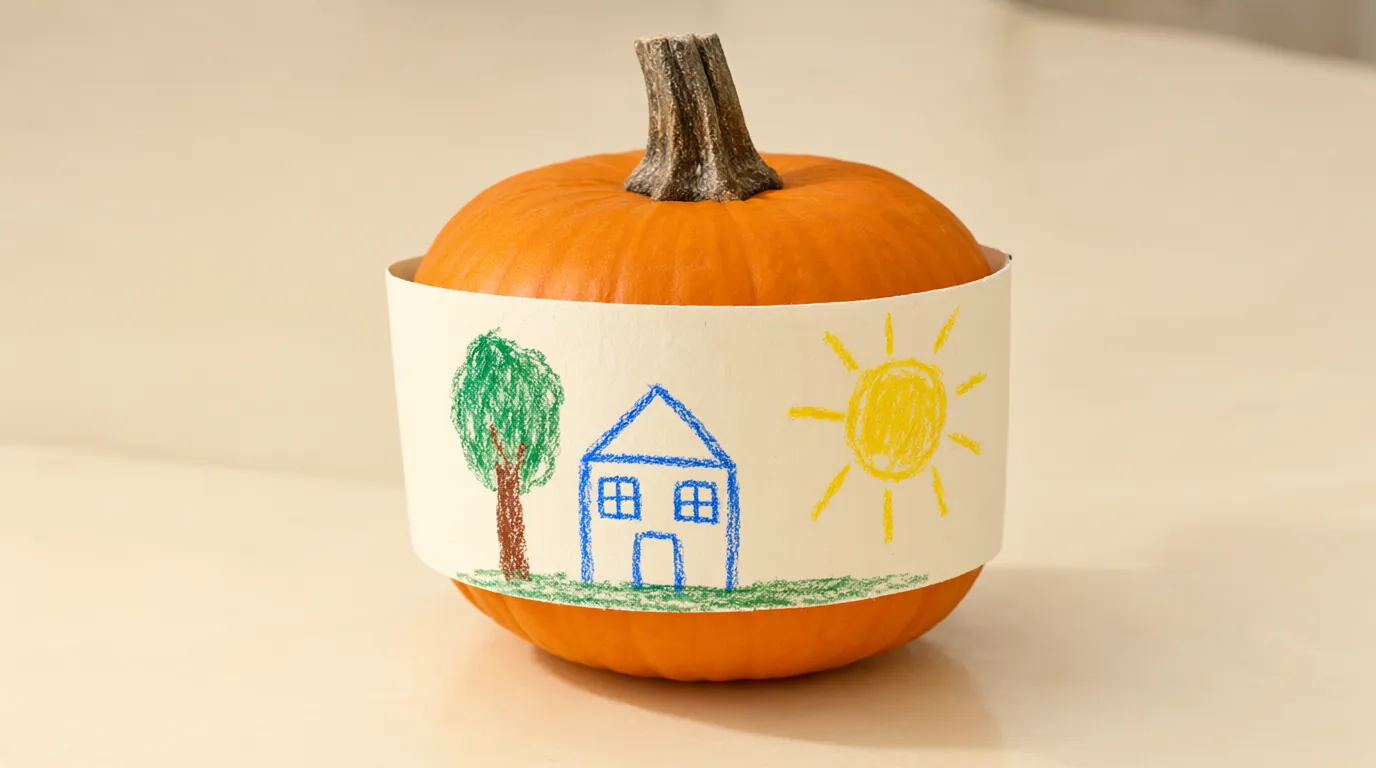
Make it your own: Older preschoolers can plan a beginning, a middle and an end. For a child who prefers talking to drawing, write their words on a separate sheet while they choose colours for the band. Remove the paper before it gets damp and keep it flat as a memory.
A pumpkin-inspired colour painting
Here the pumpkin becomes a model rather than a canvas. Looking closely first helps children notice that a pumpkin is not one single orange, and their painting can respond to that in any way they like: realistic, striped or completely abstract.
You’ll need
- An undecorated pumpkin
- A sheet of thick paper
- Orange, yellow and a little green or brown washable paint
- A brush and a cup of water
How to do it
- Place the pumpkin next to the paper and look closely before opening the paints. Is every part the same orange? What colour is the stem?
- Offer the paints in separate shallow dishes.
- Invite your child to paint something inspired by what they noticed: a round pumpkin, stripes or a patch of colour are all good answers.
- Show how to rinse the brush between colours if they want them separate, while leaving room for mixing.
- When the painting is dry, ask which part you should notice first and write their description on the back.
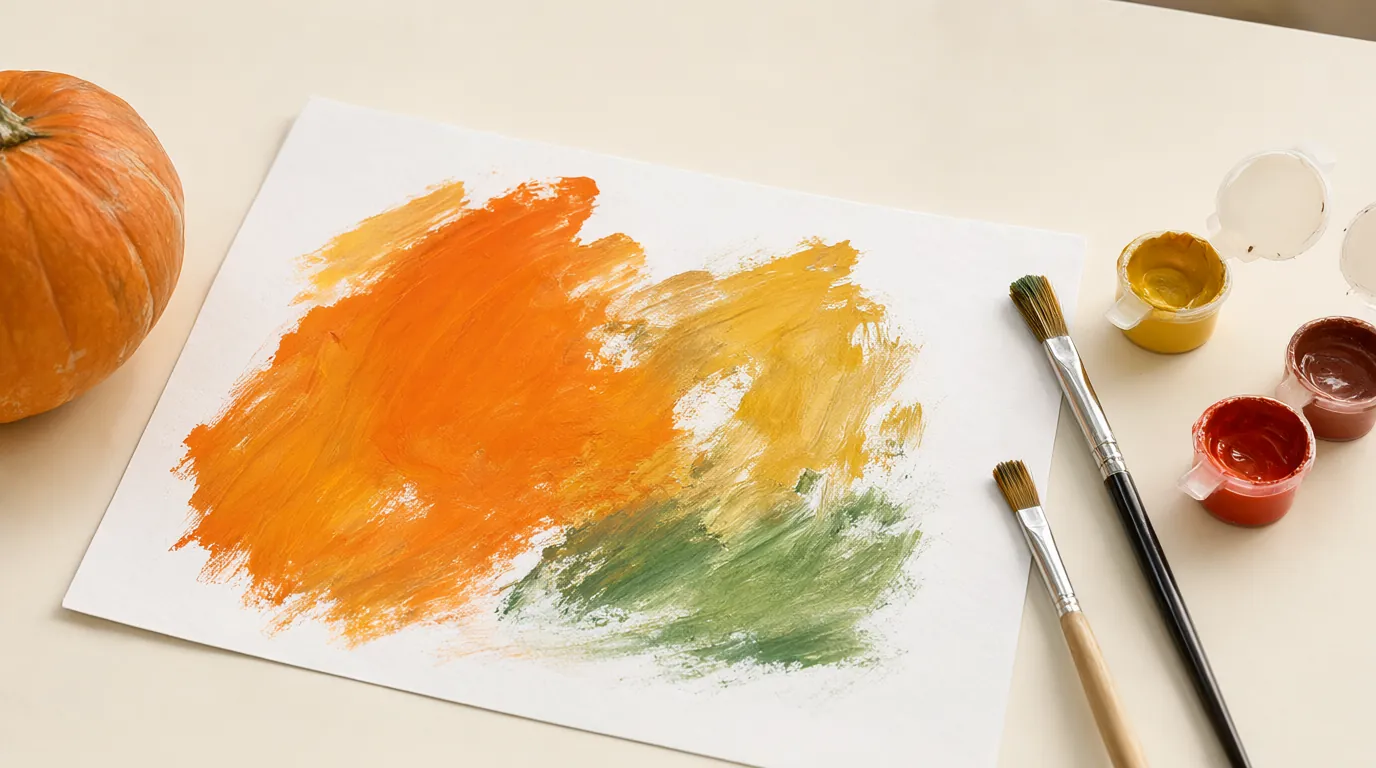
Make it your own: For a less messy version, use thick crayons and compare two orange shades. For a longer project, paint the same pumpkin again in different daylight and compare the two pictures without ranking them.

Make it work for your family
Choose one project at a time and prepare only what you need. Children who dislike wet textures can draw a paper band or arrange paper face pieces while an adult handles the glue. If holding a brush is tiring, offer a thicker handle and a shorter session. A child who repeats the same marks is already making a choice; there is no need to add a harder step.
Photograph the work at your child's eye level, then ask where they would like to display it. Keep decorated pumpkins somewhere dry, check them regularly and discard any that turn soft or mouldy. Craft paint and glue are not food-safe, so do not cook a decorated pumpkin. For more seasonal ideas, try these pumpkin counting and story activities or a few easy Halloween crafts.

Parents also ask
What is the easiest pumpkin craft for a 3-year-old?
Painting dots and stripes on a mini pumpkin is usually the easiest: it needs one thick brush, one or two washable colours and no cutting. Keep the pumpkin on a tray so your child can turn it instead of holding it.
How do you decorate a pumpkin without carving it?
Paint it, stick on large paper shapes, or wrap a drawn paper band around it. All three leave the pumpkin whole, so it lasts longer and there are no knives involved.
How long does a painted pumpkin last?
An uncut pumpkin kept dry and out of direct heat often lasts several weeks. Check it every few days and discard it as soon as it softens or shows mould.
Choose materials and activities that suit your child, supervise as needed and adapt the ideas to their interests and abilities. About our editorial approach