Weebou Editorial Team
 8 min read
 In this article
A little preparation
Pick one ordinary object that is safe to hold and interesting to look at, such as a pear, a trainer, a teapot or a pine cone. Put it on a plain tray or cloth near a window, with enough daylight to show its shadows. Offer plenty of paper, including scrap, so that a first attempt does not feel precious, and use pencils or thick crayons that your child can hold comfortably.
Sit beside your child and draw your own picture on a separate sheet, which shows what drawing looks like without giving them something to copy. Keep your comments about what you see rather than whether it looks real. Ten to fifteen minutes is enough for this age, and a child who walks away halfway has not failed; leave the page and object out in case they return. For further ideas, see drawing games for kids that go beyond copying and how to understand your child's drawings.

What to know and try
Describe the shapes before you draw
Looking and talking before drawing slows children down enough to see what is actually in front of them. Naming large shapes, such as a fat circle with a small stalk, gives them a plan for the page. It also gives you something concrete to praise, because you can comment on what they noticed.
You’ll need
- One pear, apple or shoe on a tray
- A sheet of paper
- A pencil or thick crayon
- A second sheet for your own sketch
How to do it
- Put the object where both of you can see it and look at it quietly for a few seconds.
- Ask your child what shapes they can see: round at the bottom, thin at the top, a little stick on top.
- Trace the outline in the air with a finger and let them copy the movement.
- Invite them to choose one part to start with, and draw it on the paper.
- Add one more feature at a time, such as a leaf, a patch of colour or a shadow.
- Hold the page next to the object and ask what is the same, and what they would like to add.
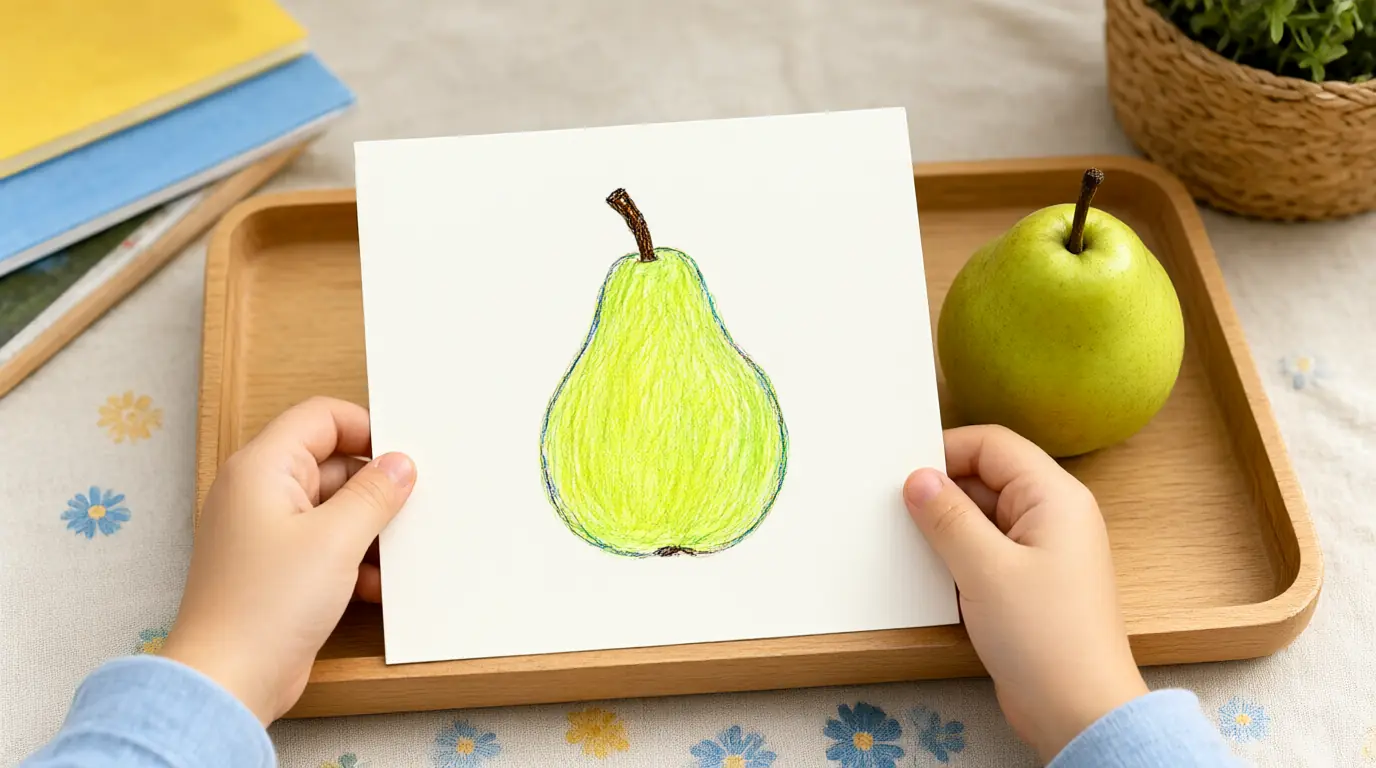
Make it your own: Younger children can begin by tracing the object's outline with a finger on a window or on a tray of salt. Older children can add a second object and think about which one is bigger or in front.
Try a collection of different marks
Learning to draw is partly about discovering what a pencil or crayon can do. A page of marks lets children test pressure, speed and direction without trying to draw anything in particular. They then have a vocabulary of lines to choose from when they draw a real object.
You’ll need
- A large sheet of scrap paper
- A pencil, a crayon and a felt tip pen
- A pear skin or leaf to look at
- A small box to keep the page in
How to do it
- Fold the paper into squares or draw a loose grid and give each square a different kind of mark.
- Show a few marks: a spiral, a zig-zag, tiny dots, a long light line and a heavy short one.
- Let your child fill the squares with marks of their own, and invent names for them.
- Look at the object and ask which mark would suit the rough skin, the smooth curve or the thin stalk.
- Draw the object on a clean sheet using two or three of the marks.
- Compare the object, the mark page and the new drawing, and ask which marks they would use again.
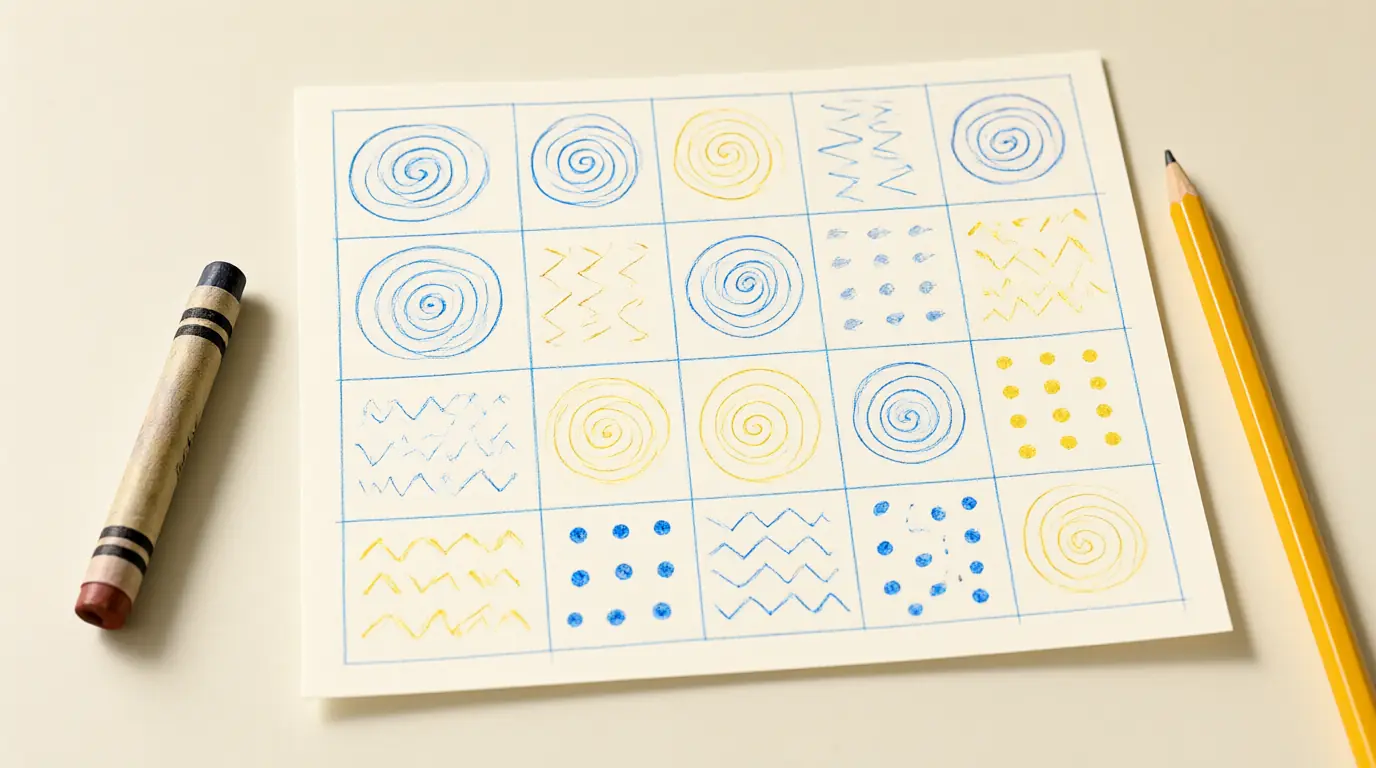
Make it your own: Younger children can use just two tools and fill one large sheet. Older children can try the same drawing with soft and hard pressure and notice how the lines look different.
Move the object and draw again
Children often draw things from the same flat viewpoint, such as a side view, because that is how they remember them. Turning the object shows how its shape changes and gives a reason to draw it a second time. It also introduces the idea that a picture can show what is seen at one moment.
You’ll need
- A shoe, a teapot or a cup with a handle
- A turntable tray or a lazy Susan, if you have one
- Two sheets of paper
- A pencil
How to do it
- Place the object in front of your child and ask them to draw what they see from where they sit.
- Turn the object slowly a quarter turn and ask what has changed: the handle disappears, the opening appears.
- Ask whether they would like to draw it again from the new side, or from above.
- Draw the second view on a new sheet or in a different corner of the page.
- Place both drawings side by side and ask which parts show up in both and which show up in one.
- Try holding the object up high and looking at its bottom, and see what happens.
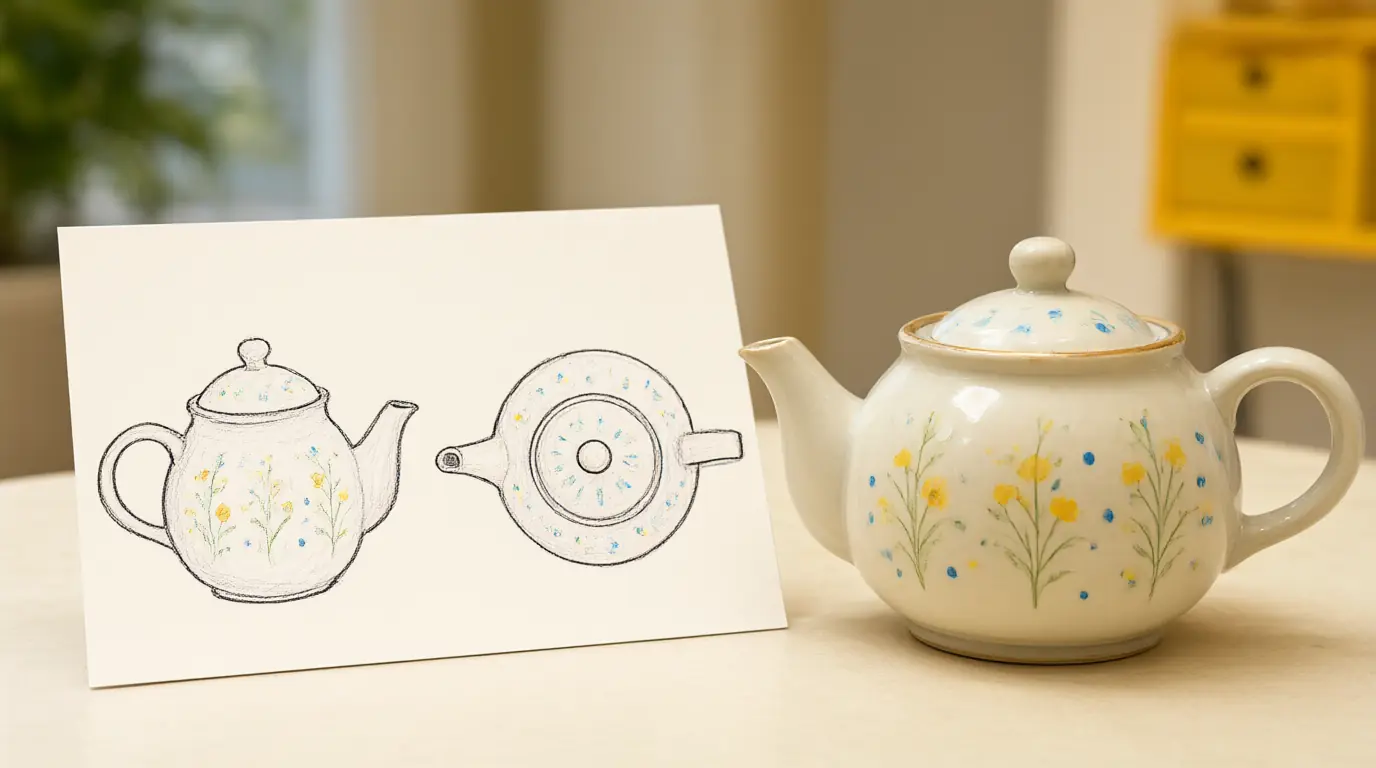
Make it your own: Younger children can match a photograph of each side to the real object before drawing. Older children can try a bird's-eye view or draw an object that is half hidden behind another.
Let the child explain the picture
What a child says about a picture often reveals the decisions behind it. A scribble can be a running dog and a circle can be a whole family. Asking what they were thinking treats the drawing as communication, and it keeps your response honest without guessing what it shows.
You’ll need
- A finished drawing from any activity
- A pencil
- A sticky note or the back of the page
- A folder for finished work
How to do it
- Look at the drawing quietly for a moment, then say, "Tell me about your picture."
- Listen to the answer without finishing their sentences or naming what you think you see.
- Ask a gentle follow-up: "Where does the wind come from?" or "What happens next?"
- If your child wants, write their words on the back of the page, adding the date.
- Ask whether there is anything they would like to add or change, and let them answer no.
- Put the page in the folder or on the wall, and let your child choose which one.
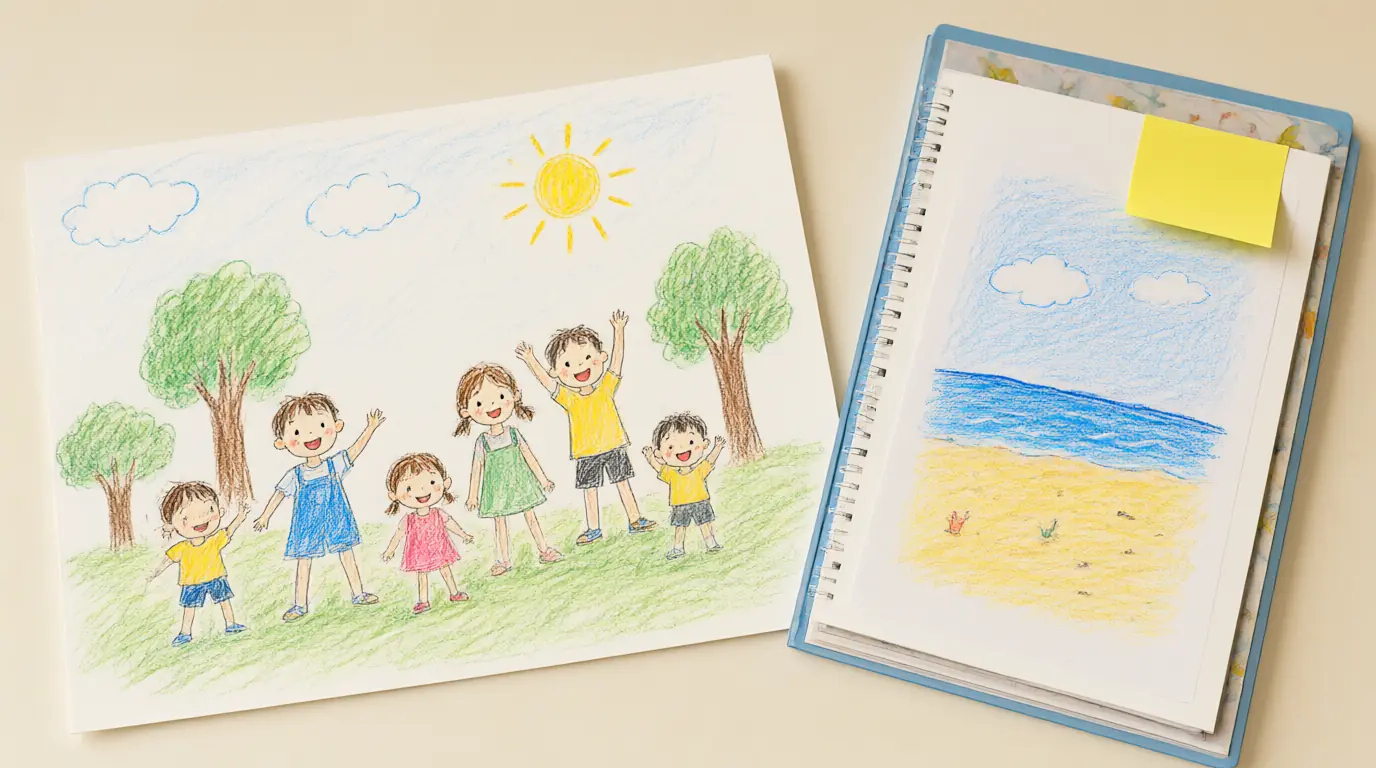
Make it your own: If your child does not want to talk, say what you notice instead: "There is a lot of orange here." For older children, suggest drawing a second page showing what happened before or after the picture.

Make it work for your family
If your child says, "I can't draw it", reply with something you notice, such as, "You made a long line right here, like the stalk." Avoid drawing on their page unless they ask; even a helpful addition can feel like a correction. If they want a model, make a quick one on separate paper and let them borrow whatever they like from it.
Children develop drawing skills at different rates, and a drawing that looks unrecognisable to you may be full of meaning to them. Keep every session separate from praise for being 'good' at art, and save a few pages in a folder so that your child can see changes over months. For colour and mixing next, try easy painting ideas, or loosen up with creative art games that try an idea and change it.

Parents also ask
Should I show my child how to draw a face or a person?
You can, but offer it as one possible way rather than the only one. Children invent their own faces and figures at their own pace. If they ask, draw on separate paper, name the parts and let them take what they like.
What are the best drawing tools for young children?
Thick crayons, chunky pencils and washable markers are comfortable to grip and give clear marks. Plain paper and a flat surface matter as much as the tool. Let your child choose from two or three options rather than a big box.
My child only draws the same thing. Is that a problem?
Repeating a favourite subject is common and lets children refine it. You can add small variations, such as drawing it at night or from another side, but there is no need to push. If you have concerns about development, talk to your child's teacher or doctor.
Choose materials and activities that suit your child, supervise as needed and adapt the ideas to their interests and abilities. About our editorial approach