Weebou Editorial Team
 8 min read
 In this article
A little preparation
Cover a table with a wipe-clean cloth or newspaper, and put a child in an old T-shirt or apron. Pour a little paint into shallow containers, such as the lids of jars or a muffin tin, because small amounts are easier to manage and cause less spilling. Offer three colours, ideally a red, a yellow and a blue, and have a jar of water and a cloth within reach.
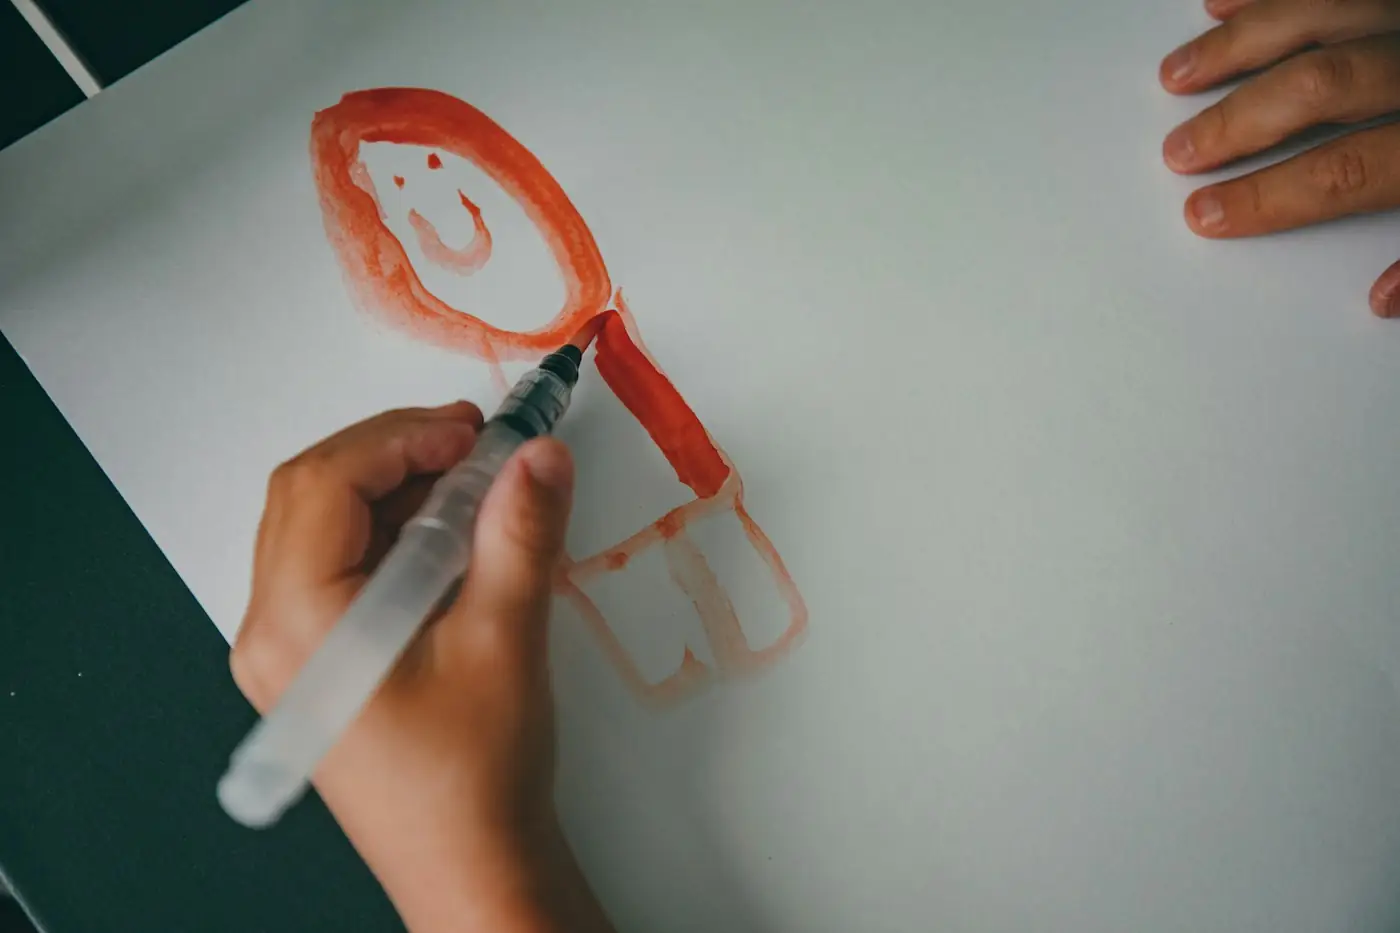
Use paint labelled washable and suitable for children, and keep it away from food. Offer big sheets of paper so the marks can travel, and have one page of scrap paper for trying things out. Some children dislike the feel or smell of paint, so offer a thick brush or a sponge on a stick, and never force finger painting. Ten to thirty minutes is typical. Rather than telling a child what to paint, you can say ‘tell me about this part’ and listen to the answer. Pictures are best left to dry flat in a safe place.

Ideas to try together
Wide marks and narrow marks
A flat brush makes a wide stripe on its side and a thin line on its edge. Testing this on scrap paper shows children that the same tool can make different marks, and it gives them a vocabulary of lines, dabs and swirls to draw on later. It is a good first painting session.
You’ll need
- 1 flat, broad brush
- 1 colour of washable paint
- 2 or 3 sheets of scrap paper
- A jar of water and a cloth
How to do it
- Dip the brush in paint and make a wide stripe by pressing the whole side of the bristles on the paper.
- Turn the brush on its edge and make a thin line.
- Try a dab, a zigzag and a wobbly line, and see how each one looks.
- Look at the page and say which marks are wide and which are narrow.
- Choose three favourite marks and put them together on a clean sheet to make a picture.
- Give the picture a name, and write it on the back.
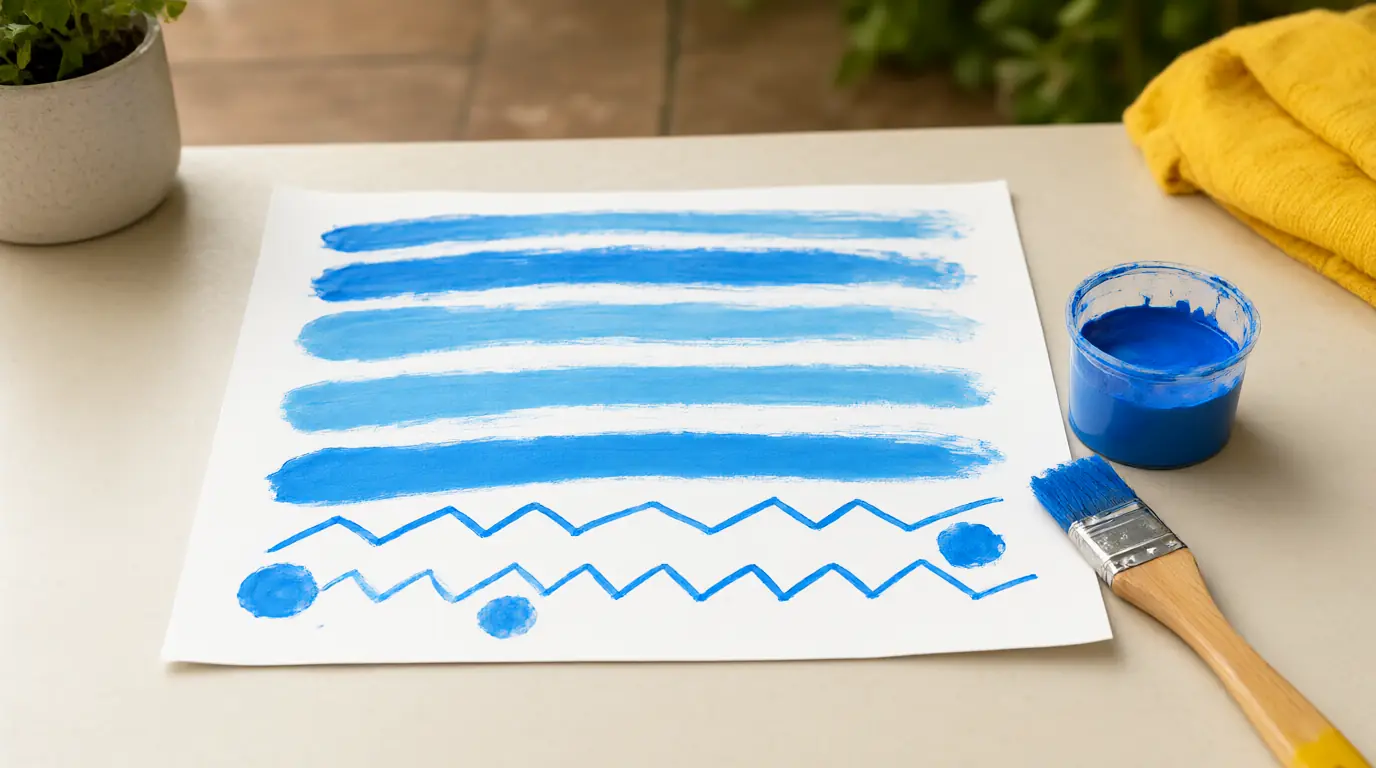
Make it your own: Younger children can fill a page with big sweeps and enjoy the movement. Older children can draw a pattern with a repeat, such as wide, narrow, wide, narrow, and extend it across the page.
Two colours meet
Placing two colours side by side and gently bringing them together lets children watch colour mixing happen. Red and yellow become orange, yellow and blue become green, and blue and red become purple, but the real learning is in watching the meeting place change. Children also see how much paint and how much pressure matter.
You’ll need
- Red, yellow and blue washable paint
- A large sheet of paper
- A brush for each colour
- A paper plate or tray for mixing
How to do it
- Paint a patch of one colour on the left of the paper and another on the right, leaving a gap in the middle.
- Slowly drag each colour towards the gap with a clean brush, or a finger if your child likes.
- Look at what happens where the two meet. Is it a new colour?
- Try a different pair of colours on a new part of the page.
- Add a little more of one colour and see whether the mix changes.
- Choose a favourite mix and name it, such as ‘sunset’ or ‘leaf’.
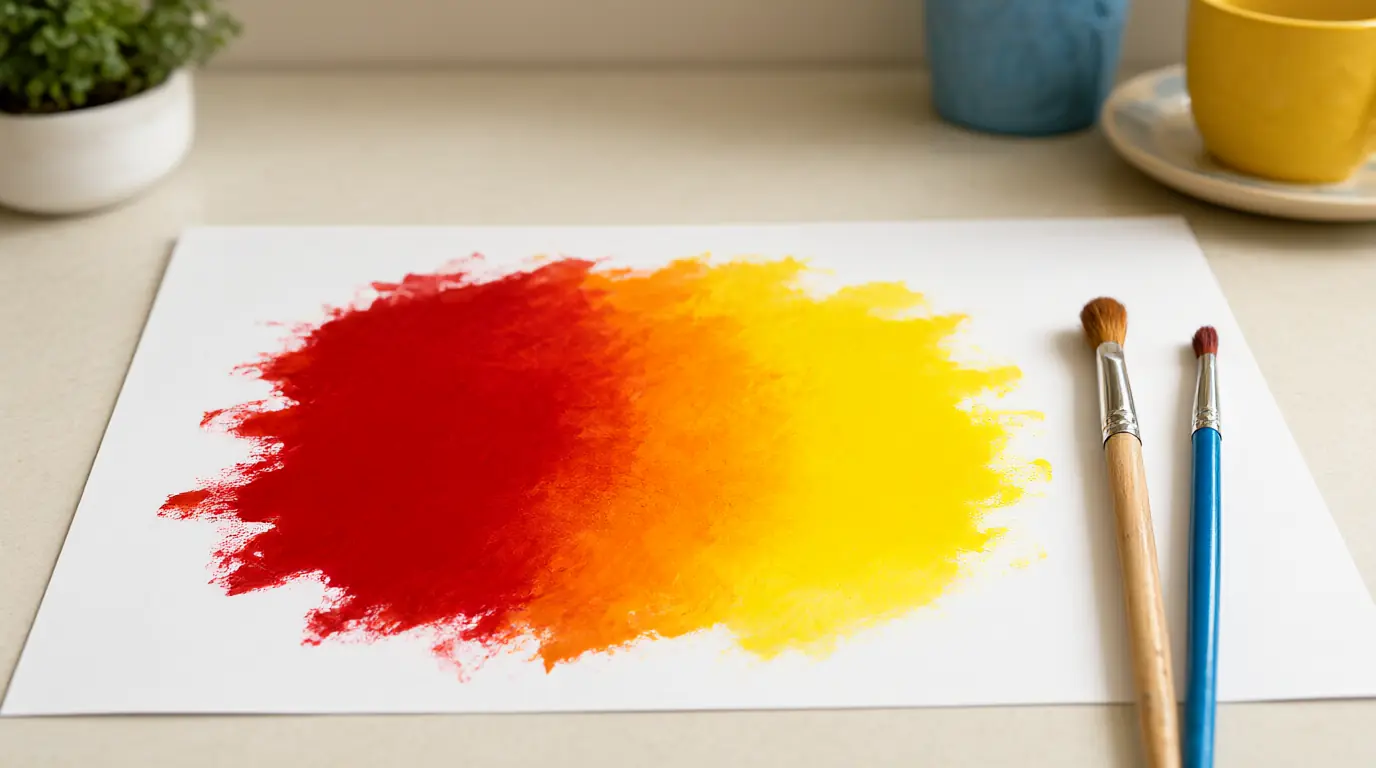
Make it your own: Younger children can paint a single patch and add a second colour on top. Older children can lay out a paint chart and mix three shades of one colour by adding a little white or a little of another colour.
Print with a cardboard edge
Printing with the edge of a piece of card makes crisp lines and corners that a brush cannot easily make. Children press, lift and repeat, and they quickly notice that the same shape can make a pattern. It is satisfying, and it also feels different from brushwork, which suits children who find brushes tricky.
You’ll need
- A few strips and squares of thick cardboard
- A tray with a thin layer of paint
- A large sheet of paper
- Paper towels for wiping
How to do it
- Pour a thin layer of paint onto a tray and spread it with a brush.
- Stand a cardboard strip on its edge in the paint and press it onto the paper.
- Lift straight up and look at the line.
- Print the edge again to make a row, a corner or a zigzag.
- Try a square piece to print a box or a window.
- Use the prints to make a picture, such as a fence or a house with a door.
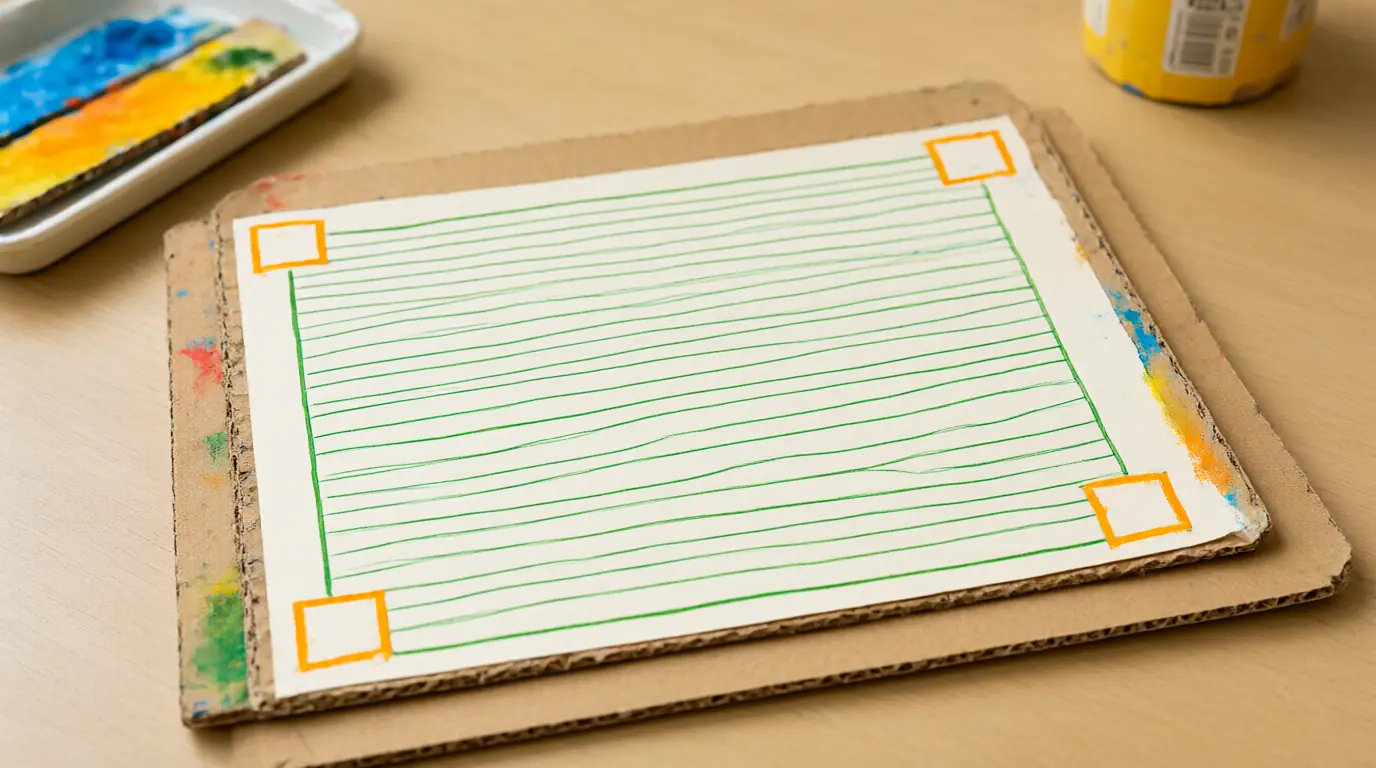
Make it your own: Younger children can make a wild collection of prints on a large sheet. Older children can plan a repeating pattern, such as a line, a corner, a line, and see how far it goes before the paper runs out.
Paint what the music feels like
Painting to music helps children link what they hear to the movement of their arm and brush. Quick music suggests fast, short marks and slow music invites long, curved ones, so the child is making choices based on listening. It works well for children who struggle with drawing a particular object.
You’ll need
- Big paper taped to a table or the floor
- 2 or 3 colours of paint in shallow dishes
- A broad brush
- A short piece of music or two contrasting tunes
How to do it
- Tape the paper down so it will not slide.
- Start a slow piece of music and ask your child to paint what it feels like, using one colour.
- Change to a quick piece and pick a second colour for it.
- Notice how the marks change when the music changes.
- Stop the music and look together at the page.
- Ask which part of the painting sounds loud and which sounds quiet.
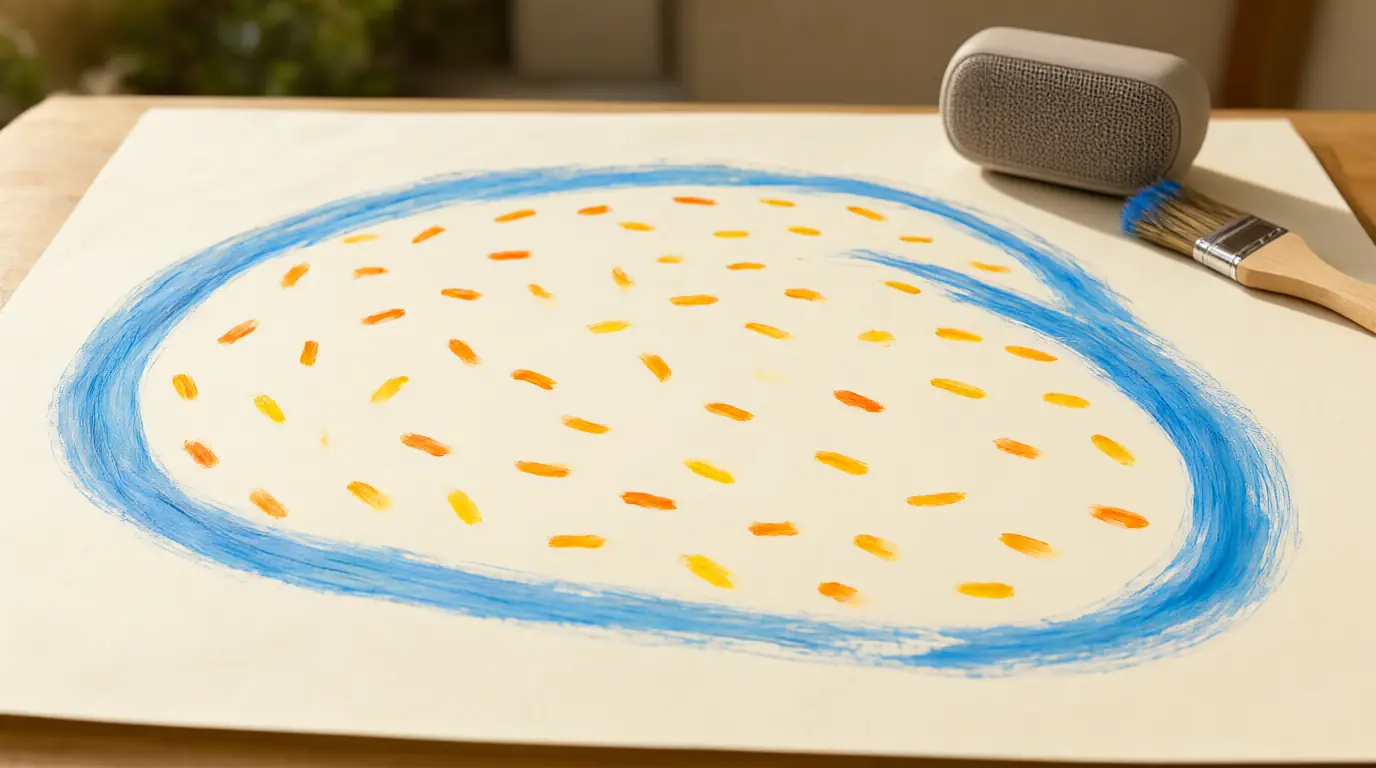
Make it your own: Younger children can do big arm movements with a thick brush. Older children can choose the music themselves and say which colour matches each song.
Paint a place you remember
Painting a remembered place connects colour to feelings and memory. The picture does not have to look like a map or photograph; a few colours and shapes can capture how a place felt. Children also enjoy telling you about the place, so the painting becomes the start of a conversation.
You’ll need
- Paper in a landscape or portrait shape
- Paint in 4 to 6 colours
- Brushes of different sizes
- A photograph of the place, if you have one
How to do it
- Choose a place your child knows, such as the garden, the beach or Grandma’s kitchen.
- Talk about it: what colours, sounds and smells were there?
- Let your child choose the colours that remind them of it.
- Start with the biggest area, such as the sky or the floor, and fill the page.
- Add a few details with a smaller brush once the first layer has dried a bit.
- Ask them to tell you a story about the picture and write it on the back.
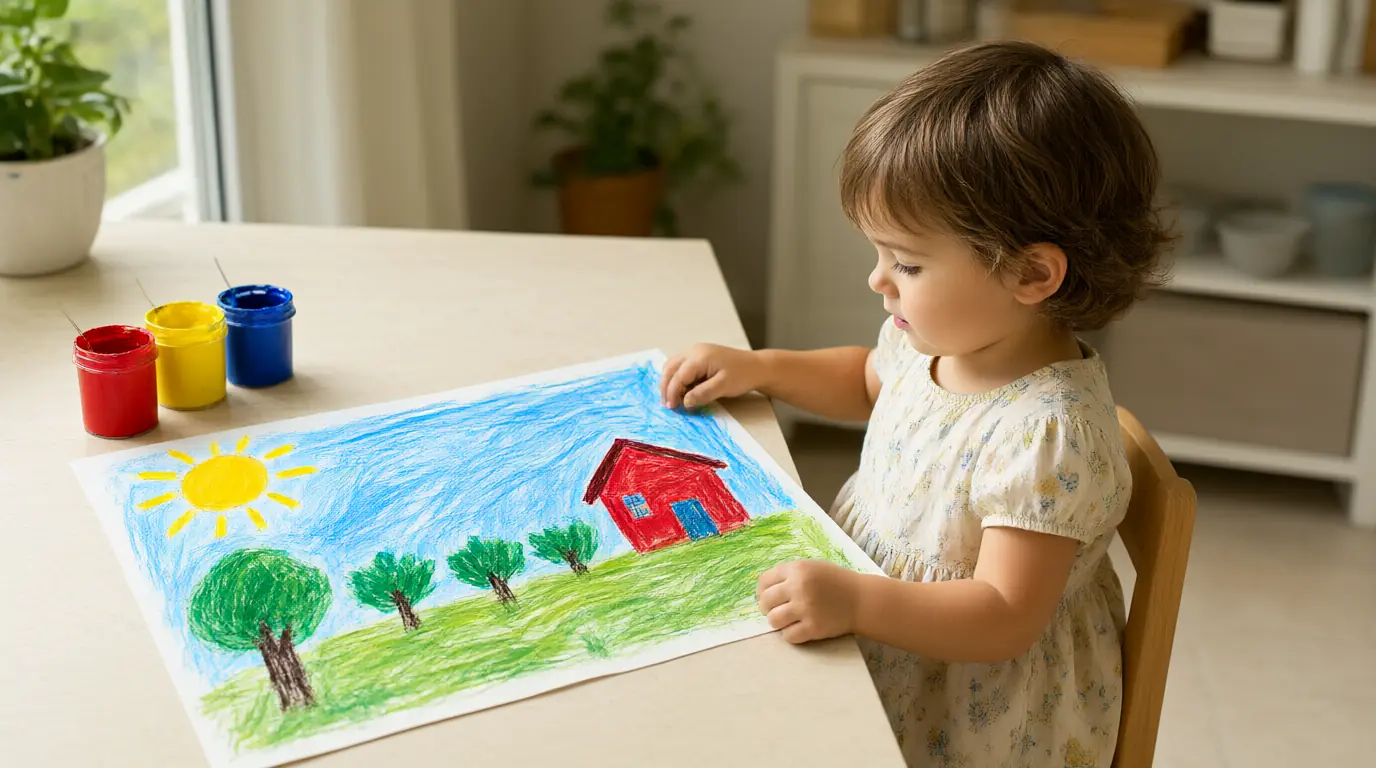
Make it your own: Younger children can paint a single colour that reminds them of a place. Older children can paint two places side by side and say how they are alike and different.

Make it work for your family
If paint ends up looking muddy brown, that is normal and a useful discovery: too many colours on top of each other make it. Offer a fresh sheet, and a little water to rinse the brush between colours. Some children do not like the feel of paint on their hands, and a brush, a sponge on a stick or a cotton bud will let them take part without touching it.
Take a photograph of finished paintings at child height and ask where your child would like to hang them. Keep paint off clothes and furniture by using an apron and a plastic cloth, and wash brushes in warm water as soon as you finish. If your child is happy to carry on, you might like these drawing games for kids or the wider arts and crafts for kids ideas.

Parents also ask
What paint is best for a 3-year-old?
Choose washable paint labelled as suitable for children and follow its age guidance. Ready-mixed poster paint or tempera is usually easy to use. Offer thick brushes and sponges, small amounts in shallow dishes, and always supervise young children.
How do I teach colour mixing to young children?
Offer red, yellow and blue, and let your child try pairs. Red and yellow make orange, yellow and blue make green, and blue and red make purple. Do not worry about getting the exact result; discovering it is the point.
How do I deal with paint mess?
Protect the table with a wipe-clean cloth, wear an apron, and set out small amounts of paint. Keep a damp cloth and a bowl of water nearby, and have a tray ready for drying paintings. Washable paint usually comes out of clothes when rinsed promptly.
Choose materials and activities that suit your child, supervise as needed and adapt the ideas to their interests and abilities. About our editorial approach