Weebou Editorial Team
 8 min read
 In this article
A little preparation
Choose a surface where marks do not matter, such as a large sheet of paper taped to the table, and put the materials in a shallow tray in the middle. Offer a small range of tools at first: three or four crayons or markers, a glue stick and a few large cut-paper shapes. Too many options can stop a game before it starts.
Explain the invitation in a single sentence, for example let's turn this mark into something, and show it once if needed, taking care to make your sample rough and ordinary so it is not copied. Let children decide whether to work together or on separate sheets, and have a second sheet ready for those who want to try again. Games last about ten to fifteen minutes. Keep finished work visible for a few days, and photograph anything your child wants to keep, so that they can change the original without fear of losing it.

Ideas to try together
Turn a mark into something
One simple mark can become almost anything, which makes this a good first game. Because both players add to the same sheet, children see that one idea can lead to another and that there is more than one way to read a shape. It builds flexible thinking and a willingness to try.
You’ll need
- A large sheet of paper
- 2 different coloured markers
- A tray for the markers
How to do it
- Make a simple mark on the paper, such as a wavy line or a loop.
- Pass the paper to your child and ask them to add something to it.
- Take it back and add another line or shape.
- Keep passing the paper until the marks have become a picture.
- Ask each other what you can see in it, and notice that you may see different things.
- Start again with a new mark from your child.
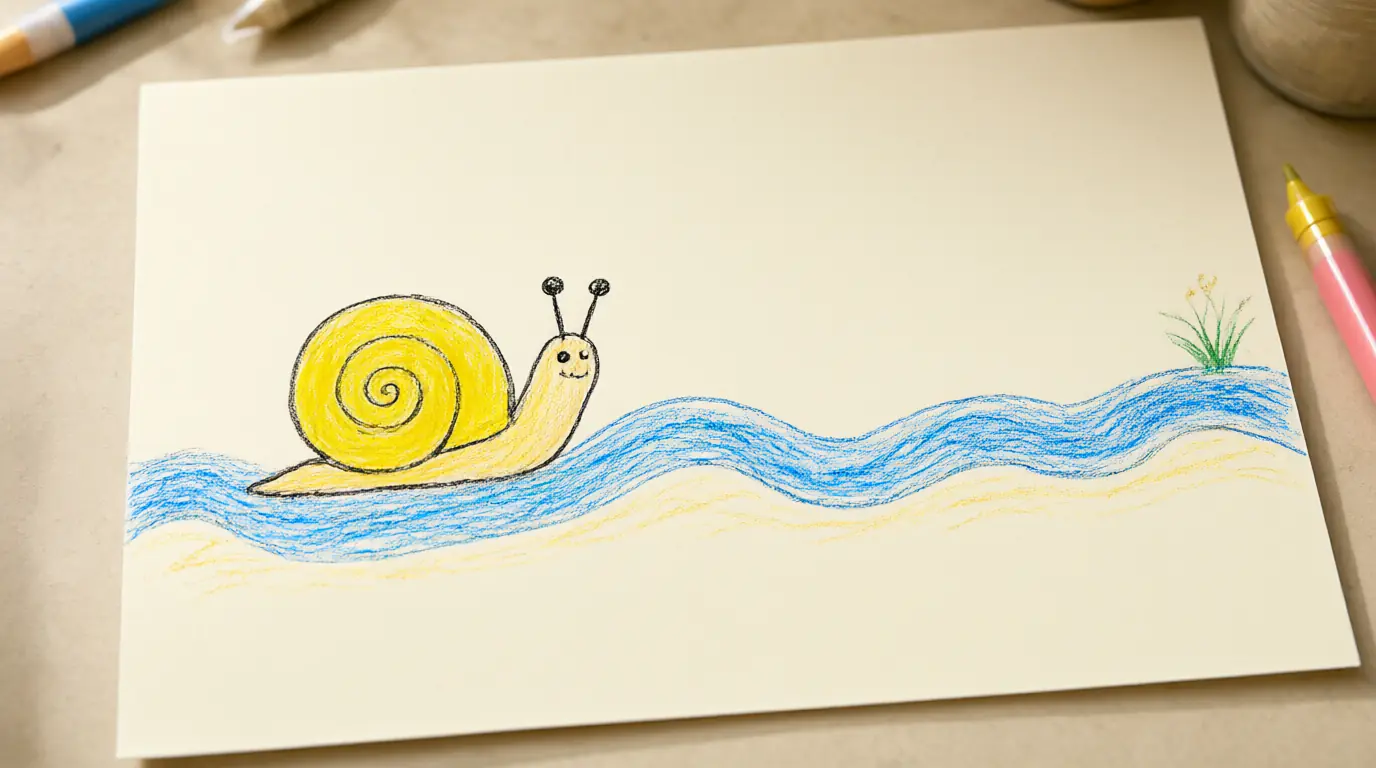
Make it your own: Younger children can add one dot or a scribble each time. Older children can turn the paper upside down halfway through, or try to make the mark into an animal, a place or a machine.
Shape swap studio
Large paper shapes can be arranged and rearranged without any commitment, so children can test many ideas quickly. Swapping a single shape and seeing how the whole picture changes introduces the idea of cause and effect in art, and it is easy to keep going without frustration.
You’ll need
- 3 to 5 large paper shapes in different colours and sizes
- A sheet of paper
- A glue stick
- A tray for spare shapes
How to do it
- Lay out three shapes on the paper and arrange them into a picture.
- Ask your child what the picture could be, a house, a boat or a face.
- Swap one shape for a different one and look at how the picture changes.
- Try another swap, perhaps in the opposite direction.
- When your child likes one arrangement, help to glue it down.
- Compare it with the first arrangement and talk about what moved.
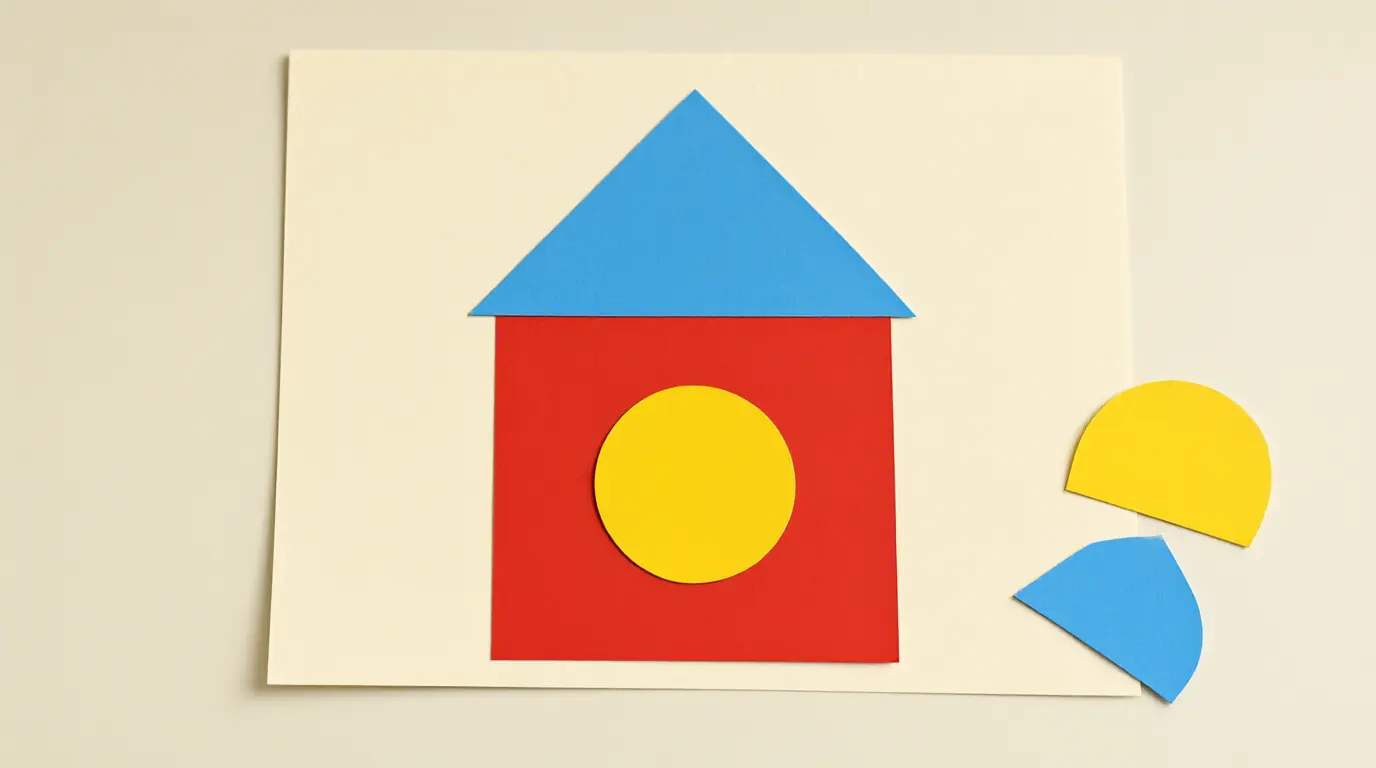
Make it your own: For younger children, use only two shapes and one swap. Older children can add a limit, such as using exactly four shapes, or make a picture that tells a story in three stages.
Draw to a sound
Listening to a sound and turning it into marks links hearing and drawing, and it shows that the same sound can be drawn in many ways. A soft drumbeat might become dots, while a long note becomes a wavy line. Comparing drawings later shows that there are many right answers.
You’ll need
- A sheet of paper per child
- Crayons in several colours
- A drum, a pan with a wooden spoon or a shaker
- A rug or table
How to do it
- Give each child a sheet of paper and a crayon.
- Play a short sound or rhythm and invite them to make marks that fit it.
- Try a fast beat, a slow beat, a loud sound and a quiet one.
- Change colours if the sound feels different.
- Hold up the pictures and compare what each person drew.
- Ask what the sound looked like to them.
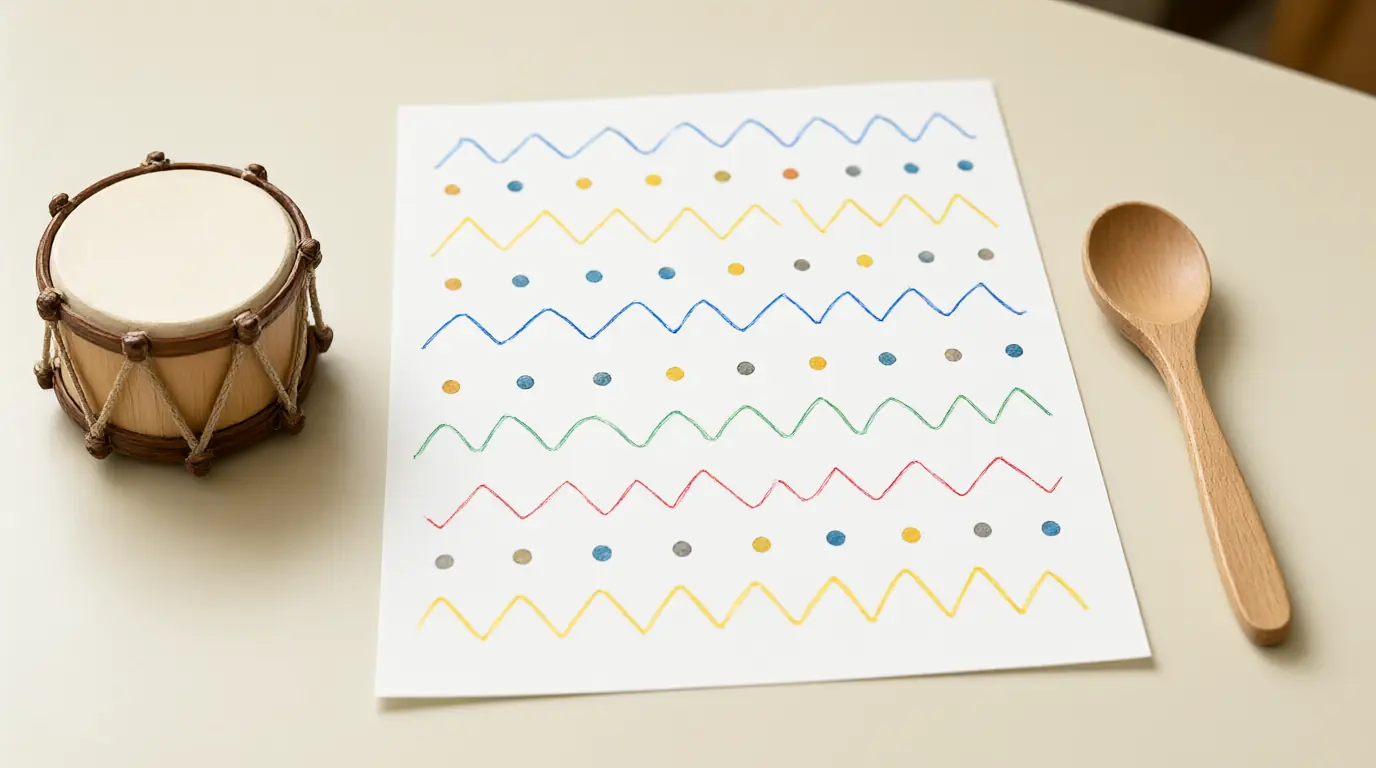
Make it your own: Younger children can scribble in time with a steady beat. Older children can make a drawing for a pattern of two sounds, such as soft, loud, soft, and see whether another person can guess the pattern.
Build a shared landscape
A shared landscape lets each person add a place while the whole thing grows into a world. Children think about how places connect, and they learn to place their idea next to another person's without taking over. It can last as long as everyone wants and can be returned to later.
You’ll need
- A large sheet of paper or a flattened box
- Crayons and markers
- Blue and green paper scraps
- Glue stick
- A few small toys to travel through the scene
How to do it
- Lay the paper flat and give each player a corner to start in.
- Ask each child to draw or stick on one place, such as a hill, a lake or a village.
- Decide together how the places might be joined by a path, a bridge or a river.
- Draw or stick the connections in.
- Walk a small toy through the landscape and tell a story about the trip.
- Add one more place next time you play.
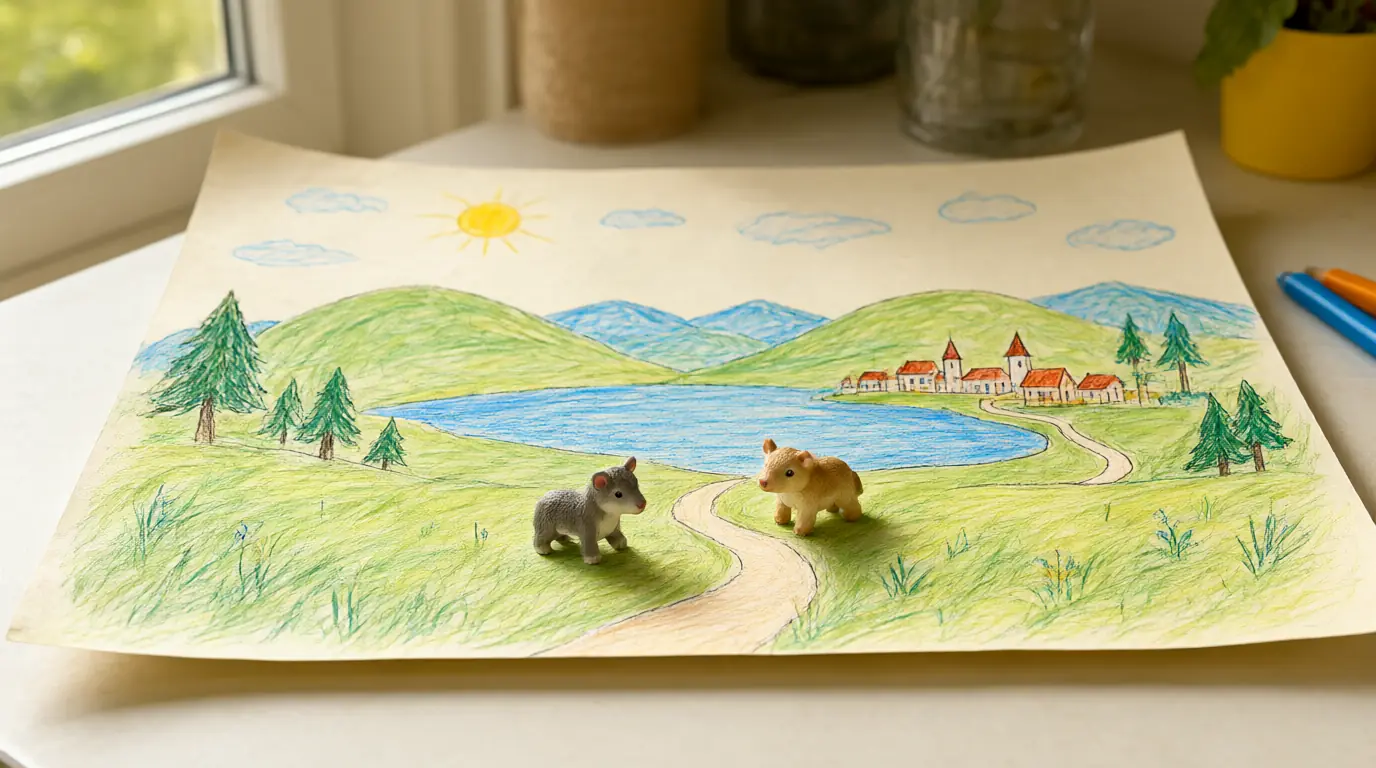
Make it your own: Younger children can add a single sticker or scribble to the scene. Older children can plan the landscape on a small sheet first, or draw a key showing what each place means.
One-change challenge
Changing only one thing in a finished picture is a powerful way to see how art works. A single new colour, a bigger shape or a line through the middle can transform the whole thing, and children discover that finished does not have to mean final. It shows them that they can edit as well as create.
You’ll need
- A finished picture or two copies of a simple drawing
- A contrasting crayon or marker
- A sticky note for each change
- A second sheet of paper
How to do it
- Choose a picture your child has already made and look at it together.
- Ask them to decide on one change, such as adding a colour or a shape.
- Make the change on a copy or a second sheet.
- Place the two versions side by side and describe what is different.
- Ask which parts feel the same and which feel changed.
- Try another single change on a fresh copy.
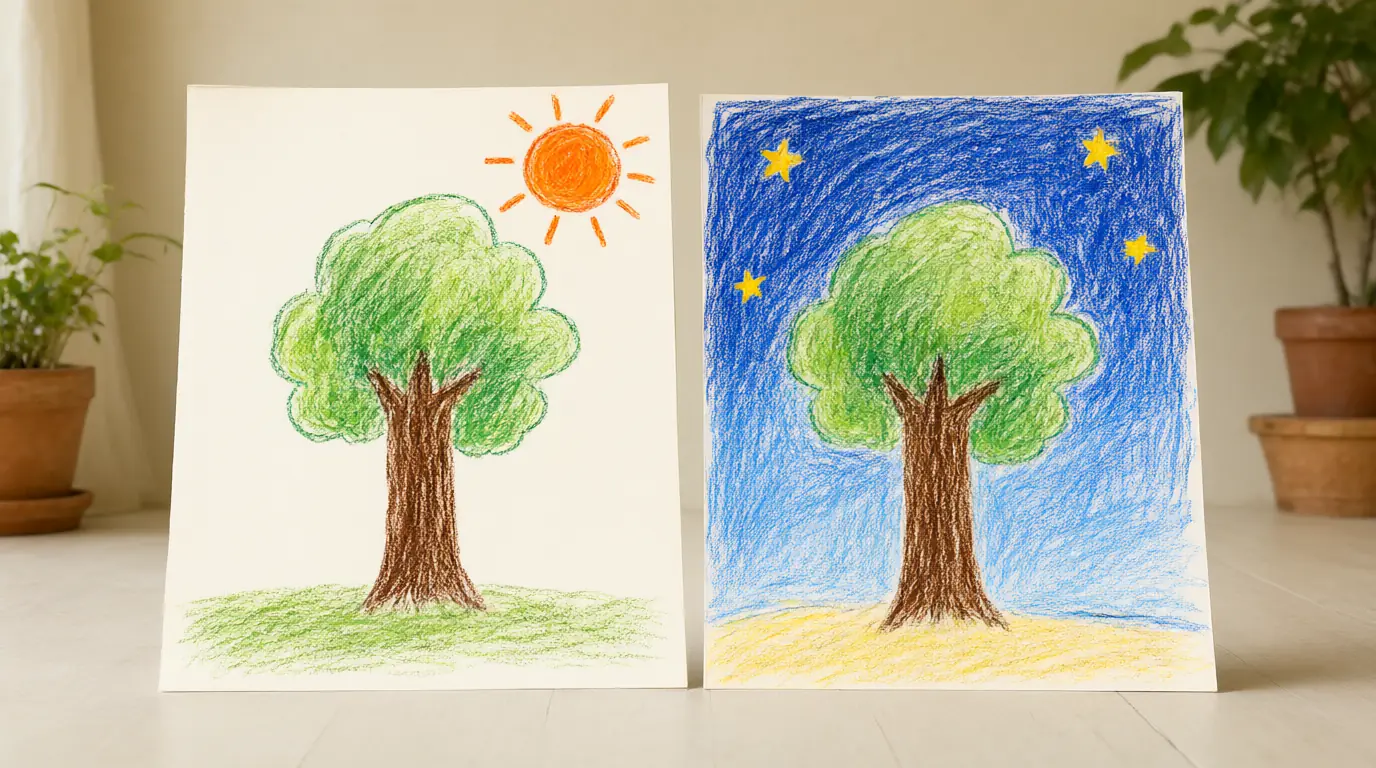
Make it your own: Younger children can add one new colour. Older children can say beforehand what they expect to change, and afterwards compare their guess with the result.

Make it work for your family
Keep the rules loose enough that an interesting idea can survive. If your child decides that the circle should become a moon rather than a face, that is the game working, not a rule being broken. The aim is to explore and notice, not to prove who followed the instructions best.
When talking about the work, use descriptive questions rather than judgement: what happened when you added the blue? or how did you change it? Avoid asking what it is, since many children do not make pictures of things. If a child says they are finished after one mark, accept that, and offer a second sheet for the next idea. If the game has stalled, change one thing, such as the paper size, the tool or the sound. See also our guide to drawing games and the Weebou creativity games.

Parents also ask
What are creative art games for preschoolers?
They are short activities that begin with a small idea, such as turning a mark into something or arranging shapes, and leave the result to the child. They use ordinary materials like paper and crayons and focus on trying and changing rather than copying.
How do I praise my child's art without saying it is good?
Describe what you see: I notice you used lots of blue, or the lines go all the way to the edge. Ask a question such as what happens here? and listen to the answer. Descriptive comments show interest without comparing the work to a standard.
My child says they cannot draw. What can I do?
Start with games that do not need drawn objects, such as arranging paper shapes, making marks to a sound or adding to a shared scribble. Make your own marks beside them and avoid correcting. Confidence usually grows when the task is about exploring, not getting things right.
Choose materials and activities that suit your child, supervise as needed and adapt the ideas to their interests and abilities. About our editorial approach