Weebou Editorial Team
 9 min read

 In this article
A little preparation
Start where the light is. A windowsill, balcony or doorstep is plenty: most herbs, salads and small flowers grow well in a pot about 20 to 25 cm across with drainage holes at the bottom. Put down a mat or a tray of newspaper before you open the compost, and keep a small brush or dustpan nearby for spills. Ten to fifteen minutes of gardening is usually enough for a first session, and it is fine to stop at potting up and leave the watering for tomorrow.
An adult handles the compost bag and any sharp tools, and everyone washes hands when they come in, since compost is not for eating and should not be used near food. Check plants are non-toxic and untreated before a child handles them, and keep very small seeds and plant food away from children who still put things in their mouth. If you would like more ideas for noticing nature closely, or a plan for what changes in spring, those pair well with a first pot.

Ideas to try together
Choose and pot up a plant
Let your child pick between two or three sturdy plants at the garden centre or supermarket: a herb, a small strawberry or a marigold all cope with a beginner's watering. Doing the actual potting gives them the strongest sense that this plant is theirs, and the job has clear steps they can repeat next time.
 You’ll need
- A plant in a small pot
- A larger pot with drainage holes
- Peat-free compost in a bowl the child can reach
- A trowel or large spoon
- A tray or old cloth for spills
How to do it
- Half-fill the new pot with compost and press it down lightly with the spoon.
- Turn the plant out of its old pot, holding the stems and roots, and sit it in the middle.
- Fill the gaps with compost, up to about a finger's width below the rim.
- Firm the soil gently around the stem, then water until a little runs out of the bottom.
- Wipe the pot, put it in its light spot and agree who will check it tomorrow.
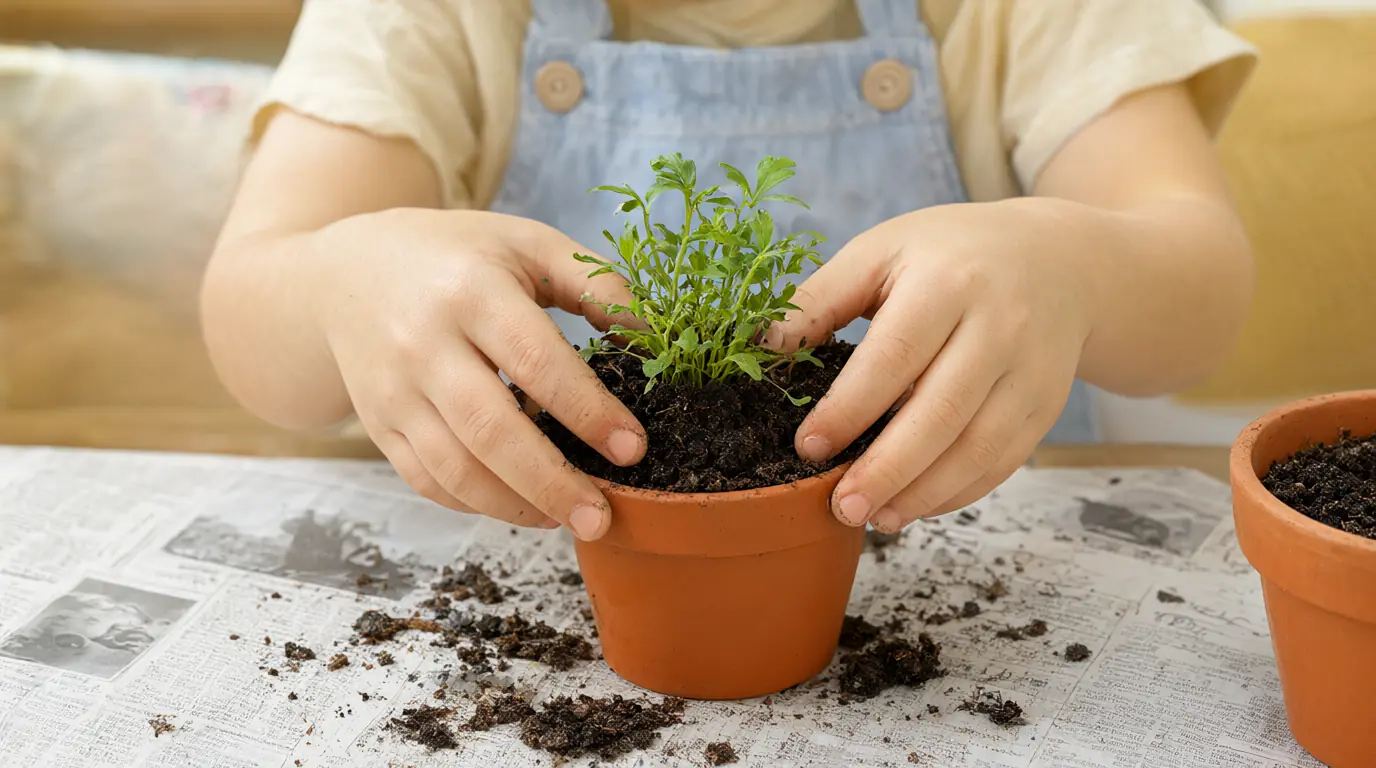
Make it your own: Toddlers can tip compost from a cup and press the soil with a flat palm while you hold the plant. Older children can plan what a plant will need before it goes in, or choose two pots to compare different light.
The gentle watering job
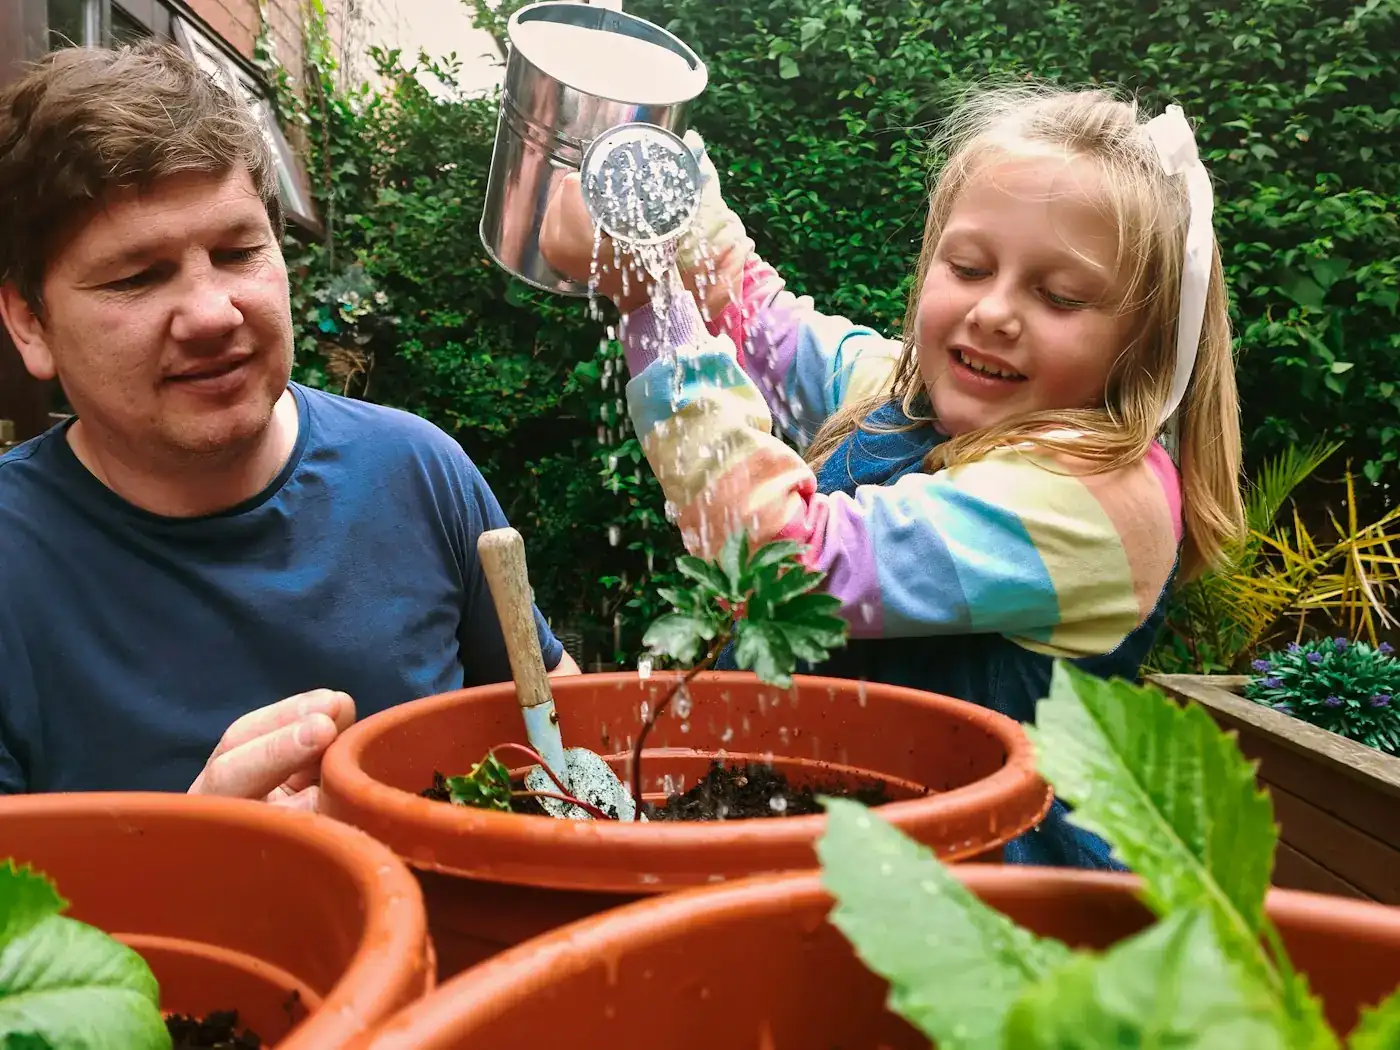
A marked watering can turns an everyday chore into a job a child can genuinely own. They learn to check the soil before pouring, to carry a light load carefully, and to accept that the answer may be 'not today'. That patience is the real skill here, more than the watering itself.
You’ll need
- A small watering can
- A waterproof marker for the fill line
- A spare towel
- The potted plant
How to do it
- Draw a fill line near the bottom of the can together and let your child name it.
- Practise the walk with the empty can first, two hands on the handle.
- Fill to the line at the tap or a bowl, then carry it slowly back to the pot.
- Check the soil with a finger before pouring; if it is damp, tip the water back.
- Water around the base of the stem, not over the leaves, and stop when water reaches the saucer.
- Tip the saucer out afterwards so the roots do not sit in water.
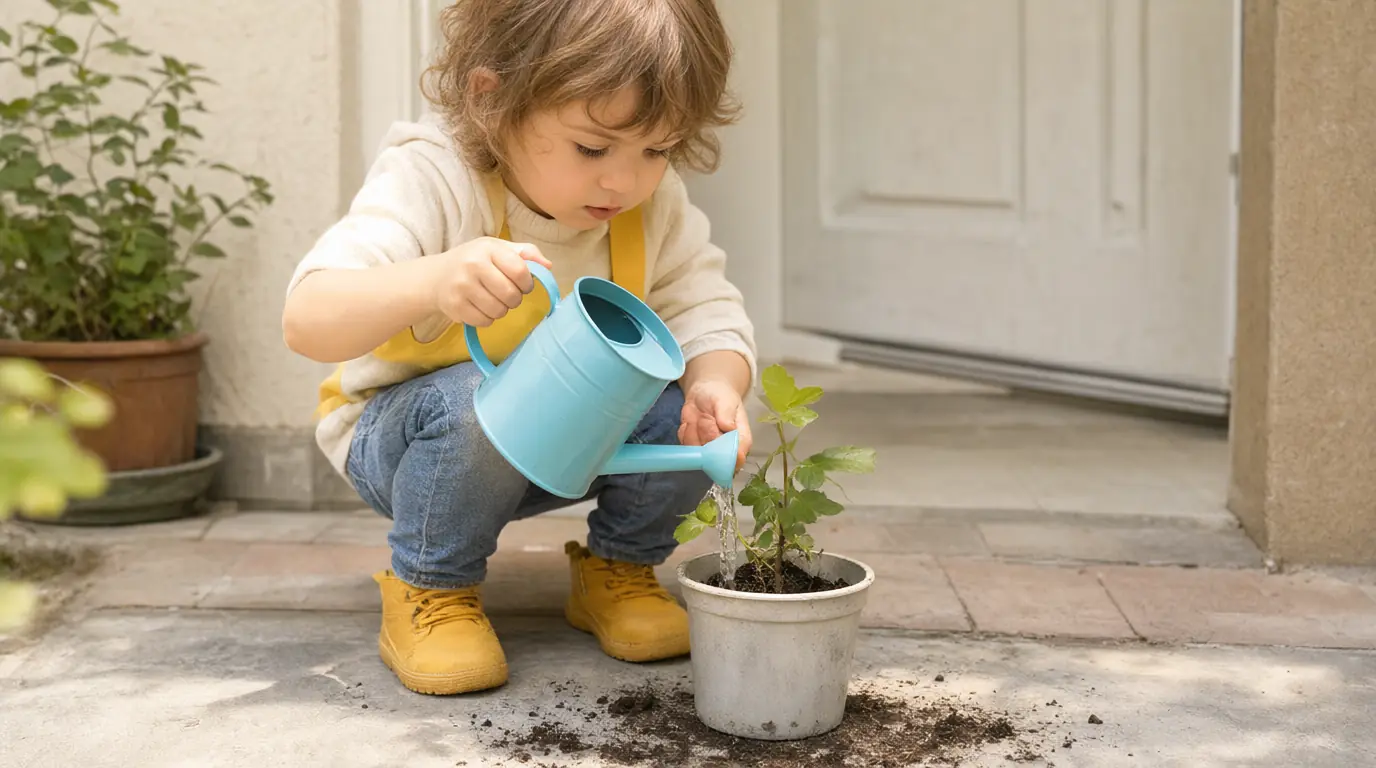
Make it your own: A toddler can fill a cup and pour it into a saucer, or press the soil to feel whether it is damp. Older children can compare two pots watered differently and keep a simple three-mark note for each day.
A seed that shows its roots
A large bean or sunflower seed wrapped in damp kitchen paper against a clear cup shows what usually happens out of sight. Because your child can lift the paper and see the root appear first, the wait becomes interesting rather than something to endure, and the pot of soil that comes later makes more sense.
You’ll need
- Large seeds: a bean, sunflower or pea
- A clear plastic cup
- Kitchen paper
- Water in a small dish
- A second cup planted in compost, if you like
How to do it
- Fold kitchen paper into a strip, dampen it and tuck it inside the cup so it lines the sides.
- Slide one seed between the paper and the cup at eye level, so you can see it from outside.
- Keep the paper damp with a few drops of water each day rather than filling the cup.
- Look at the same time each day and ask which part appeared first, the root or the shoot.
- When a green shoot is a few centimetres tall, plant the whole thing, paper and all, in a small pot of compost.
- Keep the pot labelled with your child's drawing so you remember which seed it was.
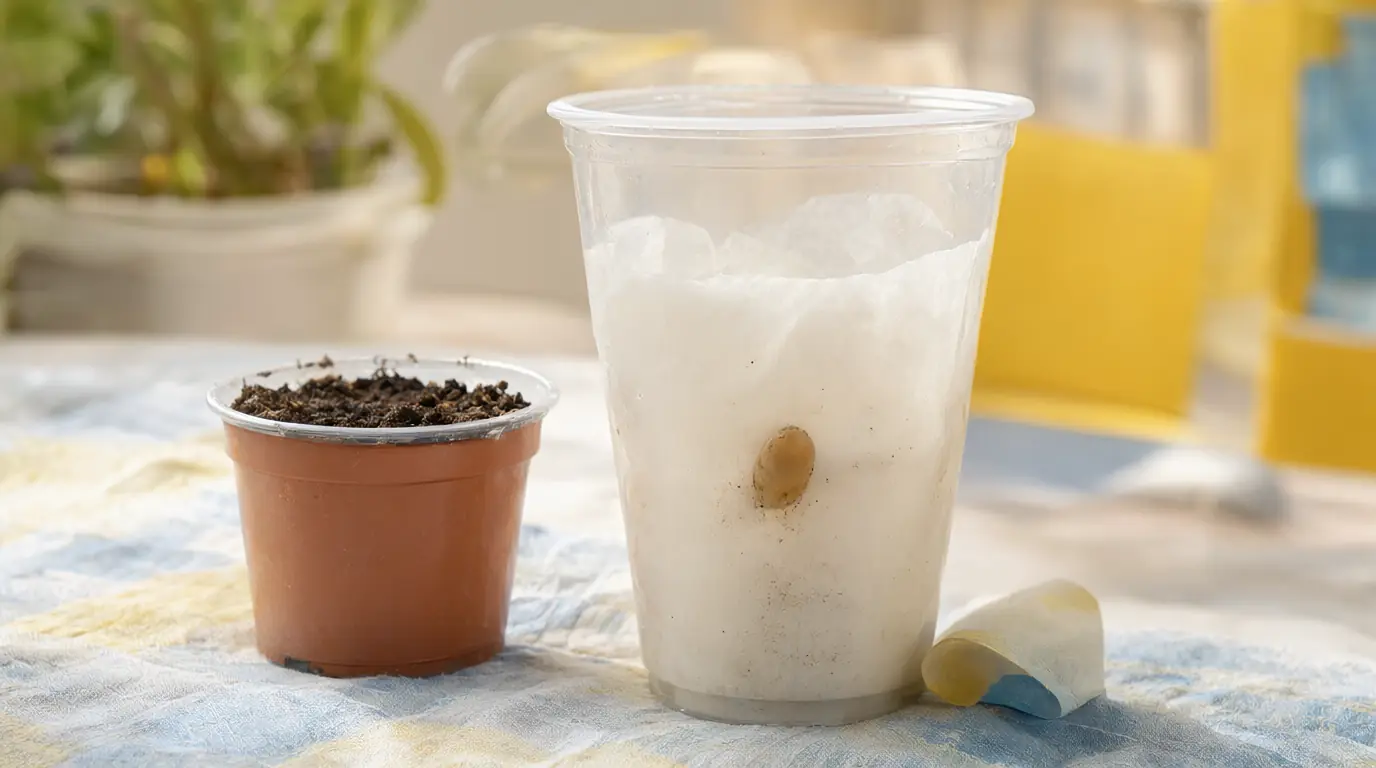
Make it your own: For younger children, put the cup on a low shelf where they can see the seed without lifting it. Older children can set up two cups, one damp and one almost dry, and describe what they notice after a week without calling one the winner.
Leaf portraits side by side
Drawing a leaf is a way of looking at it for longer, and comparing two leaves makes the noticing sharper. Children spot edges, veins and different greens when the shapes sit next to each other on the same sheet, and the drawings become a record of what grew this month.
You’ll need
- Two leaves from plants you know are safe to handle
- Thick paper folded in half
- Crayons or coloured pencils
- A magnifying glass if you have one
How to do it
- Choose two leaves still attached to their plants and look at them closely first, without picking.
- Place the paper on the table, open it out and draw one leaf on each half.
- Start with the outline, then add the lines running through it, then the colour.
- Put the two drawings side by side and ask which leaf is longer, rounder or more pointed.
- Keep the drawing as it is; write your child's own description on the back if they want a record.
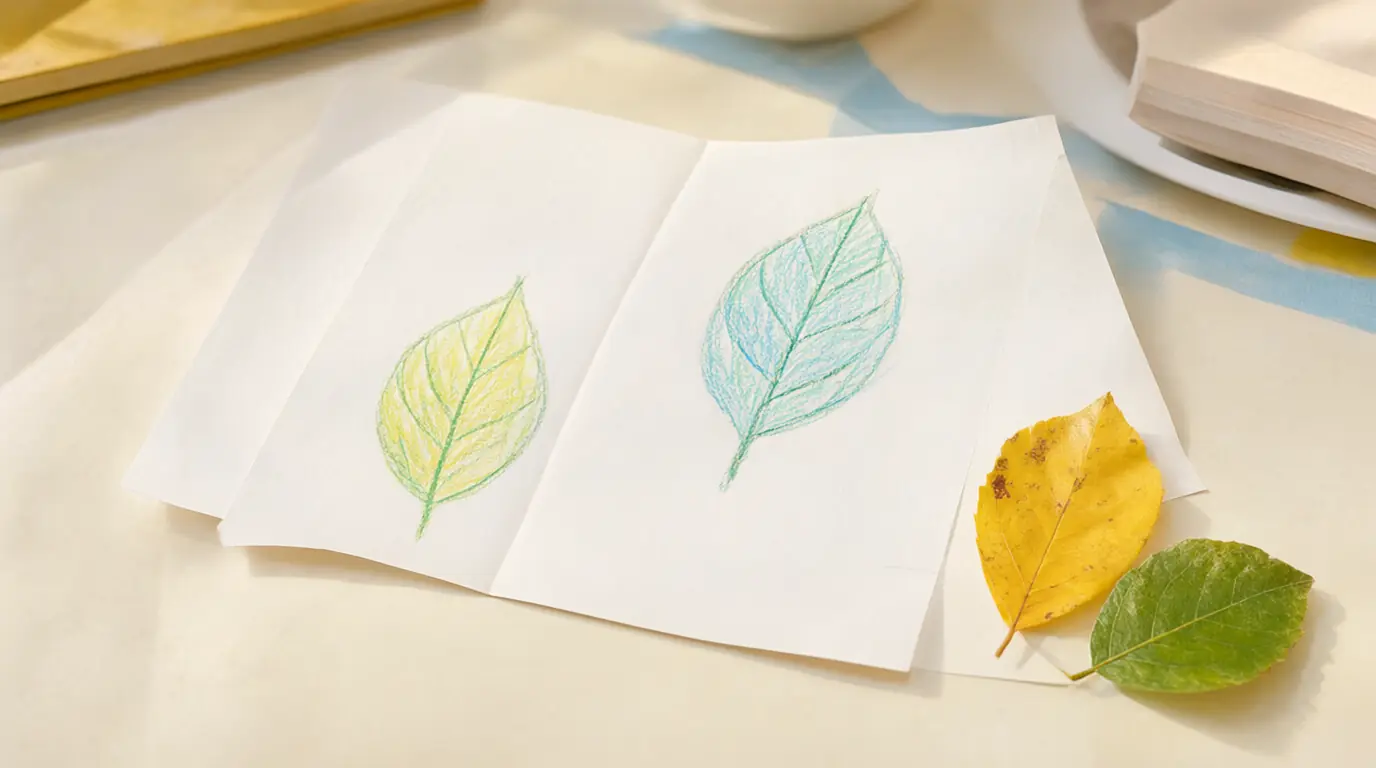
Make it your own: Younger children can simply make one broad mark for a leaf and talk about it. Older ones can hold the leaves flat and compare their edges, or draw the same leaf again in a fortnight to see what changed.
Garden visitor watch
Sitting still for ten minutes is a real job for a child, and having a tally sheet gives them something to do with their hands while they wait. Marking each arrival builds early counting and comparison, and the answer is often surprising: wasps, ants and a single bee can all arrive at the same pot.
You’ll need
- A sheet of paper and a thick pencil
- A cushion or mat to sit on
- A pot that has been flowering for a while
How to do it
- Choose a time when you can both stay still, and put the mat a step or two away from the pot.
- Draw one simple symbol for each kind of visitor you expect, such as a dash for an ant and a circle for a bee.
- Watch quietly for five to ten minutes and mark one stroke each time a visitor arrives.
- Leave insects alone and keep fingers away from the soil while you watch.
- Count the marks together and ask which visitor came most often.
- Come back at a different time of day and compare the two sheets.
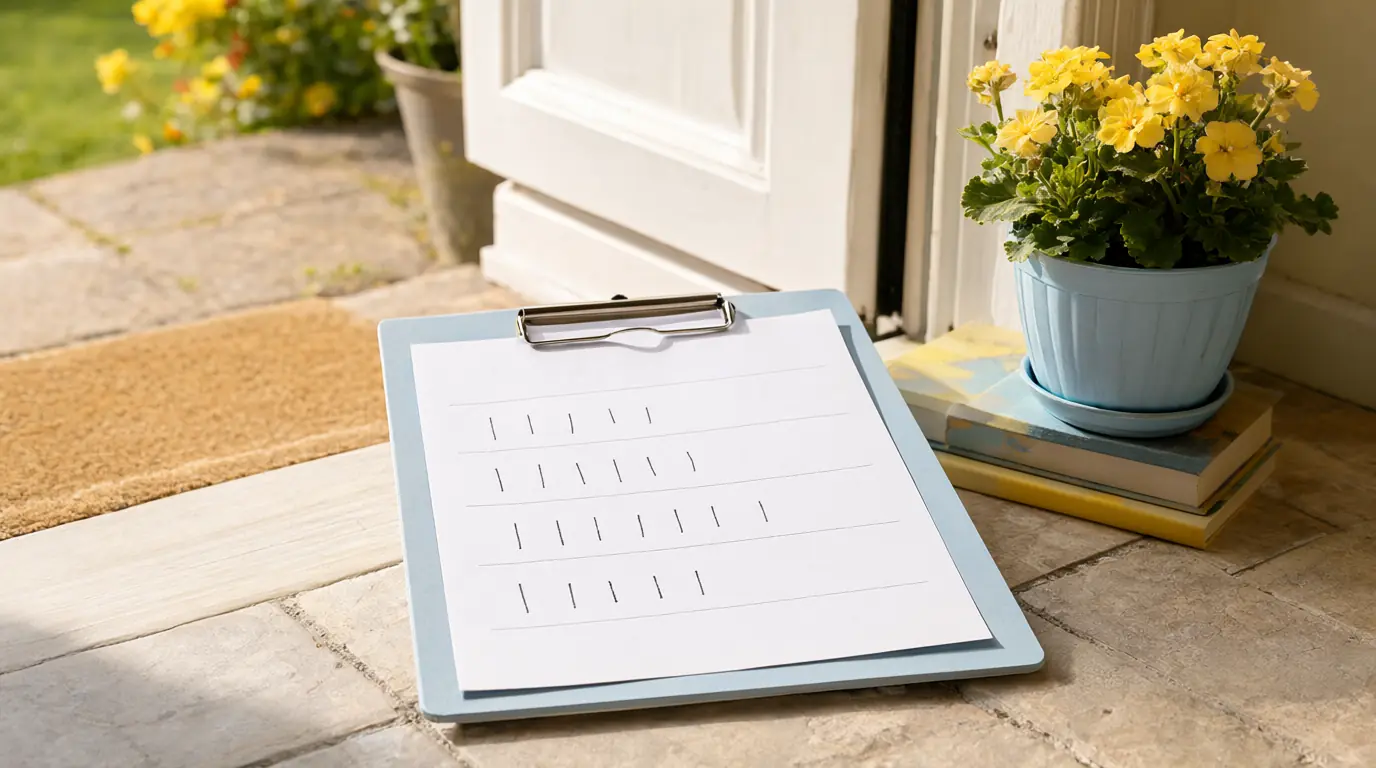
Make it your own: A three-year-old can just call out what they see while you make the mark. Older children can predict which visitor will be most common and note the time of day to test their guess.

Make it work for your family
Too much water is the most common reason a first plant gives up, so check the soil with a finger before pouring: if it feels damp just below the surface, wait a day. Compost also dries out faster in sun and slower in shade, which is a useful thing to talk about together. If nothing sprouts after a fortnight, dig gently with a spoon rather than starting over straight away; sometimes the seed has simply rotted in a waterlogged pot.
Keep the projects inside the child's reach, and store the watering can empty so it is light enough to carry. A plant that dies is not a failure to hide: you can look at the dry leaves together and ask what the pot might have needed. For quieter indoor projects on wet days, try these indoor toddler activities, and for sorting and comparing what you find outside, first data ideas fit well.

Parents also ask
What gardening activities are suitable for a 3-year-old?
Watering with a small can, pressing compost around a plant and watching a seed in a clear cup are all manageable at three. Choose a sturdy plant that copes with uneven care, keep the sessions short and let them do the pouring, even if it is not perfectly even.
What can we grow quickly in a pot?
Fast, forgiving choices include cress on damp kitchen paper, which shows green within a few days, and a large bean or sunflower seed in a clear cup, where a root usually appears within about a week. Small herbs, marigolds and strawberries also grow well in a pot on a sunny sill.
Why does a potted plant die even when we water it?
Overwatering is the usual reason: roots need air as well as water, and compost that stays soaked suffocates them. Feel the soil a couple of centimetres down before pouring, empty the saucer afterwards and check that the pot has drainage holes. Very hot windowsills and cold draughts can also be too much for a small plant.
Choose materials and activities that suit your child, supervise as needed and adapt the ideas to their interests and abilities. About our editorial approach