Weebou Editorial Team
 In this article
A little preparation
Set up at a low table or on the floor, where your toddler can reach everything without climbing. Cover the surface with newspaper, an old shower curtain or a plain plastic sheet, and tape it down so it does not slide while small hands press on it. Put out only the materials for one craft: a couple of colours, one glue stick, one sheet of paper. Toddlers choose better from a small set, and clearing the rest keeps the moment calm. Expect five to ten minutes of making time; a second short session later often works better than one long one.
Use paints, crayons and glue labelled for young children and follow the age guidance on the packet. Everything here is designed to avoid small parts, but check leaves and twigs for seeds, berries or grit before they reach the table, and wash them if they came from the pavement. An adult handles any cutting. Stay within arm's reach during painting and stamping, and let your child decide when the piece is finished. Two or three large marks count as a complete craft.

Ideas to try together
Leaf rubbings with fat crayons
Rubbing is one of the few crafts a two-year-old can do almost alone. The leaf stays hidden under the paper, so there is no wrong way to hold it, and the crayon has to lie flat and move in long strokes across the page. The shape appears slowly, which gives you both something to watch. Use a fat crayon with the paper peeled away: a slim one quickly feels uncomfortable.
 You’ll need
- 3–4 flat dry leaves
- Thick paper, A4 or bigger
- 2 fat crayons with the wrappers peeled
- Low-tack tape
How to do it
- Lay a leaf vein-side up on the table and place the paper on top.
- Tape the corners of the paper down so it cannot shift.
- Show your toddler how to hold the crayon flat, on its side, and push it in long strokes over the leaf.
- Let them rub the same leaf as many times as they like, in any colour.
- Lift a corner together to see the shape, then slide a different leaf underneath.
- Keep the finished paper flat to dry; crayon needs no other setting.
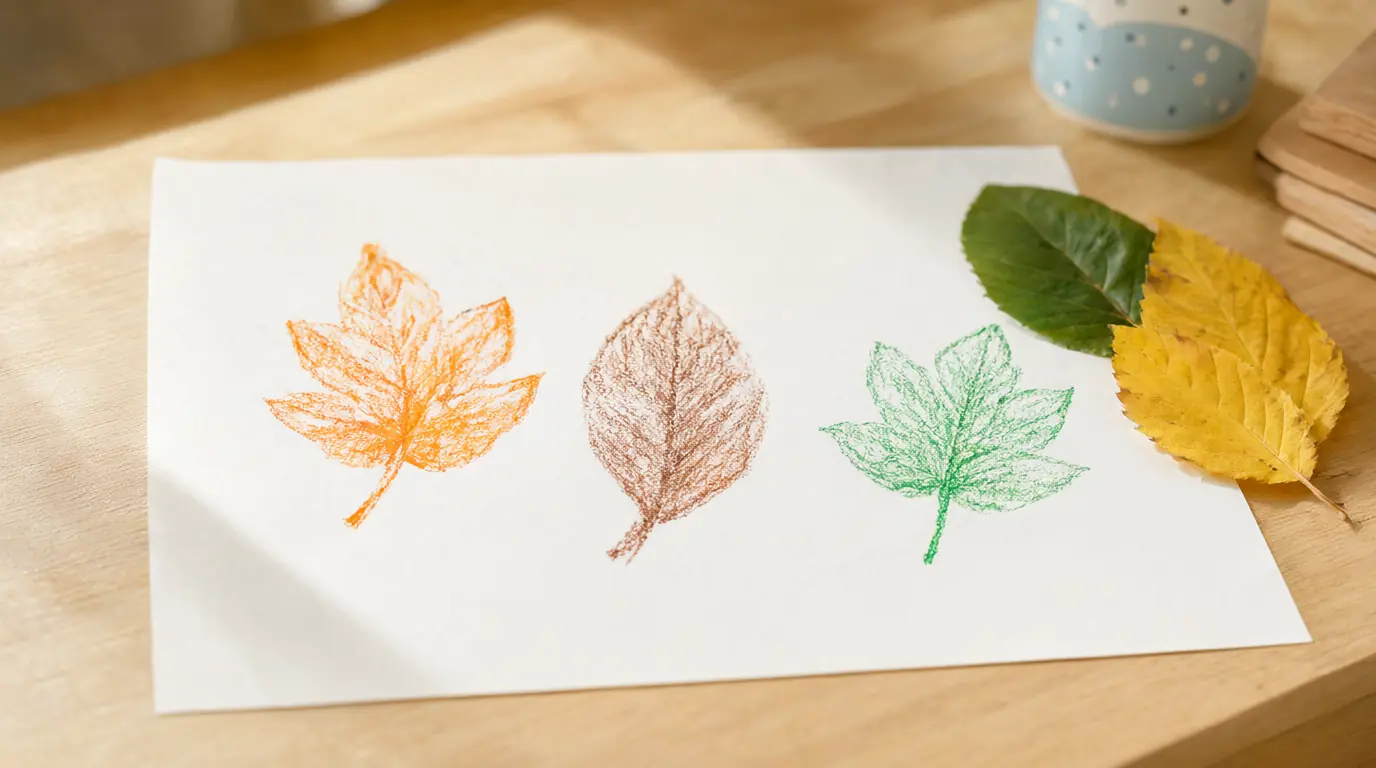
Make it your own: For a two-year-old, tape one leaf and one crayon down and let them scrub freely; the rubbing is the point. A three-year-old can arrange three leaves into a row or a pile and choose the order. Try a thick leaf such as a maple or oak if the shape is hard to feel.
Torn paper leaf collage
Tearing gives small hands a satisfying job that needs no tools. A toddler pulls with both hands and the paper gives way, which is very different from cutting and much easier. The pieces need no shape. Once they are arranged and pressed down, your child has a picture of autumn leaves or a whole tree, and every version looks right. It also sits well next to the other crafts for toddlers that use paper and glue.
You’ll need
- A big sheet of thick paper or card
- Torn scraps in red, orange, yellow and brown
- A glue stick
- A shallow tray or box lid
How to do it
- Tear a few scraps in front of your child, so they see how the paper gives.
- Hand over pieces and let your toddler tear more, however large or small.
- Show how to rub the glue stick on the big sheet, not on the scrap, and let them try.
- Let your child press each piece wherever they like, with a flat hand.
- Keep the tray underneath so loose pieces stay in one place.
- When they have finished, press the whole sheet under a heavy book for a few minutes.
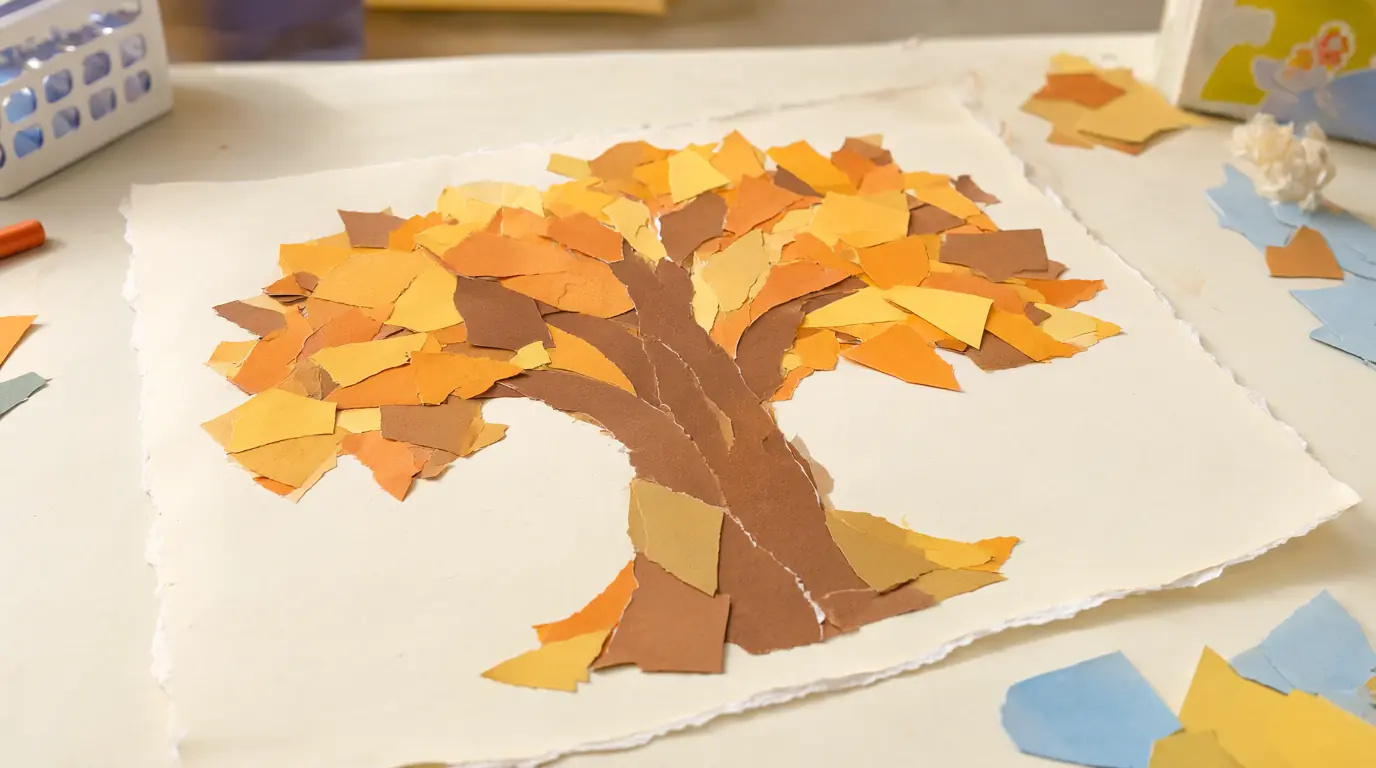
Make it your own: A younger toddler can simply tear and drop pieces into a box; gluing can wait. Older children can build a trunk, branches and a canopy, or sort the scraps into piles by colour before they start.
Pumpkin-print circles
Printing is repetition, and toddlers love repetition. One wide cup, one shallow dish of paint and one big sheet of paper is enough. Because the print is never quite the same twice, the child can see cause and effect immediately: press hard and the circle is solid, press lightly and it is patchy. Count the circles out loud as they appear.
You’ll need
- A wide plastic cup or a large round sponge
- A shallow dish with a little orange washable paint
- A big sheet of thick paper
- An apron and a wipe cloth
How to do it
- Pour a shallow layer of paint into the dish and put the paper on the covered table.
- Show one print: dip the rim of the cup, then press it straight down and lift it up.
- Hand the cup over and let your toddler print wherever they like.
- Encourage a few overlapping prints so the circles turn into a cluster.
- Offer a second colour in a separate dish once the first prints are dry.
- Count the circles together at the end, pointing to each one.
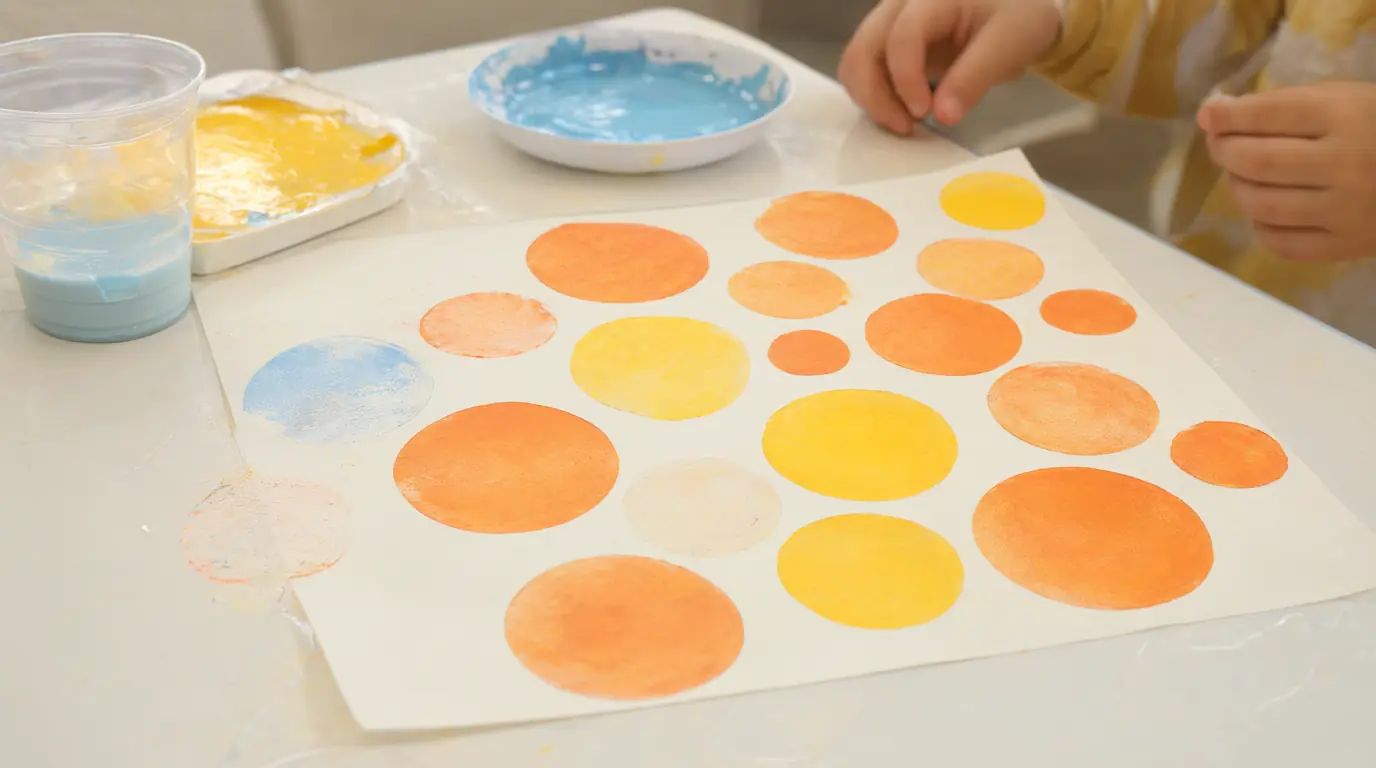
Make it your own: A two-year-old can print with one colour on a small sheet and stop when the paper is full. A three-year-old can try to touch the edges of the prints or aim for a gap. If the paint gets too thick, wipe the rim between prints.
Sticky window for leaves
Clear sticky paper turns a window into a place where leaves stay exactly where your child puts them, with no glue and no waiting. Pressing a leaf onto the sticky side is a good workout for fingers, and the light behind it shows the colour and the veins. The display can be added to over several days as new treasures arrive. You might also like our fall activities for toddlers for more seasonal noticing.
You’ll need
- Clear self-adhesive paper (contact paper)
- A few dry leaves, feathers or thin twigs
- Low-tack tape
- A window pane at your child's height
How to do it
- Peel the backing off the contact paper and tape it to the window, sticky side facing into the room.
- Choose a low pane your toddler can reach with both feet on the floor.
- Show how one leaf sticks and stays, then let them choose the next one.
- Let them move a leaf again and again; the surface keeps working.
- Add a second piece of contact paper over the top if you want the collection to stay put.
- Look at the shapes from the other side of the pane together.
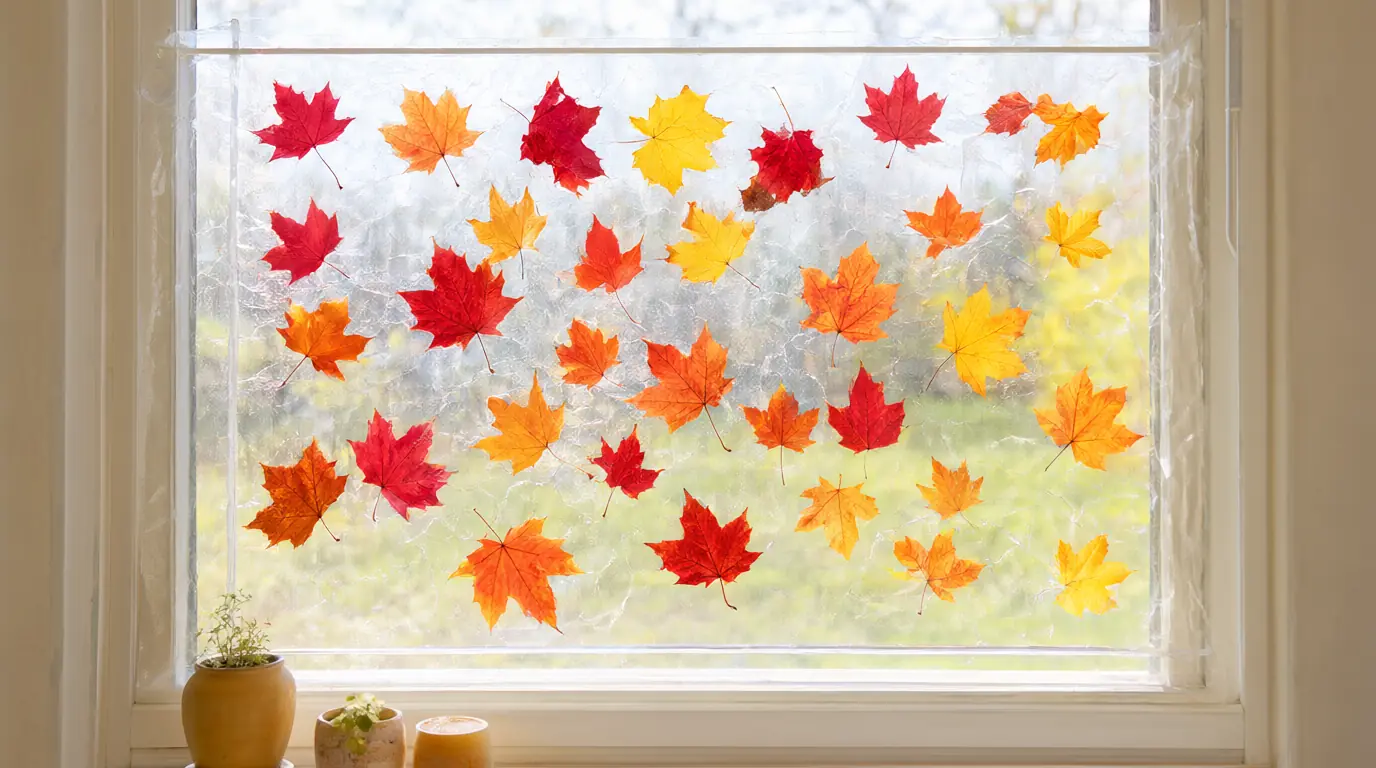
Make it your own: For a two-year-old, tape just one sheet low down and offer two leaves at a time. A three-year-old can sort the leaves by size or colour before pressing them on. If contact paper is not available, paper and a glue stick on the window sill works too.
Warm colour bag painting
This is the version for days when paint everywhere is too much. Two or three blobs of paint go inside a clear sealable bag, the bag is taped down and your child presses, flicks and draws lines with a finger. The colours mix slowly behind the plastic, and nothing needs washing afterwards. It is also a good way to talk about what happens when two colours meet.
You’ll need
- A clear zip-seal bag (freezer strength)
- 2–3 blobs of washable paint
- Strong tape
- A flat tray or the table top
How to do it
- Open the bag and squeeze in two or three well-separated blobs of paint.
- Press most of the air out and seal the top firmly.
- Tape all four edges of the bag flat to the table or a tray.
- Show how one finger can push the paint into swirls and lines.
- Let your toddler press with a whole hand, then with a fingertip.
- Hold the bag up to the window and name the new colours you can see.
- Wipe the outside with a cloth and reuse the bag for a second round.
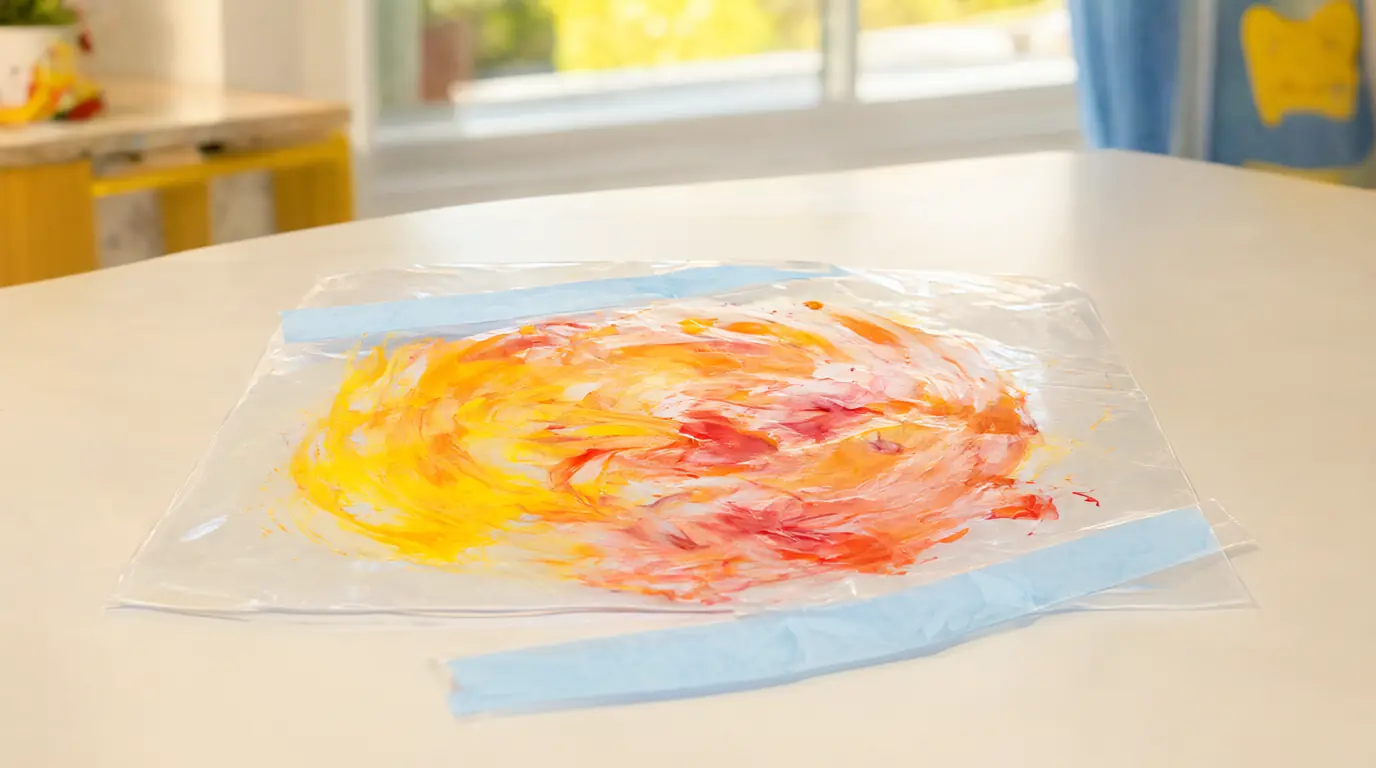
Make it your own: A younger toddler can press with a flat palm and no instruction. An older child can outline a leaf shape on the outside of the bag or try to keep two colours separate. Always tape the bag securely, check the seal before and after play, and stay close by while it is out.

Make it work for your family
The most common wobble is a child who paints for forty seconds and walks away. That is a finished craft, not a failed one. Leave the work on the table and come back to it later, or set out a second colour another day. If your toddler wants to empty a whole glue stick, show them how to dot it rather than drag it. If they refuse the brush entirely, hands are fine: cover the table properly and keep a damp cloth within reach.
Keep what they make somewhere low and visible, at their eye level, so they can point to it. Photograph the piece before it goes in the recycling box if space is short. When the paint is dry, ask about the colours and the actions rather than what it is meant to be. For more seasonal making, try these fall crafts for kids or some pumpkin activities for preschool.

Parents also ask
What fall crafts can a 2-year-old actually do?
Tearing paper, leaf rubbings, sticky-window pressing and bag painting all need no cutting or drawing skill. A two-year-old can press, tear, dab and choose colours, which is the whole craft. Keep sessions to five or ten minutes and offer one material at a time.
What can we do with leaves we collect on a walk?
Wash and dry them, then use them for rubbings or press them onto clear sticky paper on a window. Flat, dry leaves work best; skip any with berries, seeds or mould. A leaf can also be looked at under a magnifier or drawn around before it goes back outside.
Do toddler crafts need to look like anything?
No. For children under three the value is in the doing: choosing a colour, pressing hard enough to leave a mark, tearing a sheet in two. A page of overlapping circles or torn scraps is a complete piece of work. Asking what happened, rather than what it shows, keeps the focus on their effort.
Choose materials and activities that suit your child, supervise as needed and adapt the ideas to their interests and abilities. About our editorial approach