Weebou Editorial Team
 In this article
A little preparation
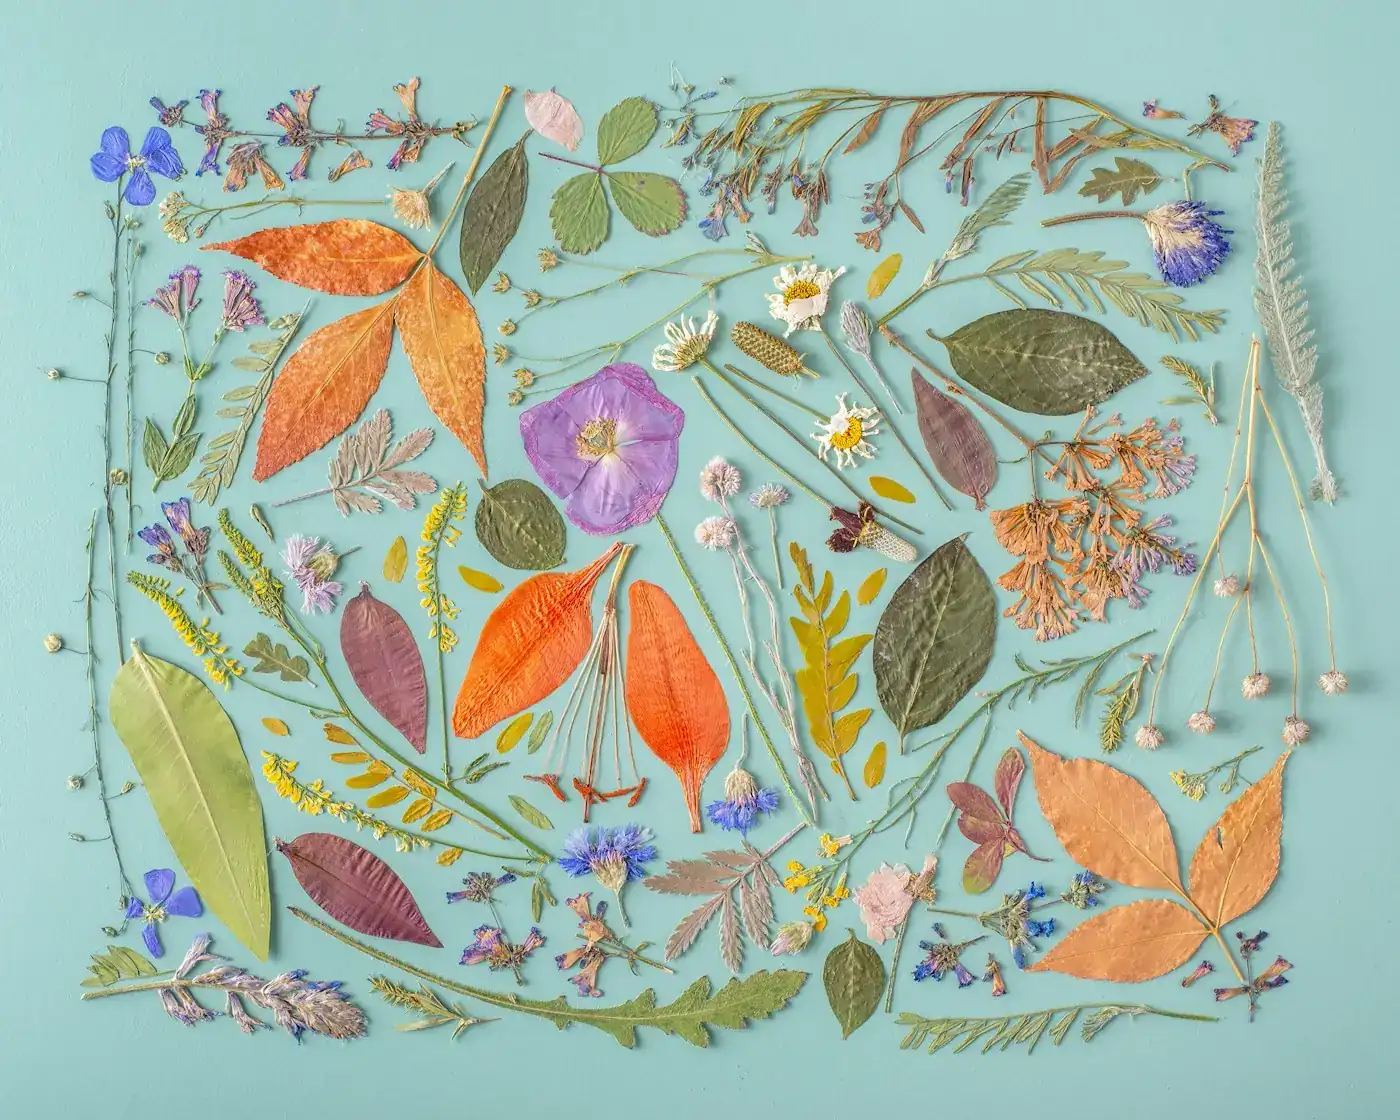
Start by gathering materials on a short walk: five or six dry fallen leaves, a few interesting textures such as bark, a woven basket or a large coin, and a cardboard box from the recycling. Press the leaves flat between sheets of newspaper for a day or two so they do not curl while gluing, and wipe off any mud. Cover the table with newspaper, put out an apron, and set materials in shallow trays rather than one crowded pile.
Choose one project per session and allow about twenty to thirty minutes, including tidying up. Use glue and paint labelled for children, keep sharp scissors in adult hands, and check leaves for damp patches or mould before use. Salt dough is for making, not eating, so keep it away from children who still mouth objects. If a craft stalls, offer one extra material instead of a new instruction and let the work stay unfinished. Open-ended starting points like these sit well alongside these everyday arts and crafts ideas.

Ideas to try together
Layered leaf collage
Cutting the leaves out beforehand takes the pressure off small hands, so the session becomes about arranging rather than producing. Lay the paper shapes on the background without glue first and ask your child to move just one piece: overlapping two leaves changes the whole picture, and that discovery matters more than a tidy result. Glue comes last, once the arrangement has been chosen.
 You’ll need
- A large sheet of thick paper or card for the background
- Paper leaves pre-cut in three sizes and several autumn colours
- A glue stick
- Crayons for extra detail
- A shallow tray for the loose pieces
How to do it
- Cover the table and lay the paper leaves out in three sizes.
- Ask your child to arrange five or six leaves on the background without any glue.
- Try overlapping two leaves together and talk about what changed.
- Slide the chosen pieces to one side, one at a time, and glue each back in place.
- Add crayon details such as stems, a path or lines of rain.
- Leave the collage flat to dry, then decide together where it should hang.
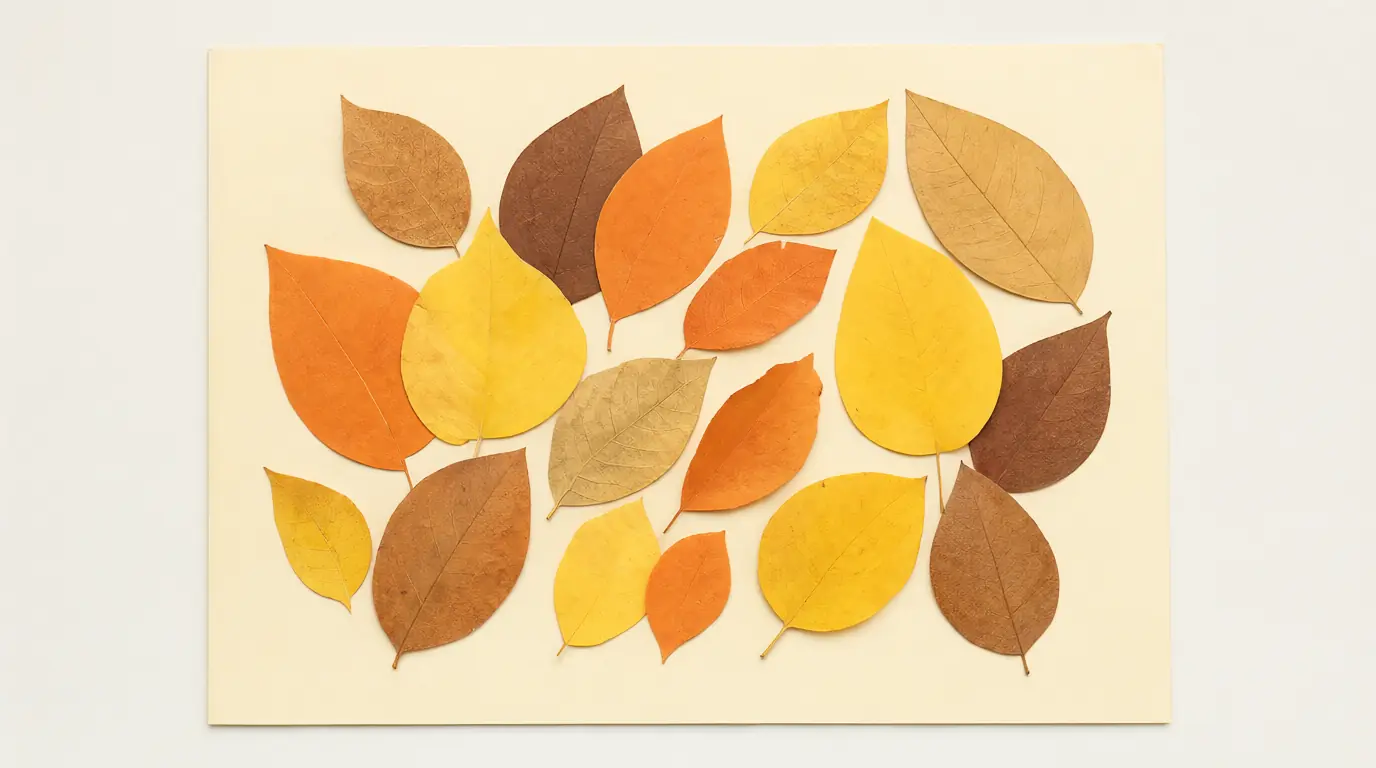
Make it your own: Two-year-olds can glue three big leaves onto a small sheet. Older children can cut their own leaf shapes, add a horizon line and plan which leaves sit in front. If glue sticks frustrate them, use strips of double-sided tape instead.
Crayon texture rubbings
Rubbings suit children who like repetition and small details. The side of a crayon picks up texture that fingers cannot easily feel, and comparing a bark rubbing with a basket rubbing gives you something concrete to talk about. Once the page is full, the marks can turn into a creature: fins, fur, scales or a crown.
You’ll need
- Thin paper, or a page from a plain notebook
- Two or three thick crayons with the paper peeled off
- A dry leaf, a piece of bark and a woven basket
- A clipboard or tape to hold the paper still
How to do it
- Place a leaf, a piece of bark or a woven basket under the sheet of paper.
- Turn a thick crayon on its side and rub in one direction with steady pressure.
- Move to a second texture and use a different colour.
- Fill several areas of the page, leaving space between the rubbings.
- Look at the marks together: which one looks like fur, scales or stone?
- Draw legs, eyes or wings onto one rubbing to turn it into a creature.
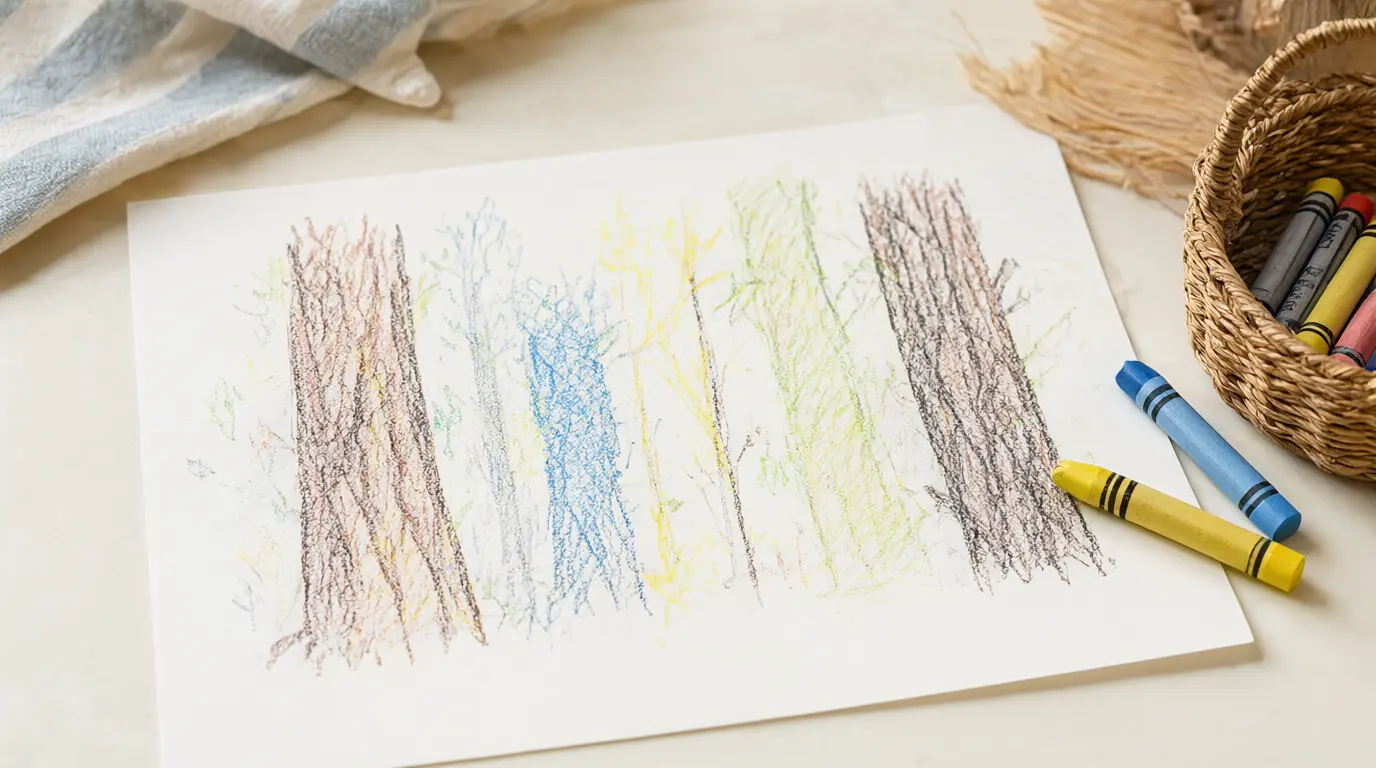
Make it your own: Younger children need chunky crayons and one texture at a time. Older ones can rub two textures side by side and label them in their own spelling. If the table is crowded, clip the paper to a clipboard and rub on the floor.
A colour strip for one autumn sky
An autumn sky changes quickly, and a painted strip freezes one version of it. Children choose the order of the colours and decide whether the strip is a landscape, a flag or simply a line of colour. It is a useful project for a grey afternoon when nobody wants to go outside but everyone still wants to make something.
You’ll need
- A long strip of thick paper, about 10 cm tall
- Washable paint in two or three sky colours
- Shallow dishes or a paint palette
- A thick brush and a pot of water
- Newspaper for the table
How to do it
- Cut a long strip of thick paper and lay it on the newspaper.
- Look out of the window together and name the colours you can see in the sky.
- Pour two or three paint colours into shallow dishes.
- Paint wide bands across the strip, one colour at a time.
- Leave a gap between bands for crisp edges, or let them run together on purpose.
- Lay the strip flat to dry, then tape it to a window or wall at your child's eye level.
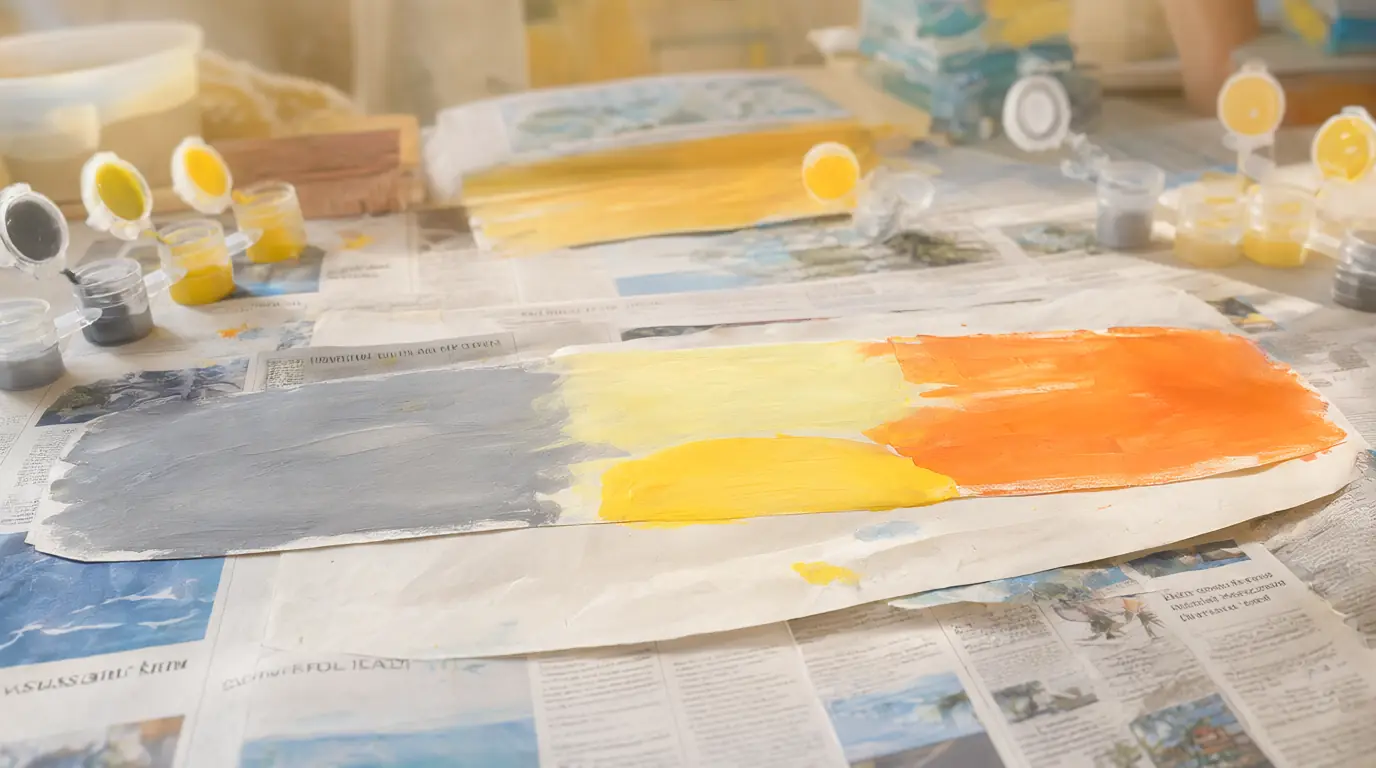
Make it your own: Toddlers can choose two colours and paint freely on a short strip. Older children can mix a grey from black and white, then compare the finished strip with the real sky later in the day and paint a second version.
A folded cardboard harvest stand
A folded cardboard counter gives the finished craft somewhere to go, because it becomes a shop in later pretend play. Drawing the produce yourself means the stall can sell apples, pumpkins, jars or entirely imaginary things, and the small paper signs give early mark-making a real purpose instead of a worksheet.
You’ll need
- A rectangle of sturdy cardboard
- Paper and crayons for the produce
- A glue stick
- Small scraps of paper for signs
- A basket or small box as a till
How to do it
- Fold the bottom third of the cardboard forward so the counter stands up.
- Draw or cut paper shapes for apples, pumpkins, jars or bread.
- Colour the produce and glue it along the front of the counter.
- Make two or three small signs with a picture or a word your child chooses.
- Stand the stall on a low table and take turns being the customer.
- Add a basket or box as a till and keep the stall out for the rest of the week.
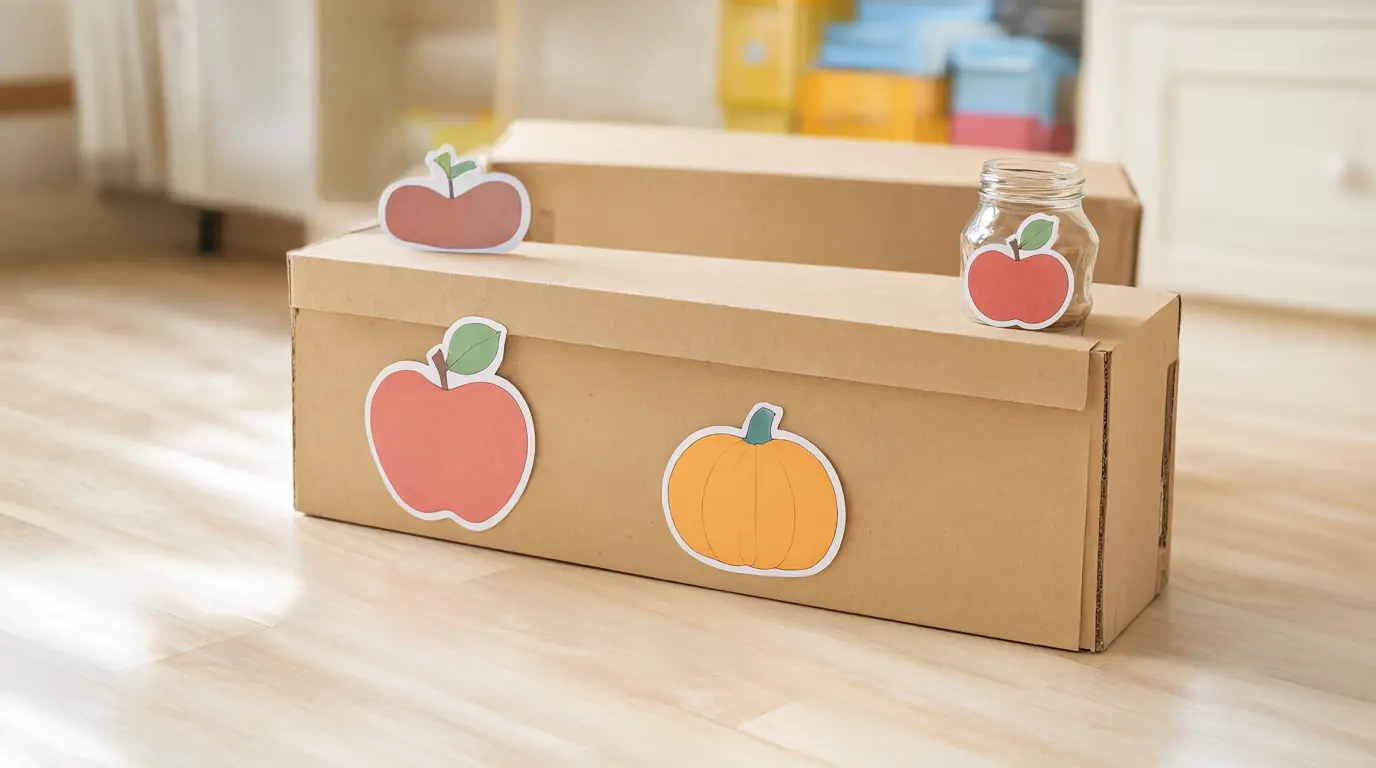
Make it your own: A single folded card is enough for a two-year-old, with one or two items to sell. Older children can add price labels, a written list of stock and a second counter for a different kind of shop.
Salt dough leaf prints
Salt dough takes a leaf print beautifully, and the result is an object rather than a sheet of paper, which appeals to children who want something to hold and turn over. Pressing a leaf into dough is also a gentle way to look closely at veins and edges. The prints dry over a day or two and can be displayed, given away or propped on a shelf.
You’ll need
- One cup of plain flour
- Half a cup of salt
- About half a cup of water
- A bowl, a spoon and a rolling pin
- Two or three dry leaves with clear veins
How to do it
- Mix the flour, salt and water into a soft dough, adding water a little at a time.
- Knead the dough for a minute, then roll it flat to about the thickness of a biscuit.
- Press a leaf firmly into the dough with its vein side facing down.
- Lift the leaf away slowly to reveal the print.
- Shape the edges with your fingers, or leave the discs as they are.
- Leave the prints in a warm, dry room for a day or two until hard, turning them once.
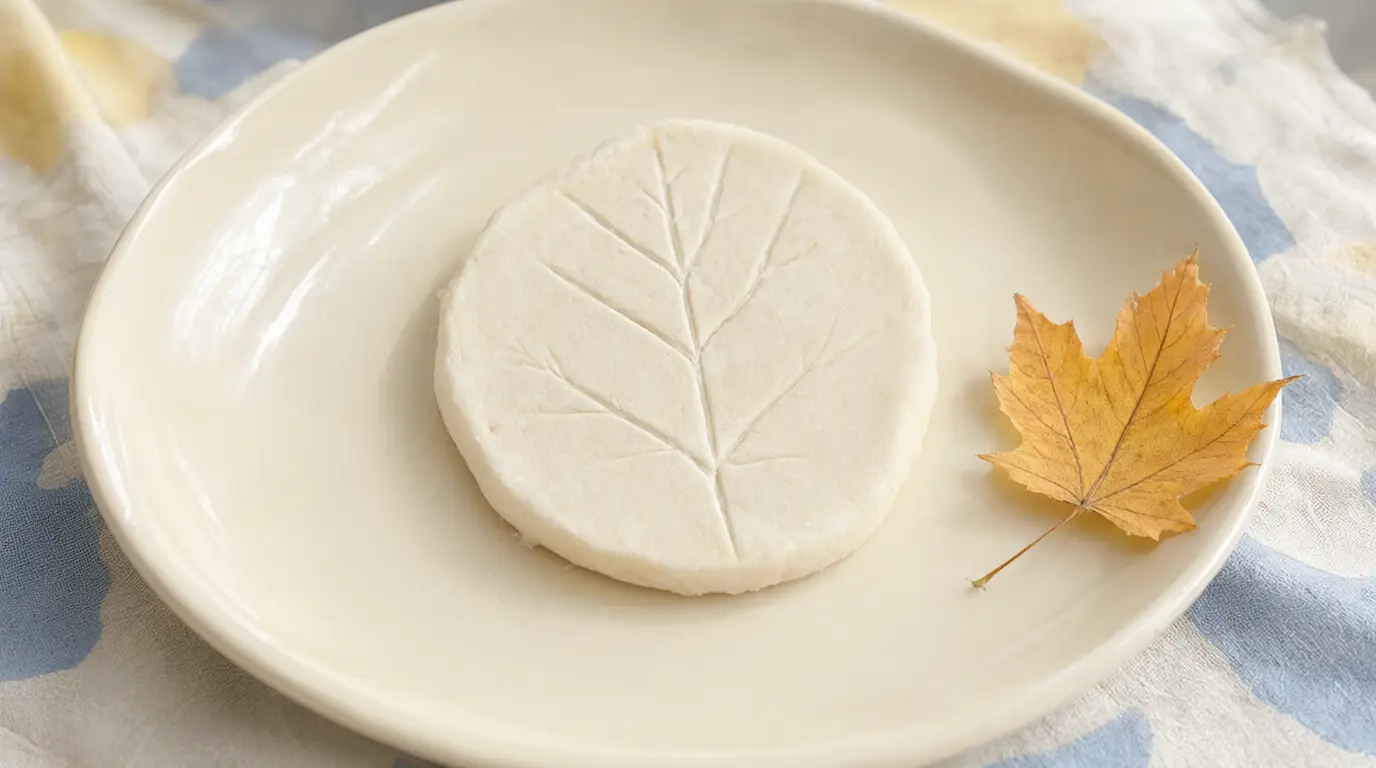
Make it your own: Younger children can press one leaf with a flat hand and stop there. Older ones can make a set of four prints, compare the vein patterns and add a loop of string for hanging once the dough is completely dry.

Make it work for your family
Things rarely go to plan: glue sticks dry out, leaves crumble, and a carefully planned collage becomes a single glued tower. Keep spare leaves and a second sheet of paper nearby so a torn piece is not the end of the session. If your child loses interest halfway, leave the work on the table and come back after a snack, since many projects finish in two short sittings. Try not to correct placement while they are still working; wait until they say they are finished.
Storing the results matters as much as making them. Flat paper pieces can go into a large folder or onto a low wall at your child's eye level, while dough prints need a dry, airy spot for a few days and may shrink slightly as they harden. Photograph anything fragile before it is handled too often. For more ways to use the same season, try these fall activities for kids or a set of toddler-friendly autumn crafts built around bigger pieces.

Parents also ask
What autumn crafts can a two-year-old do?
Big, low-pressure projects work best: gluing three large paper leaves onto card, rubbing a crayon over a leaf held under paper, pressing a leaf into soft dough, or painting a short colour strip. Offer one material at a time, expect the process to matter more than the result, and keep small pieces away from children who still mouth objects.
How do you stop paper leaves from curling?
Press freshly collected leaves between sheets of newspaper or inside a heavy book for a day or two before using them. Glue them with a glue stick onto sturdy paper rather than thin paper, and press the finished collage under a book for an hour. Leaves that are already damp or crumbly will not flatten well.
What can we make with fallen leaves?
Layered collages, crayon rubbings, salt dough prints, leaf sorting by shape and colour, or a simple leaf crown taped to a paper band. Choose dry, unbroken leaves, wipe off mud, and wash hands afterwards, since fallen leaves carry dirt and small insects.
Choose materials and activities that suit your child, supervise as needed and adapt the ideas to their interests and abilities. About our editorial approach