Weebou Editorial Team
 8 min read
 In this article
A little preparation
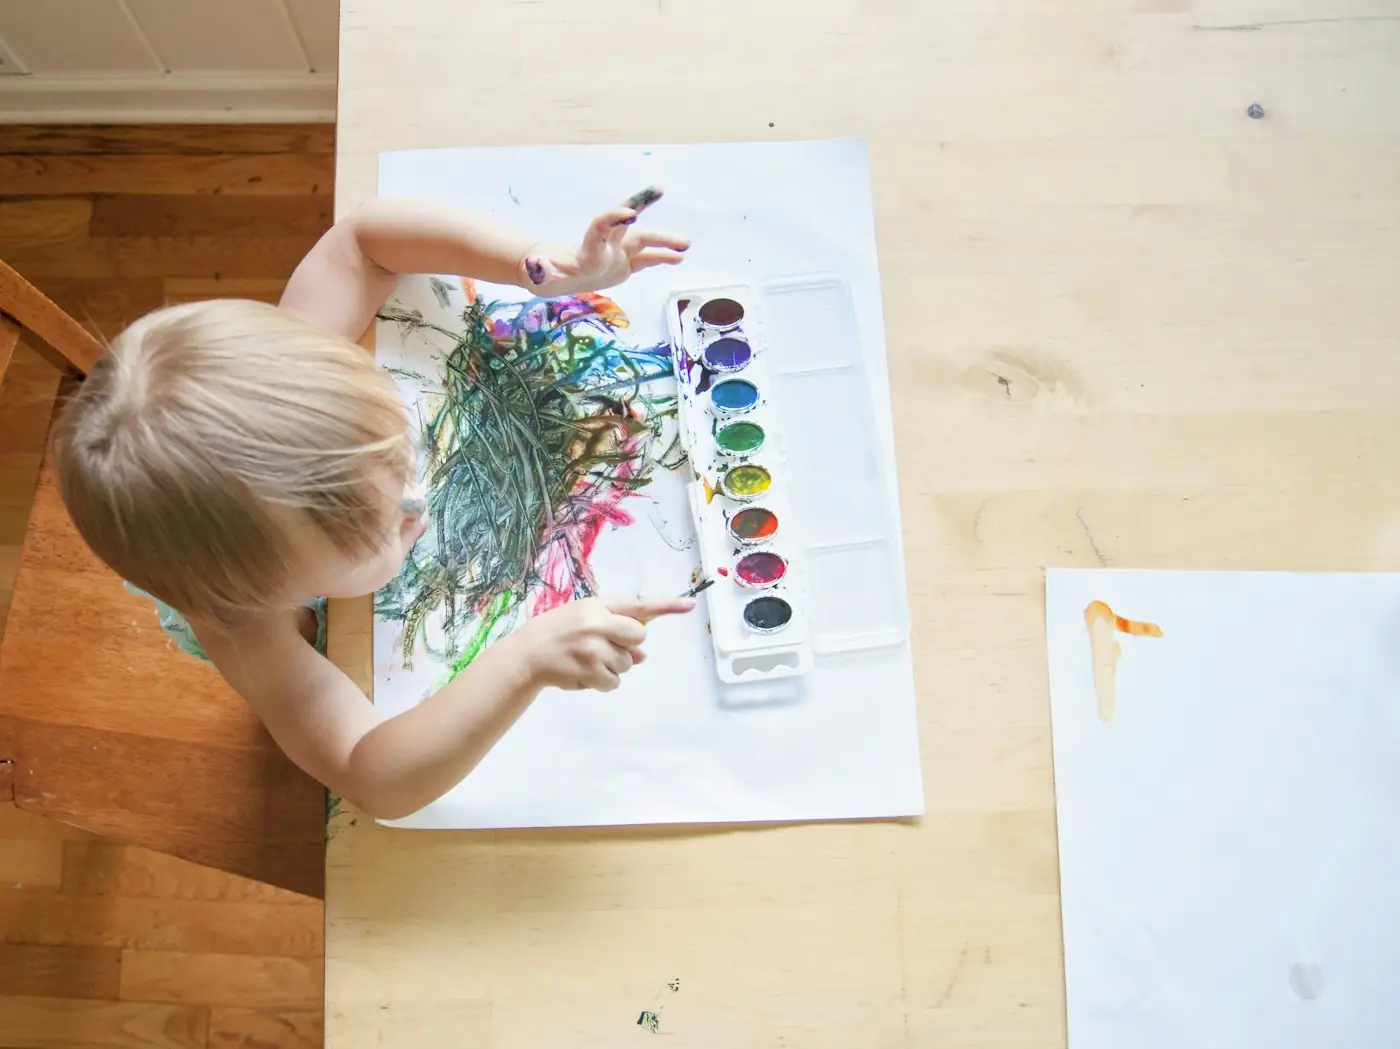
Choose materials that suit a child who may still put things in their mouth: chunky crayons, large paper shapes and non-toxic, washable paint or glue labelled for young children. Tape the paper to the table or floor so it will not slide, and put a wipe-clean sheet or old sheet underneath. Dress your toddler in clothes you do not mind getting marked, and keep a damp cloth within reach for hands.
Prepare everything that needs scissors yourself, and keep small items such as buttons, googly eyes, sequins and beads out of reach. Offer only one or two materials at a time; a toddler with a pile of choices may be overwhelmed. Sit with your child for the whole activity, because toddlers need an adult to remove a crayon from a mouth or catch a paint pot, and because your attention is part of the fun. Plan on five to fifteen minutes, and be ready to stop the moment interest fades.

Ideas to try together
Shared scribble space
A huge piece of paper on the floor invites big arm movements, which are the first step towards control of the hand. When you draw beside your toddler without trying to produce anything, they see that scribbling is real work and can make their own marks in their own way.
You’ll need
- A large sheet of paper such as lining paper or a flattened box
- Masking tape
- 2 or 3 chunky washable crayons
- A wipe-clean sheet underneath
How to do it
- Tape the paper to the floor at each corner.
- Sit down with your toddler and place the crayons within reach.
- Make your own marks beside theirs, such as lines and dots, without drawing a picture.
- Describe what you see, for example long lines or a big circle.
- Offer a new colour only if they look for one.
- Leave the paper on the floor for a while so they can come back to it.
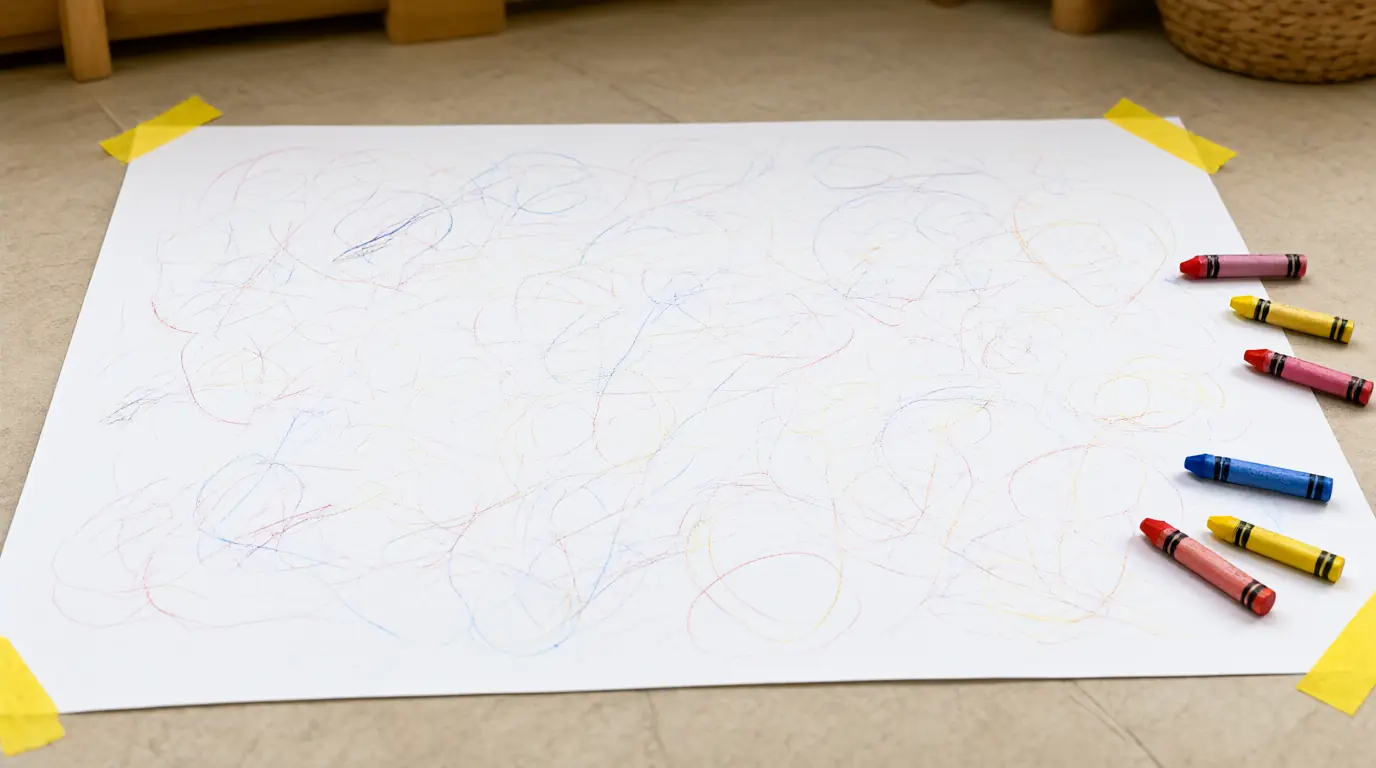
Make it your own: For the youngest toddlers, tape the paper to a low table and offer one crayon. Children closer to three can try making a path for a toy car to follow along the lines.
Big shape placement
Placing large shapes teaches toddlers that they can decide where things go. A few big paper circles and squares are easier to hold than small pieces, and the glue stick keeps them in place. There is no right arrangement, so your toddler can put the shapes anywhere and add as many as they like.
You’ll need
- 5 to 6 large paper shapes cut from coloured card by an adult
- A large sheet of paper
- A child-safe glue stick
- A tray to hold the shapes
How to do it
- Lay out the shapes on the tray so they are easy to reach.
- Show your toddler how to rub the glue stick on the back of a shape.
- Help them press it on to the paper wherever they choose.
- Say the colour or shape as they place it, without correcting where it goes.
- Continue until they lose interest or the shapes run out.
- Leave the picture flat to dry before moving it.
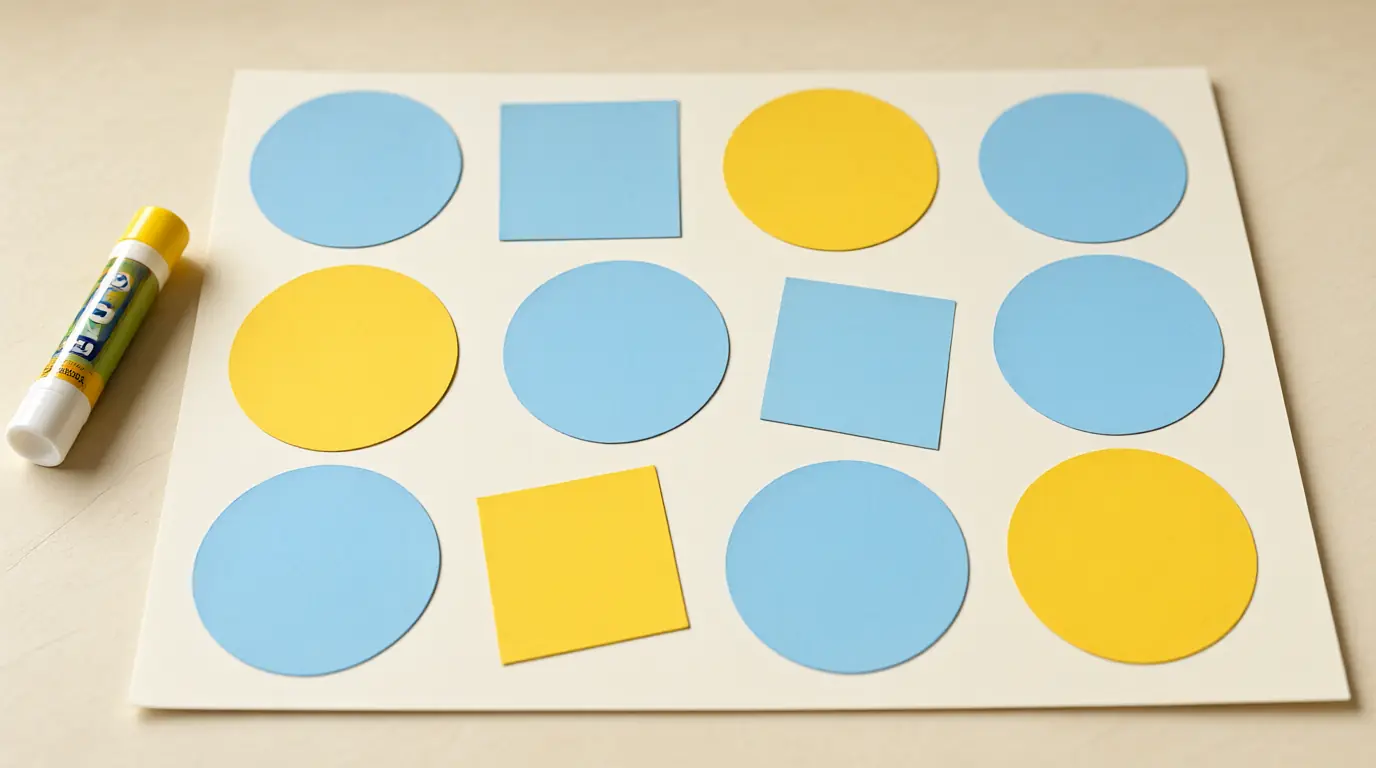
Make it your own: Younger toddlers can place shapes without glue, then you add the glue afterwards. Older toddlers can try putting shapes of the same colour near each other, or making a road for a toy.
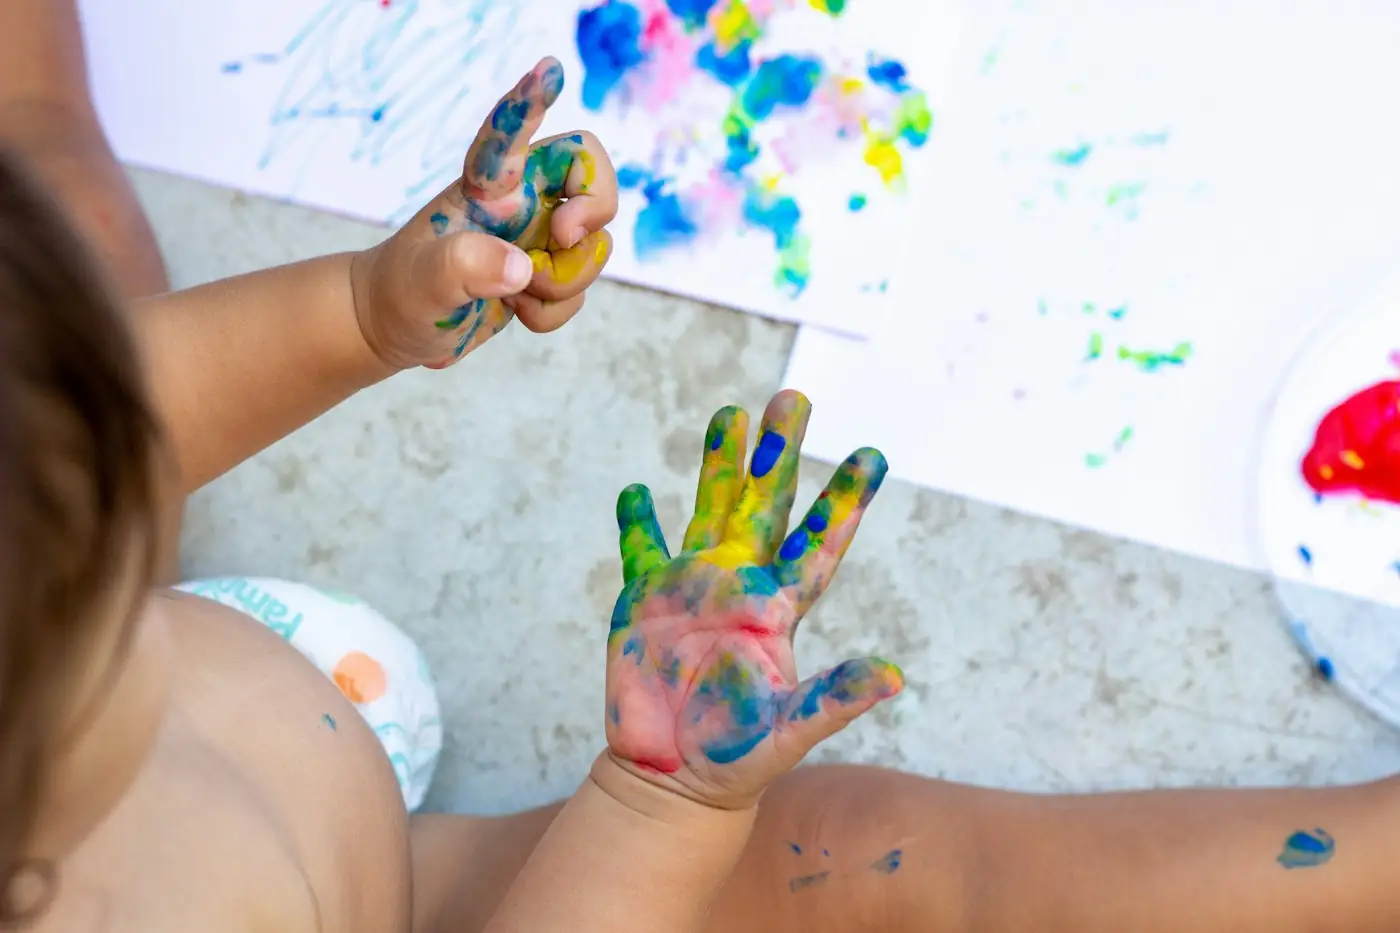
Press and reveal sponge stamps
A sponge is easy for a small hand to hold and leaves a satisfying mark. Pressing lightly or firmly changes the print, and the repeated motion gives children a clear cause and effect. It is also a gentle way to meet paint without needing a brush.
You’ll need
- A large kitchen sponge cut into 2 or 3 big pieces
- Washable paint in a shallow dish
- A big sheet of paper taped down
- An apron and a damp cloth
How to do it
- Pour a thin layer of paint into a dish or onto a plate.
- Show your toddler how to press the sponge into the paint and lift it.
- Press the sponge onto the paper and lift again to reveal the shape.
- Say press and lift as they repeat the action.
- Offer a second sponge and colour if they want to change.
- Wipe hands straight away and let the print dry flat.
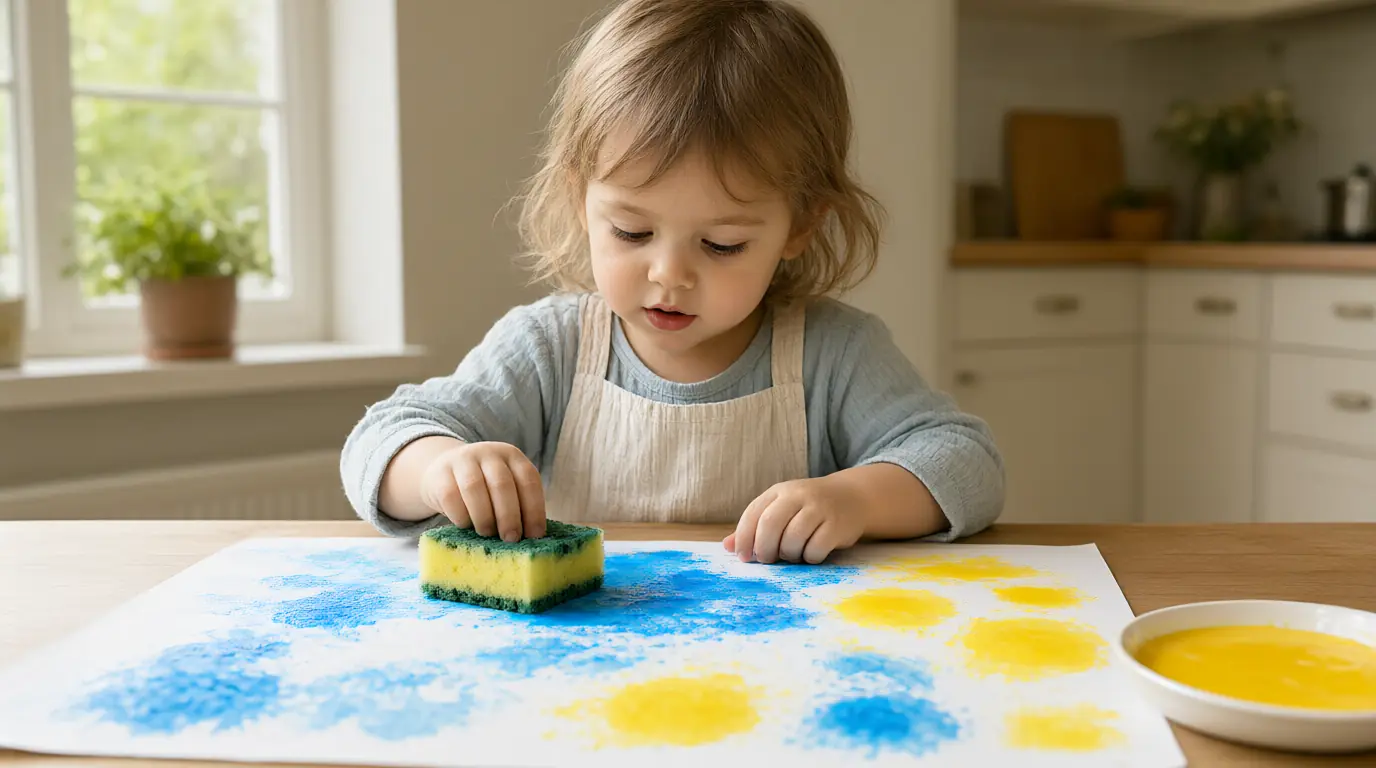
Make it your own: For younger toddlers, use a single colour and a bigger sponge. Older toddlers can print in a line, make a pattern or print over a printed shape to see what happens.
A message picture
Even very young children want to send a message to someone they love. A scribbled picture becomes a gift when you ask who it is for and what your toddler would like to say, and you write their words for them. It links marks with meaning, which is a useful early step towards writing.
You’ll need
- A sheet of paper folded in half like a card
- Chunky washable crayons
- A pen for the adult
- An envelope if wanted
How to do it
- Fold the paper and ask who the picture is for.
- Let your toddler make marks on the front with the crayons.
- Ask what they would like to say, and write their words inside.
- Read the words back to them, pointing at each one.
- Let them hold it while you talk about where it will go.
- Deliver it together by hand or post it.
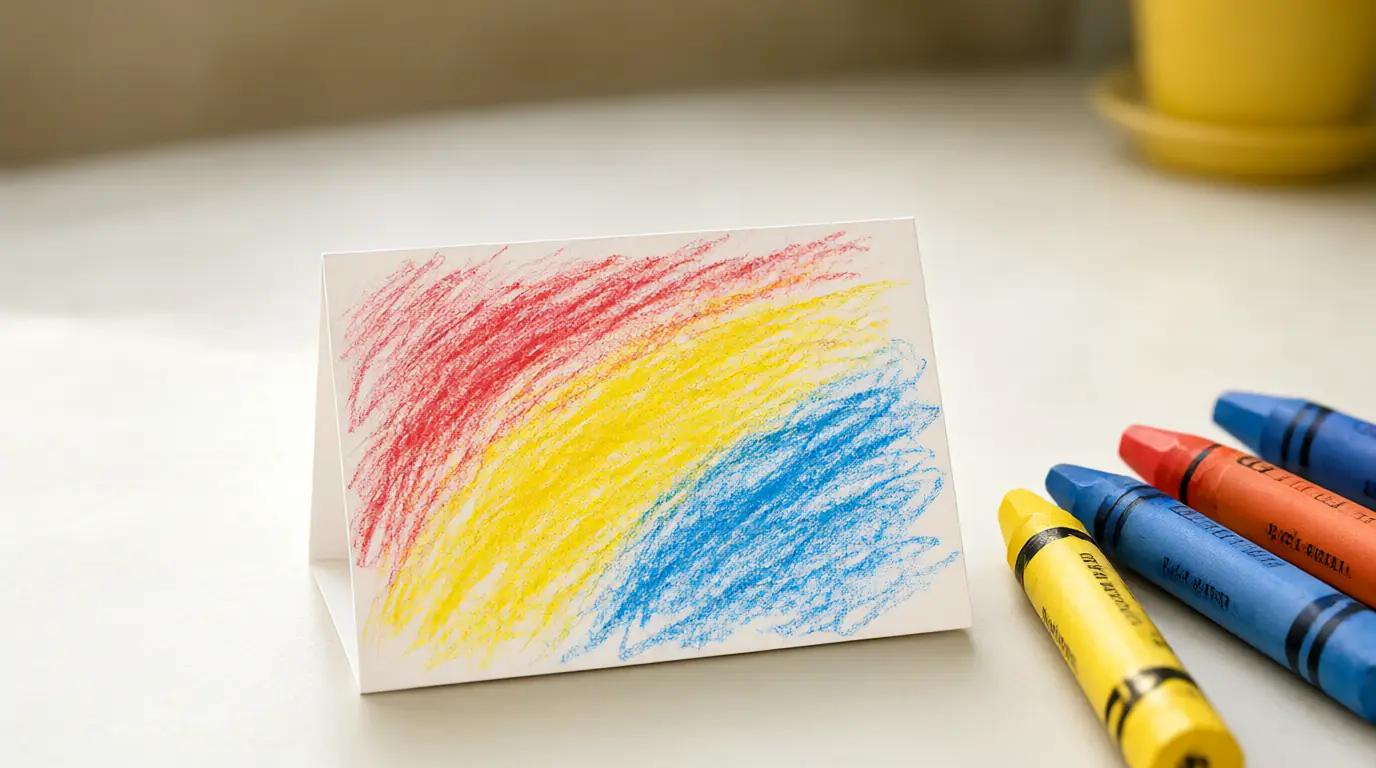
Make it your own: For toddlers who do not talk much yet, offer a choice of two names or pictures, and write the one they point to. Older toddlers can try pressing a handprint or a sticker onto the card.
Tear and stick collage
Tearing paper is a good workout for hands and fingers, and it needs no scissors. Toddlers like the sound and the way a sheet changes into pieces. Sticking the pieces down adds a second step with a visible outcome, and the pieces can land wherever the child likes.
You’ll need
- Old magazines or coloured tissue paper
- A large sheet of card
- A glue stick
- A bowl for the torn pieces
How to do it
- Show your toddler how to hold a piece of paper in both hands and pull it apart.
- Tear a few pieces yourself, slowly and loudly.
- Let your toddler tear paper and drop the pieces into the bowl.
- Rub the glue stick on the card and invite them to press down the pieces.
- Keep going until the card has plenty of colour.
- Leave it flat to dry and look at it together.
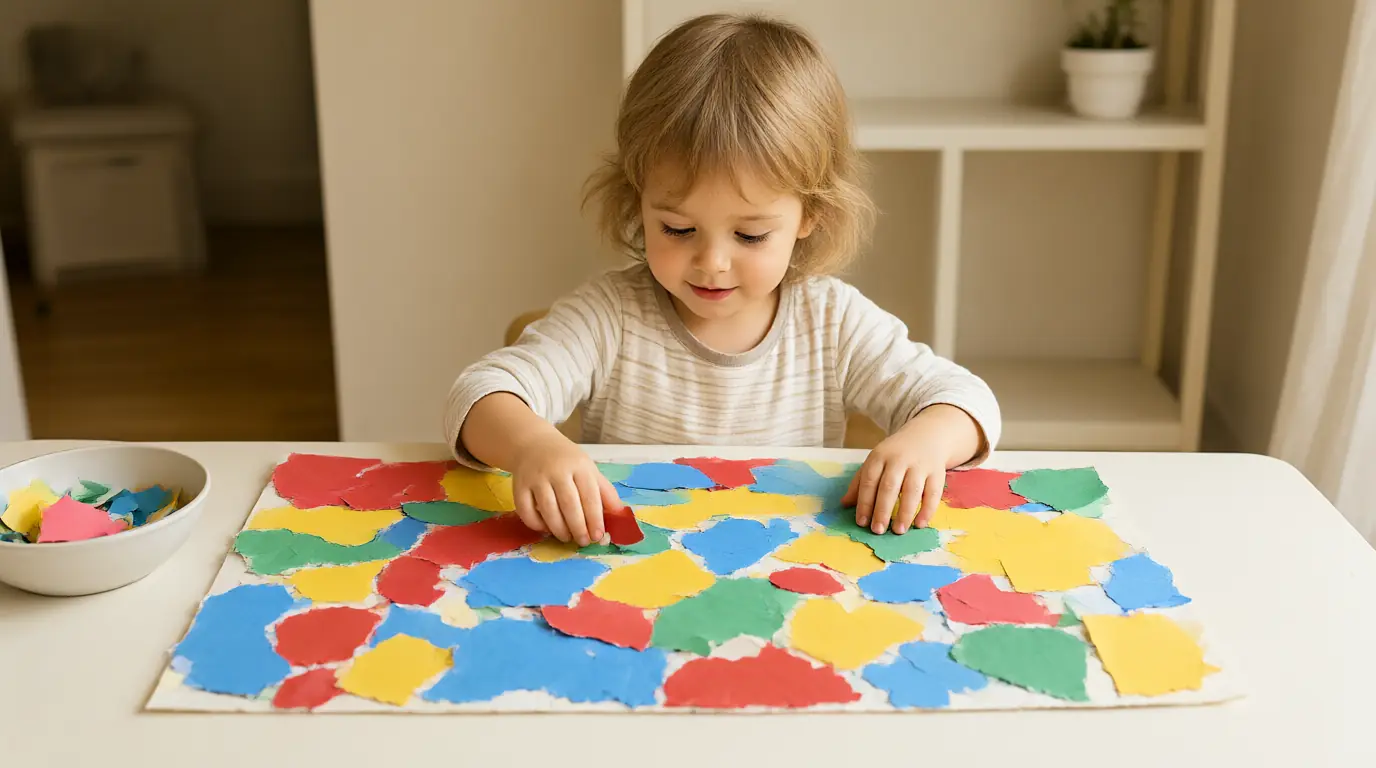
Make it your own: Younger toddlers can scrunch the paper rather than tear it. Older toddlers can sort the pieces by colour before sticking them down, or choose a favourite colour to use.

Make it work for your family
Repetition is the point. A toddler who covers a page with the same mark is practising a movement and watching what it does, so there is no need to add instructions or introduce a harder step. Describe what you see instead of asking what it is: you made lots of round marks, and the red goes right to the edge. If your child tastes the crayon or paint, calmly remove it and offer a different material.
Save a few finished pieces and let the others go, because toddlers produce a great deal and do not need to keep it all. A picture can become a wrapping paper, a card for a relative or a collage background. Hang a few at toddler height and let your child choose which. For more simple ideas for this age, see these two-year-old play ideas and the guide to toddler fall crafts, and try Weebou's creativity games.

Parents also ask
What crafts can an 18-month-old do?
Scribbling with chunky crayons on large paper, pressing a sponge into a little paint and tearing paper are all suitable. Keep sessions very short, supervise closely and avoid small parts, loose glitter and anything that could be a choking hazard.
How do I stop my toddler from eating the craft materials?
Use materials made for young children and stay beside them. Offer a sip of water or a snack before starting, calmly remove anything that goes in their mouth and redirect to a new material. If your child still mouths everything, wait a few weeks.
Should I show my toddler how to make the craft?
Show what to do with a material, such as pressing the sponge, but not what to make. A finished model is unnecessary, and toddlers often prefer to do their own thing. Describe what they are doing and let them lead.
Choose materials and activities that suit your child, supervise as needed and adapt the ideas to their interests and abilities. About our editorial approach