7 min read
 In this article
A little preparation
Choose one project and agree on the materials and the space before starting, for example a table for building and a clear floor strip for a ramp. Let your child say their plan first, in words or a quick sketch, before you add suggestions. Most of these take 20 to 40 minutes and can be stretched over two days; stopping to finish the next morning is a good habit.
Reading, writing and patience vary a great deal at this age, so offer to be the scribe whenever writing becomes the obstacle: your child dictates, you write, and the child remains the designer. Remove breakable objects from any testing area, and keep ramps and towers low to the ground. If you want a game for younger siblings in the room, four-year-old activities give some parallel options.

What to know and try
Write directions for a treasure route
Writing directions for someone else forces a child to think clearly about order and detail. If the route does not work, the child learns which words or pictures were missing, and revising the map feels more like detective work than correction.
 You’ll need
- A small toy or a wrapped sweet as treasure
- Paper and a pencil
- A willing volunteer to follow the route
How to do it
- Agree on the rooms the treasure hunt may use and hide the treasure while the volunteer waits.
- Ask your child to write or draw directions with at least four steps, such as "Go to the sofa. Take five steps to the window."
- Give the directions to the volunteer and watch quietly without helping.
- If they get stuck, note which step was unclear and ask your child how to improve it.
- Rewrite that step and test again with a new hiding place.
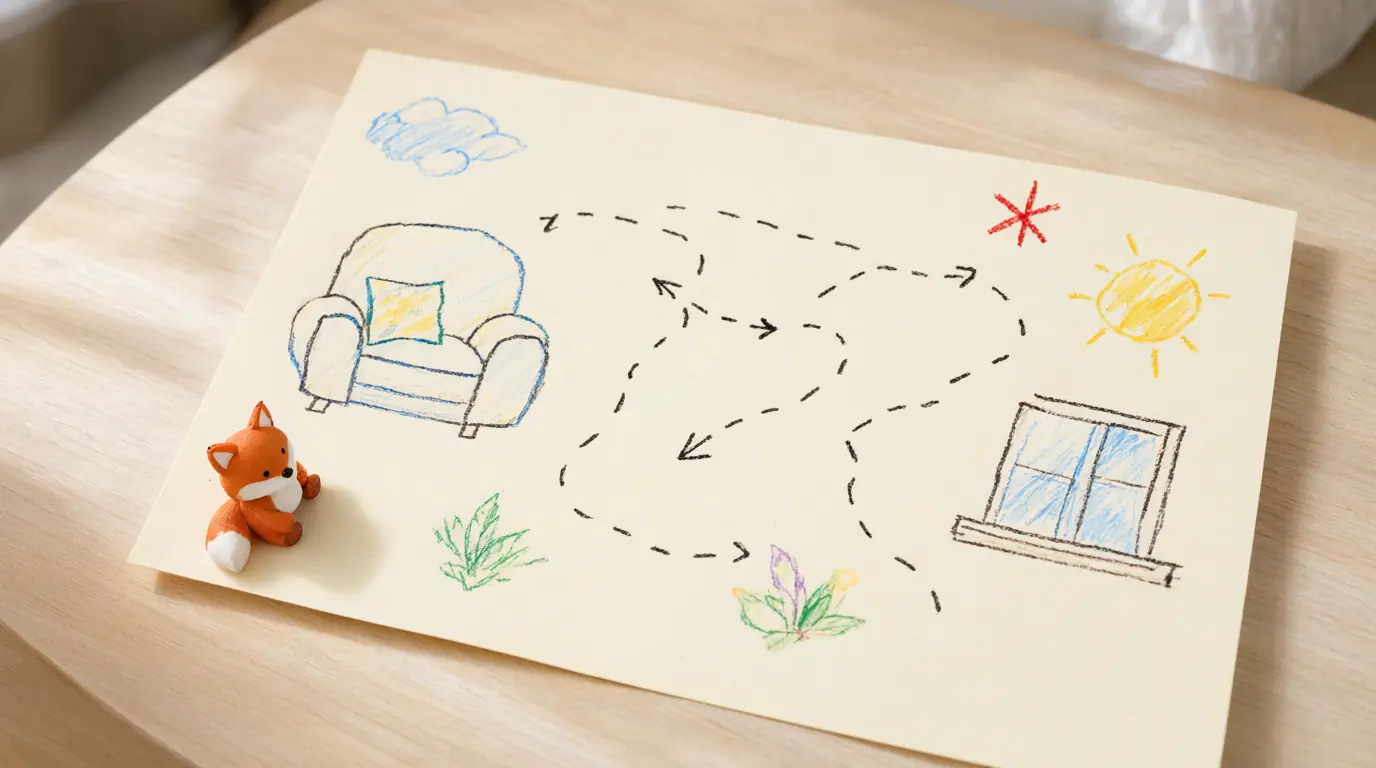
Make it your own: For a child who finds writing tiring, use pictures and arrows or let them dictate. For an extra challenge, ask them to include a measurement, such as "Walk ten steps", and compare whether a short and a tall person arrive at the same place.
Which tower stands longest?
A fair test is easier to understand when children can see and change it. Building two towers from the same number of blocks, but with different arrangements, lets children make a prediction, run the same test twice and think about why one design held up better.
You’ll need
- 20 identical blocks or small books
- A sturdy table
- A piece of paper and a pencil for predictions
How to do it
- Build Tower A with a wide base and Tower B with the same number of blocks stacked tall and narrow.
- Ask your child which tower they think will stay up longer and write down the prediction.
- Gently tap the table with the flat of your hand, the same way each time, until a tower falls.
- Record how many taps each tower survived.
- Talk about what to change in the design, then rebuild and test again.
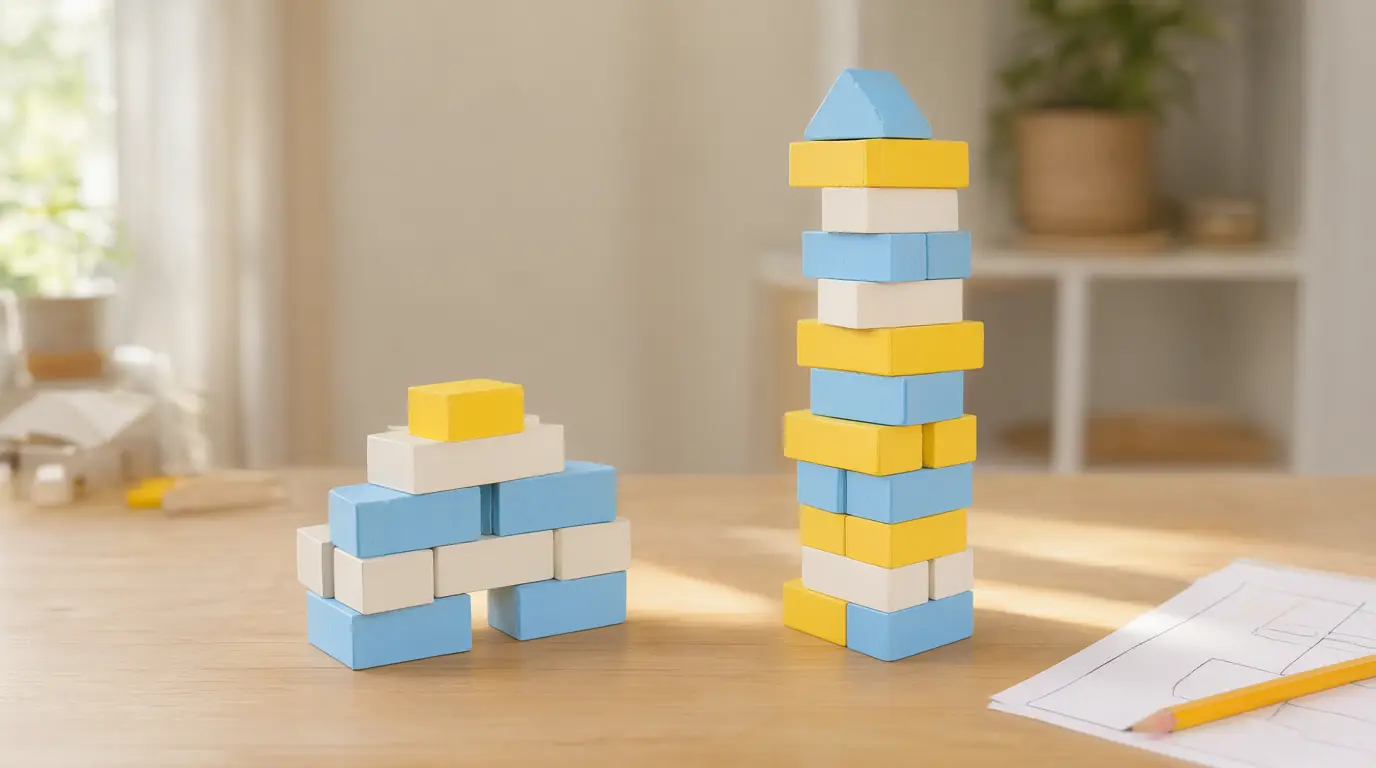
Make it your own: Younger children can compare just a tall and a short tower. Older children can add a third design, such as a pyramid, and draw a chart of the results.
A family game guide
Explaining the rules of a game is a real writing and thinking task. Children must decide what a new player needs to know first, in what order and how to show it, and trying the guide with someone new exposes what is unclear. It is a gentle introduction to instructions and editing.
You’ll need
- A familiar simple game such as snakes and ladders or a card game
- Paper and coloured pencils
- One or two players who do not know the guide
How to do it
- Play the game once so your child remembers the rules.
- Ask them to write or draw the goal, what you need and what happens on a first turn.
- Number the steps and add one small picture for each.
- Ask a new player to follow the guide, with you saying nothing.
- Note where they paused, and improve that step together.
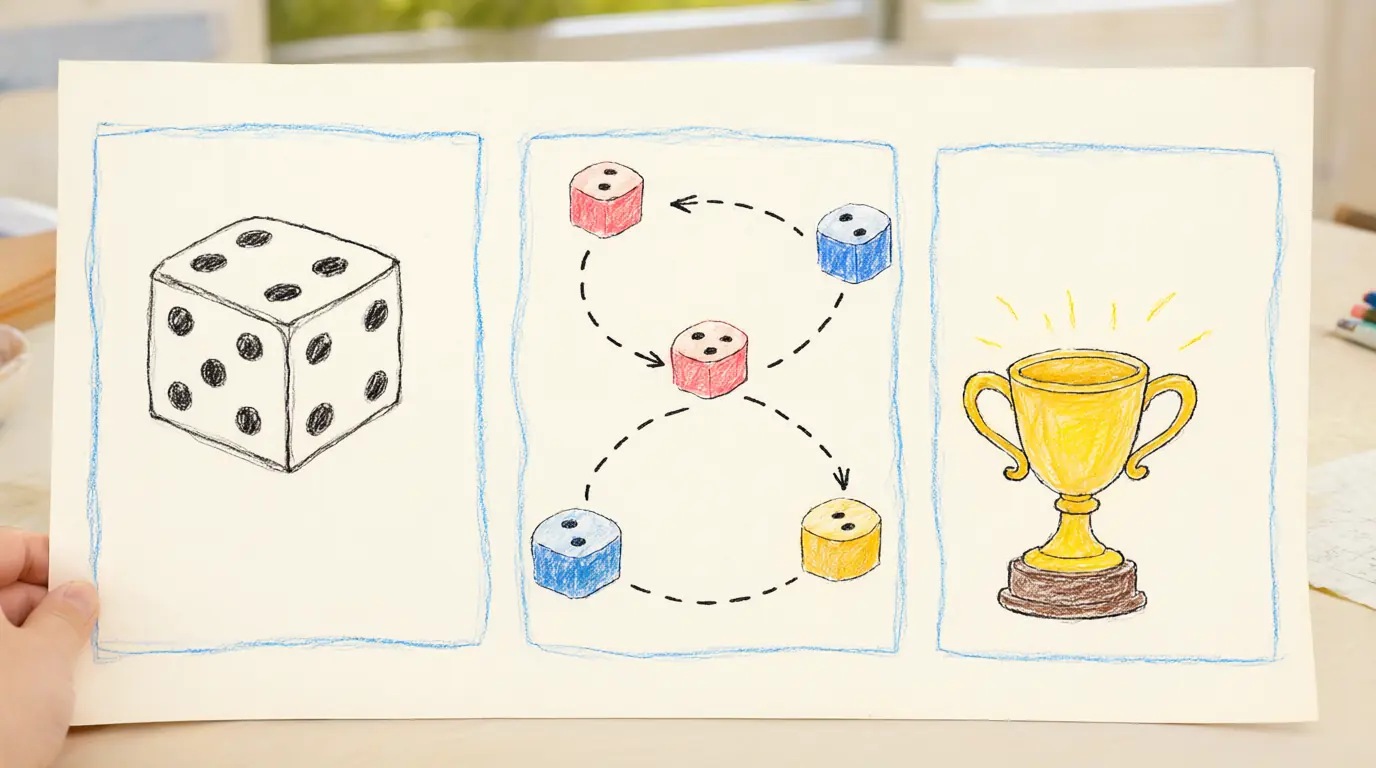
Make it your own: Children who prefer not to write can record instructions aloud on a phone or dictate to you. Older children can add a tip section and a variation, such as a handicap rule for a younger player.
A pretend exhibition
Planning an exhibition gives children practical purposes for counting, arranging and reading. Choosing what to show and how visitors should walk through is a real design decision, and the project can use drawings or models your child has already made, so no new materials are needed.
You’ll need
- 5 to 8 drawings or models
- Blank cards, sticky tape or putty
- Paper for an invitation and a visitors' book
How to do it
- Let your child choose which pieces to show and where to put them.
- Decide a visiting route and mark it with arrows on paper or a line of tape.
- Write a blank card for each piece: title, maker and one sentence about it, with you scribing if needed.
- Make an invitation and a visitors' page where guests can draw a smiley or a comment.
- Open the exhibition for ten minutes and let your child guide the visitors.
Make it your own: Younger children can display three pieces and tell visitors one thing about each. Older children can set a ticket price in pretend coins and count the takings afterwards.
Design a ramp race
A simple ramp lets children test how height, surface and weight change how far a toy car travels. Because they build the ramp themselves, they make real decisions and see results at once, which encourages them to ask what happens if one thing changes.
You’ll need
- A rigid piece of card or a tray about 40 cm long
- A stack of books to raise one end
- 2 or 3 toy cars of different sizes
- A ruler and some paper for results
How to do it
- Prop the ramp on one book and roll one car from the top.
- Mark where the car stops with a piece of masking tape and measure the distance.
- Add a second book and roll the same car again, then compare.
- Try a different car or cover the ramp with a cloth, changing only one thing at a time.
- Record the results in a simple chart and say which change made the biggest difference.
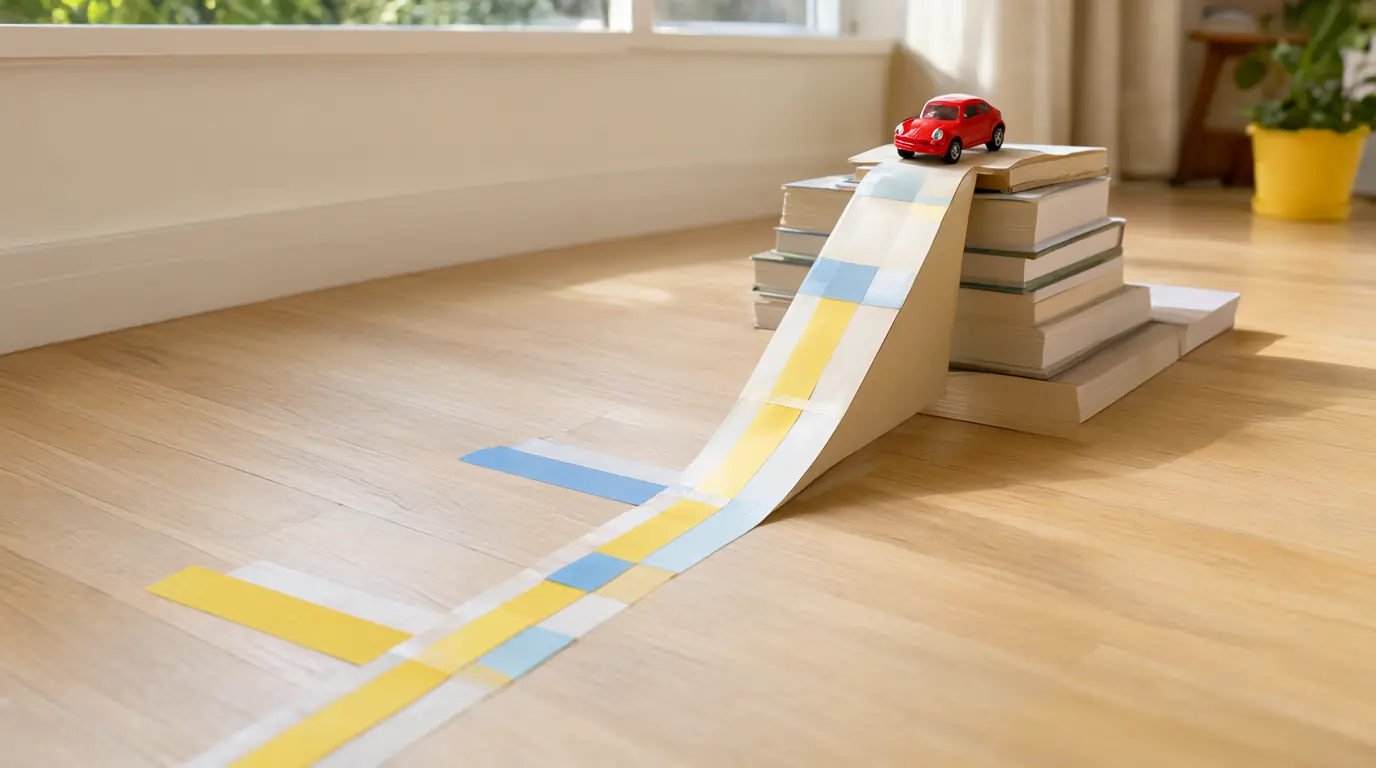
Make it your own: For younger children, compare only two heights and use words like far and near. Older children can measure with a ruler and predict the distance before each roll.

Make it work for your family
The most useful moment is often when something does not work. Ask "What did you expect to happen, and what actually happened?" and let your child decide what to change. Write down their prediction before testing, so they can compare afterwards; this is the beginning of a fair test.
Break big projects into three steps: plan, make, test. If your child gets stuck on one, take a short break or do the next step first. Children this age also enjoy teaching, so inviting a grandparent, sibling or friend to try the finished game gives the project a real audience. For more thinking-based play, try problem-solving activities for kids or strategy games for kids.

Parents also ask
What are good activities for a 6 year old at home?
Projects with a purpose work well: writing directions, building and testing, making a game guide or putting on an exhibition. They combine reading, writing and maths without feeling like homework, and children can choose how much to do.
How long can a 6 year old focus on one activity?
It varies, but many six-year-olds can stay with something they chose for 15 to 30 minutes, and longer for building. Splitting a project into planning and making sessions often helps. Pay attention to your child's own signals.
My child does not like writing. What can we do?
Offer to be the scribe so your child can focus on ideas, or use drawings, arrows and symbols. Writing becomes easier when it has a real purpose, such as directions for a friend. If it worries you, talk to your child's teacher.
Sources & further reading
Explore these primary sources for further context on this topic.
Choose materials and activities that suit your child, supervise as needed and adapt the ideas to their interests and abilities. About our editorial approach