Weebou Editorial Team
 9 min read
 In this article
A little preparation
Pick one spot you can return to easily: a window with a wide view, a sheltered doorway or a balcony you can reach without crossing traffic. Wind and rain are easiest to watch from inside, so treat the glass as your main viewing point and step outside only for a moment when it is calm and an adult can stay close. Keep to a similar time of day where you can, because comparing two mornings tells your child far more than two random observations.
Gather everything before you invite your child, so the noticing is not interrupted. Tape charts to the window rather than holding them, and keep crayons in a small pot nearby. An adult does any climbing, ties the ribbons, places containers outdoors and empties standing water afterwards. Never look directly at the sun, even through cloud, and stay indoors during storms, high winds or extreme heat and cold. Fifteen minutes is plenty; the aim is a habit of looking rather than a lesson, much like these nature activities that begin with looking closely.

Ideas to try together
A window sky chart with drawn symbols
A chart taped to the glass makes repeated looking easy and gives a three-year-old something to point at. Each day adds one small drawing, so a week later your child can look back and see that the weather is never quite the same twice. Drawing the symbol is also a first step in recording an idea rather than only naming it out loud.
 You’ll need
- A sheet of paper taped to the window
- Thick crayons or washable markers
- A small pot for the crayons
- Tape
How to do it
- Tape the paper at your child's eye level on the inside of the window, with sky still visible beside it.
- Divide the page into six or eight boxes before you start, or let your child draw the lines.
- Look out together and ask what the sky is doing right now.
- Invite one drawing per box: a circle for sun, a grey scribble for cloud, short slanted lines for rain, a wavy line for wind.
- Add a small mark or the day's name in the corner of each box so the order stays clear.
- Add one box a day, then look back at two boxes together and ask what changed.
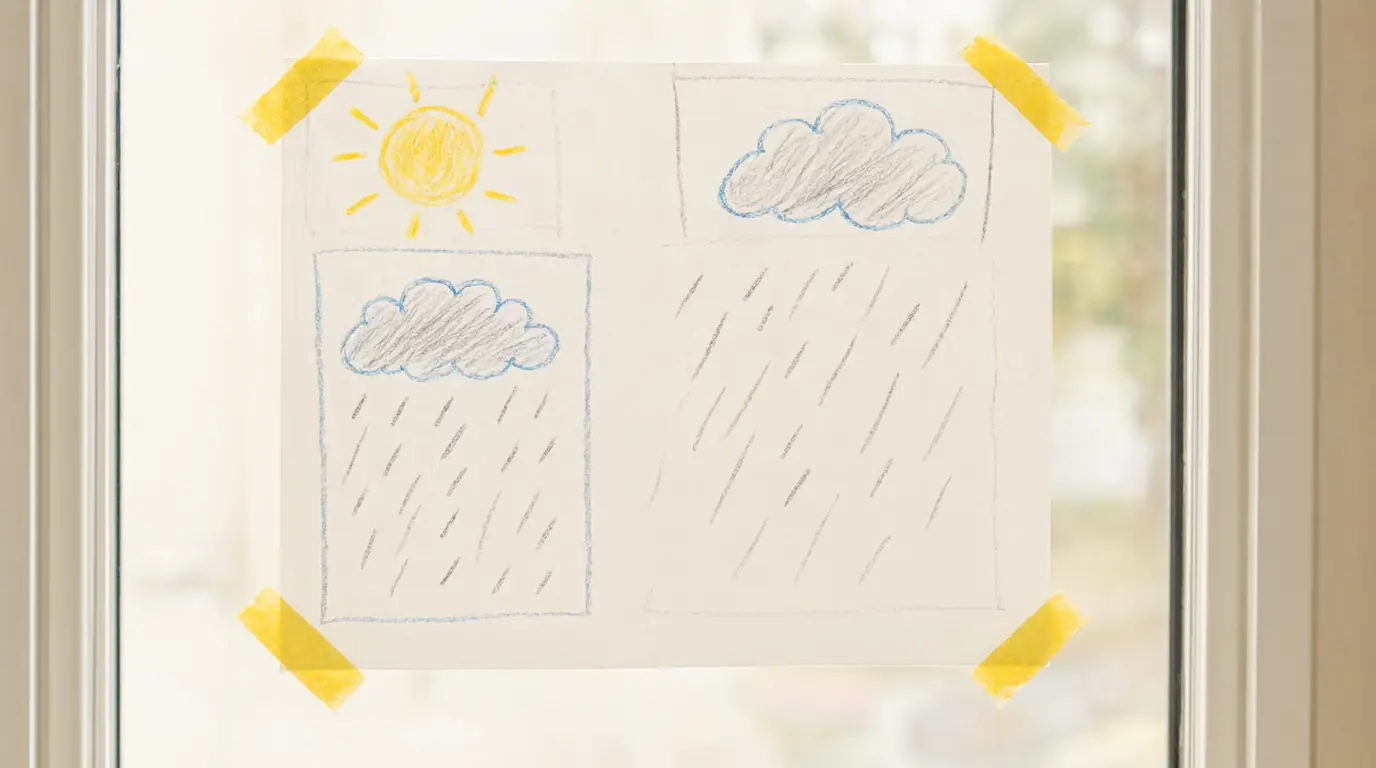
Make it your own: A three-year-old can add a single mark and tell you what it means while you write the word beside it. A five- or six-year-old can invent a symbol key at the top of the page and stick to it. If the window is too high, tape the chart to a low cupboard next to it instead.
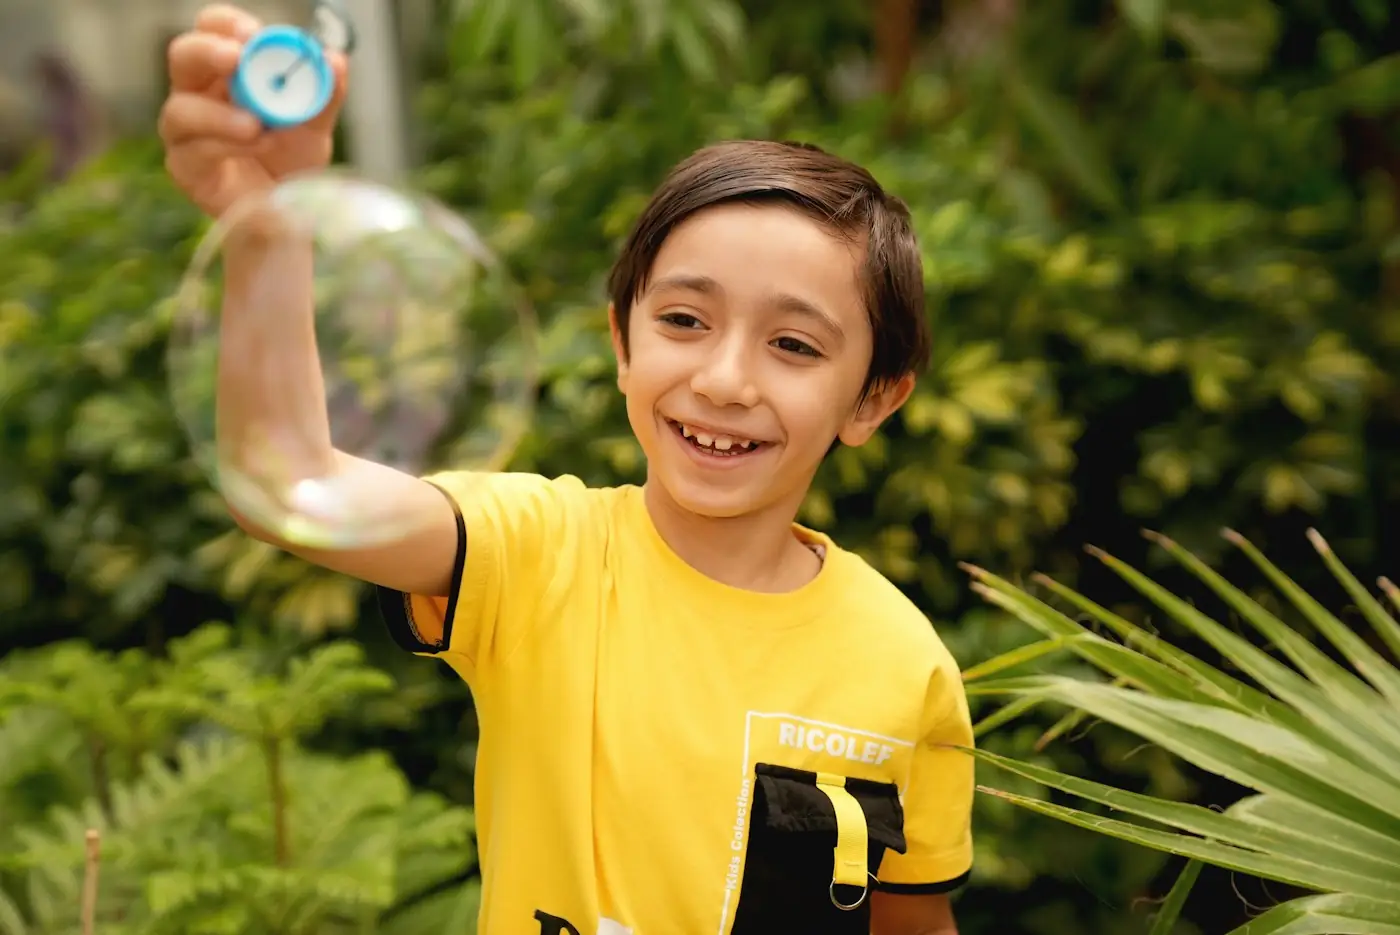
A ribbon that shows which way the wind goes
Wind is invisible, so a ribbon gives it a shape your child can watch. Taping a strip to a stick and holding it at the doorway turns a vague it's windy into a much more useful it's pulling towards the fence. The movement also leads naturally into whole-body play, waving arms and scarves in the same direction the ribbon chose.
You’ll need
- A light ribbon or strip of crepe paper, about 50 cm long
- A stick or a cardboard tube
- Tape
- A doorway or open window, with an adult close by
How to do it
- Tape one end of the ribbon firmly to the end of the stick.
- Hold the stick just outside the doorway or open window while an adult keeps a hand on it.
- Watch together: does the ribbon hang down, lift a little, or pull straight out?
- Turn slowly and notice whether it points the same way in every direction.
- Come back inside and move your arms like the ribbon did, fast for windy and slow for still.
- Tape the streamer somewhere safe indoors and check it again after lunch.
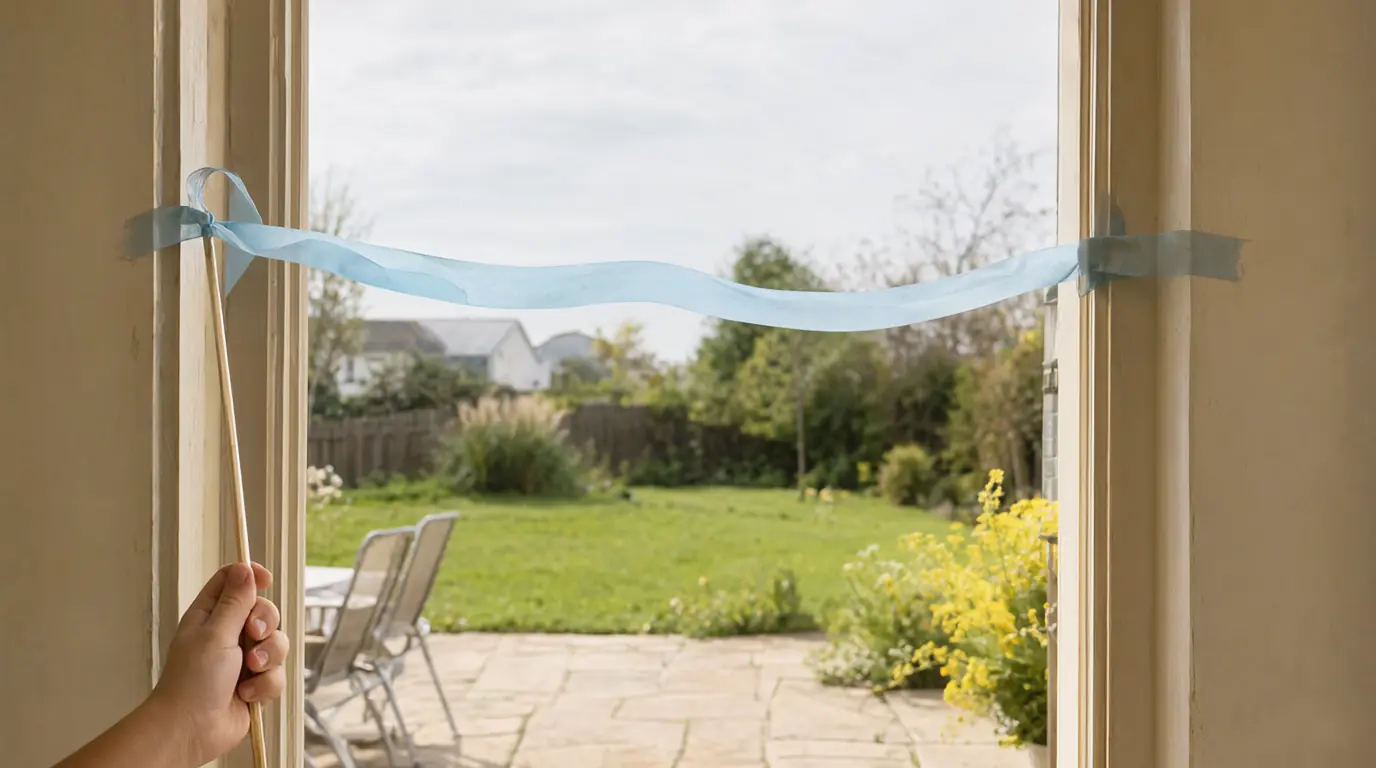
Make it your own: Keep the ribbon short and never tie anything around a child's neck or wrist. Younger children can watch from your arms and copy the movement; older ones can test two ribbons of different weights and decide which shows the wind more clearly.
A rain gauge you can read together
A clear container turns rain into something countable, which suits children who want a number for everything. Marking the level after each shower builds a comparison across days, and emptying it is usually as popular as the measuring. Choose a shallow tub so that even a light drizzle leaves something visible on the bottom.
You’ll need
- A clear plastic tub or widemouthed jar
- A strip of paper and tape for a scale
- A waterproof marker
- An open outdoor spot away from paths
How to do it
- An adult tapes a paper strip up the outside of the container and marks even lines from the bottom upwards.
- Place the container in an open spot where it will not be knocked over, away from walls and trees.
- Check it together after rain and point to the level: above the first line, or below it?
- Draw the level on a small paper chart or write the date beside it.
- Empty the container together afterwards and set it back in place.
- Compare two rainy days by putting the two drawings side by side rather than relying on memory.
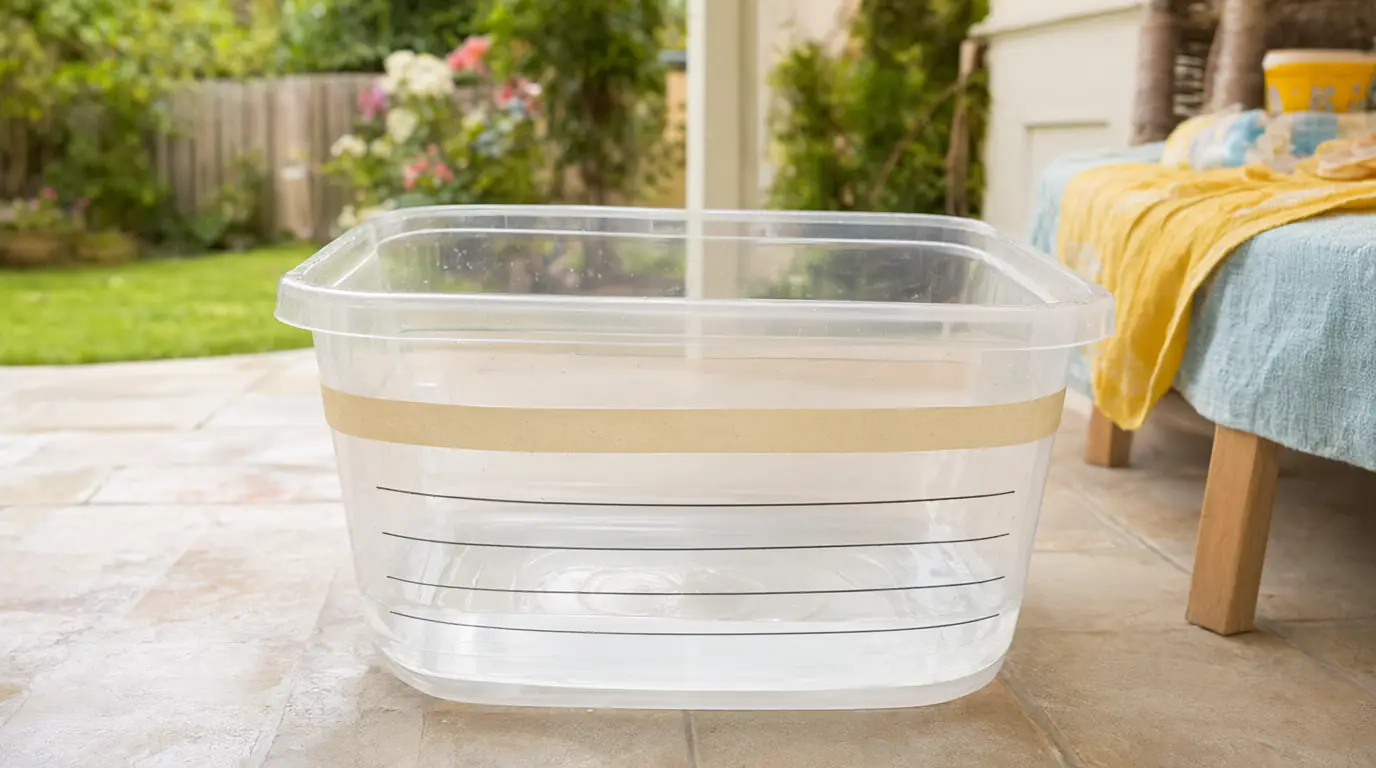
Make it your own: A shallow tub makes even a drizzle visible, while a deeper jar suits older children who want to compare exact amounts. If you have no outdoor space, hold a container out of the window briefly during light rain with an adult holding it, and talk about why that reading is less accurate.
Chalk outlines that shrink and stretch
Shadows change through the day, and drawing around one makes that change impossible to miss. Tracing a favourite toy or a plant pot gives you a record to return to, and the comparison needs no explaining because your child can see it. It also sets up the useful idea that a shadow needs something solid to block the light.
You’ll need
- Chalk in two colours
- A toy, plant pot or chair that stays put
- A dry paved or concrete area
- A phone for a photo, if you like
How to do it
- Choose a dry morning and stand the object on the ground in the sun.
- Draw around the edge of its shadow with chalk and mark the time inside the outline.
- Come back two or three hours later and look carefully before drawing again.
- Draw the new outline in a second colour beside the first one.
- Ask which outline is longer and which way each one points.
- Leave both on the ground and check them again later in the day or the next morning.
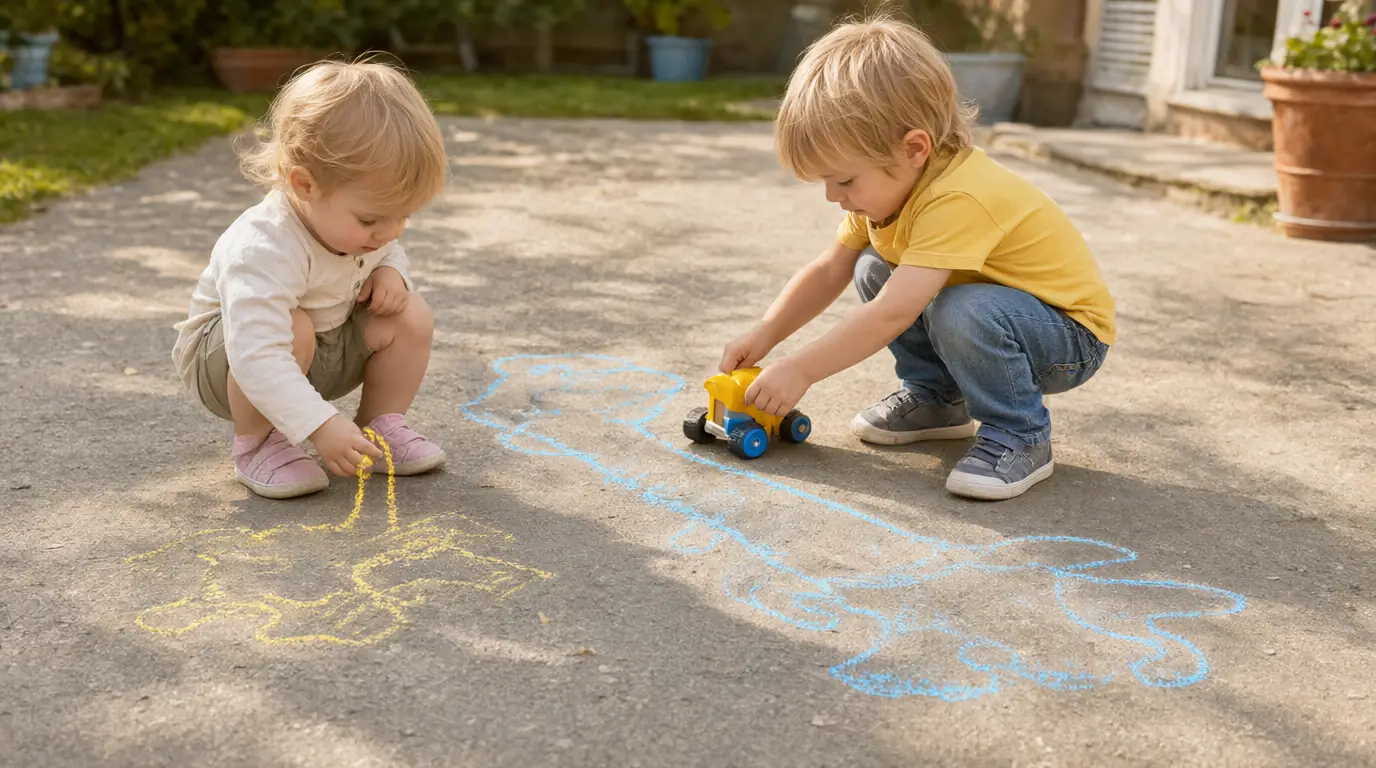
Make it your own: Younger children can stand in the sun and have their own feet outlined, which is quicker than tracing a toy. Older ones can measure an outline with a stick and keep the stick as a record. On a cloudy day, use a lamp indoors and move it slowly to change the shadow instead.
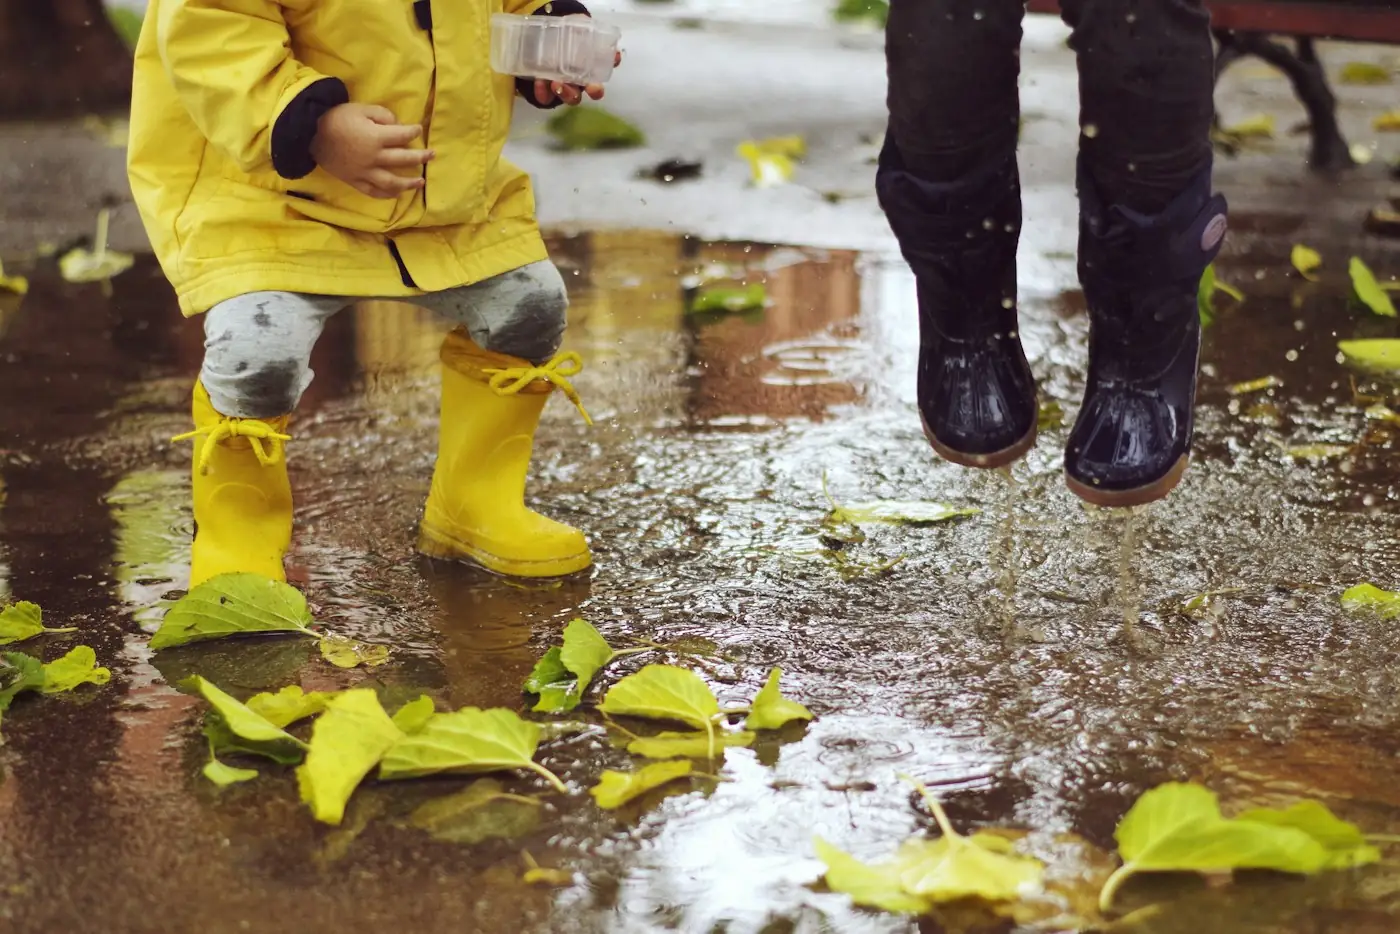
Chalk rings around a shrinking puddle
A puddle after rain is a free measuring stick. Drawing around its edge and coming back later shows that water disappears without any explanation, and the chalk ring makes the change obvious even to a child who was not looking for it. The checking job also gives a splashing enthusiast something specific to do.
You’ll need
- Chalk
- A puddle on a flat, safe path
- Wellingtons
- A phone for a photo, if you like
How to do it
- Find a puddle on flat ground away from traffic, with an adult checking the surface first.
- Draw a chalk line around the edge of the puddle together.
- Predict whether the puddle will be bigger or smaller after lunch.
- Come back later and look at where the water sits compared with the line.
- Draw a second line around the smaller puddle and talk about where the water went.
- Start again after the next rain, or check the same spot the following morning.
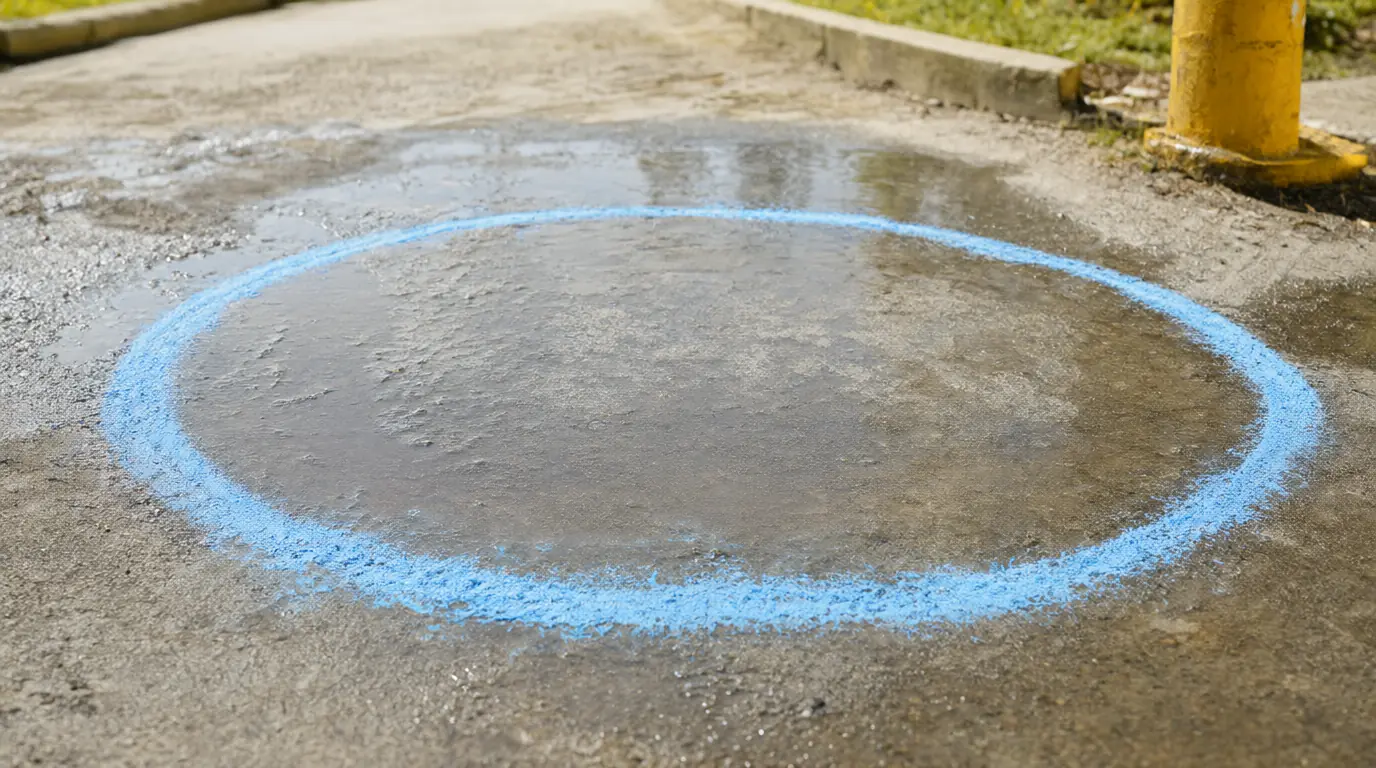
Make it your own: Younger children can step inside the chalk ring and feel the edge with a boot rather than measuring. Older ones can mark the depth with a stick and check whether that changed too. If the ground is near a road, watch from a doorway and use a shallow tray of water instead.

Make it work for your family
Children often describe weather by how it feels rather than with the words adults expect: it's angry outside is a real observation. Repeat it back in your own words, the wind is very loud today, and add one detail without replacing their version. If interest fades after two minutes, stop and return tomorrow; the chart is more useful as a habit than as a task. Keep the materials in one box so setting up takes seconds.
On days when nothing changes, say so out loud. The sky looks the same as yesterday is a genuine finding and deserves a box on the chart. For more ways to follow a child's question a little further, try these science games built around looking and testing, or take the same noticing habit into a new season with these spring activities.

Parents also ask
What weather activities can I do with a toddler?
A toddler can watch a ribbon move, hunt for the biggest cloud and add one crayon mark to a window chart. Keep each session to a few minutes and stay indoors when it is windy, wet or very cold. Their participation matters far more than the finished record.
How do you explain rain to a young child?
Rain happens when tiny water droplets in clouds join together and become heavy enough to fall. A sponge shows the idea: soak it, then squeeze gently and watch the drops come out. Keep the explanation short and let your child try the sponge rather than repeat the words back.
How can we measure wind without equipment?
Watch what moves: leaves, washing, a flag, a ribbon or your own hair. A light ribbon on a stick shows direction, and two ribbons of different weights show that one lifts sooner. Note which way it points, then check again later to see whether the wind has changed.
Choose materials and activities that suit your child, supervise as needed and adapt the ideas to their interests and abilities. About our editorial approach