Weebou Editorial Team
 9 min read
 In this article
A little preparation
Pick a spot where you can sit at the same height as your child: a low table indoors with a towel underneath, or a shaded patio with the tray on flat ground. Fill the tray with only a few centimetres of water, check it is comfortably cool, and keep a towel and a dry cloth within reach. Set out just the tools for one idea; a bowl of extra cups usually ends up on the floor before anyone has finished exploring.
An adult stays within arm's reach and watches the water rather than the phone for the whole session. Empty the tray the moment play ends, tip out cups and sponges, and store them out of reach: a child can drown in very little water, and full buckets left standing are the usual culprit. Ten to twenty minutes is plenty; hands get cold and interest fades faster than you expect. Use play water only, wash hands afterwards, and if your child wants more after a dry spell, offer these sensory play ideas with real choices.

Ideas to try together
Pouring to a line
A line drawn on the cup gives pouring a clear purpose without turning it into a test. Filling to the line, tipping a little too far and starting again is the whole game, and it practises wrist control, aim and the words full, empty, half and nearly. Two cups are plenty; a whole set of containers usually leads to water on the floor before anyone has finished exploring.
 You’ll need
- A shallow tray
- Two large plastic cups
- A small jug or third cup
- A permanent marker (adult use)
- A towel
How to do it
- Sit your child beside the tray with the empty cup in front of them.
- Draw a line about a third of the way up one cup and let the ink dry.
- Pour a little water into the jug and show how to tip it slowly from the side.
- Invite your child to fill to the line, stop, and check the level from eye height.
- Pour the water back into the jug and start again, wiping spills as they happen.
- Add a funnel or a small scoop once pouring to the line has become easy.
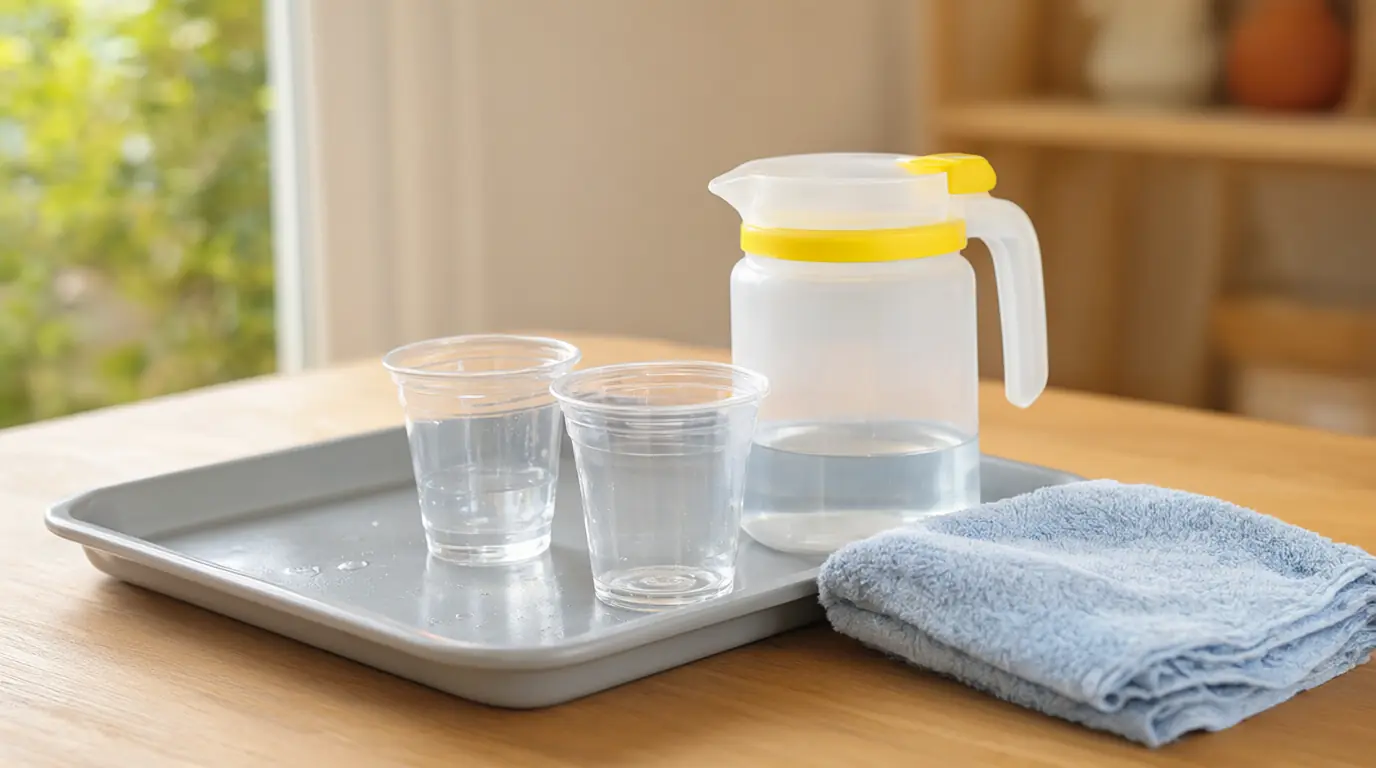
Make it your own: Two-year-olds can pour over a tray with no line at all. Older children can pour into two cups and try to make the levels match, or use a jug with millilitre marks and read the numbers aloud.
Sponge squeezing and counting
A soaked sponge is heavy, cold and slightly unpredictable, which makes squeezing it a completely different feeling from pouring. Your child has to use both hands and judge when the water has stopped coming, and that grip-and-release motion builds hand strength for buttons, zips and pencils later on. Counting the squeezes adds a rhythm without turning the game into a lesson.
You’ll need
- Two clean household sponges
- Two clear cups
- A shallow tray
- A towel
How to do it
- Dip one sponge in the tray and let your child feel how much heavier it is now.
- Hold it over an empty cup and squeeze with both hands, counting each squeeze out loud together.
- Stop and look at how much water came out, then dip and squeeze again.
- Ask which sponge is heavier, the wet one or the dry one, and let your child test both.
- Squeeze the water back into the tray at the end and press the sponges flat to dry.
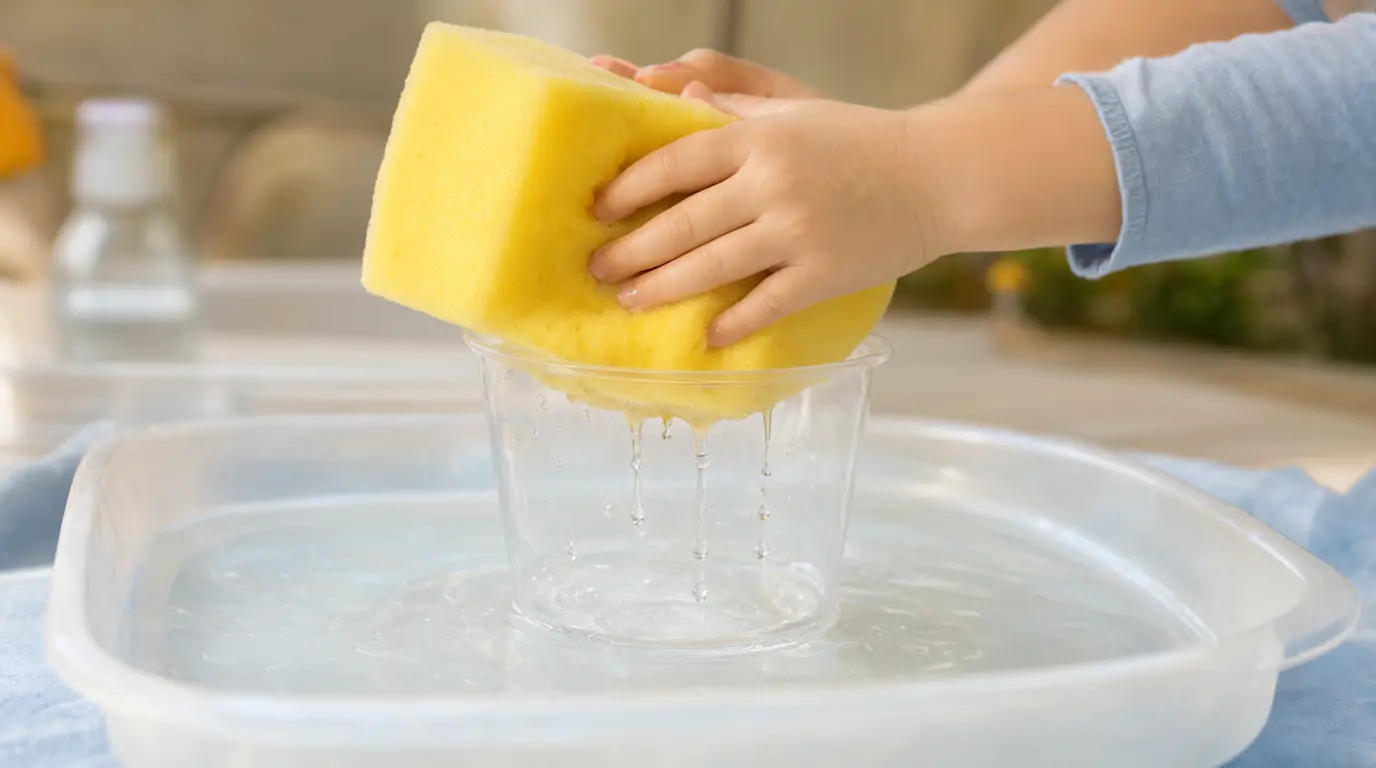
Make it your own: Younger toddlers can squeeze over the tray with no cup and simply watch the water fall. Older children can try to fill a cup using only squeezes and predict how many it will take.
Water painting that disappears
A wide brush and a pot of plain water turn a wall, a fence or a patio slab into a canvas that clears itself. There is no product to admire and nothing to tidy, so children often paint far more freely than they do on paper, using big shoulder movements instead of careful fingers. Watching the edges fade is half the fun, and it opens a simple conversation about where water goes.
You’ll need
- A clean bucket or deep tray with a few centimetres of water
- One or two wide paintbrushes or a small clean roller
- A shaded patch of wall, fence or paving
- An apron or old clothes
How to do it
- Choose a surface in shade so the marks last long enough to enjoy.
- Pour a few centimetres of water into the bucket and show how to dip and tap off the drips.
- Paint one large shape together, then let your child take over.
- Follow the wet edge with a finger and watch how far the mark has faded.
- Paint over the same patch again and compare it with a fresh one.
- Finish by painting one last shape and watching it disappear together.
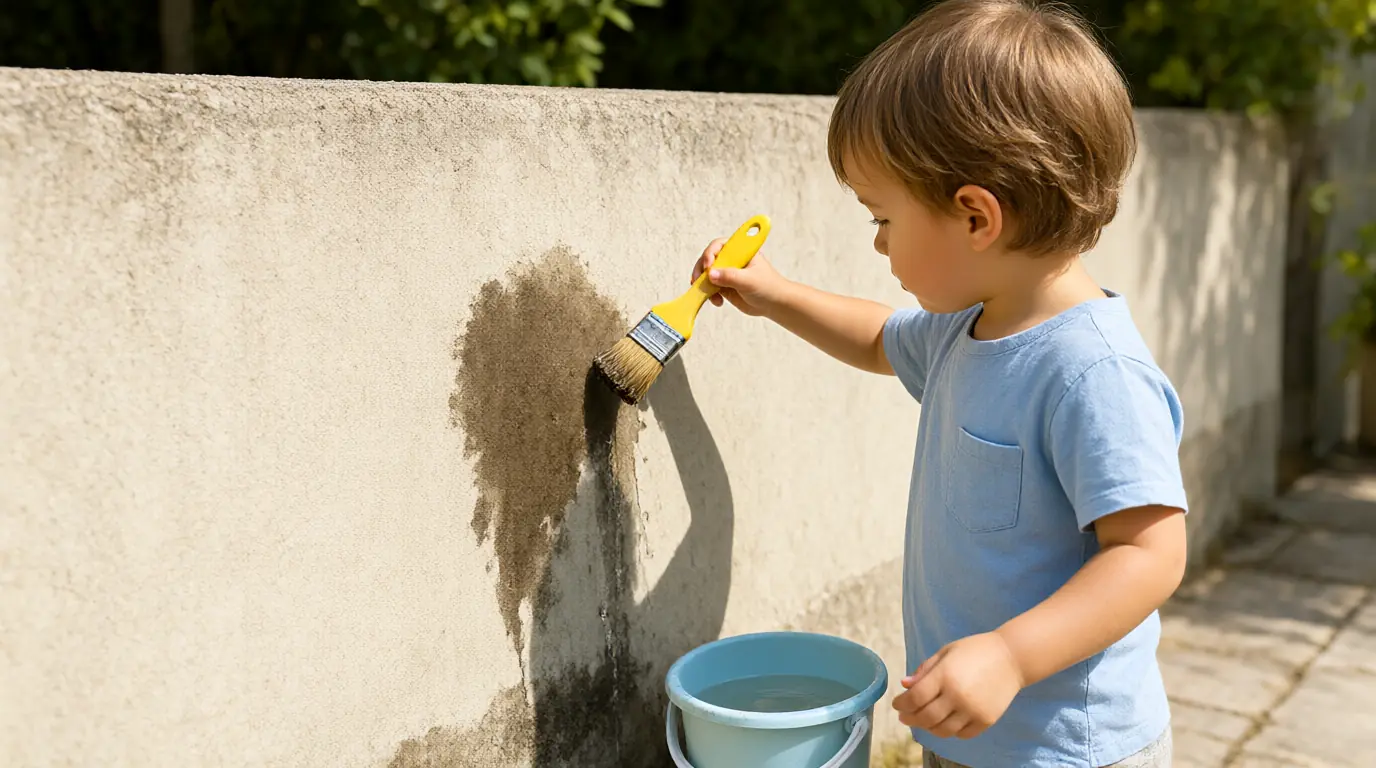
Make it your own: Younger children can slap the brush across one slab with no shape in mind. Older ones can write letters, paint a maze or time how long a mark takes to vanish in sun and in shade.
Float or sink tray
Six ordinary objects and a tray of water make a small experiment that children want to repeat. Guessing first, then placing the object gently and seeing what happens, teaches that an idea can be checked rather than simply right or wrong. The surprise is the point: a heavy-looking stone sinks quickly while a metal lid floats.
You’ll need
- A shallow tray of water
- Six small objects: a cork, a metal spoon, a plastic lid, a stone, a leaf, a wooden block
- A towel
- Two empty bowls for sorting
How to do it
- Lay the objects out and name each one together before any water is involved.
- Ask your child to guess which will float and put the guesses in one bowl.
- Place each object gently on the water rather than dropping it in.
- Move each object to the float or sink bowl once you have both seen what it does.
- Test one object twice, such as a plastic tub empty and then with a stone inside.
- Tip the water out together and dry the objects before they go back in the drawer.
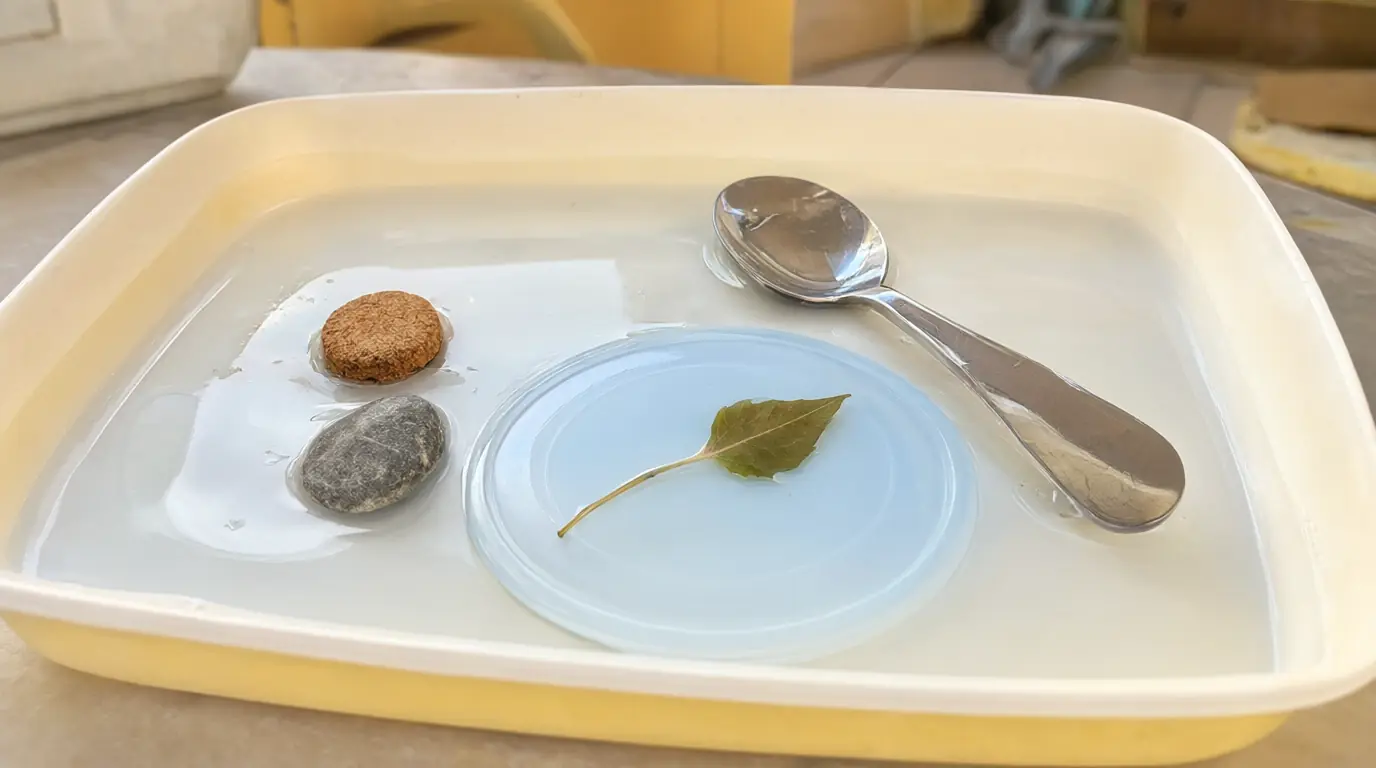
Make it your own: Two-year-olds can simply watch and copy the placing. Older children can draw the two groups afterwards, or hunt for one more object they think will float and test it.
The same water in two cups
Pour the same small amount of water into a tall narrow cup and a wide shallow bowl and most young children will say the tall one holds more, because the level sits higher. This game lets you notice that idea out loud without correcting it. Pouring one into the other shows the amount has not changed, and children often want to test it again and again.
You’ll need
- A tall narrow cup and a wide shallow bowl
- A small jug
- A shallow tray
- A towel
How to do it
- Put both containers on the tray and pour a small equal amount into each from the jug.
- Ask which one has more water and accept the first answer without commenting.
- Pour the tall cup into the bowl, then back again, so your child sees the same water moving.
- Swap the containers and repeat with a different pair if interest holds.
- Finish by making the levels look the same and asking whether the amounts match now.
- Empty the tray together and leave both containers upside down to dry.
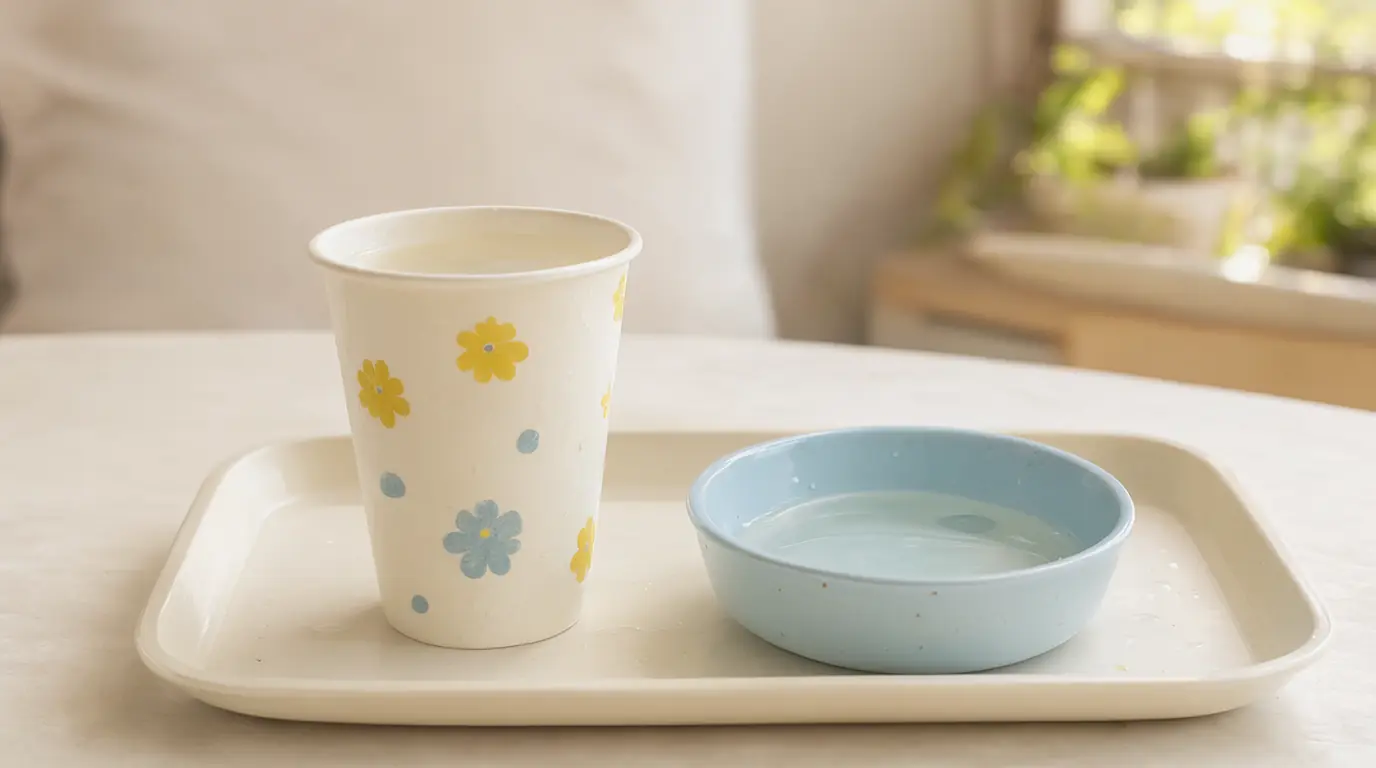
Make it your own: Younger children can simply pour between the two and watch the level rise and fall. Older ones can line up three containers and order them by how much they seem to hold before testing.

Make it work for your family
If your child empties the whole jug in one go, that is the game rather than a mistake. Refill a smaller amount and say what you notice: the tray is empty now, the cup is full. Children who dislike wet sleeves can wear an apron or push sleeves above the elbow, and a child who splashes on purpose is often testing cause and effect, so answer with a calm rule and a different job, such as holding the funnel.
When interest drops, stop rather than adding more water. If the day is too cold or the garden is out of reach, try these sponge games for warm-weather play at the kitchen sink, or move the same scooping and pouring into a tray of sand for roads and patterns. Dry everything properly, wring the sponges out, and leave the tray upside down to air.

Parents also ask
What age can children start water play?
From around two, a shallow tray with large cups works well, as long as an adult is within arm's reach the whole time. Younger toddlers often prefer a damp sponge and a dry cloth. The tools matter less than the supervision and the small amount of water.
How deep should the water be for toddler water play?
A few centimetres is enough to cover the bottom of the tray and let a cup fill. Deeper water is harder to control when pouring and is not needed for any of these games. Empty the tray as soon as play finishes and never leave a filled container standing.
What can we use instead of a water table?
A washing-up bowl, a sturdy storage box lid or a baking tray on a towel works just as well. Choose something wide and stable that will not tip when your child leans on it, and keep it on the floor or a low table rather than a chair.
Sources & further reading
Explore these primary sources for further context on this topic.
Choose materials and activities that suit your child, supervise as needed and adapt the ideas to their interests and abilities. About our editorial approach