Weebou Editorial Team
 7 min read

 In this article
A little preparation
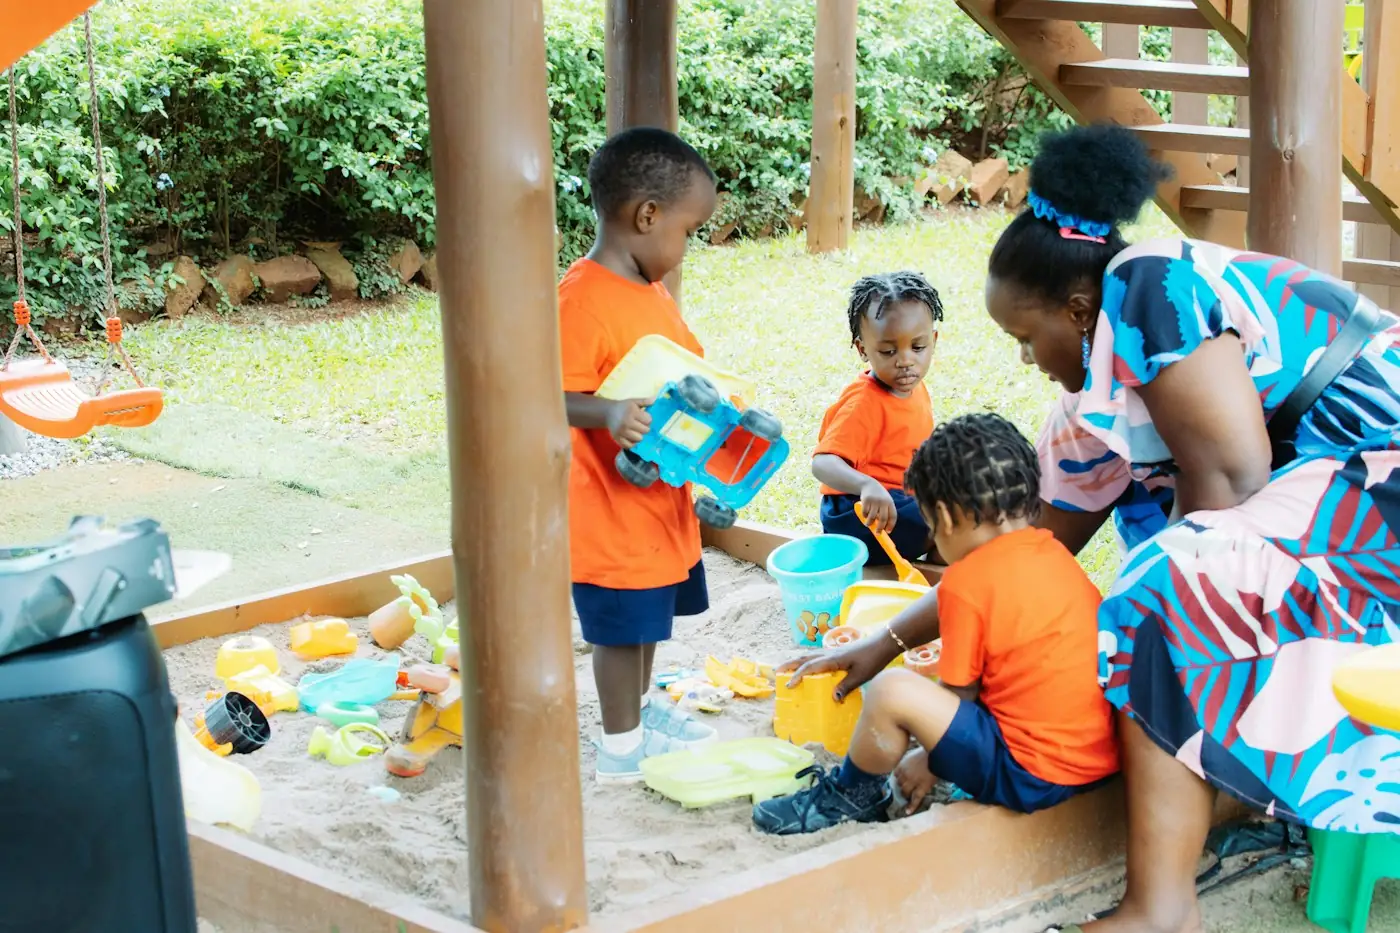
An adult checks the sand, the tools and the space before the game starts. Use clean play sand sold for children, a shallow tray or tub with raised edges, and large, age-appropriate scoops that are too big to swallow. Place the tray on a washable mat or a tarpaulin to catch spills, and keep a dustpan and brush handy. Avoid small objects such as pebbles or beads in the sand, and show your child how to keep it low so it stays out of eyes and mouths.
Play for 15 to 25 minutes, then tidy together. Wash hands afterwards, and cover the sand when you have finished so that cats, rain and leaves stay out. Sit beside your child and keep the tools within reach. If a child finds sand uncomfortable on their skin, offer a scoop, a brush or a spoon so they can take part without touching it directly. Water and sand can make a muddy mess, so add water only if you want that outcome and have a bucket and towel ready.

What to know and try
Build a sand road
A scoop makes wide paths across the tray, and low mounds become pretend hills. Planning a route between them turns sand into a map, and your child practises describing where things are and how to get from one place to another.
 You’ll need
- A tray of clean play sand
- A large scoop
- A wooden spoon for smoothing
- A soft toy figure
How to do it
- Smooth the sand flat with the back of the spoon.
- Draw a wide path with the scoop's edge from one end of the tray to the other.
- Heap a low mound or two beside the path as hills.
- Walk a toy figure along the road and describe the journey aloud.
- Add a fork in the road and ask which way the figure should go.
- Smooth the sand and start a new road when your child wants one.
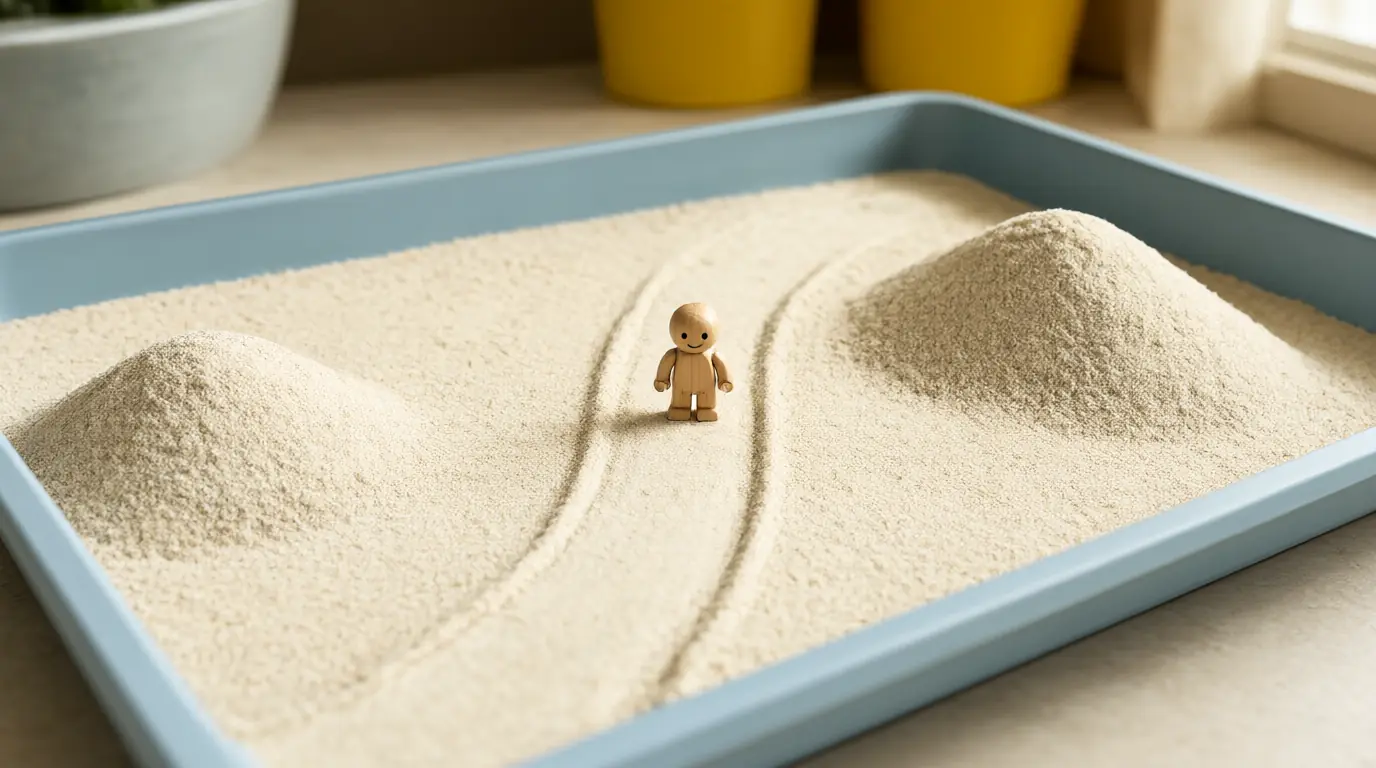
Make it your own: Younger children can scoop and smooth freely. Older children can plan a road that goes over a bridge made from a strip of card.
Pattern printing with moulds
Pressing a mould into sand and lifting it leaves a perfect print, and repeating two moulds makes a pattern. This is a gentle way to practise sequencing and to spot what comes next. Seeing a pattern appear in the sand also gives children a concrete example of repetition that they can later spot in songs, stripes and stories.
You’ll need
- 2 chunky moulds in different shapes
- A tray of smooth sand
- A small brush to smooth the surface
- A paper strip for drawing the pattern
How to do it
- Smooth the sand and press one mould gently into it.
- Lift the mould straight up and look at the print together.
- Press the second mould beside it and lift it.
- Repeat the two shapes in a row and ask what comes next.
- Let your child choose the next print and extend the pattern.
- Smooth the surface and try a new pair of shapes.
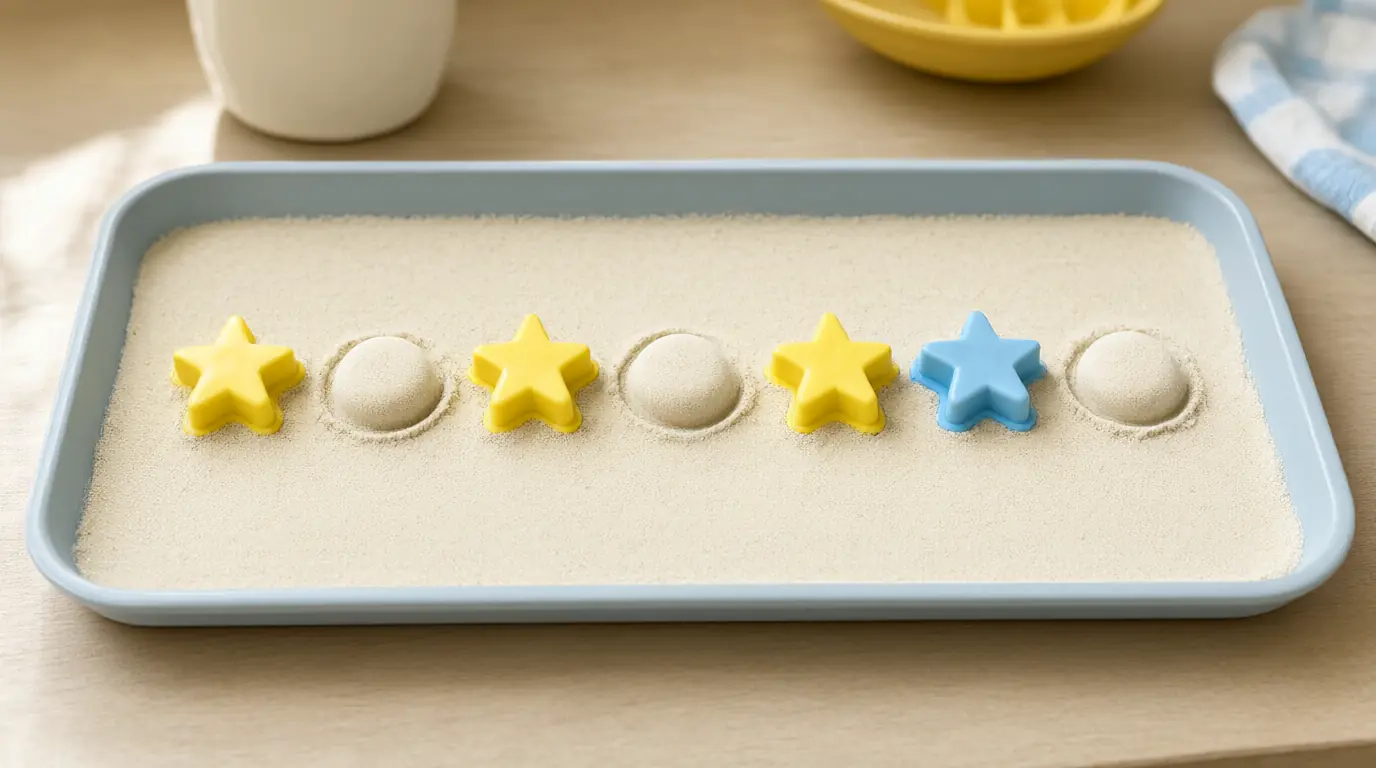
Make it your own: Younger children can print in a free pattern. Older children can make an A-B-B pattern and copy it on a strip of paper.
A landscape from a story
A short story can become a landscape when children shape the hills, the house and the river in sand. They practise turning words into a model, and they use spatial words such as beside, behind and between.
You’ll need
- A tray of sand
- A spoon and a scoop
- Small toy animals or figures
- A strip of blue paper for a river
How to do it
- Tell a short story about a walk from a house to a hill.
- Shape a house and a hill from sand and ask your child to place them.
- Lay a blue paper strip as a river between them.
- Ask where the path should go and trace it with a finger.
- Move the toy animal along the path as you retell the story.
- Invite your child to change one part, such as moving the house, and retell the journey.
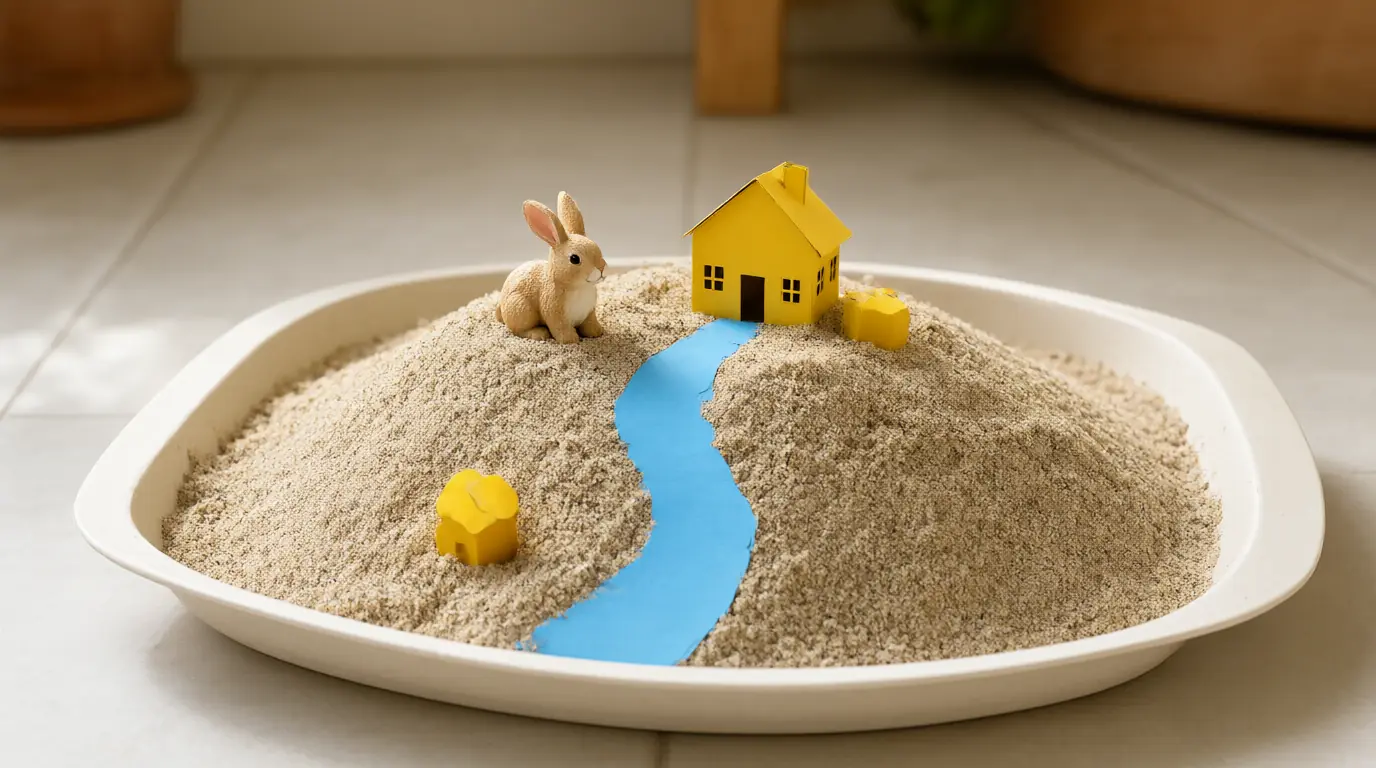
Make it your own: Younger children can make a single hill and a house. Older children can add a bridge and tell their own story.
Scoop comparison
Moving sand with different tools shows children how shape changes what a tool does. They notice what gets moved, what spills and how much each tool carries. It is also a gentle first lesson in testing a guess, because each scoop gives a result children can see straight away.
You’ll need
- 2 scoops of clearly different shapes
- A tray of sand with an empty area
- A small cup for measuring
- A paper and pencil for a picture record
How to do it
- Show both scoops and ask which might carry more sand.
- Use one scoop to move sand from one side of the tray to the other.
- Do the same with the second scoop.
- Look at the marks and heaps each one left behind.
- Pour a scoop of sand into the cup to compare how full each gets.
- Draw a picture of the scoop that carried more, and talk about why.
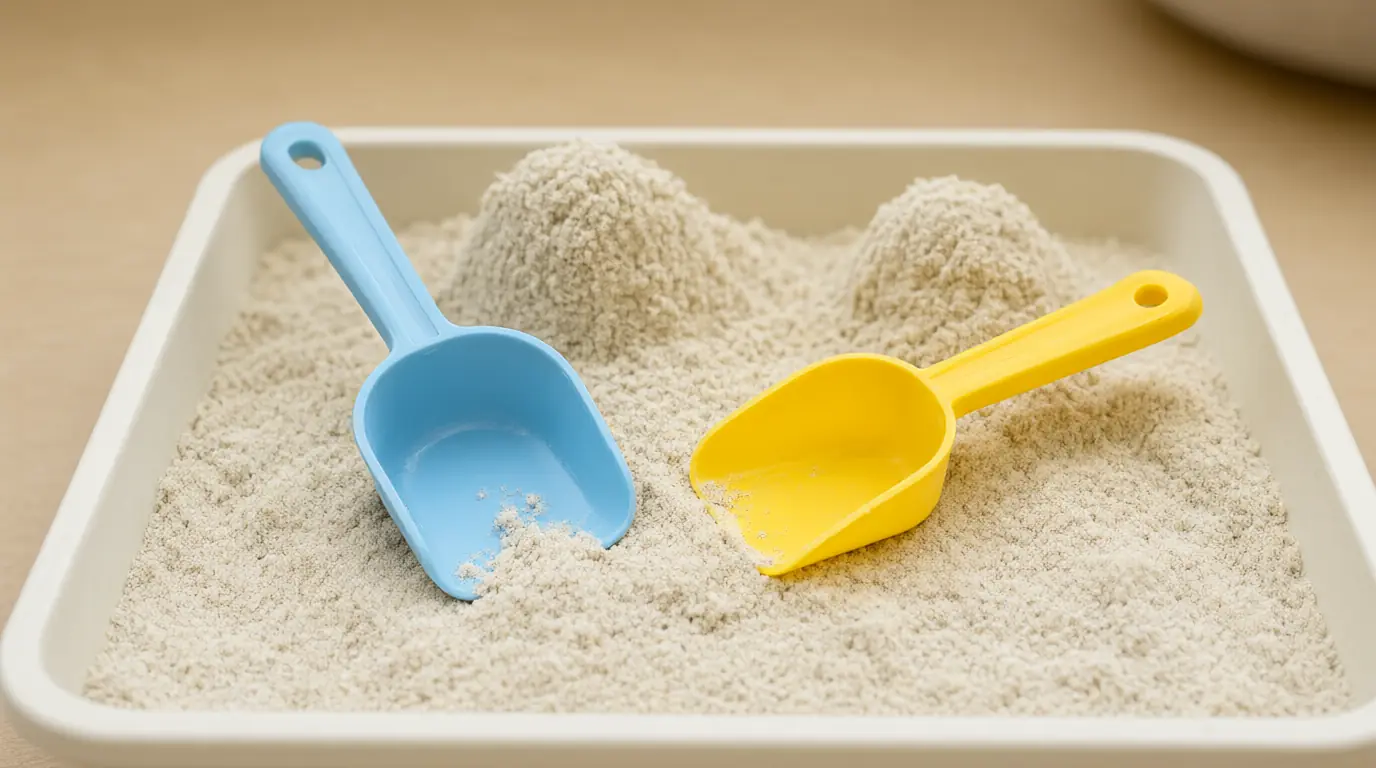
Make it your own: Younger children can simply explore each scoop. Older children can predict before testing and count the scoops needed to fill the cup.
Write and draw in the sand
Sand is a forgiving surface for early marks: a finger line can be smoothed away in a second, so nothing is ever wrong. This idea links sand play to drawing and early letter shapes. Because the lines vanish with one stroke of a brush, children who worry about getting it right often relax and experiment more freely.
You’ll need
- A tray of smooth, dry sand
- A fingertip, a stick or a chunky brush
- A card with a simple shape or letter
- A soft brush for smoothing
How to do it
- Smooth the sand and let your child draw a line with a finger.
- Brush it flat and draw a circle, then a zigzag.
- Show a simple shape card and trace it in the sand together.
- Try the first letter of your child's name.
- Use a stick for thinner lines or a brush for wide ones.
- Finish by smoothing the whole tray to start again.
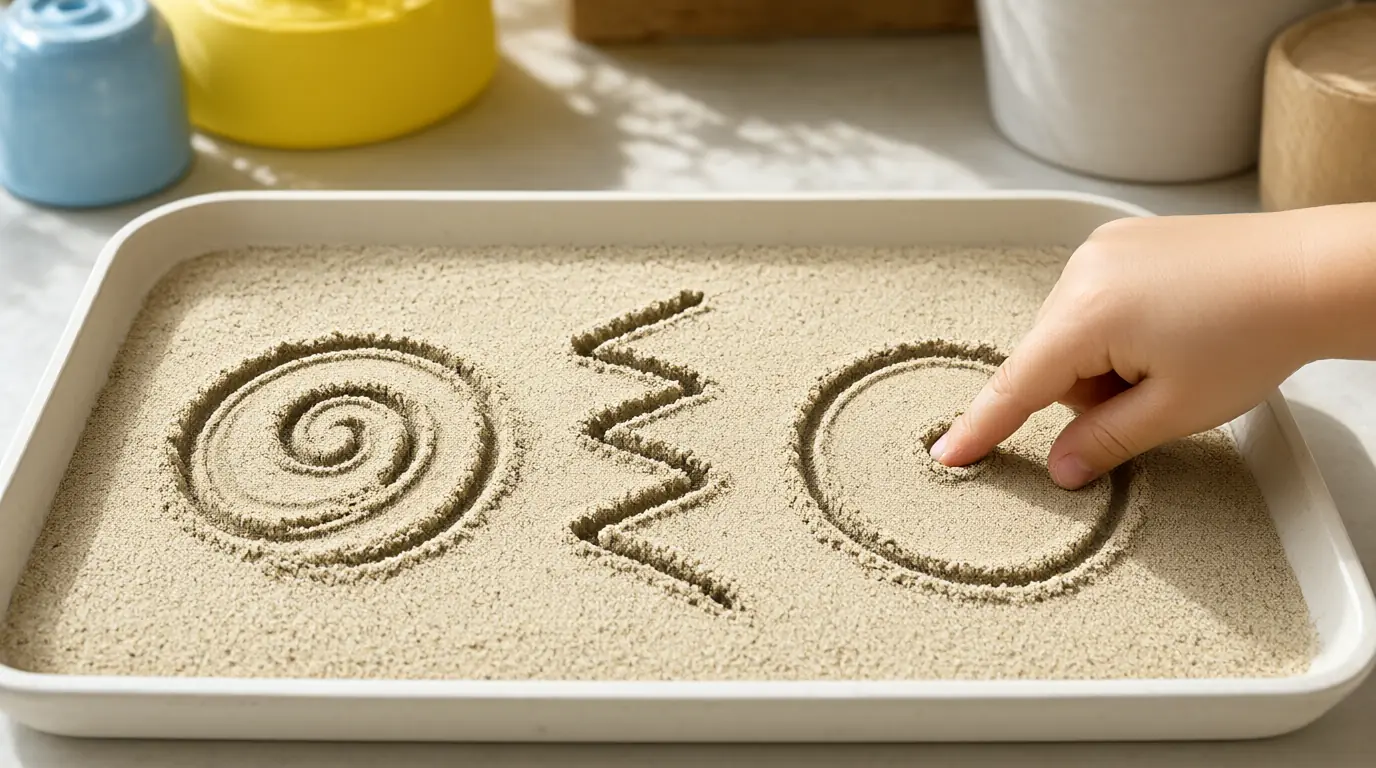
Make it your own: Younger children can make big swirls. Older children can write a short word and read it back together.

Make it work for your family
Do not insist on touching sand or burying hands. A scoop, a brush or a job at the edge of the tray lets a child join the game while choosing their own level of contact. If a child starts throwing sand, calmly stop the game for a moment, say that sand stays low, and offer a different job such as smoothing the tray or filling a cup.
For more outdoor and sensory play, take a look at beach games for kids or sensory games for kids, and use the Weebou writing game for a quick follow-up on shapes and strokes.

Parents also ask
What sand is safe for young children to play with?
Choose clean play sand sold for children, and keep it covered when not in use. Avoid builder's sand and sand from places where animals may have been. Supervise play and wash hands afterwards.
How can I play with sand indoors without a huge mess?
Use a shallow tray with high sides on a washable mat or a large towel, and play at a table. Keep tools large, use a small amount of sand and tidy with a dustpan and brush when you finish.
What if my child does not like the feel of sand?
Offer tools such as scoops, spoons and brushes so they can play without touching it, or start with dry sand in a closed container. Never force contact. Many children become more comfortable with time and watching others.
Choose materials and activities that suit your child, supervise as needed and adapt the ideas to their interests and abilities. About our editorial approach