Weebou Editorial Team
 In this article
A little preparation
Choose a table or floor space where the work can stay out for a while, and keep the materials in one shallow box so children can fetch what they need themselves. Plain paper, coloured card, thick crayons, a glue stick and child-safe scissors cover every idea below. Paper leaves work as well as real ones and do not crumble, and if you are making place cards, count the guests together first so the number is real.
Set aside twenty to thirty minutes and expect the conversation to matter more than the output. An adult handles any cutting that is too fiddly, and children who still mouth objects work with large shapes rather than small pieces. Nothing here involves a flame, and a finished decoration belongs on a shelf rather than beside a hot dish. Decide before the day whether you will explain the holiday at all; if you do, keep it to a couple of sentences and let questions lead. These Thanksgiving crafts for preschoolers follow the same slow, choice-led approach.

Ideas to try together
A thank-you card for one real person
A card made for one named person turns a vague feeling into an action a child can finish in ten minutes. Choosing the recipient matters more than the drawing: your child has to think about what that person actually did, which is the beginning of seeing things from someone else's side. Keep the message specific and the card small, so the whole project fits on a tray.
 You’ll need
- One sheet of A5 card, folded in half
- Thick crayons or washable markers
- A glue stick and a few large stickers
- An envelope
How to do it
- Fold the card in half so there is a cover and an inside.
- Ask who helped the family recently and what exactly they did — a neighbour who carried shopping, a grandparent who drove you somewhere.
- Let your child draw that moment on the cover; two figures and one object are plenty.
- Write their words inside and keep the sentence specific: thank you for the lift to nursery, it saved us a wet walk.
- Your child signs with a name, an initial or a fingerprint.
- Put the card in the envelope and agree together when it will be handed over.
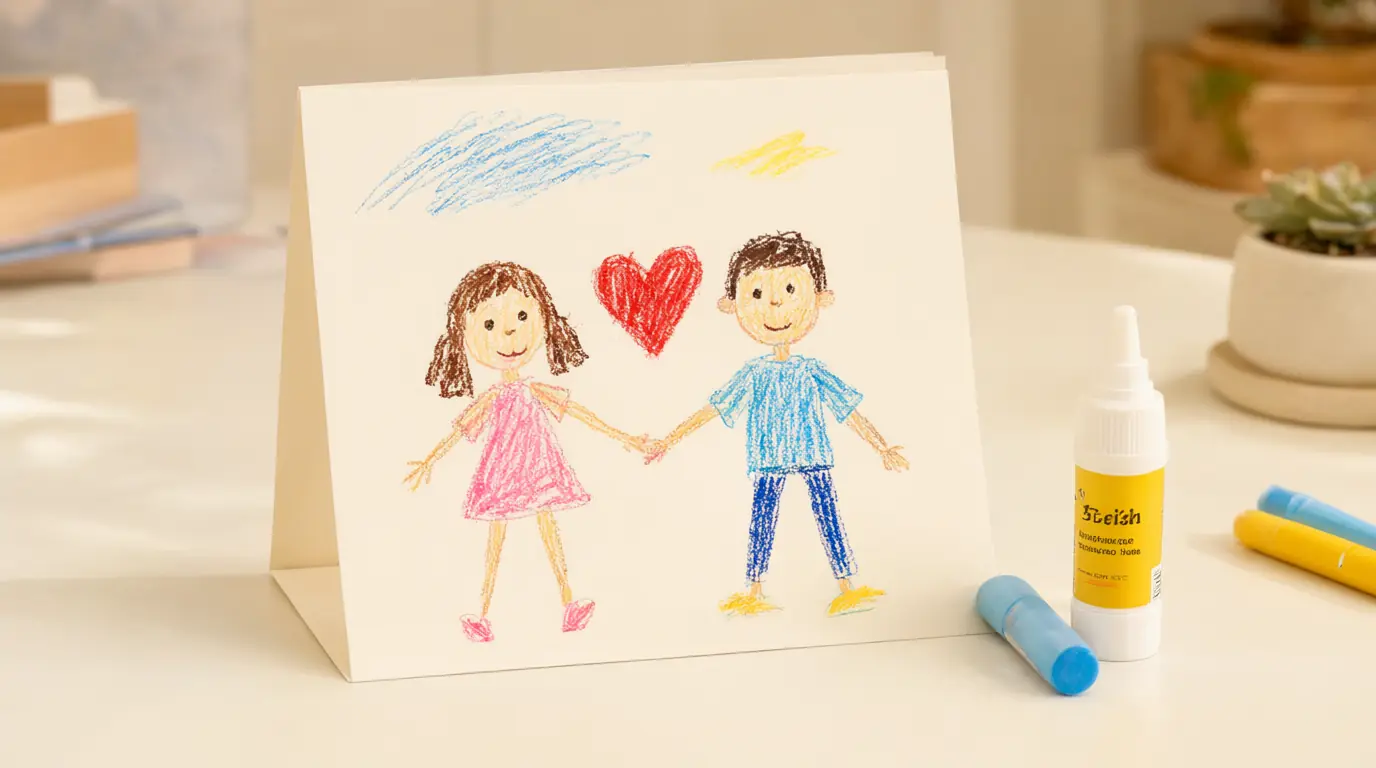
Make it your own: Younger children can draw on a ready-folded card and dictate one short sentence. Older ones can write the person's name themselves and add a question at the end, such as asking what they are doing at Christmas. For a child who dislikes drawing, offer stickers and a single drawn shape.
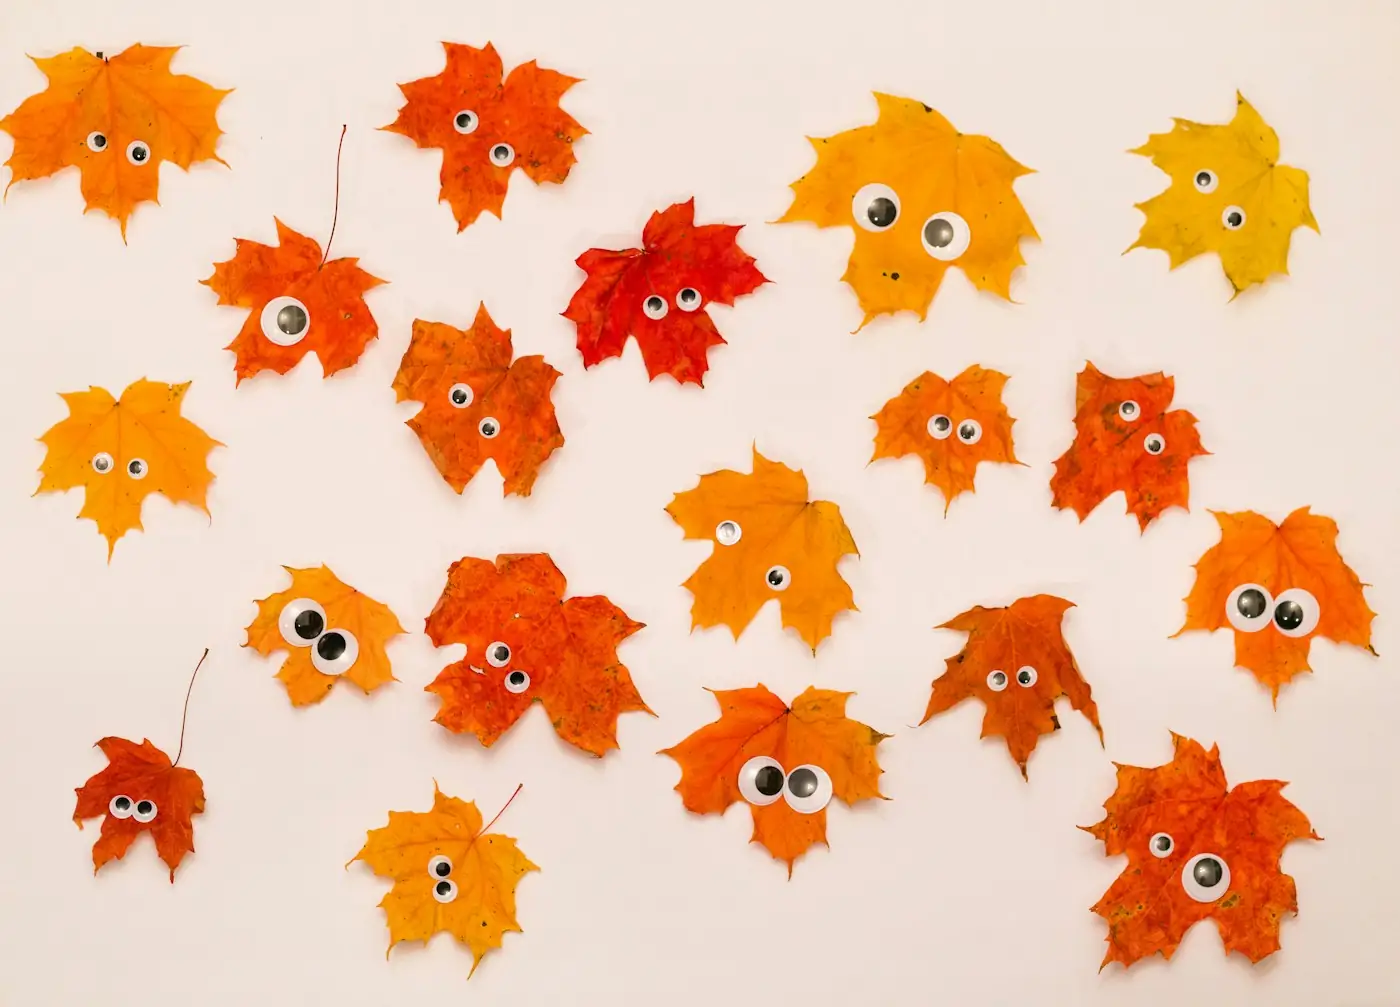
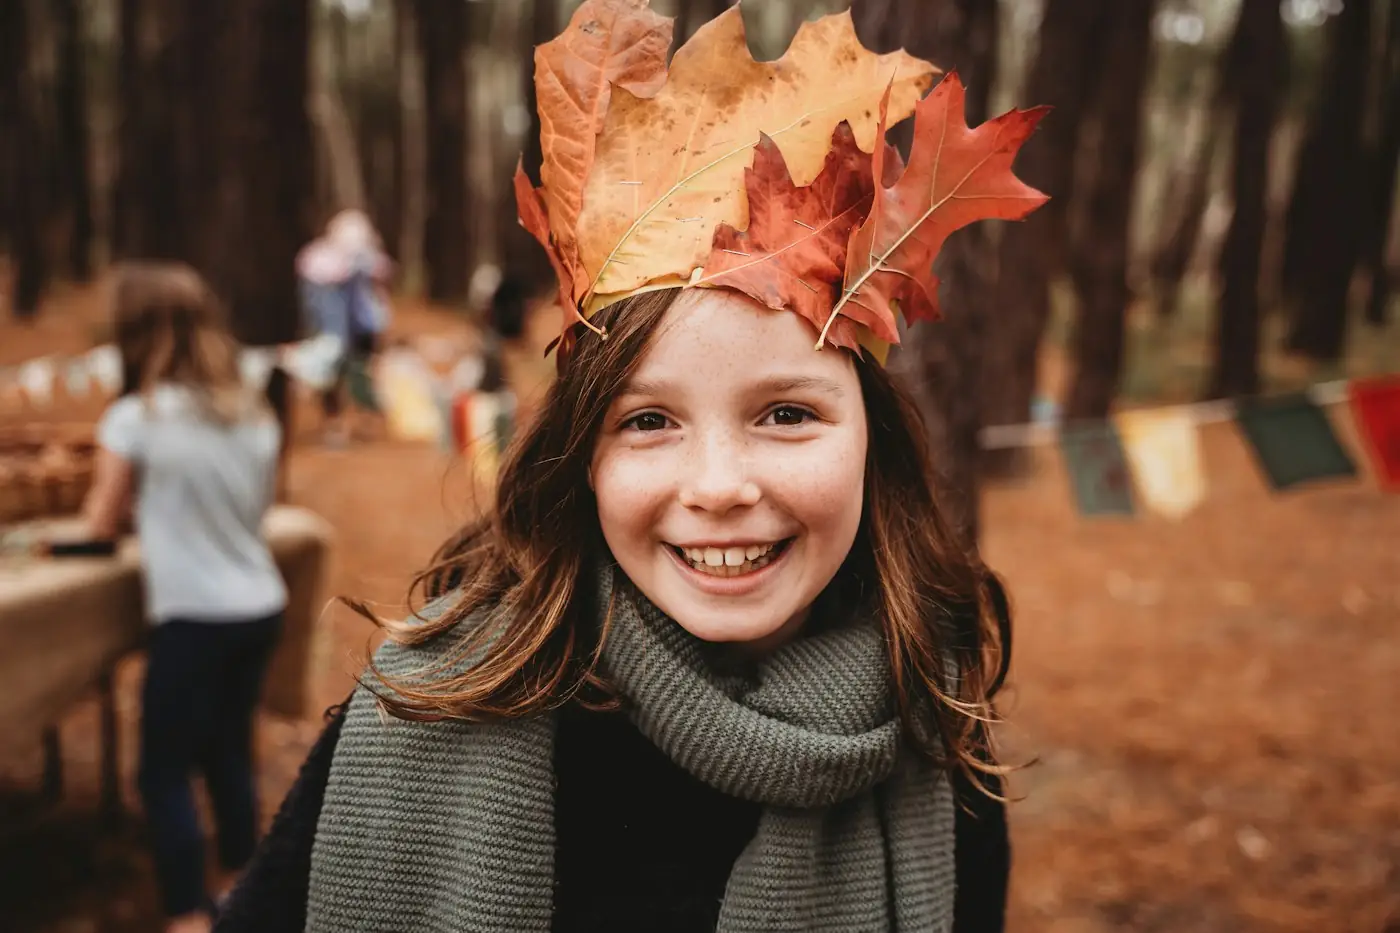
A paper leaf garland that grows
A garland makes gratitude visible and cumulative rather than a single round of answers at the table. Because each leaf holds one thing, a child who finds the big question difficult can still manage a small one: the cat, a new coat, a friend at nursery. It also gives the family something to add to over several days.
You’ll need
- Coloured paper in autumn tones
- Crayons
- Child-safe scissors
- Cotton string or thin ribbon
- Tape
How to do it
- Draw or trace six to ten leaf shapes; a simple oval with one pointed end is enough.
- Cut them out, letting an adult take the stems if they are fiddly.
- On each leaf your child draws one thing from the year, or tells you a word to write on it.
- Tape each leaf along the string, leaving a finger-width gap between them.
- Hang the string across a window or low on a wall where your child can reach it.
- Add two or three more leaves in the days after the meal as new things come to mind.
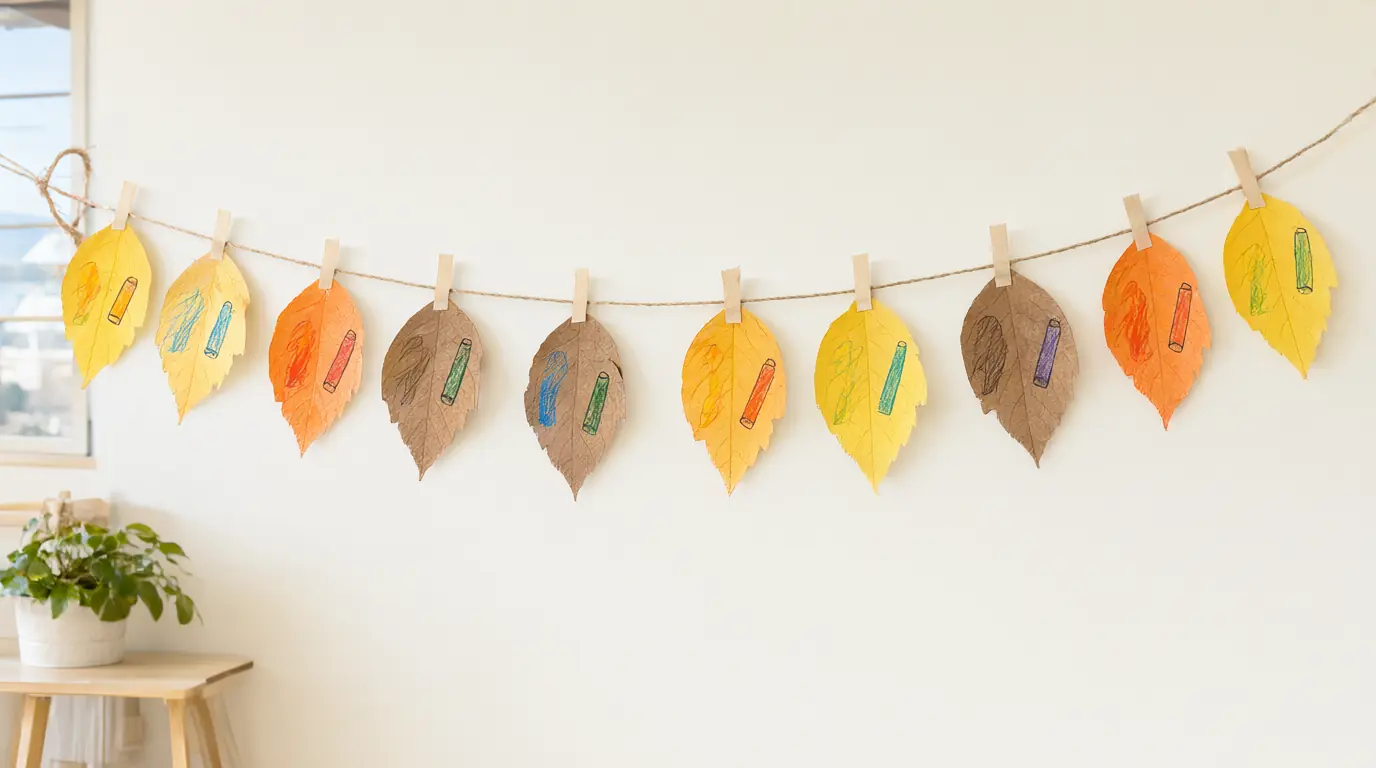
Make it your own: Two- and three-year-olds can colour pre-cut leaves and name one thing each. Older children can write the words themselves and choose the order. If hanging is difficult, lay the leaves along a strip of tape on the fridge door instead.
The story behind one family recipe
Recipes carry family history in a form children can taste, which makes them an easy doorway into stories. Listening to an adult remember, then drawing what they heard, helps a child hold on to one detail and understand that the dish arrived from somewhere. The card becomes a record you can add to next year.
You’ll need
- One index card or a piece of card the size of your hand
- A pen for the adult
- Crayons
- Tape
How to do it
- Choose one dish that appears every year and ask the person who remembers it best to tell the story out loud while your child listens.
- Prompt with three questions: who taught them, where they ate it, and what has changed since.
- Write one sentence in that person's own words on the card.
- Your child draws the ingredient or the kitchen as they picture it.
- Tape the card inside the recipe book, or photograph it for the family album.
- Read the sentence back and ask your child what they would add.
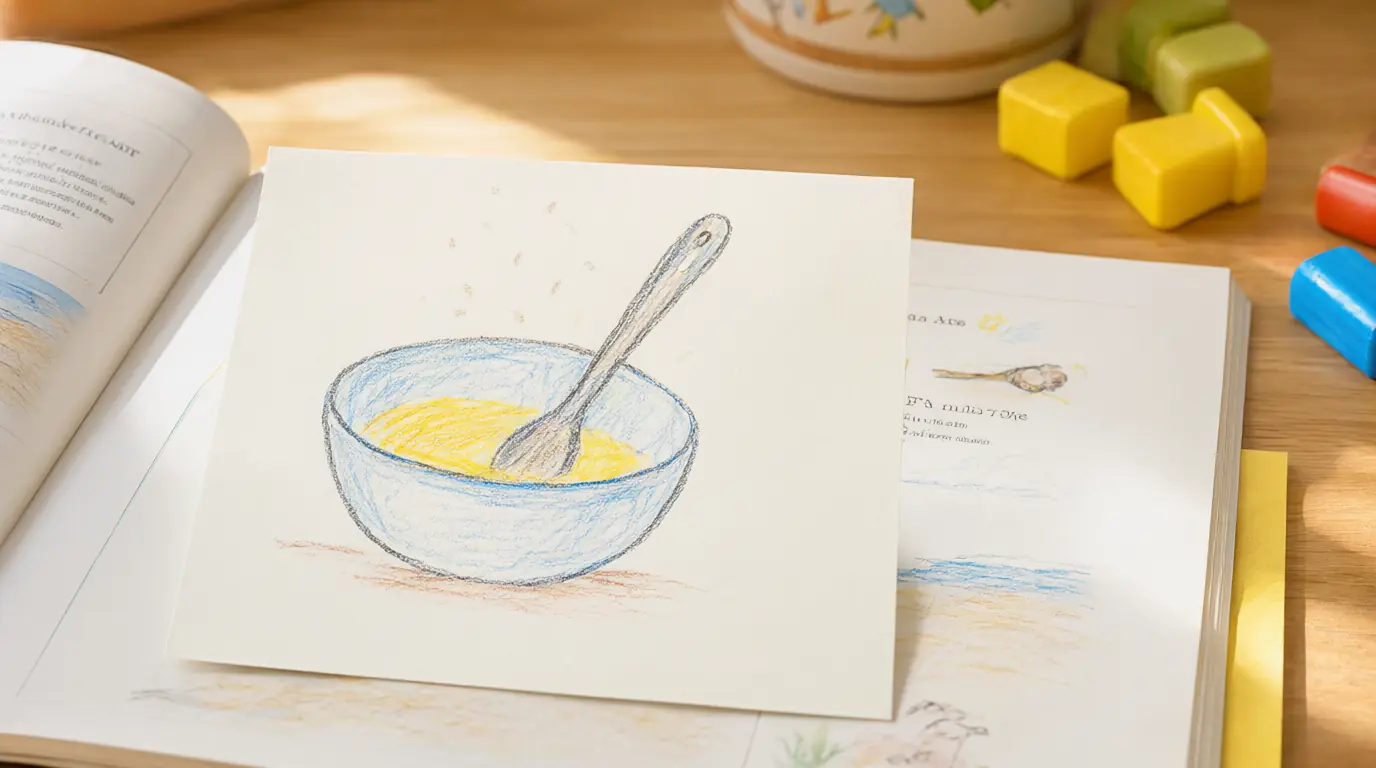
Make it your own: Younger children can draw while the story is being told rather than after. Older ones can interview the adult themselves, writing two questions in advance. If a recipe has no family history, start one this year and note the date.
Welcome-place helpers and a table map
Setting places is real work with a visible result, and it asks a child to think about other people's comfort rather than their own preferences. Counting cards, working out who needs more space and deciding where a quiet guest might sit are all small planning tasks that suit a four- to six-year-old particularly well.
You’ll need
- One small card per guest
- Crayons
- Child-safe scissors
- Tape or a pencil
How to do it
- Count the guests together and lay out one card for each place.
- Ask what each person might need: a low chair, room for a walking frame, a seat away from the door, an extra fork.
- Your child draws a simple picture on each card and you write the name underneath.
- Draw a rough rectangle as the table and let your child move the cards around until the plan feels right.
- Talk through one or two choices: who would like to sit next to whom, and who might prefer an end seat.
- Put the cards out before guests arrive and give your child the job of showing people to their place.
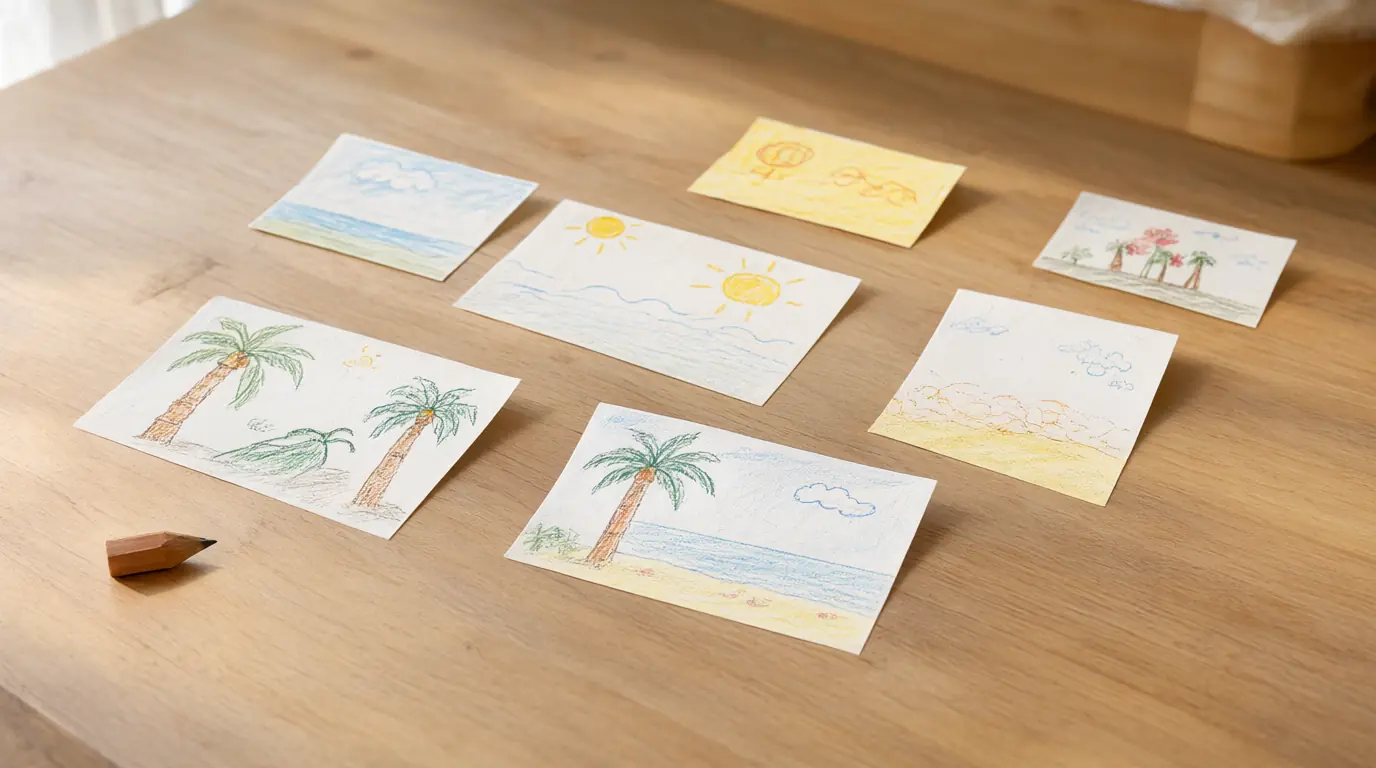
Make it your own: Younger children can place ready-made cards and carry cutlery. Older ones can plan the whole layout and explain their reasons. In a small flat, use a sofa or a floor picnic instead of a table and let the same planning apply.
Learn beyond one story
Children usually meet the holiday through a single friendly story, and it is worth widening that gently. The aim is not a history lesson but the beginning of accuracy: Native communities are contemporary, not only part of a past scene. A picture book by a Native author, read with an adult, does that better than any speech.
How to do it
- Say plainly that the holiday has more than one story, and that Wampanoag people are still living in the same region today.
- Ask a librarian or a good bookshop for a picture book written or illustrated by a Native author rather than guessing a title.
- Read it together and look closely at the pictures: homes, food, clothing, seasons, water.
- Ask what your child notices and what they wonder, and write both down without correcting them.
- Keep the book in the usual rotation afterwards, so the conversation continues past November.
Make it your own: With a three-year-old, keep it to one book and one question about the pictures. With a six-year-old, follow up on a wonder they raised, such as how a wetu is built or what grows in the region. Skip any book that treats Native people only as decoration.

Make it work for your family
If a child loses interest halfway through a card, put it aside and finish it another day rather than coaxing. Children who dislike writing can dictate a sentence while you write it in faint pencil for them to trace, or draw instead. If the garland keeps falling down, tape the string to the wall at both ends before adding any leaves. A child who wants to make twelve place cards has found the point of the activity, so let the number grow.
Keep glue sticks capped and paper flat so nothing curls overnight. If the gathering is large, give each child one clear job — cards, garland or greeting guests — rather than several half-finished ones. For families who want the day to hold more than food, these family games for the table and a few everyday gratitude rituals fit around the meal without another screen.

Parents also ask
What Thanksgiving activities suit a 3-year-old?
Colouring pre-cut paper leaves, sticking them onto a strip of tape and drawing on a folded card are all manageable at three. Skip anything with small pieces or fine cutting, and expect the making to last ten minutes at most.
How do you explain Thanksgiving to a young child?
Keep it to a few honest sentences: a harvest meal shared long ago, and Native people who were already living there and are still here today. Then follow your child's questions instead of giving a full timeline. A picture book by a Native author is a good next step.
How can children help with Thanksgiving dinner?
Give them a job with a clear start and finish: counting and setting places, tearing lettuce, stirring something cool, carrying napkins or greeting guests at the door. One job done properly is more useful than three half-finished ones.
Sources & further reading
Explore these primary sources for further context on this topic.
Choose materials and activities that suit your child, supervise as needed and adapt the ideas to their interests and abilities. About our editorial approach