Weebou Editorial Team
 In this article
A little preparation
Set up on a wipe-clean table near a window or in the shade of a garden umbrella, and put out only the materials for the project you have chosen. Cardboard, paper plates and a roll of masking tape cover most of what follows; a shallow tray keeps paint and water from travelling. If you are working outside, weigh the paper down with pebbles so a breeze does not take it, and keep water in a low container your child can reach without stretching.
Allow 20 to 30 minutes, with a drying spot set aside before you start. Use paints, glue and scissors labelled for children and follow the age guidance on the packet; an adult handles any cutting that needs a sharp blade. Small parts, such as beads or buttons, stay away from children who still mouth objects. Sunlight changes quickly, so trace shadows in the morning or late afternoon when they are long enough to be interesting, and keep sun cream and shade in mind for outdoor sessions. Summer activities for preschoolers has more ideas for hot days.

Ideas to try together
Cardboard sunshine prints
A piece of corrugated cardboard makes a surprising stamp: press the fluted edge into paint, then onto paper, and you get a row of stripes that can become sun rays, a beach umbrella or a stripy shell. Printing suits children who find drawing frustrating because every press produces a strong result, and the same tool can be used again and again without starting over.
 You’ll need
- A square of corrugated cardboard
- A paper plate for paint
- Washable paint in two summer colours
- Thick paper or a plain paper plate
- An apron or old T-shirt
How to do it
- Cut a 10 cm square of corrugated cardboard so the fluted edge shows, and trim that edge straight.
- Squeeze a little paint onto a paper plate and spread it thinly with an offcut of card.
- Press the fluted edge into the paint, then straight down onto the paper and lift.
- Repeat around a drawn circle to make rays, or in rows to make stripes.
- Turn the cardboard to a clean edge before dipping it in the second colour.
- Leave the prints flat to dry before adding crayon details.
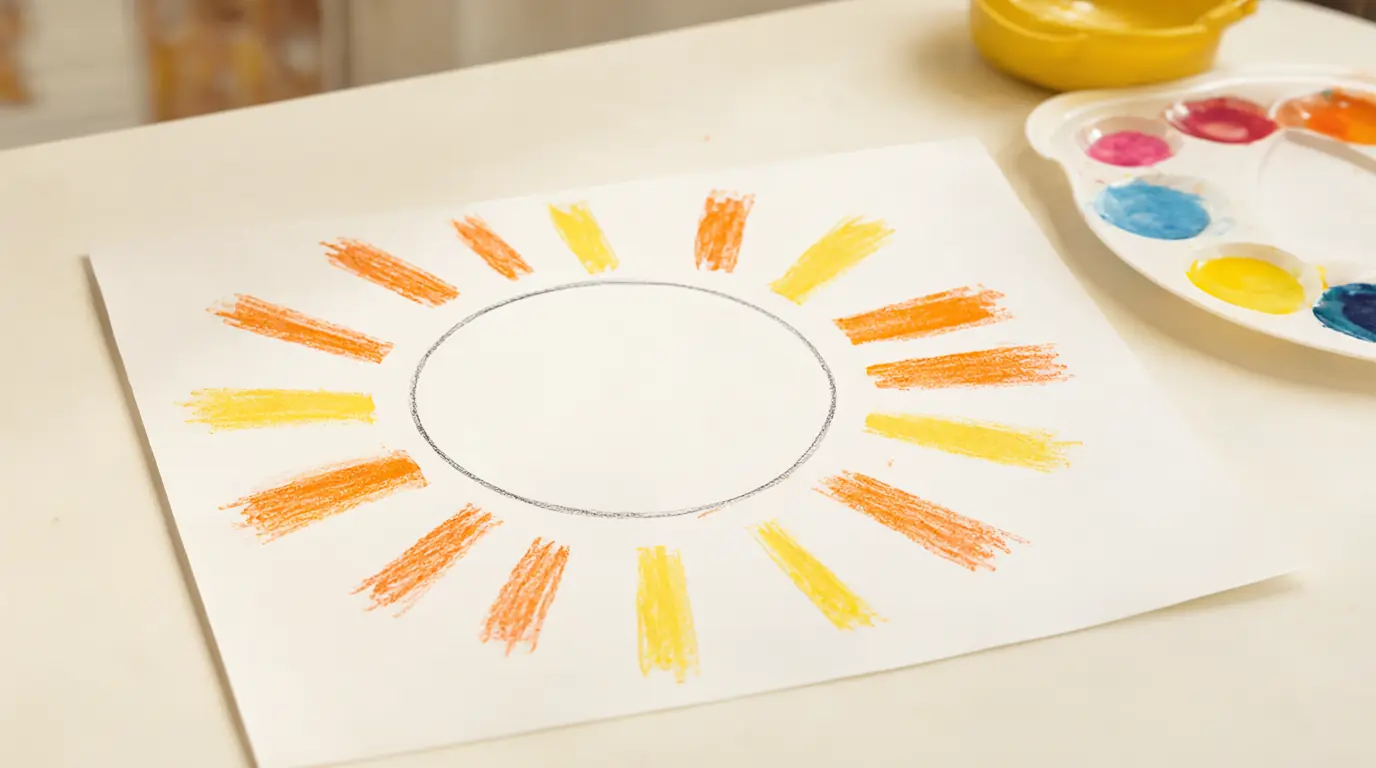
Make it your own: Three-year-olds can stamp freely across a big sheet; five-year-olds can plan a repeating pattern or a sun with counted rays. If the paint is too wet for clear prints, wipe the stamp once on scrap paper first.
Paper picnic plates
A paper plate is already round, so the drawing starts with a shape children recognise from real meals. Planning a picnic lets them make decisions about what food, who comes and what happens if it rains, and the plate can become a menu, a map or a picture of the blanket all at once. It is also a cheap canvas for a child who wants to fill a whole surface.
You’ll need
- 2 paper plates
- Crayons or washable markers
- Scrap paper for food shapes
- Glue stick
How to do it
- Talk through the picnic first: who is coming, what will you pack, where will you sit?
- Draw a circle on the plate for the blanket and fill it with food.
- Add shapes with crayon or glued scrap paper: a triangle sandwich, a round orange, a long banana.
- Write your child's menu around the rim as they dictate it.
- Add one thing that could go wrong, such as a wasp or a rain cloud, and ask what happens next.
- Keep the plate on a shelf as a plan and use it to pack a real snack.
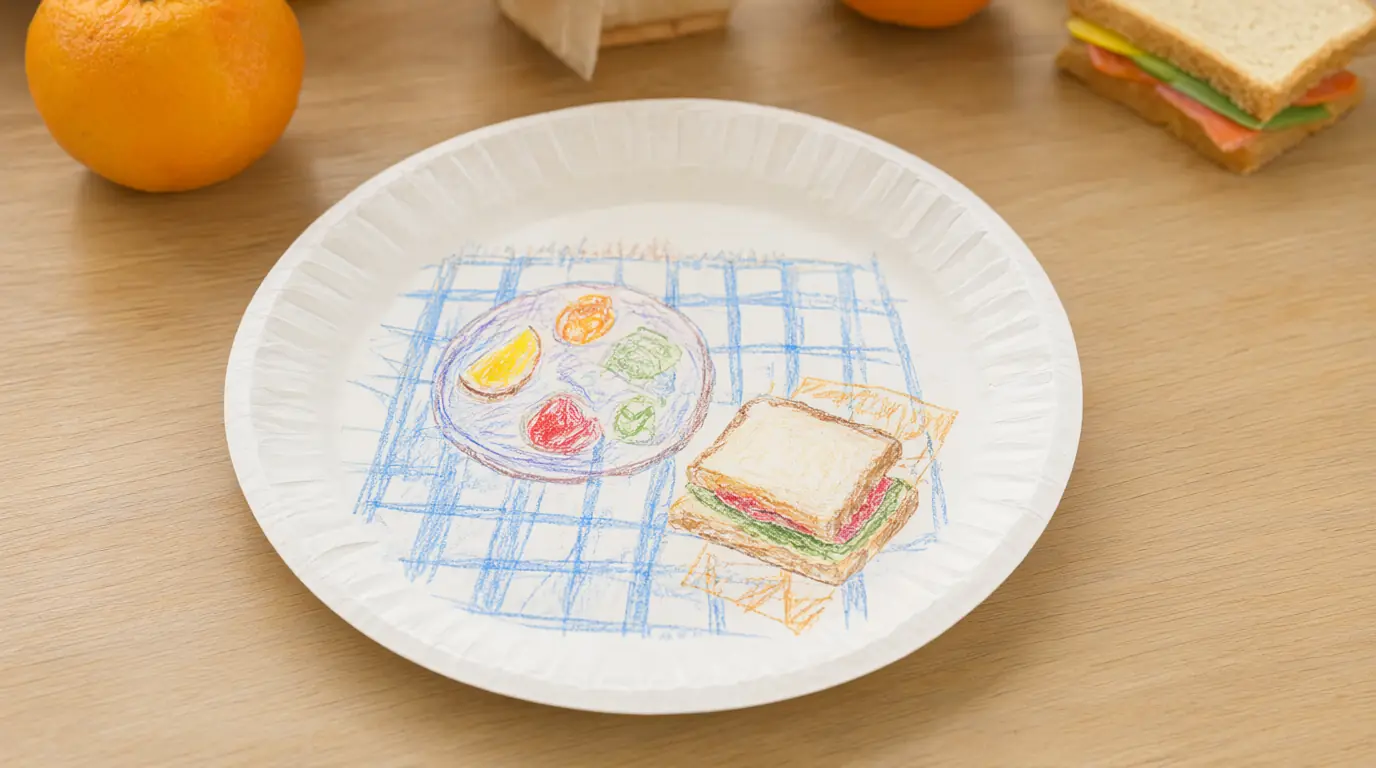
Make it your own: Younger children can fill one plate with a single favourite food and colour it in. Older ones can make two plates, before and after the picnic, and compare what changed.
Shadow tracing pictures
Shadows are free, change through the day and turn an ordinary toy into an outline worth drawing around. Tracing gives a young child a shape that looks recognisable straight away, which builds confidence, and moving the object afterwards leaves a mystery outline to decorate and explain. Choose a toy with a clear silhouette, such as a dinosaur, a bottle or a toy animal.
You’ll need
- A toy with a clear outline
- A sheet of white or coloured paper
- A pencil or thick marker
- Masking tape
- Crayons
How to do it
- Place the paper in a sunny spot or under a lamp where the shadow falls flat on the sheet.
- Stand the object on the paper and turn it until the shadow is clear and long.
- Tape the paper down if it slides.
- Trace the shadow's edge with a pencil while the object stays still.
- Lift the object away and look at the empty outline together.
- Decorate the inside with crayon patterns, or turn the outline into a different animal.
- Trace the same toy at another time of day and lay both pictures side by side.
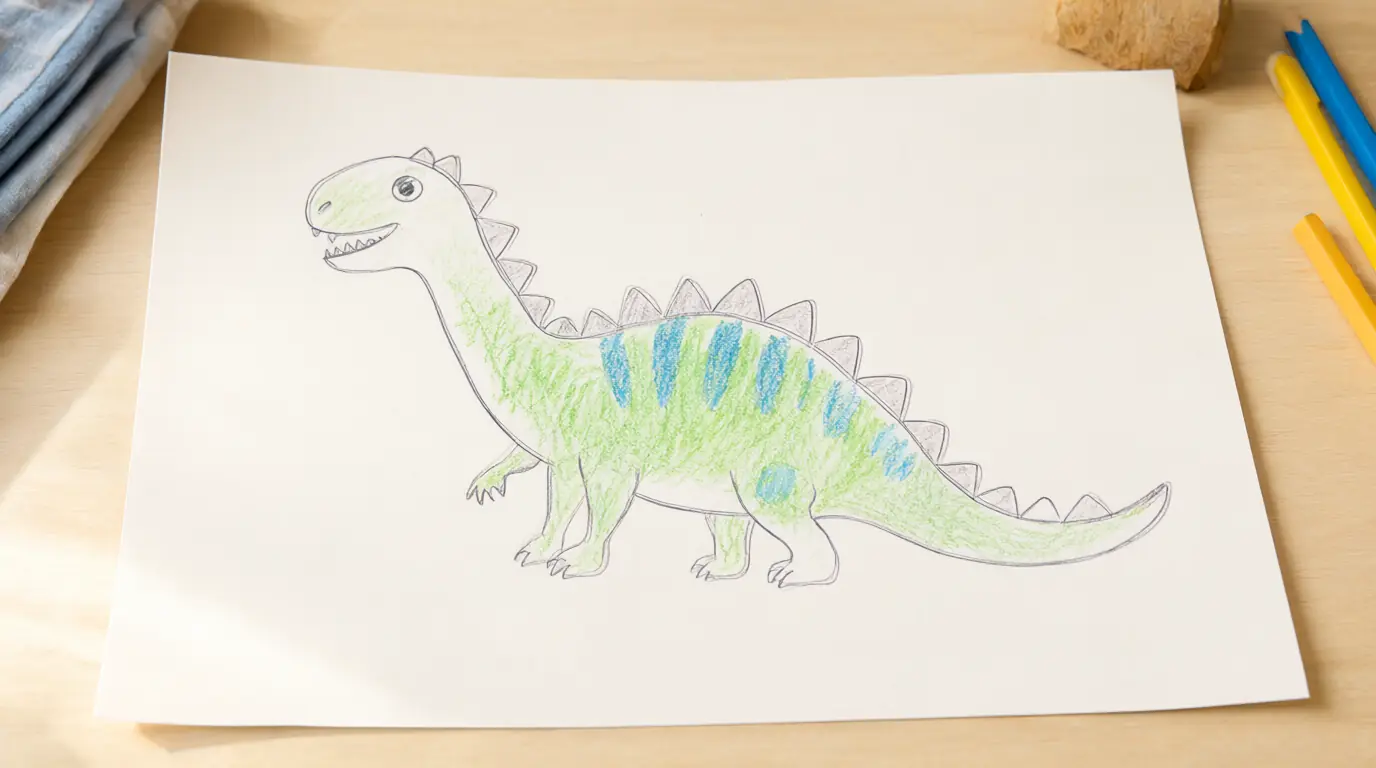
Make it your own: If tracing is fiddly, an adult can hold the object while the child draws the outline. Older children can measure two shadows of the same toy and talk about which is longer and why.
Folded sea scenes
One fold turns a flat drawing into something that stands up, and the space in front of the fold becomes a little stage. A sea scene works well because water, sand and sky can be simple bands of colour, leaving the interesting part, the creatures, to your child. Paper fish taped to strips can be slid up and down as if they are swimming.
You’ll need
- A4 card or thick paper
- Crayons or washable paint
- Scrap paper
- Child-safe scissors
- Tape or glue stick
How to do it
- Fold a sheet of card in half like a book and crease the edge firmly.
- Draw a wide band of sea across the lower half and sky or sand above it.
- Cut simple fish, shells and a boat from scrap paper.
- Tape each creature to a short strip of card.
- Tape the strip to the back of the card so the creature peeps over the fold.
- Stand the card up and slide the creatures up and down while you tell a story.
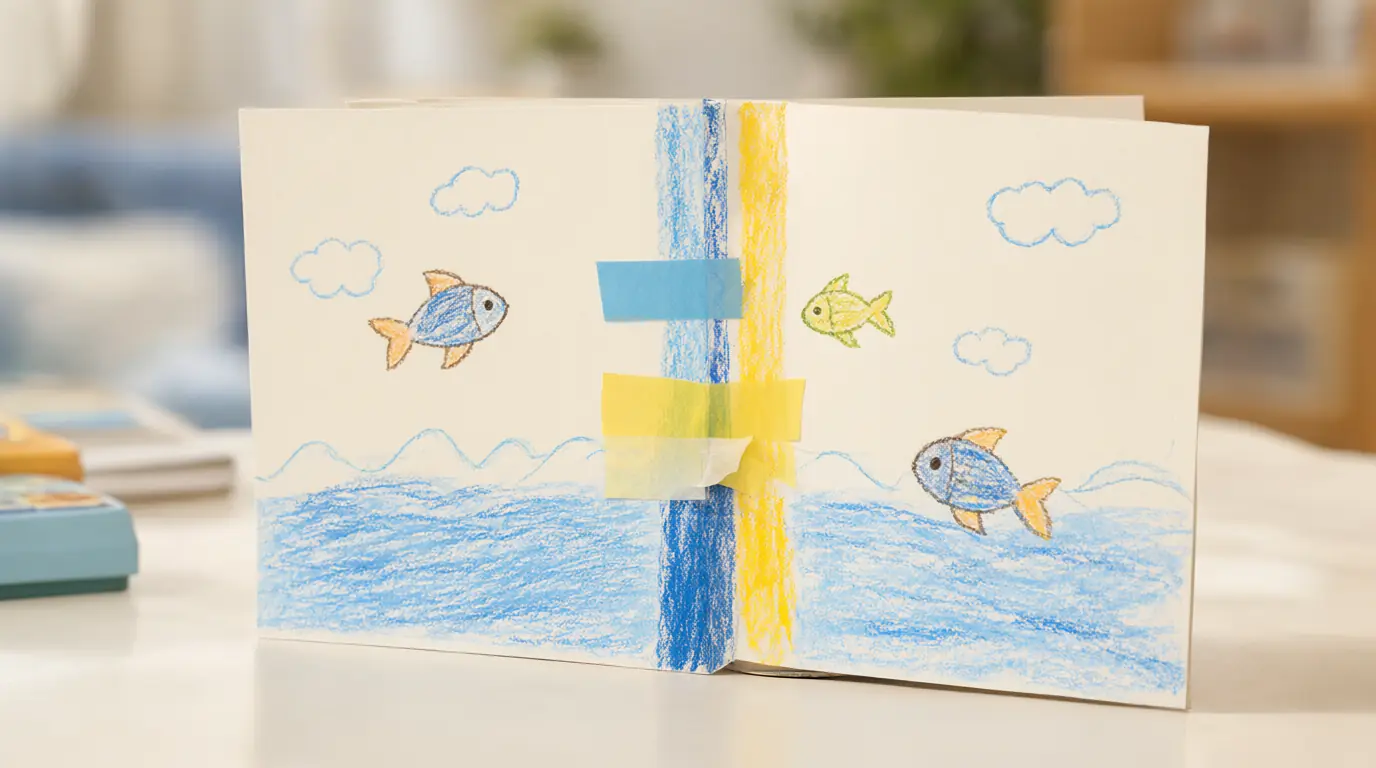
Make it your own: Toddlers can paint the sea band and stick on three large fish. Older children can add a rock pool, label the creatures or make a second scene showing the same beach at night.
Paper fans for hot afternoons
Folding a fan is a small engineering problem with an obvious reward: your child ends up with something that actually cools them down. The concertina fold takes practice, and the first attempts usually come out crooked, which is fine. Decorating happens before folding, so the pattern appears and disappears as the fan opens and closes.
You’ll need
- A rectangle of sturdy paper, about A4 size
- Crayons or washable markers
- A ruler to guide straight folds
- Tape
How to do it
- Decorate one side of the paper with crayon stripes, dots or a summer picture.
- Turn the paper over and fold a 2 cm strip along one short edge.
- Flip the paper and fold the next strip back the other way, like a zigzag.
- Keep folding and flipping until the whole sheet is concertinaed.
- Press the folds firmly, then pinch one end together.
- Wrap tape around the pinched end as a handle and open the fan.
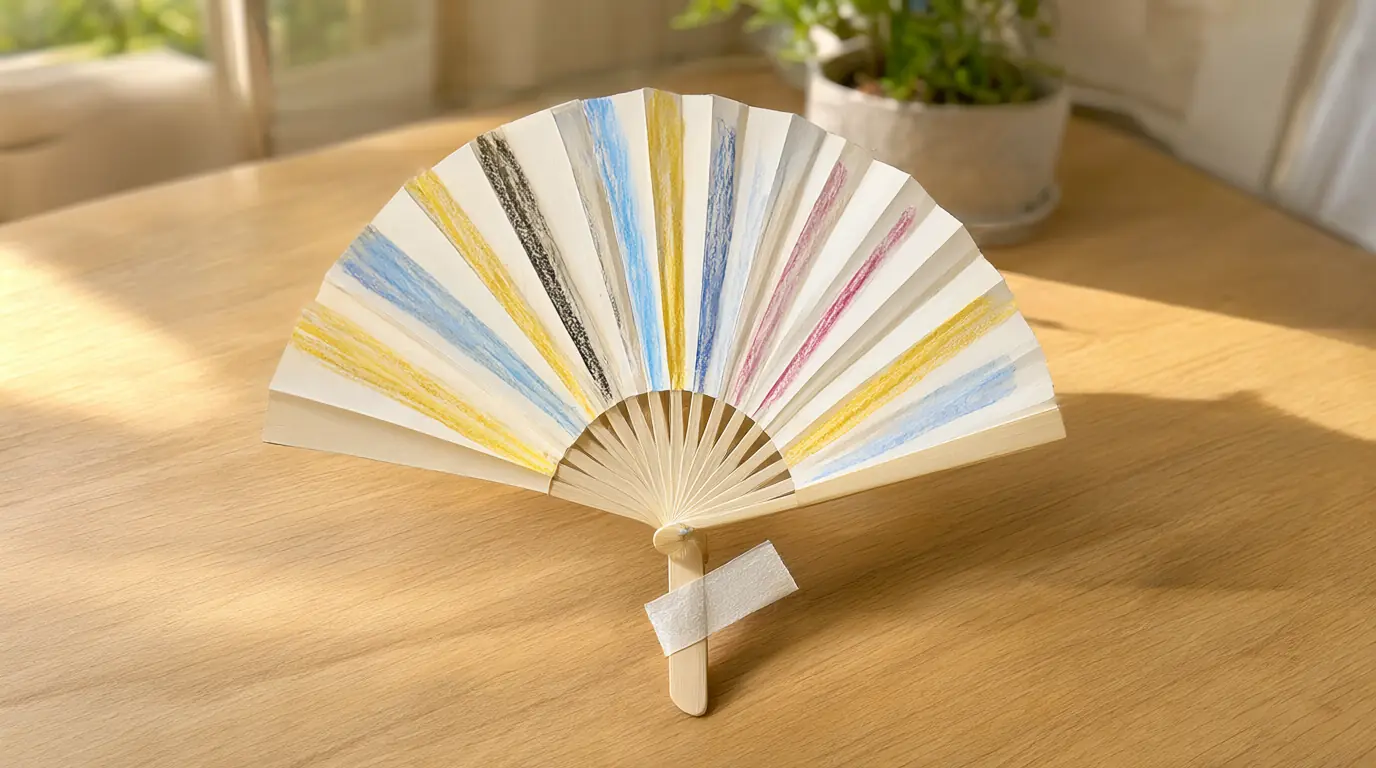
Make it your own: Younger children can fold a sheet an adult has pre-creased, or simply scrunch and tape paper into a paddle fan. Older ones can measure the strips with a ruler and compare narrow and wide folds.

Make it work for your family
Expect the first version to be quick and messy, and keep a second sheet nearby rather than trying to correct the first. If paint soaks through cardboard, slide a magazine underneath; if a fold tears, tape it from the back and carry on. Children who dislike the feel of paint can use crayons and a glue stick for the same project, and a child who finishes in four minutes may simply want to start again with a fresh sheet.
Photograph each piece flat in daylight and write your child's own words on the back before it goes on the wall. Hang the work at their eye level, not yours. For a rainy afternoon, easy painting ideas and these arts and crafts starting points use the same materials in a different way.

Parents also ask
What summer crafts can a 3-year-old do with little help?
Printing with a cardboard edge, colouring a paper plate and painting a sea band all need only one simple action. An adult sets up the paint or tape, then the child works largely alone. Choose one material at a time and keep the session short.
How do you make a paper fan that stays folded?
Use sturdy paper rather than thin copy paper, crease every fold firmly with a fingernail and tape the pinched end as a handle. Older card holds the zigzag better than paper, though it is harder for small hands to fold.
What can we use instead of paint for summer crafts?
Thick crayons, washable markers, coloured paper glued in shapes and chalk on dark paper all work without wet mess. Crayon and glue stick versions of the same projects are easier to tidy up and can be done on a sofa table.
Choose materials and activities that suit your child, supervise as needed and adapt the ideas to their interests and abilities. About our editorial approach