Weebou Editorial Team
 In this article
A little preparation
Plan each station so it can be set up in ten minutes and packed away just as quickly. Choose a base area with shade, water and a clear meeting point, then place stations far enough apart that a loud game does not disturb a quieter one. Run them in groups of four to eight children for 15 to 20 minutes, with an adult or older helper at each station. Walk the whole route first and check for trip hazards, low branches, broken glass and open water.
Match the roles to the children in front of you rather than to age alone. A child who is unsure can hold pegs, carry a card or keep time, and these jobs count as full participation. Explain where each station begins and ends, show the materials and let children ask questions before anyone starts. For more ways to build shared jobs into a day, try these teamwork activities, and keep a quiet mat or blanket nearby for anyone who needs to step back.

Ideas to try together
A cardboard den with a real purpose
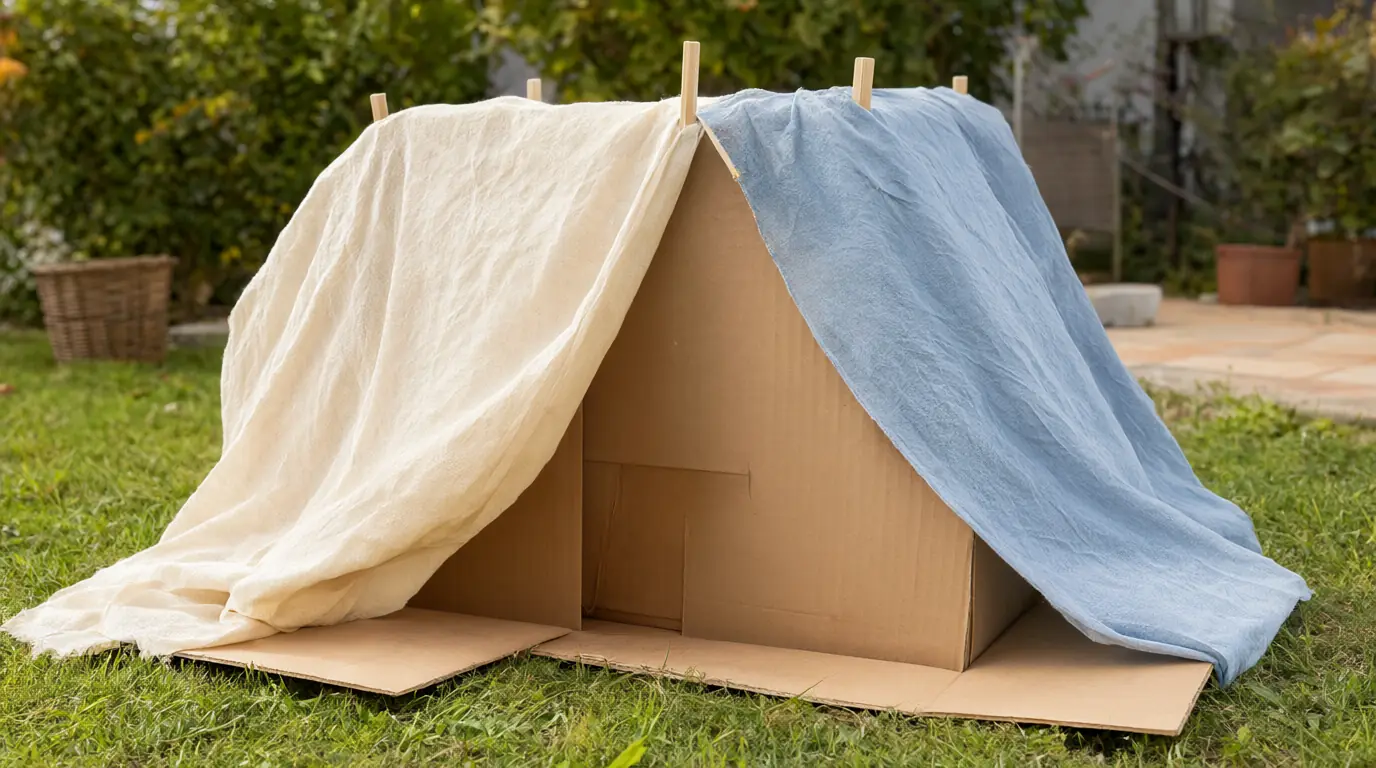
Children design a den with a clear job for everyone: one person arranges boxes, another drapes fabric, another decides what the den is for. Because the structure belongs to the group, the conversation matters as much as the building. Adults handle any cutting or firm taping, while children test, adjust and explain their choices.
 You’ll need
- 2 or 3 large cardboard boxes
- 2 light fabric sheets
- Wooden clothes pegs
- A roll of wide tape
- Cushions or a small mat
How to do it
- Lay the boxes on their sides in an open space and let the group walk around them before anything is fixed.
- Agree on a purpose together: a bus, a shop, a cave or a place to read.
- Give each child a role that can change: box mover, fabric draper, peg holder, tester or sign maker.
- Show how to overlap fabric sheets and secure them with pegs rather than tying knots at head height.
- Ask the group to sit inside and count slowly to ten, then change one thing that did not work.
- Leave a side gap as a doorway and keep the roof low enough for an adult to see over.
Make it your own: Younger children can drape one sheet over a single box and call it finished. Older children can add a door, a window and a drawn plan of who sits where. Children who dislike enclosed spaces can design the outside instead.
Nature noticing cards, not collecting
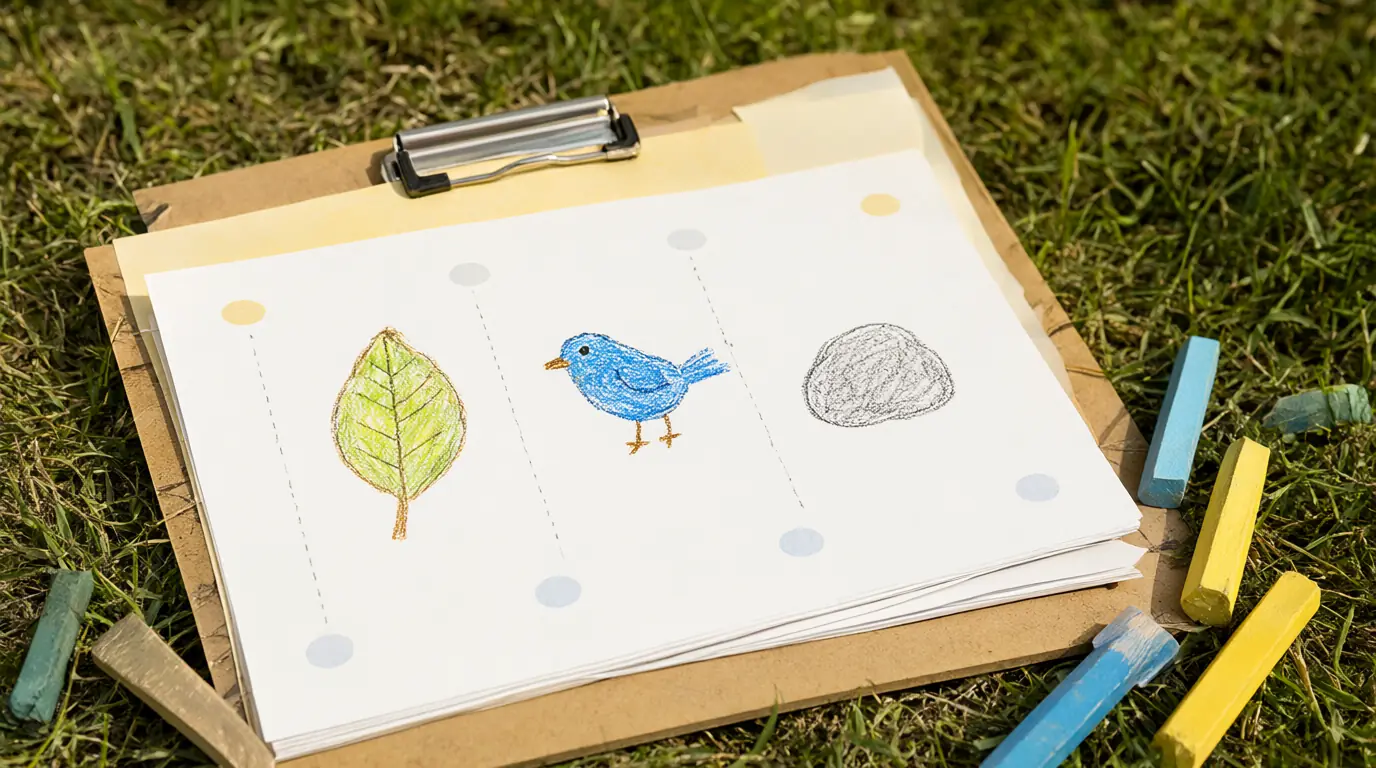
Picture cards turn a walk into a shared looking game. Each card shows something to find with the eyes only, so living things stay where they are and every child can contribute a description. The drawn record at the end gives the group something to compare and revisit.
You’ll need
- 6 picture-only clue cards
- A clipboard and thick crayons
- A cloth bag for the cards
- A pencil for an adult
How to do it
- Before the walk, show the cards one at a time: a leaf with a hole, a bird, a stone, a seed, a shadow and something yellow.
- Explain that the group will look closely and point, but leaves, flowers and insects stay in place.
- At each find, ask two children to describe it using a colour, a shape and a size.
- Let each child choose one card to draw on the clipboard, adding only the parts they noticed.
- Compare the drawings at the end and ask which detail was hardest to see.
- Return the cards to the bag and leave the outdoor area as you found it.
Make it your own: Younger children can match a real object to a card held beside it. Older children can add a second clue, such as where the object was found or what it was doing. Children with limited mobility can play from a seated position with cards placed within reach.
A shared mural that grows in turns
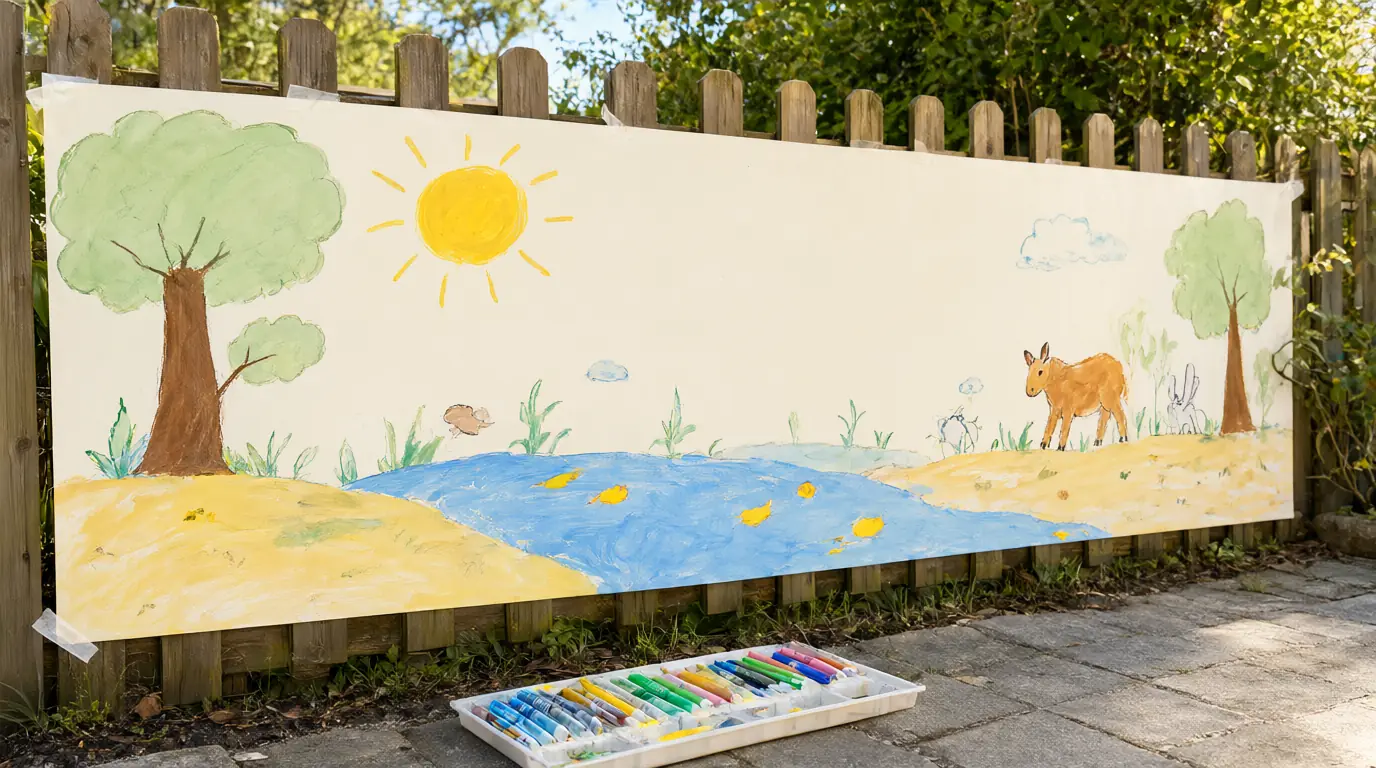
A long sheet of paper lets every child add one part without owning the whole picture. The relay format keeps turns short and gives quieter children a clear moment to step forward. It also creates a natural conversation about what the next person might need.
You’ll need
- A long roll of lining paper
- Paint sticks or thick markers
- Masking tape
- Aprons or old shirts
- A tray for tools
How to do it
- Tape the paper along a fence or low wall at a height that works for seated and standing children.
- Ask the first child to add one large shape, then tell the next child what they imagined.
- Let each child add one part in turn: a tree, a road, a river, an animal or a patch of colour.
- Keep a small gap between additions so the picture does not become crowded.
- Invite the group to step back together and name one thing they notice in someone else's part.
- Leave a corner blank for anyone who wants to add something later.
Make it your own: Younger children can add stickers or single paint strokes. Older children can plan a scene with a beginning, a middle and an end before they start. If space is tight, tape the paper to a table and work seated.
A story trail with picture stops
Picture prompts along a short route turn movement into storytelling. At every stop the group chooses what happens next, so the story belongs to everyone and no child needs to read or write to take part. The walk between stops gives thinking time.
You’ll need
- 5 or 6 picture-only prompt cards
- Pegs or string
- A clear route with safe stopping points
- A cushion or mat for the last stop
How to do it
- Place the cards along a route where the group can stop safely, with the last stop near the quiet mat.
- Show the first picture, such as a key or a bridge, and ask what the character might do next.
- Take two or three ideas, then let the group choose one by a show of hands or a nod.
- Walk together to the next card and repeat, linking each new picture to the choice already made.
- At the final stop, ask each child to add one sentence to the ending.
- Retell the whole story on the way back, using the cards as reminders.
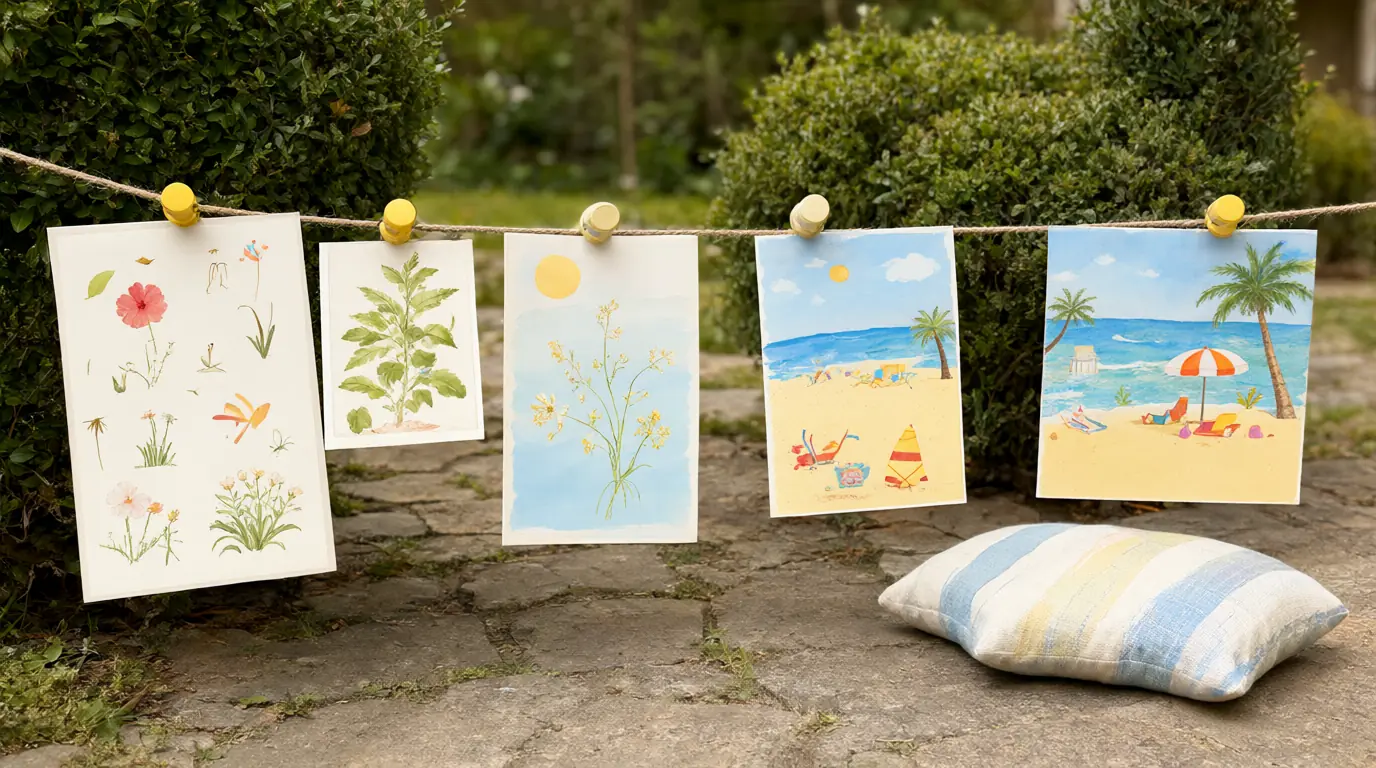
Make it your own: Younger children can choose between two clear options at each stop. Older children can invent a problem at stop three and solve it at stop five. A child who prefers not to speak can point to a picture or whisper an idea to a friend.
A sponge-and-bucket relay
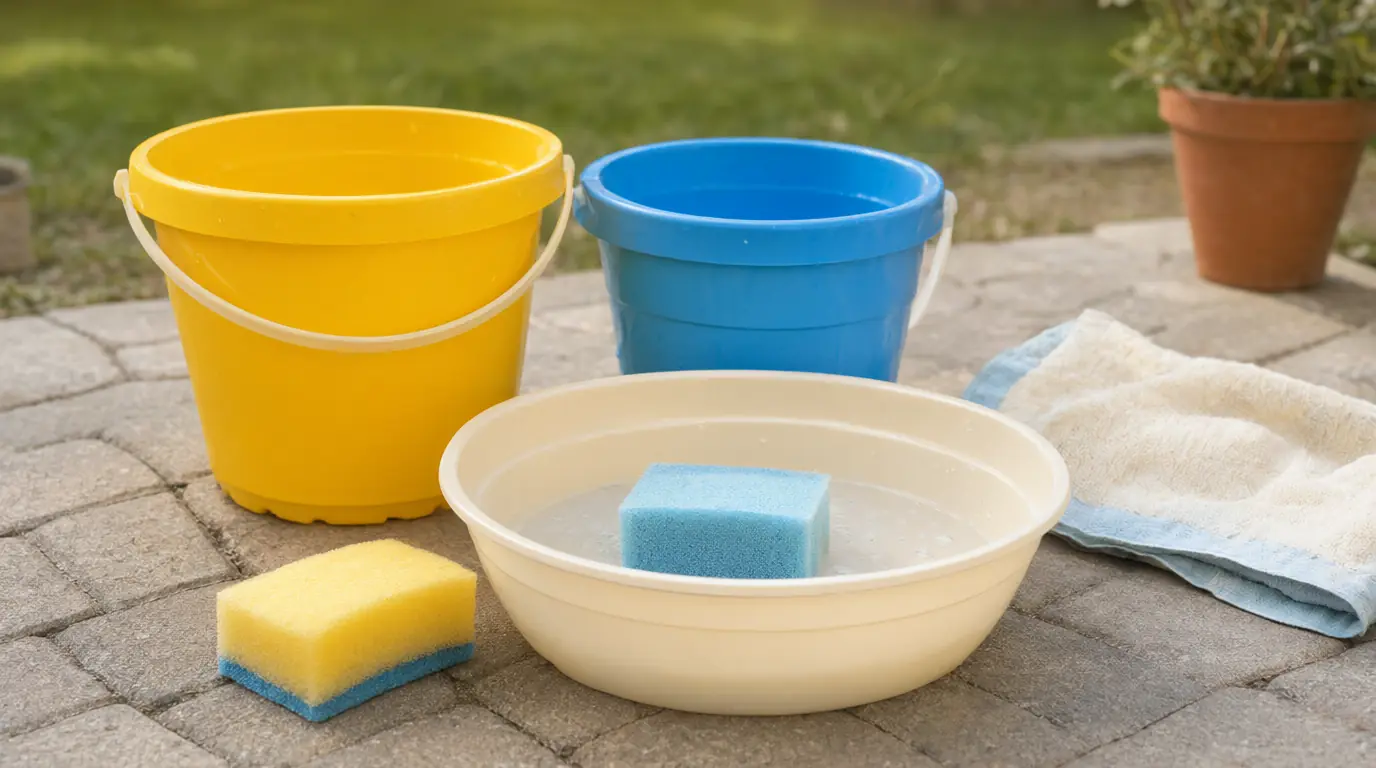
This relay gives a group a shared goal without eliminating anyone. Children carry water in sponges, squeeze it into a tub and return, so the team keeps working until the task is done. It is active enough for older children and simple enough for younger ones to join at their own pace.
You’ll need
- 2 plastic buckets
- 4 large sponges
- 2 shallow plastic tubs
- Towels
- Water
How to do it
- Fill each bucket halfway and place the empty tubs about three metres away on a flat, safe surface.
- Show how to soak a sponge, carry it without running and squeeze it into the tub.
- Let each team send one child at a time, with the next child starting when the first returns.
- Keep the pace steady and stop for a rest whenever anyone needs one.
- Finish when the group decides the tub is full enough, then tip the water onto a garden bed.
- Use the towels to dry the route and store the sponges where they can air.
Make it your own: Younger children can carry a small sponge over a shorter distance. Older children can work in pairs, with one carrying and one counting squeezes. On a cold day, use dry sponges and a sand tray instead of water.

Make it work for your family
If the group is large, split each station into two small teams and let them start at opposite ends. A child who dominates can be given a timekeeping or explaining job, which keeps them involved without taking over. If someone refuses a station, offer the quiet base area and a simple task such as sorting pegs or holding the card bag; they may join later or choose the next station instead.
Keep instructions to one sentence and demonstrate the first action rather than describing every step. Watch for children drifting away from the group and check that the quiet area stays visible to an adult. For more low-pressure formats, try these group games for kids or read about cooperative play and how shared ideas develop. Photograph the dens and murals before they are packed away, and ask the group which station they would change next time.

Parents also ask
What are good summer camp activities for mixed ages?
Choose activities with clear roles rather than one winner: den building, a shared mural, a picture story trail and a sponge relay all let a four-year-old and an eight-year-old contribute differently. Keep each station short, demonstrate the first step and let children choose a job that feels comfortable.
How do you organise stations for a mixed group?
Set up four or five stations with enough space between them, then rotate small groups every 15 to 20 minutes. Put an adult or older helper at each station, explain where it starts and ends, and keep a quiet area available. Fewer, well-prepared stations work better than many rushed ones.
What if a child does not want to join a camp game?
Offer a nearby job such as holding pegs, keeping time or carrying the card bag, and let the child watch first. Stay close without pressuring them to join. Some children need a few minutes on the edge before they choose a role, and that is still participation.
Choose materials and activities that suit your child, supervise as needed and adapt the ideas to their interests and abilities. About our editorial approach