Weebou Editorial Team
 7 min read
 In this article
A little preparation
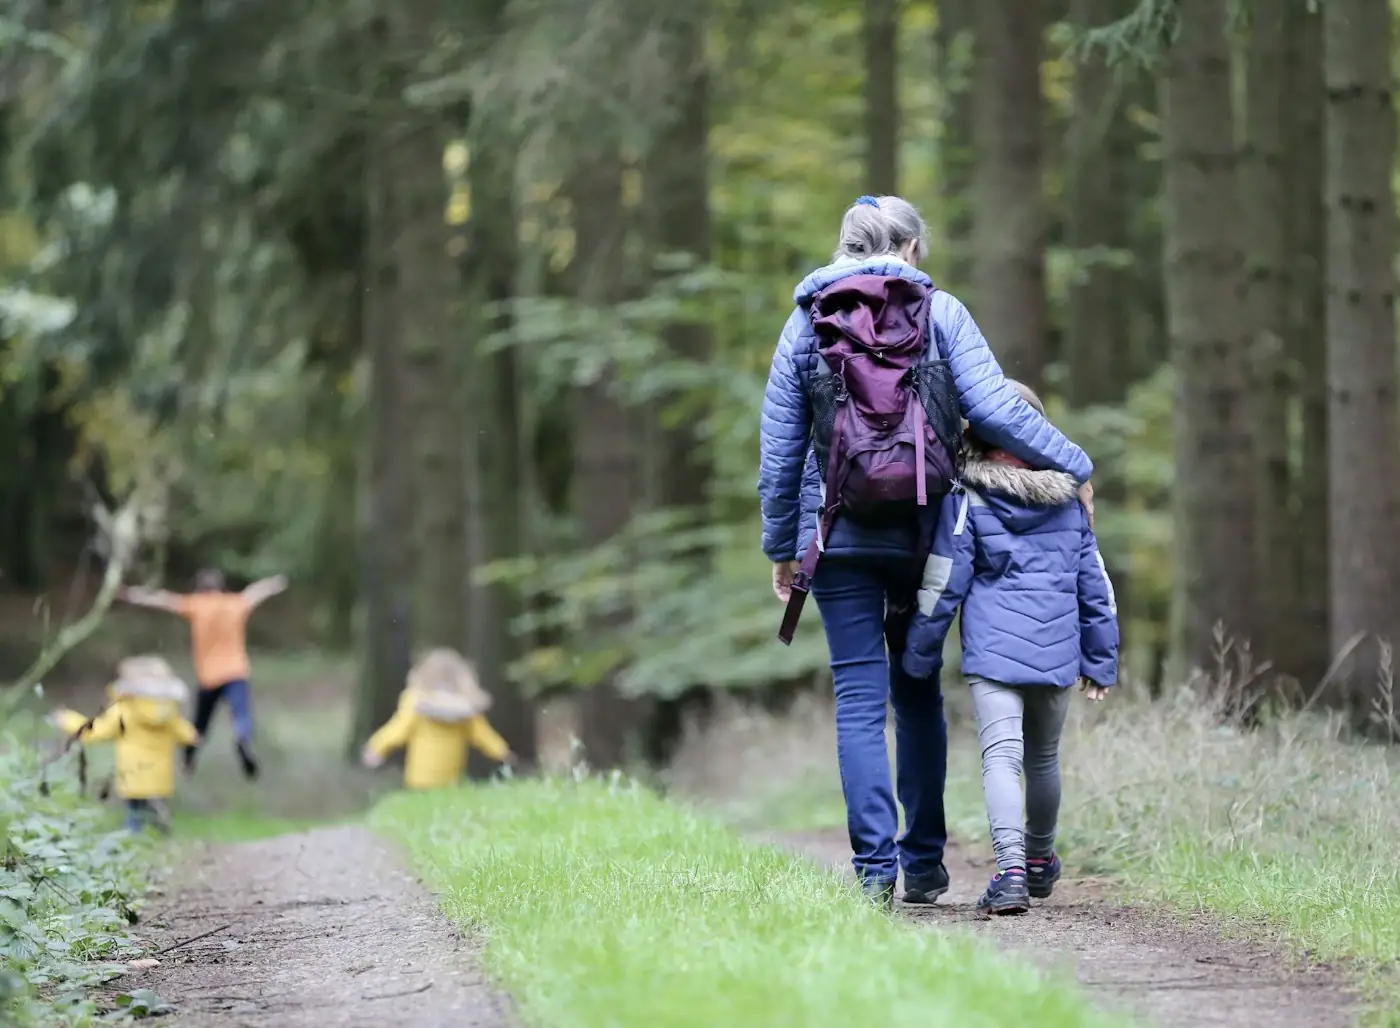
Choose a route you know and walk it first. Check for traffic, water, broken glass, thorny plants, dog mess and uneven ground, and agree on a clear boundary such as ‘the bench to the big tree’. Keep your child within sight and in reach the whole time, and make a picture checklist with simple drawings so that children who cannot read can take part. A clipboard or a piece of card with a rubber band makes it easy to tick things off.
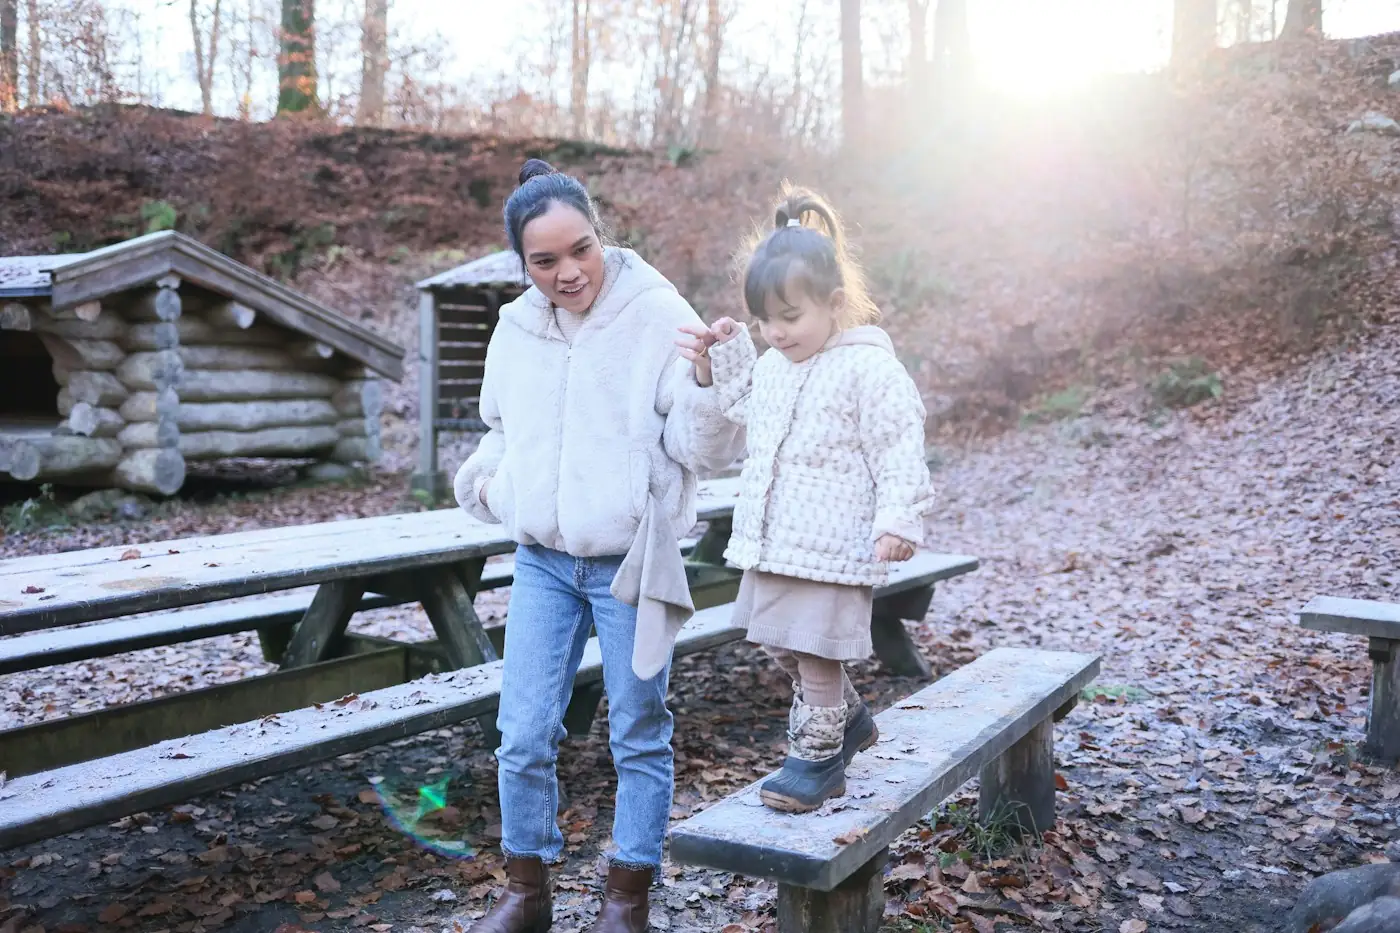
Set the rules before you set off: look with eyes, not hands; leave plants, animals and stones where they are; and don’t touch anything unfamiliar, such as berries, mushrooms or animal droppings. Wear shoes that cope with mud and dress for the weather. Allow thirty to forty-five minutes, with plenty of time to stop when something interesting appears. If you are going near a road or water, hold hands or have a second adult, and take drinking water with you.

Ideas to try together
Shape seekers
Looking for shapes in nature shows children that geometry is everywhere, not just in a picture book. A leaf can be an oval, a puddle a circle, a branch a zigzag. Because the clue is broad, many answers are right, and children begin to explain why something fits.
 You’ll need
- A card with a circle, a zigzag and a long straight line drawn in crayon
- A clipboard or stiff card
- A crayon to tick each find
How to do it
- Show your child the three shapes on the card and trace each one in the air.
- Walk to the start of the route and say, ‘Let’s find all three without touching.’
- When your child points at something, ask, ‘Which shape does it remind you of?’
- Tick the shape on the card and talk about what made you choose it.
- Finish by drawing one of the things you saw next to its shape.
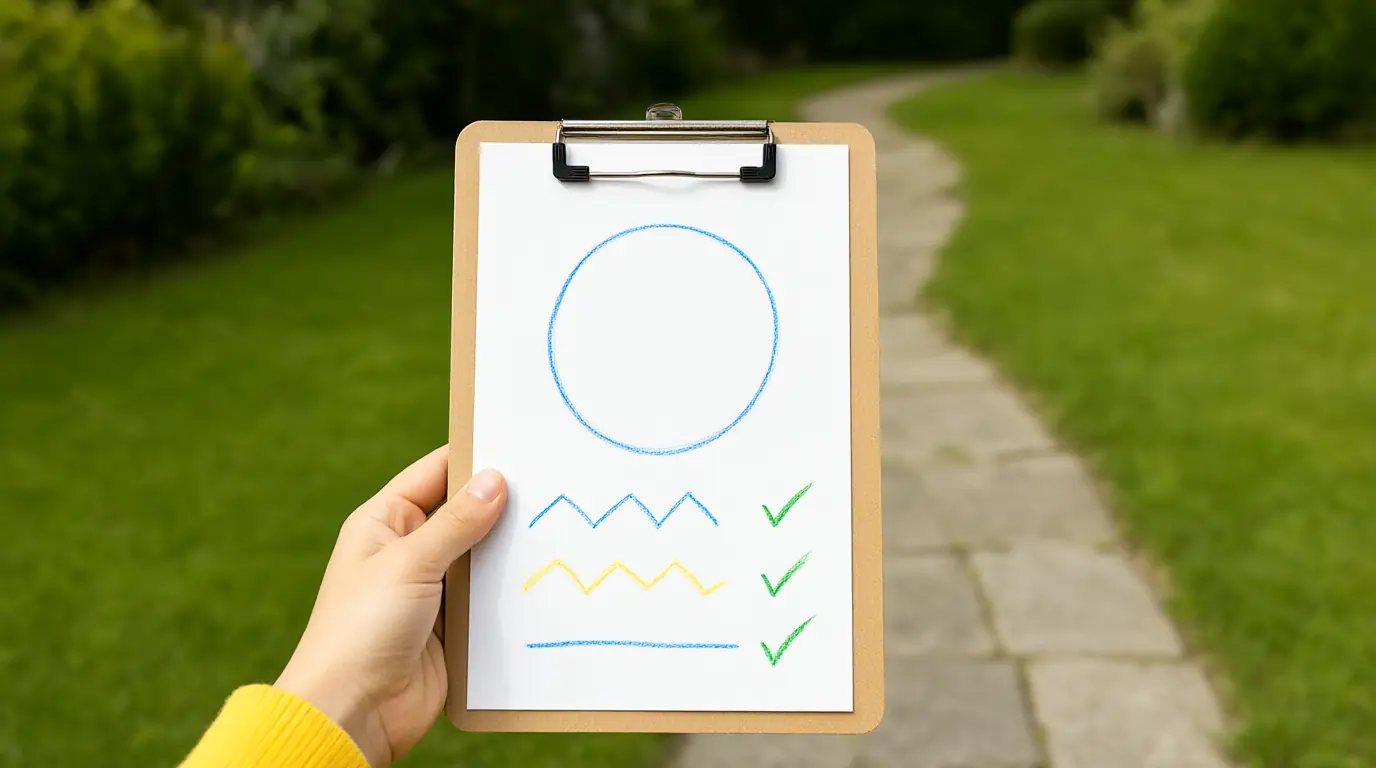
Make it your own: Younger children can hunt for just one shape, such as a circle. Older children can add curves, triangles and spirals, or count how many examples they find of each.
Moving and still
Deciding whether something is moving or still sounds easy until you start to look: a leaf can be still, then flutter in the wind. Watching closely trains attention, and discussing what makes things move starts an early science conversation. Children begin to see that the same thing can be moving at one moment and still at another.
You’ll need
- A card with an arrow drawn for ‘moving’ and a dot for ‘still’
- Crayons
- A comfortable spot to sit
How to do it
- Sit or stand in a safe spot and look around for something that is moving.
- Let your child point, and ask, ‘What is making it move?’
- Look for something still, and say, ‘Is it really not moving at all? Let’s watch.’
- Draw a quick picture of one moving thing and one still thing.
- Check again after a minute and talk about whether anything has switched.
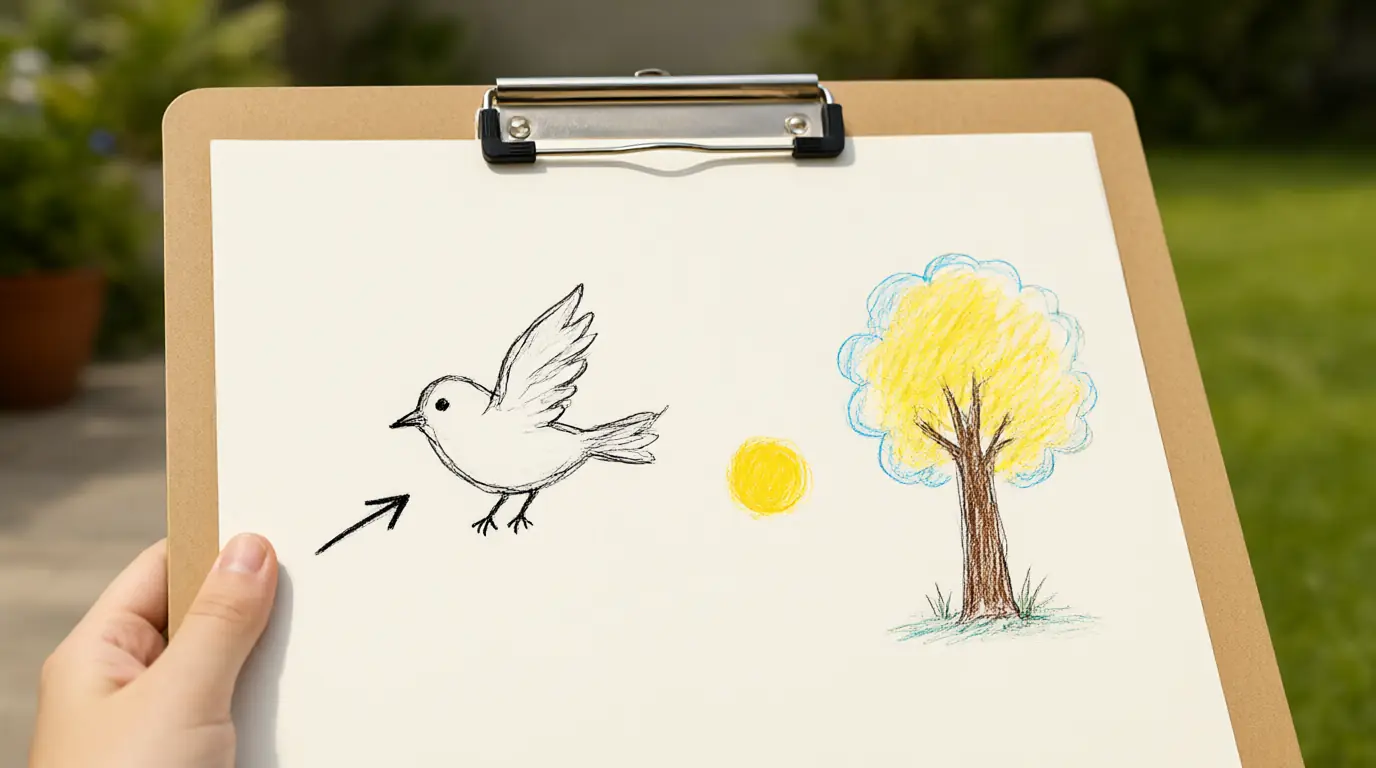
Make it your own: For younger children, find just one moving thing, such as a cloud or a bird. Older children can sort their finds into ‘wind’, ‘animal’ and ‘other’.
Colour patches without picking
Matching colours outdoors makes children realise that nature has many shades of the same colour. Using painted patches gives them a standard to compare with, and the search encourages careful looking. Because nothing is picked, the flowers and leaves stay where they belong.
You’ll need
- A sheet of paper with three large patches of colour, such as green, yellow and brown
- Crayons or paint to make the patches
- A clipboard
How to do it
- Paint or colour three patches on the paper and let them dry before you set off.
- Hold the paper next to something outdoors and ask, ‘Does this match?’
- Look at how close the match is: lighter, darker or exactly the same?
- Make a small mark beside the patch when your child finds a match.
- Ask which colour was easiest to find and which was hardest.
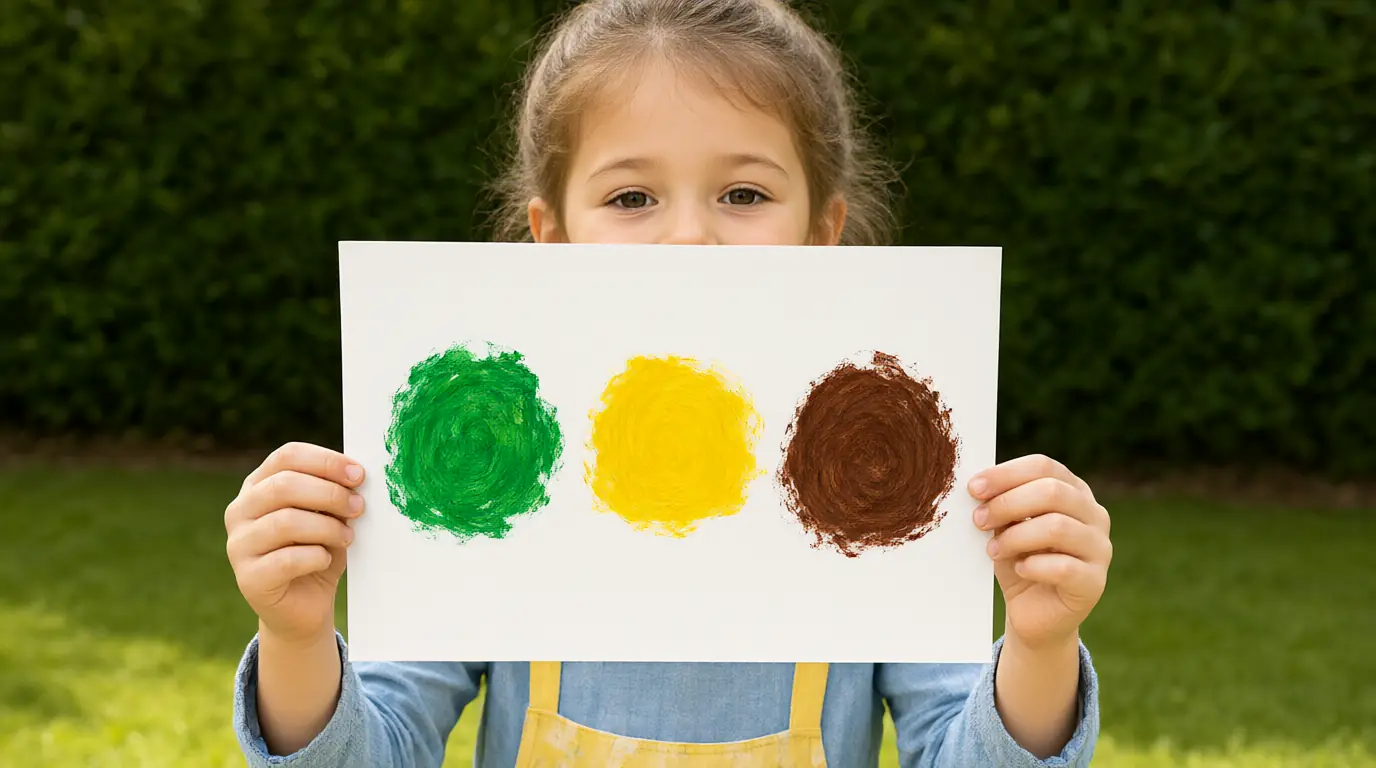
Make it your own: Younger children can use just one colour. Older children can try finding two different shades that both match a single patch.
Sound spots
Closing your eyes for a minute changes what you notice. Listening for sounds outdoors builds attention and vocabulary, and it is quieter than the other hunts, which makes it a calm choice towards the end of a walk. Every child hears something different, which makes everyone’s answer worth hearing.
You’ll need
- A rug or jacket to sit on
- A sheet of paper and crayons
- A quiet outdoor spot
How to do it
- Sit down together and say, ‘Let’s listen for one minute.’
- Close your eyes or look at the ground and listen carefully.
- After a minute, ask what each person heard: near, far, loud or quiet.
- Draw a simple picture or mark for each sound.
- Listen again for another minute and see whether anything new appears.
Make it your own: For younger children, shorten the listening time to twenty seconds. Older children can map sounds on a page, putting near sounds close to the middle and far sounds near the edge.
Photo hunt with an adult camera
Taking a picture keeps a find without taking anything away. Your child chooses what to photograph, and you take the picture, or they use a phone while you hold it with them. Looking back at the photos at home extends the hunt and invites storytelling.
You’ll need
- A phone or camera used by an adult
- A picture list with symbols such as a flower, a bird, a leaf and a cloud
- A pencil to tick off finds
How to do it
- Show the list and say, ‘We can only take pictures, not things.’
- When your child spots something on the list, take the photo from a safe distance.
- Let your child choose the angle or look through the screen with you.
- Tick the symbol on the list and move on to the next.
- At home, look at the photos together and let your child tell the story of the walk.
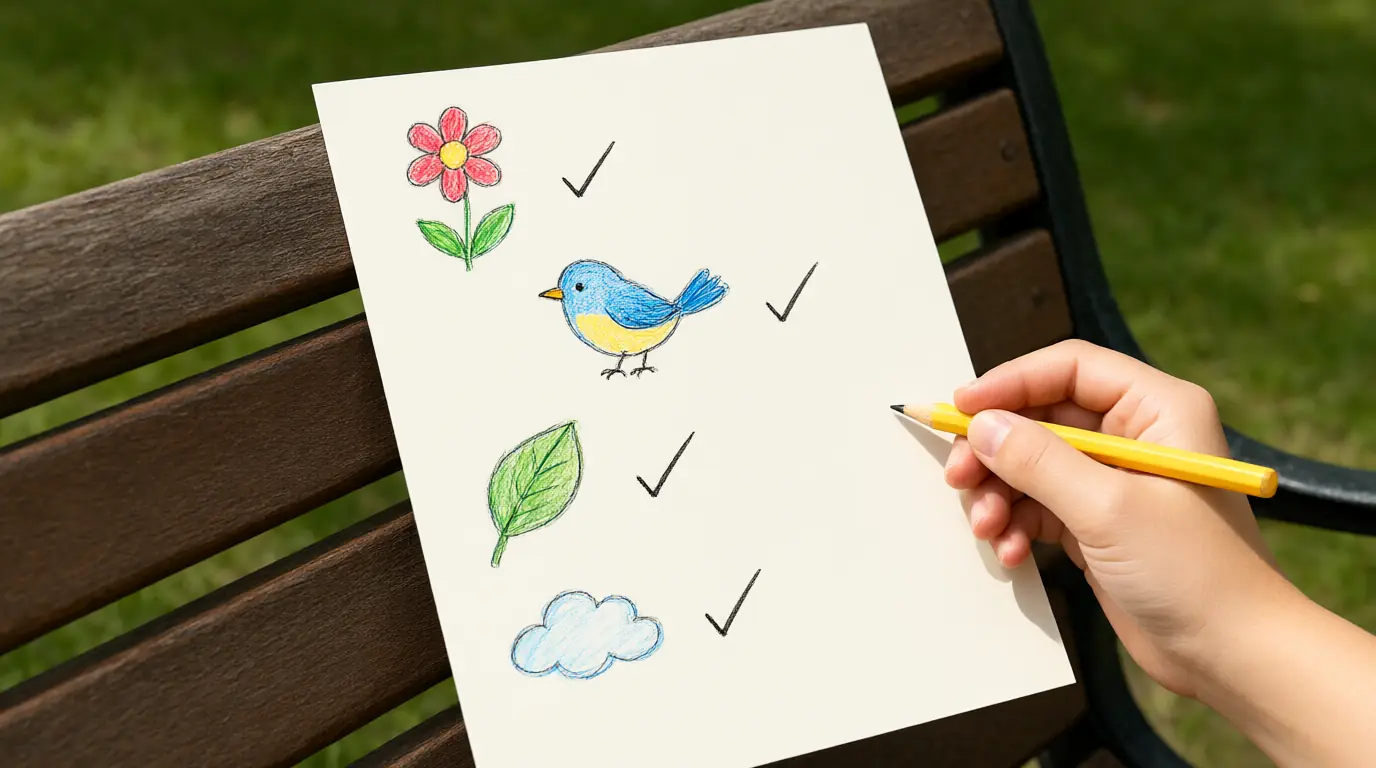
Make it your own: For younger children, make the list very short and have an adult take every photograph. Older children can take their own with supervision and pick a favourite to tell you about.

Make it work for your family
Leave time for the unexpected, since a beetle walking across a path is often more memorable than any clue on the list. Stop before the hunt feels like a race, and don’t keep score; there is no ‘winning’ when every child sees something different. If your child cannot find an item, change the clue or write down ‘not seen today’, which is a perfectly good result.
At home, ask your child to draw one thing they noticed and tell you where it was. A photo taken by an adult makes a good prompt for later conversation. For other ways to look closely at the natural world, see these nature activities that begin with looking closely and the spring activities for kids.

Parents also ask
What should be on a scavenger hunt list for young kids?
Use broad clues with pictures, such as something round, something yellow or something that moves. These accept many answers, so every child can succeed. Avoid items that depend on luck, such as a particular animal, or that need picking up.
How do you run a scavenger hunt without collecting anything?
Ask children to point, draw or photograph instead of picking. Agree a rule before you start, such as ‘look but don’t touch’, and leave plants, stones and animals where they are. This also keeps children safe from thorns and unknown plants.
How long should a scavenger hunt for preschoolers last?
Thirty to forty-five minutes is usually plenty, including stops. Watch your child’s energy and end the hunt while they are still enjoying it. A shorter walk with room for surprises is better than a long list to complete.
Choose materials and activities that suit your child, supervise as needed and adapt the ideas to their interests and abilities. About our editorial approach