Weebou Editorial Team
 9 min read
 In this article
A little preparation
Pick a level, non-slip floor with a clear run of space in front of your child and nothing sharp, breakable or unstable within reach. Push chairs to the wall, roll back rugs that slide, and check that bare feet or grip socks hold better than smooth tights. Floor tape can lift paint from some surfaces, so test a short strip in a corner first if you rent or have recently decorated. A few whole-body play ideas can help you judge how much space your child needs.
Set out one route at a time and keep it short: four to six markers is plenty for a child of three or four. Ten to fifteen minutes is usually enough before legs get tired, and a tired child lands less carefully. An adult stays within arm's reach on smooth floors, and jumping happens on the floor itself, never from furniture, beds, steps or raised platforms. Keep the space between players wide and let one child move at a time rather than jumping towards each other. Finish by lifting the tape or paper together so the room goes back to normal.

Ideas to try together
Tape lines that grow wider apart
Two parallel strips of tape make a river to cross. Start with a gap your child can simply step over, then move one strip a little further away only when they suggest it. This gives a clear, visible target and lets children choose between one long step, a small jump or a shuffle and hop. The slowly growing gap teaches them to judge distance with their own body rather than aiming for a number.
 You’ll need
- Floor tape in two colours
- A clear level floor
- A paper triangle on a stick as a marker
How to do it
- Lay two parallel tape lines about one step apart on a level floor.
- Ask your child to cross the river however feels comfortable: a step, a hop or a small two-foot jump.
- Move one line a finger-width further away only when your child asks for a change.
- Let them choose the crossing words, such as ready, steady, jump, and say them together.
- Stop while the crossings still look controlled, and plant the paper triangle beside the widest gap.
- Roll the tape up at the end so the next session starts fresh.
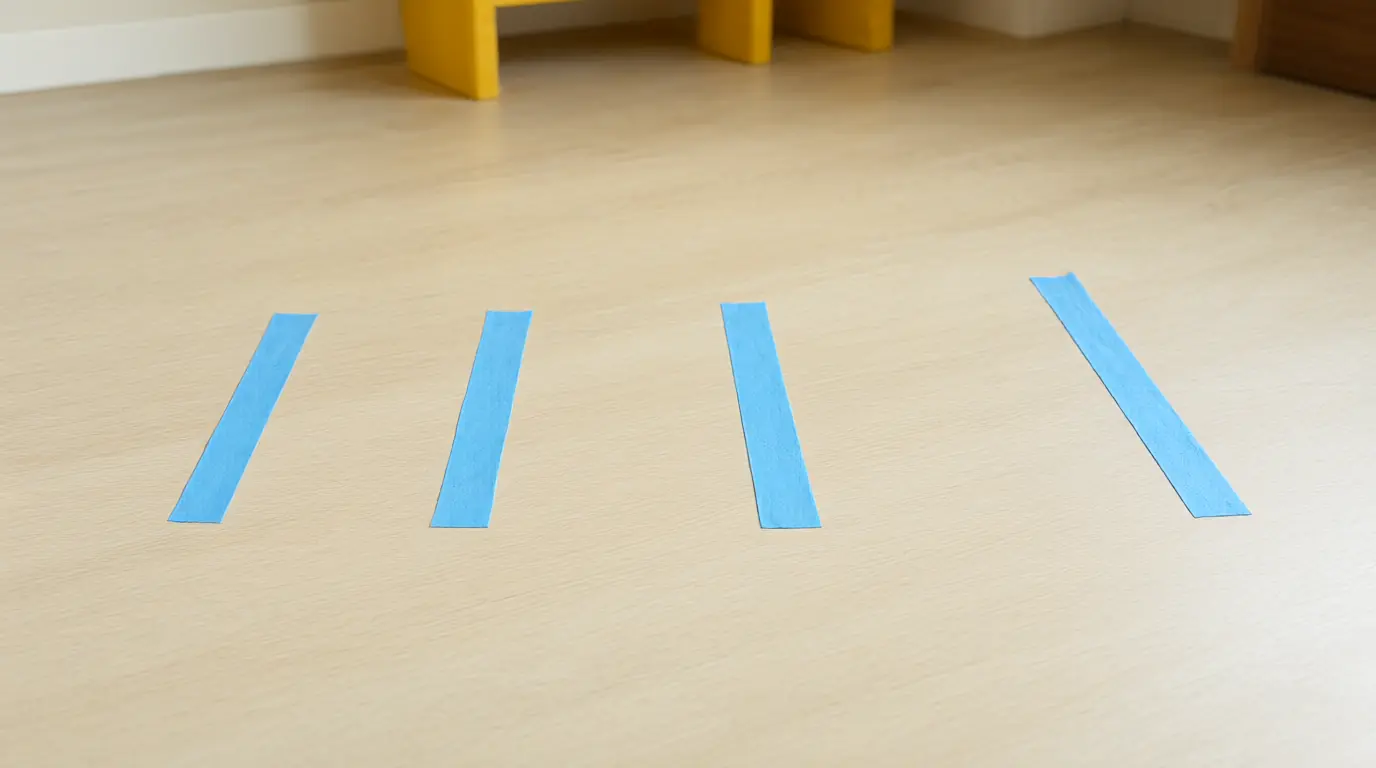
Make it your own: Younger children can walk the river with one foot on each line or cross at the narrowest point. Older children can add a landing mark to aim for, cross sideways, or carry a soft toy across without dropping it.
Paper puddles to step between
Paper puddles turn jumping into a story about keeping your feet dry. Because the shapes are large and flat, a child can see exactly where to land, and the gaps can be as narrow or as wide as their confidence allows. Sliding is the main risk, so the shapes need a slightly textured floor or a little tape underneath.
You’ll need
- 6–8 large shapes cut from thick paper or card
- Masking tape
- A non-slip floor
- A thick blue crayon (optional)
How to do it
- Cut six to eight large shapes from thick paper or card, each at least as big as a dinner plate.
- Tape each shape down lightly at two corners so it cannot slide.
- Set them out in a wobbly line with gaps your child can step across.
- Invite your child to travel from the first puddle to the last, stepping or jumping between them.
- Let them move one puddle closer or further away and try the new route.
- Finish by lifting the puddles and checking the floor underneath is dry and clear.
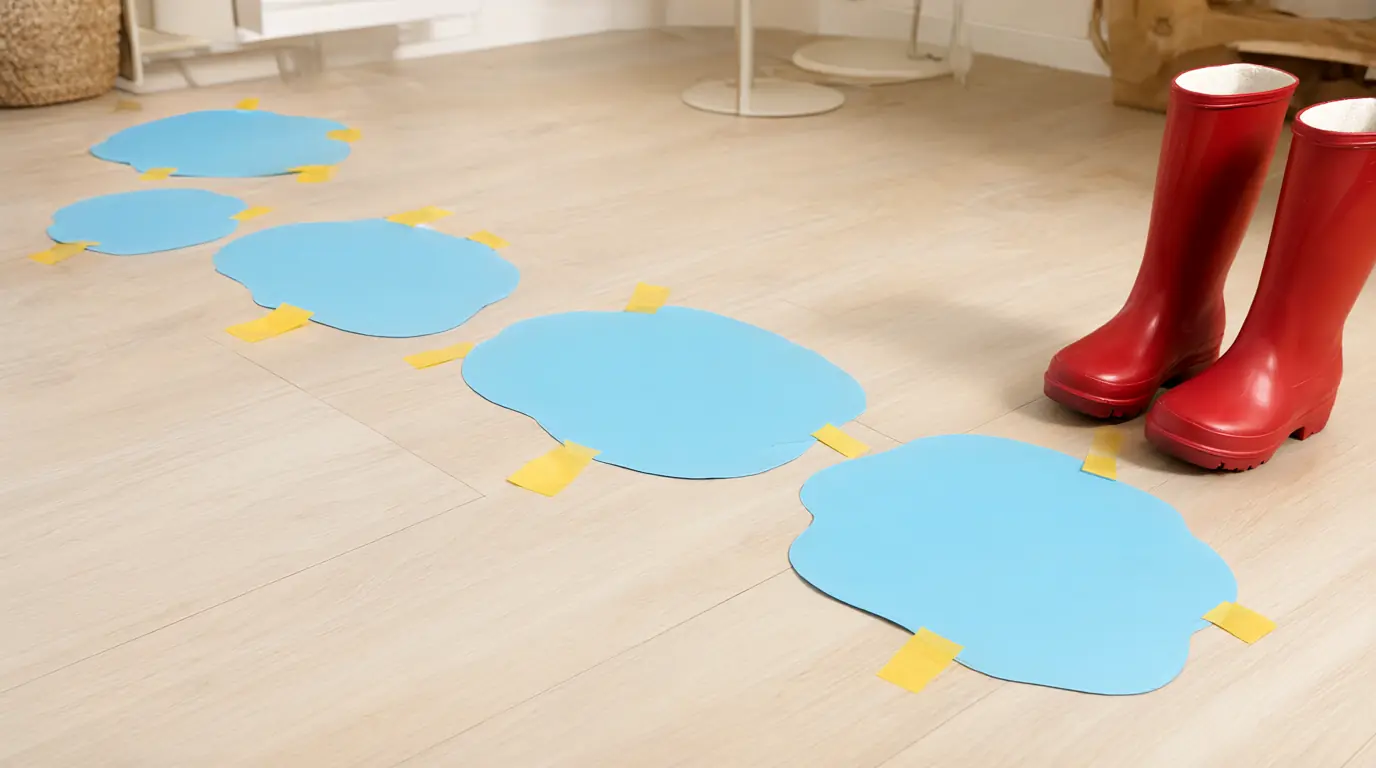
Make it your own: For a two-year-old, lay the puddles touching so they can walk the whole path. Older children can space them further apart, jump sideways between two rows, or draw splash marks on each puddle to go with the story.
Arrow cards for one direction at a time
Arrow cards put the decision in your child's hands and keep the game slow enough to think about. One card at a time means there is nothing to remember and no rush, and turning the card over creates a natural pause. Children who are not ready to jump can point to the arrow, or move a small toy along the same direction instead.
You’ll need
- 4–6 blank cards
- A thick marker pen
- Floor tape to mark a starting square
How to do it
- Draw one large arrow on each card: forward, back, left and right, plus two directions of your child's own choosing.
- Mark a starting square on the floor with tape.
- Shuffle the cards and place them face down in a small pile.
- Turn over one card together and name the direction before anyone moves.
- Take one comfortable step or small jump that way, then come back to the square.
- Let your child deal the cards and give the instructions to you for a turn.
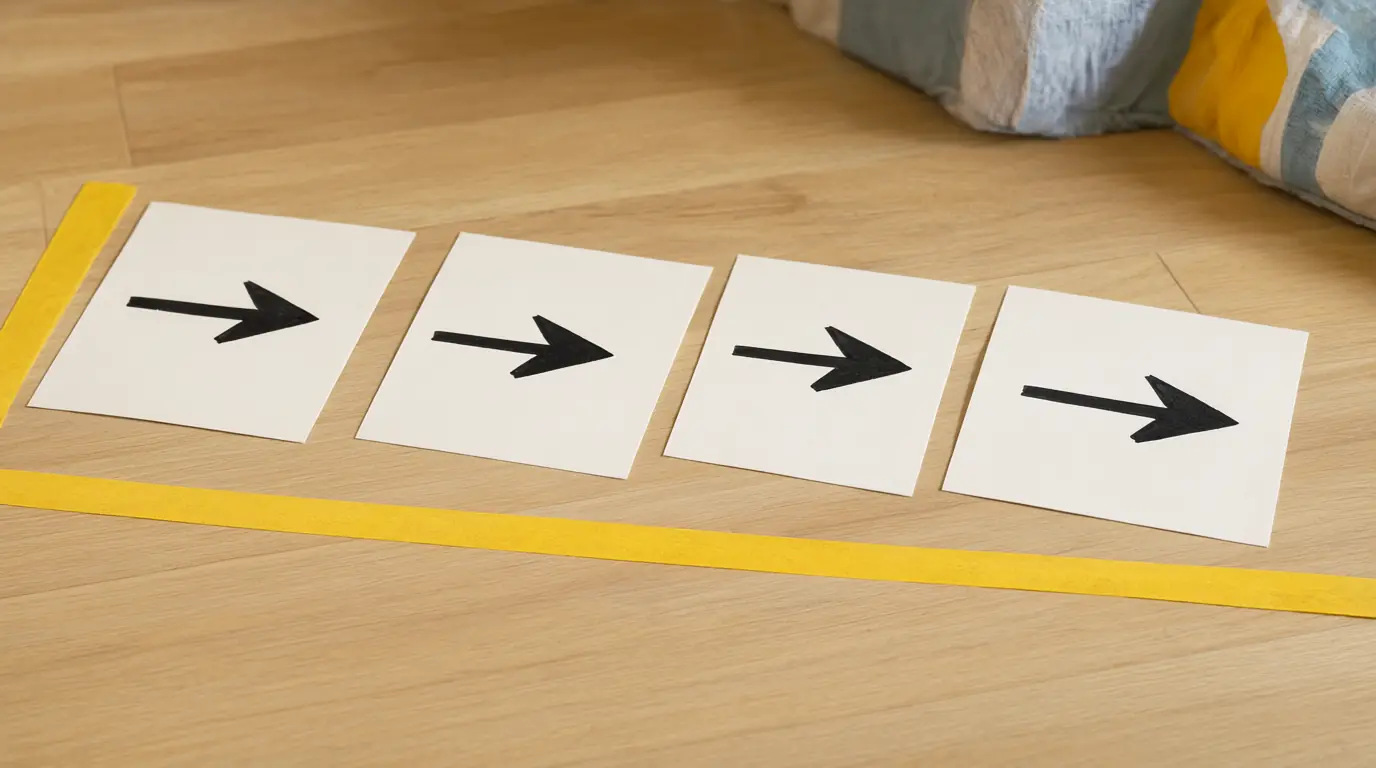
Make it your own: Two-year-olds can match a card to a picture on the wall and simply walk to it. Older children can take two cards at once and plan a two-part route, or draw new cards with diagonal arrows and a turning arrow.
Animal homecoming around the room
This game gives jumping a destination and a reason. Each animal has a picture card and a home marked on the floor, so the journey is short and the stopping point is obvious. It suits children who like pretend play, and it lets you talk about how different animals move without asking for exaggerated leaps or landings.
You’ll need
- 4–6 animal picture cards
- Floor tape or paper circles for the homes
- A soft toy for each animal (optional)
How to do it
- Choose four to six animals your child knows well and place one picture card beside each home marker.
- Set the homes a few steps apart around the room, not in a straight racing line.
- Invite your child to pick an animal and travel to its home in that animal's way: a hop, a waddle, a slow creep or a small jump.
- Stop at the home, name the animal and ask what it might do next.
- Swap the cards around and travel the route again in a different order.
- Finish by returning every toy animal to its home together.
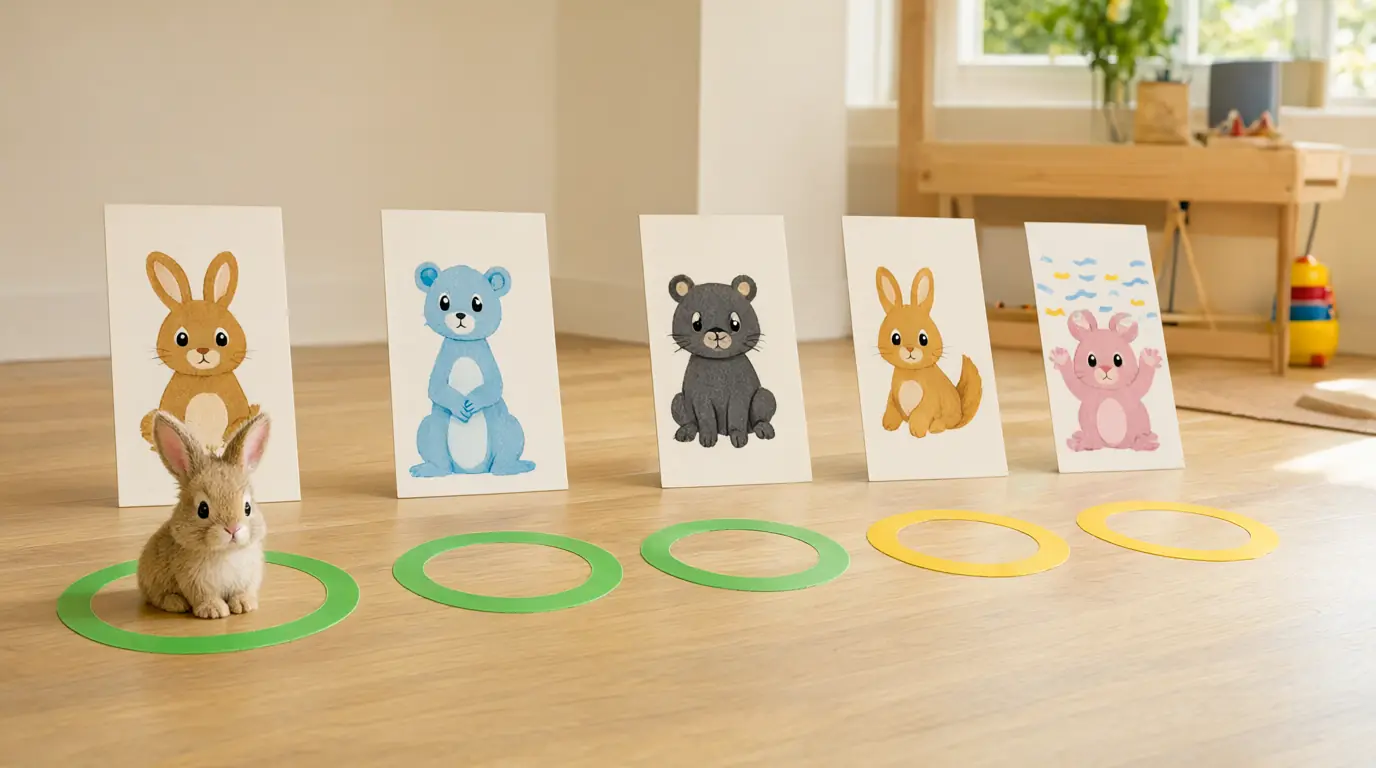
Make it your own: Younger children can carry a picture card to the matching home at a walking pace. Older children can invent a new animal, decide how it moves and draw its card, or add a sleeping home where everyone stops and freezes.
A quiet landing experiment
This is an experiment rather than a race. Your child compares a step, a small jump and a bigger jump and listens to the difference, which builds body awareness without any pressure to be silent. The point is to notice how their knees bend and how their feet meet the floor, not to win a prize for the quietest landing.
You’ll need
- A clear level floor
- A short strip of tape for the landing spot
- A soft exercise mat (optional)
How to do it
- Mark one landing spot with a short strip of tape.
- Ask your child to step onto the spot and listen to the sound their feet make.
- Try a small two-foot jump onto the same spot and listen again.
- Ask which landing felt softer under their feet and which was easier to balance.
- Try landing with bent knees, then with straighter legs, and compare those too.
- Let your child choose a favourite way to land and repeat it three times slowly.
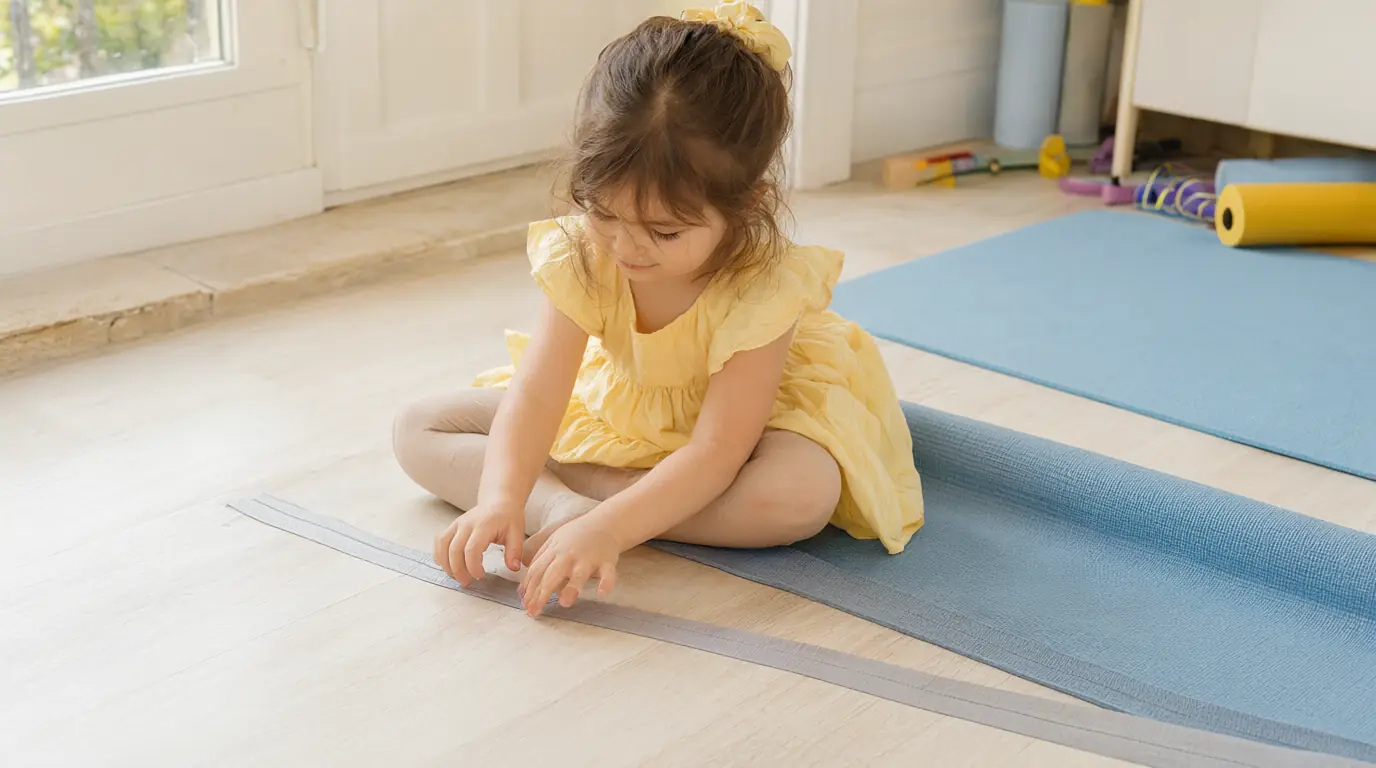
Make it your own: For a cautious child, crouch down and let them jump towards your hands rather than towards a spot. Older children can count how many controlled landings they manage in a row, or test whether the mat changes the sound.

Make it work for your family
Most jumping games come apart at the same point: the route gets longer than the child's concentration. If your child starts landing heavily, drifting off the markers or asking to do something else, shorten the course rather than adding a new rule. A child who wants to redesign the tape is still playing, so hand over the roll and let them move one marker at a time so you can see what they are testing.
Socks on a smooth floor are the usual cause of a slip, so check grip before you start and keep drinks away from the play area. Some children find any kind of jump unnerving, and there is no need to coax them: stepping, hopping on one spot or marching over a line all build the same strength. If jumping or landing seems painful, or your child avoids it every time, mention it to your health visitor or doctor. For more of the same kind of play, try these balance games or a few stop-and-go games.

Parents also ask
What age do children start jumping with both feet?
Many children first get both feet off the floor somewhere around two and a half to three years, and land more steadily by four or five. Until then, stepping over lines and hopping on the spot are good practice. Keep gaps narrow, use a level floor and let your child decide how much height or distance feels comfortable.
What floor is safest for jumping games indoors?
A level, non-slip floor with clear space around it works best: short carpet, cork, or a mat laid over a hard floor. Polished wood and tiles are slippery in socks, so try bare feet or grip socks. Test any tape in a corner first, keep furniture well back and never let children jump from beds, sofas or steps.
How do I stop jumping games turning into chaos?
Keep the route short, take turns and set one clear rule at a time, such as one child on the tape at once. Give waiting children a job like turning the arrow cards or holding the tape roll. Stop while it is still going well, and switch to stepping, sorting or a slow marching game if the energy is getting wild.
Choose materials and activities that suit your child, supervise as needed and adapt the ideas to their interests and abilities. About our editorial approach