Weebou Editorial Team
 8 min read
 In this article
A little preparation
Choose one familiar place and a sheet of paper big enough for a child's drawing, ideally A3 or the back of a roll of wallpaper. Gather chunky crayons, a few wooden blocks or boxes and a toy figure that can travel the route. Sit on the floor so both of you can lean over the paper. Say that a map is a drawing that helps someone else find a place, and that it does not need to look realistic.
An adult handles any outdoor navigation, checks map sources and decides what is shared. Keep home addresses, school names and street numbers off any map your child plans to display or send to relatives. When you use a globe or atlas, point to places gently and say what you see, not what you assume about the people who live there. Short sessions of ten to fifteen minutes work best; leave the map out so your child can add to it later. If you like maths-flavoured mapping, see first data ideas.

Ideas to try together
Draw a bird's-eye map of one room
A single room is small enough to see all at once, which makes it the ideal first map. Children discover that looking from above turns a table into a rectangle and a bed into a long shape. They also practise left, right, near and far in a place where they can check their drawing against the real thing.
 You’ll need
- A large sheet of paper
- Chunky crayons or markers
- A toy figure
- A few small blocks to stand for furniture
How to do it
- Stand in the doorway and name the biggest things you can see: bed, table, rug.
- Place blocks on the floor to show where each item sits.
- Look down at the blocks from above and draw their outlines on paper.
- Add the door and a window so the map shows where to enter and where light comes in.
- Walk the toy figure along the map from the door to the bed.
- Point to the real bed and ask whether the map matches.
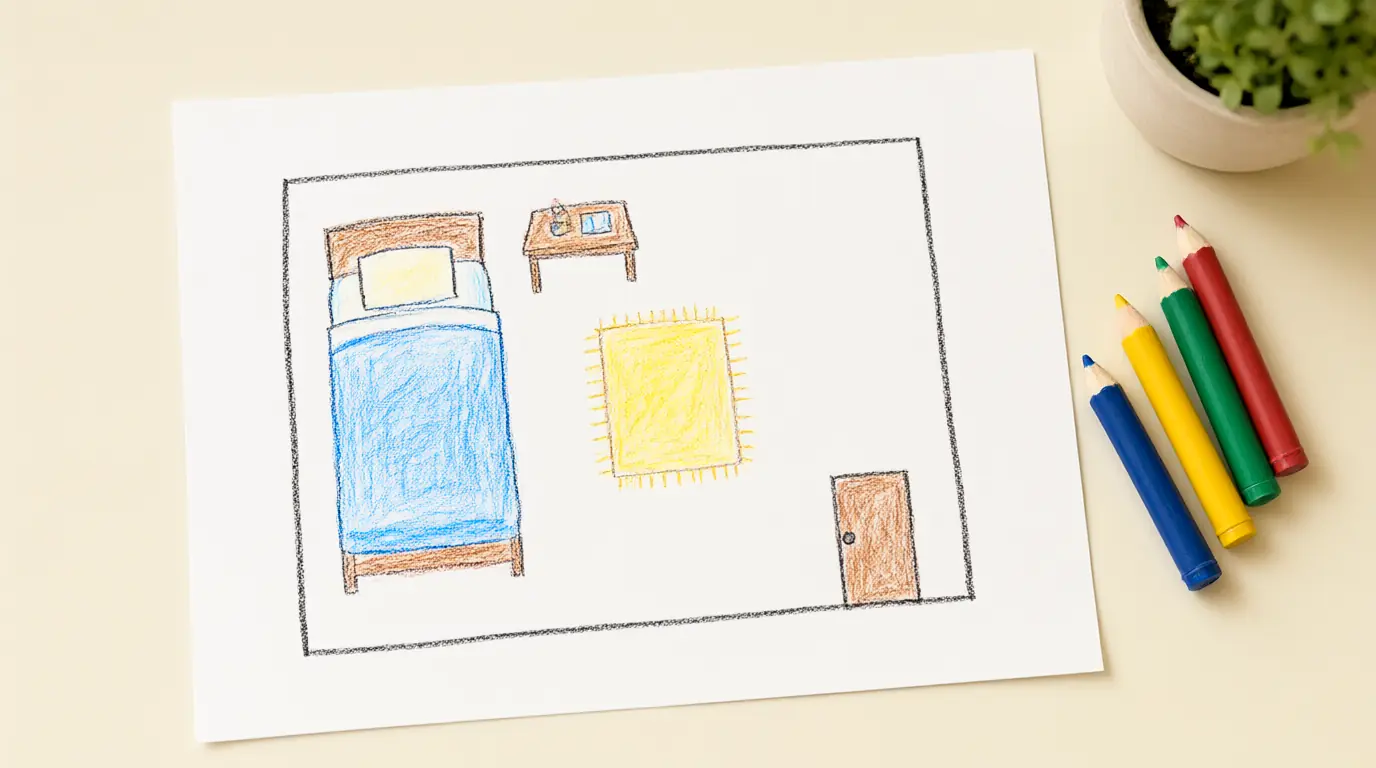
Make it your own: Younger children can draw just two things and trace blocks. Older children can add a key with symbols and make up a treasure to be found on the map.
A landmark journey strip
Ordering landmarks into a strip helps children link the ideas of first, next and last with real places. They learn that a map can be a list of memorable stops as well as a picture of everything. It also gives a calm way to talk about trips, such as walking to a shop or visiting a relative.
You’ll need
- 4 or 5 index cards or paper squares
- Crayons
- A long strip of paper or a piece of string
- Tape or pegs
How to do it
- Think of a short, familiar outing such as the walk to the playground.
- Draw one landmark on each card: a bridge, a shop, a tree.
- Lay the cards out of order and ask which one comes first.
- Put them in order along the strip and tell the journey aloud.
- Swap two cards and see whether the story still makes sense.
- Take the strip on the walk and tick each landmark when you reach it.
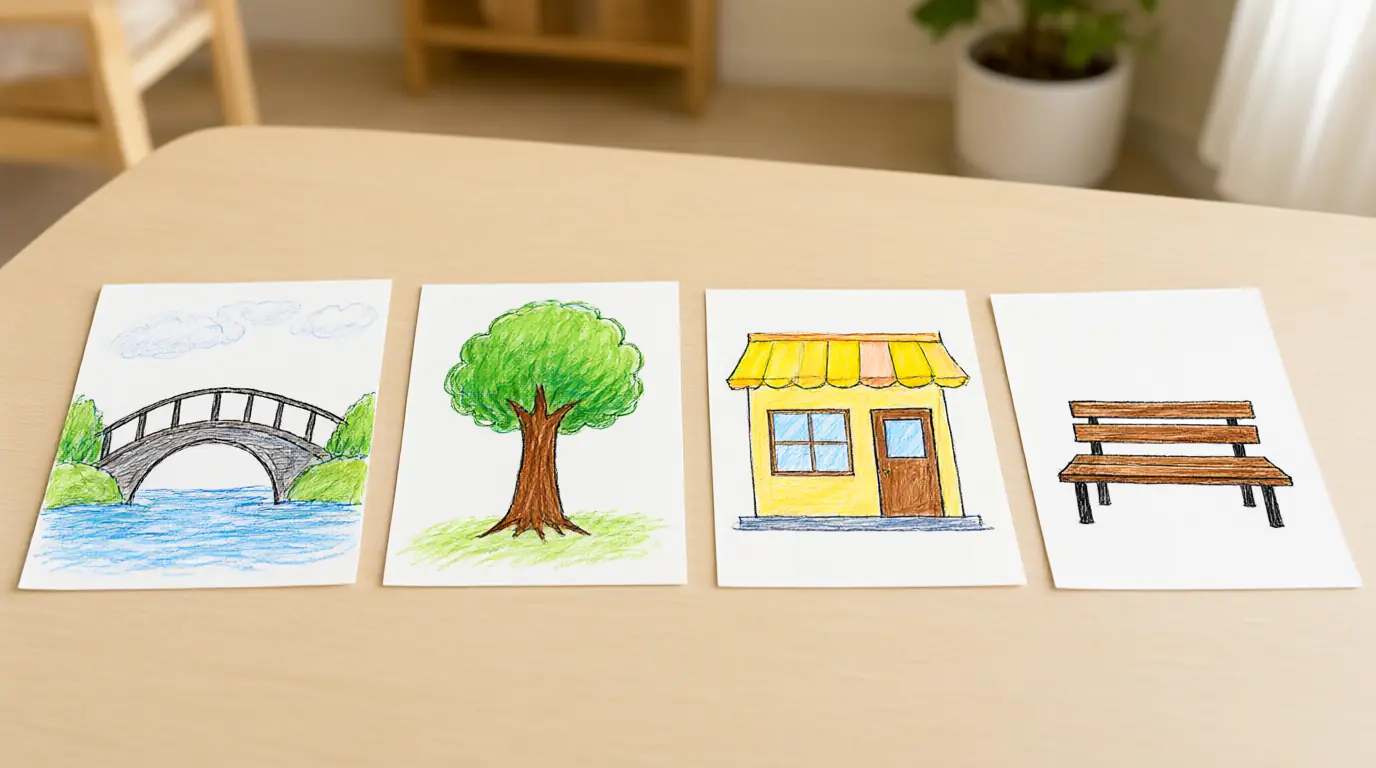
Make it your own: Younger children can use just three cards and match them to real objects. Older children can add arrows showing turns or write a letter for each stop.
Build a land and water model
A model makes it plain that most places on a map are either land or water, and that things like bridges and boats exist to cross the gap. Children invent routes and explain their choices, so geography becomes problem solving. It also introduces the idea that a map shows a view from above.
You’ll need
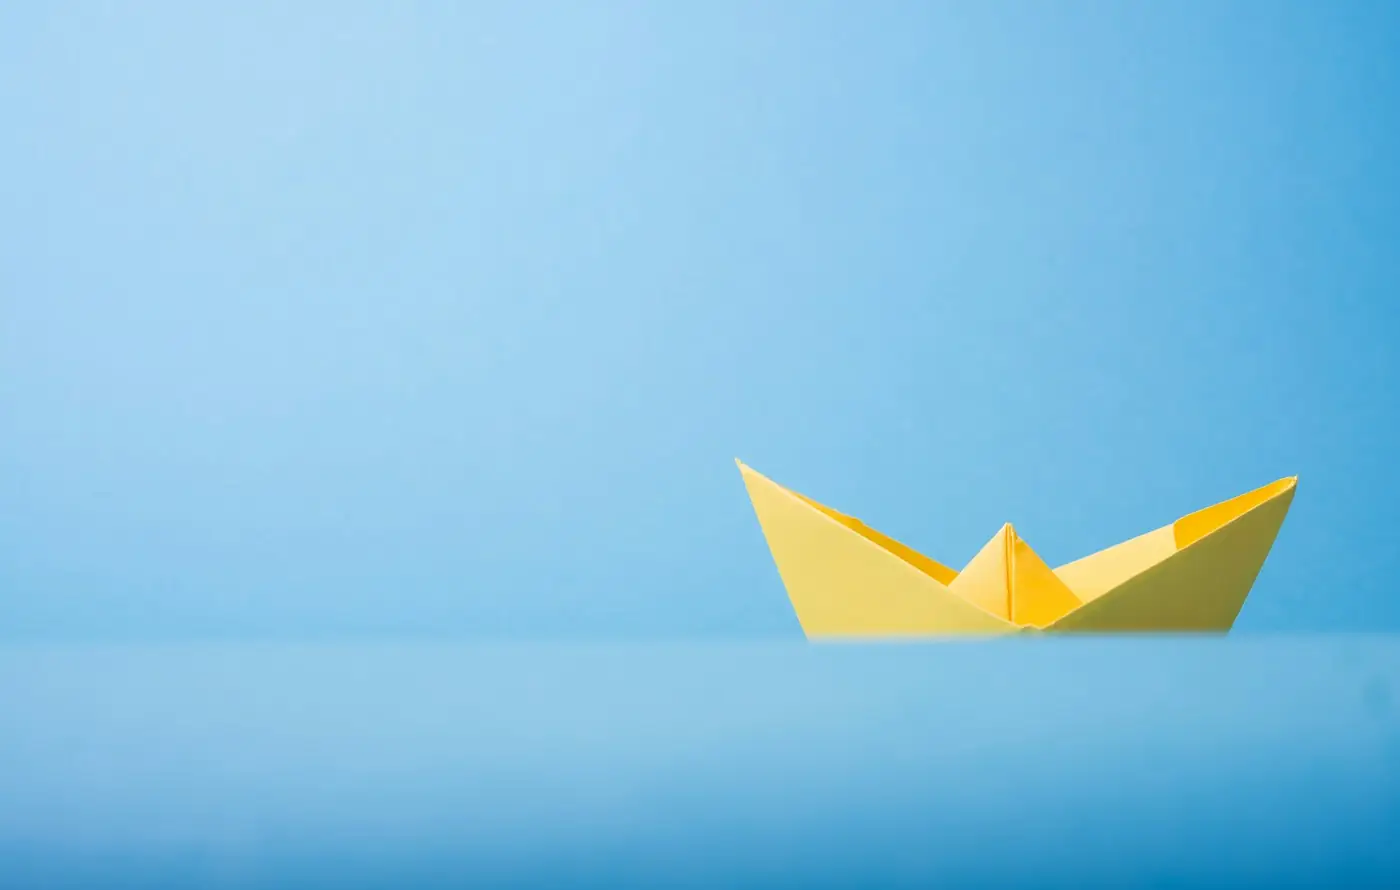
- A sheet of blue paper or fabric for water
- Green and brown paper or large blocks for land
- A toy boat or small figure
- Strips of card for bridges
How to do it
- Lay the blue sheet flat and place green shapes on it to make islands.
- Decide on a start and an end point for your toy traveller.
- Ask how the traveller could cross the blue: a bridge, a boat or a long walk around.
- Add a card bridge or move the boat to test the idea.
- Name one island with a short made-up name.
- Take a photograph and compare it with a map in a picture book.
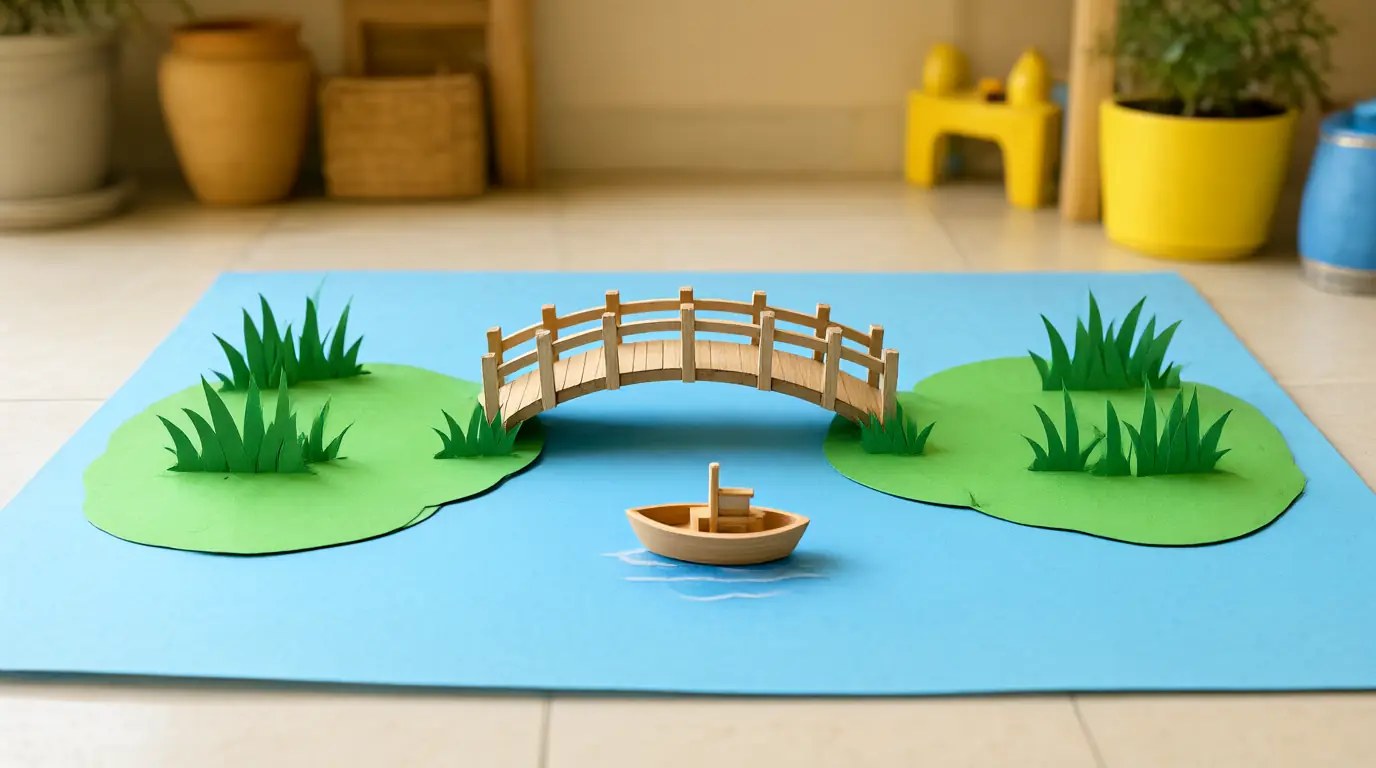
Make it your own: Younger children can use just one island and one bridge. Older children can add mountains made from scrunched paper and ask which route is shortest.
Make a compass-rose game
Learning four directions gives children a simple way to describe where things are. By hiding an object and giving directions, they use north, south, east and west for a real purpose. The game suits mixed ages, because younger children can follow a direction while older ones give the clues.
You’ll need
- Four paper sheets labelled with symbols for north, south, east and west
- Tape for the floor
- A small toy to hide
- A real compass (optional, for adults to demonstrate)
How to do it
- Agree which wall of the room is north and tape a sheet there.
- Tape the other three sheets, using a picture or letter in each corner.
- Hide a toy in one corner while your child covers their eyes.
- Give clues such as "take two steps toward the north wall".
- Swap roles so your child gives the instructions.
- Finish by finding the toy on a drawn map.
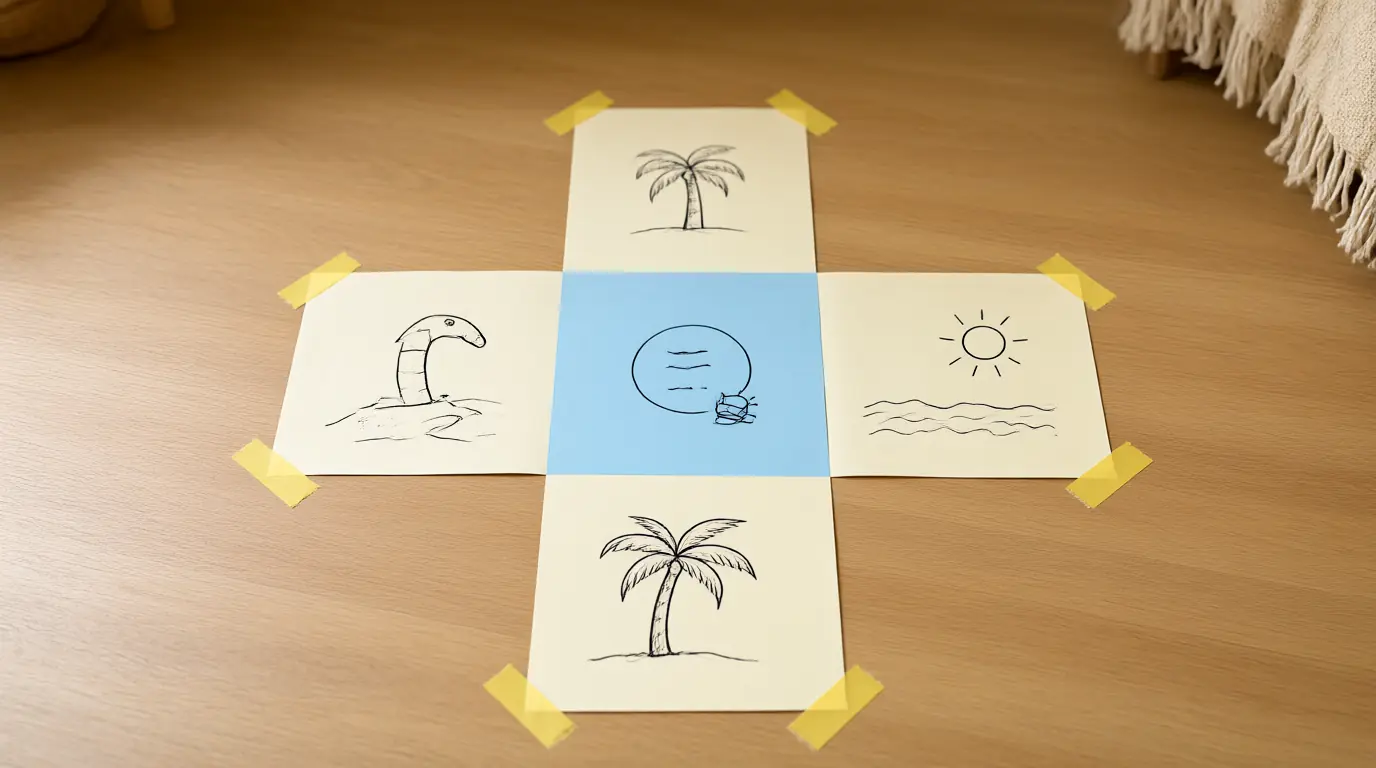
Make it your own: For younger children, use pictures of the sun rising and setting. Older children can try two-step directions or a north-east corner.
A postcard from a place in a book
A picture from a library book or atlas can open a conversation about how places differ. Looking closely at what is shown, then imagining a visit, helps children stay curious without guessing about people's lives. Drawing a postcard gives a clear, enjoyable outcome and a link to writing.
You’ll need
- A library book or atlas with a clear photograph of a place
- A blank card or folded paper
- Crayons
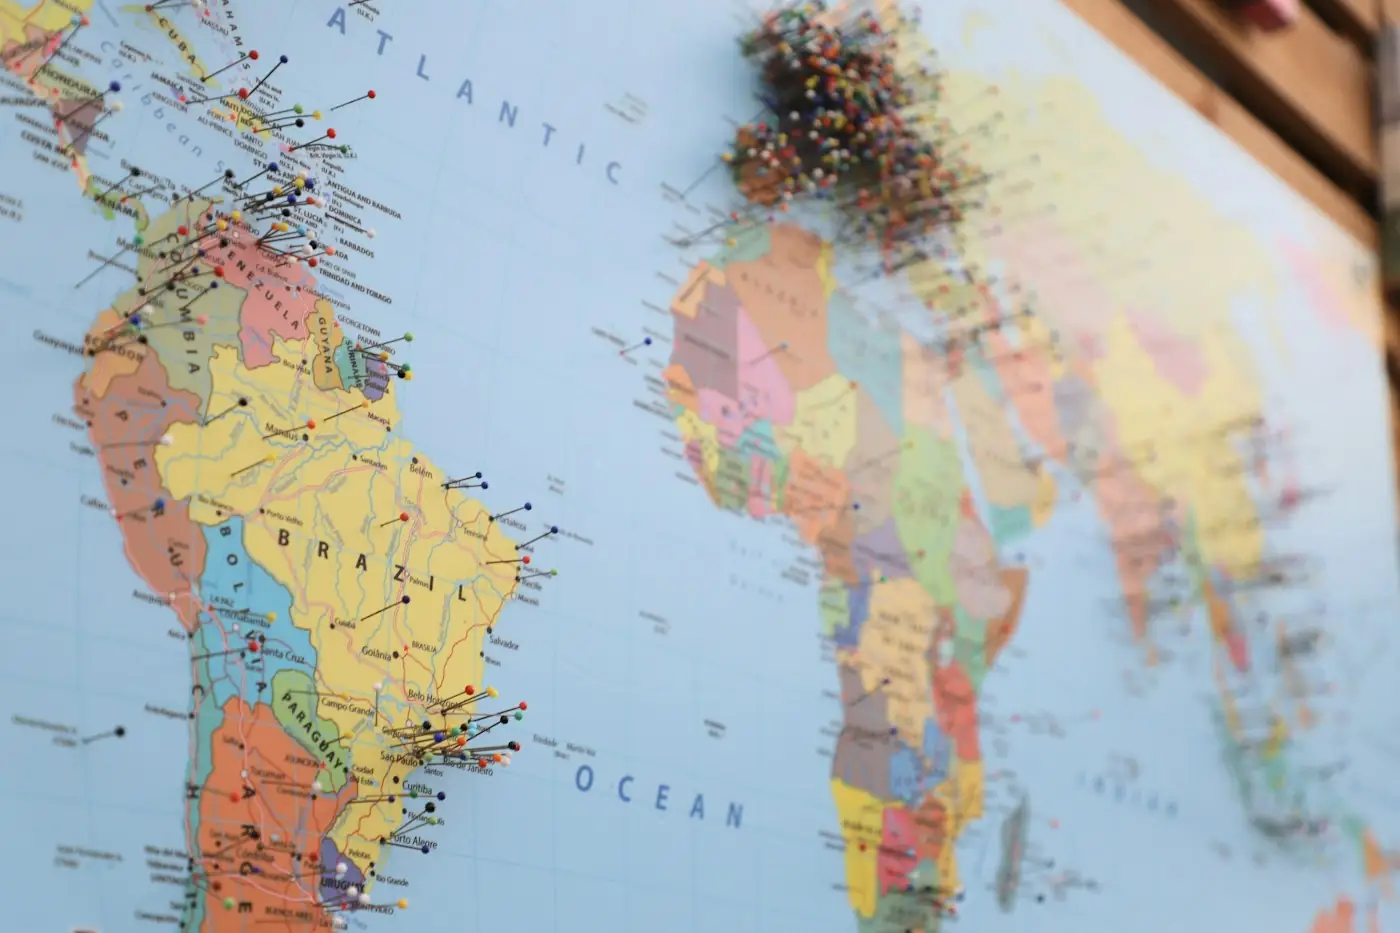
- A globe or world map
How to do it
- Choose one picture together and find the place on the globe.
- Describe three things you can see: weather, buildings, plants or water.
- Ask what your child would like to do there.
- Draw the postcard picture on one side.
- On the back, draw a few lines for a message and add a little drawing in place of a stamp.
- Tell a family member what you chose and why.
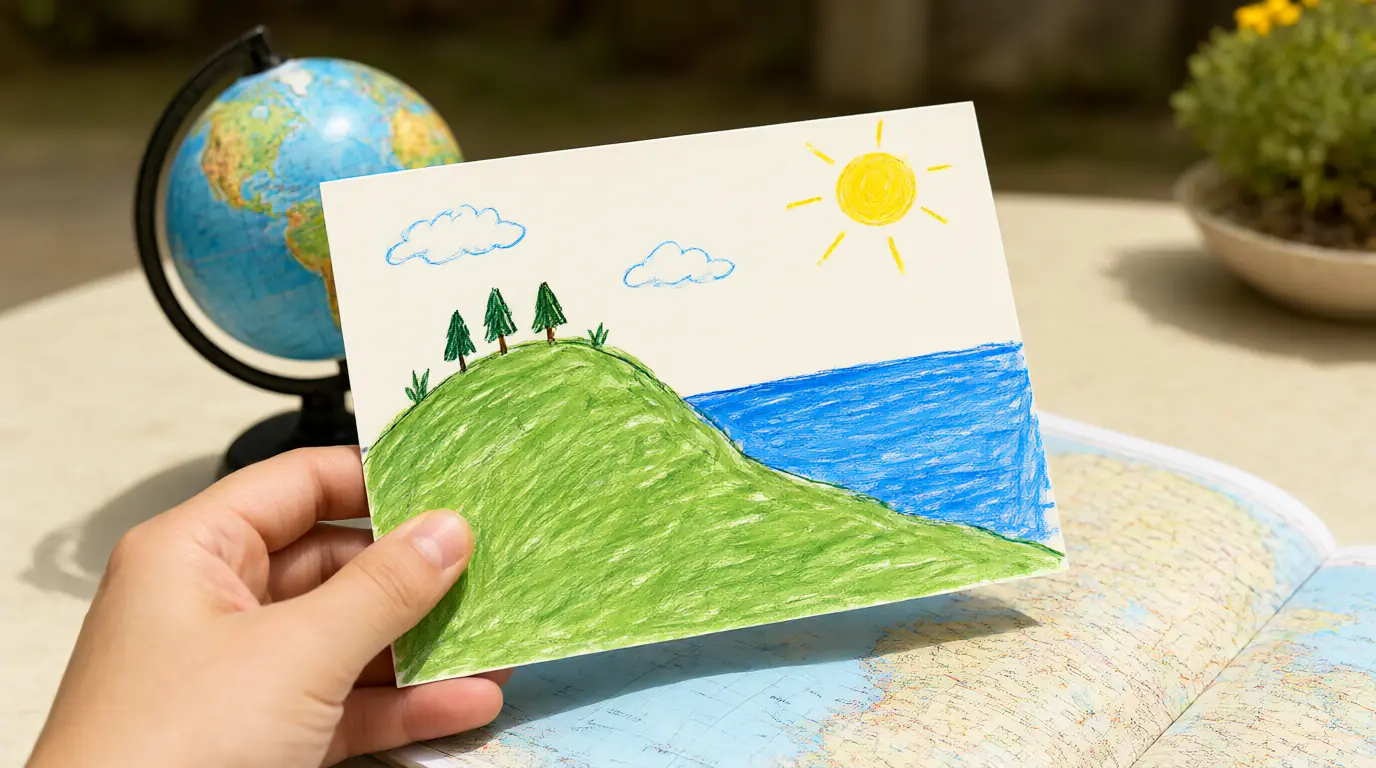
Make it your own: Younger children can point and name colours. Older children can compare two postcards and say one thing that is the same and one that is different.

Make it work for your family
Start with only a few important landmarks, and let your child decide what matters to them: the red door, the slide, the dog next door. Don't correct their scale or colours; ask what a visitor would need to know instead. A map your child draws from above is a big step, so allow a side-view picture if that is how they see the place, then talk about what you would see from a bird's position.
Keep a clear line between real and imaginary: say "this is a made-up island" or "this is our real park". When you look at pictures of other countries, choose recent, clear photographs from a library book or trusted atlas and talk about what is visible, such as buildings, weather, plants and clothing, without guessing at daily life. For older children who like making things, pair the games with paper games for making a map or a mystery.

Parents also ask
At what age can children start learning geography?
Children can begin with familiar places as soon as they can talk about where things are, often around age 3 or 4. Early geography is about noticing, describing and drawing the places they know. Naming countries and continents can come later, once these ideas feel familiar.
Do I need a globe to teach geography?
A globe is helpful but not necessary. Paper maps, photographs and children's atlases from the library work well, and a drawn map of your home or street is often the most meaningful. A globe is a good way to show that the Earth is round and that most of its surface is ocean.
How can I avoid stereotypes when teaching about other places?
Use recent photographs and ask what is visible rather than guessing about people's lives. Say that every place has many kinds of homes, clothes and families. If your child asks a question you cannot answer, look it up together in a reliable book or ask a librarian.
Choose materials and activities that suit your child, supervise as needed and adapt the ideas to their interests and abilities. About our editorial approach