Weebou Editorial Team
 8 min read

 In this article
A little preparation
Clear a table and cover it with a wipe-clean cloth if you plan to use paint or markers that bleed. Keep a stack of A4 or larger paper in the middle rather than handing out single sheets, so a child who ruins one can simply start again. Sharp scissors and any cutting along a line stay with an adult; children can tear along a pre-creased fold instead, which is good practice for small hands.
Set aside about 20 minutes, and expect the drawing to take longer than the game itself. Choose one project rather than laying out all five; the others will keep. If your child is new to turn-taking, play the first round together as one team, then split into separate turns. Markers labelled washable are easier to live with, and a pot of water with a cloth nearby saves a walk to the sink.

Ideas to try together
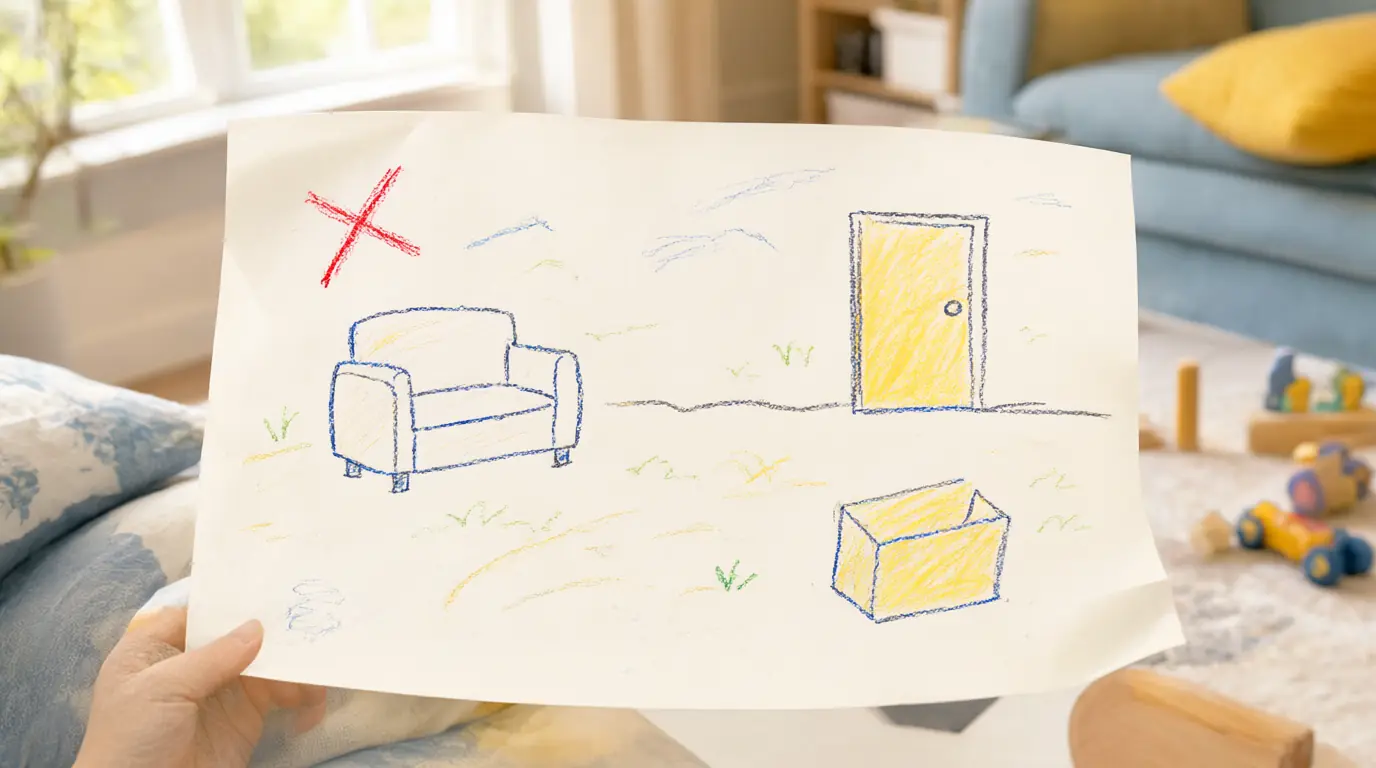
A treasure map of one real room
Mapping a room your child already knows makes the abstract idea of a map concrete. They have to notice where things actually are, then decide what deserves a symbol. The walk to follow the map afterwards is the payoff, and it also shows immediately whether the drawing works.
You’ll need
- 1 sheet of A4 or larger paper
- Thick crayons or a marker
- A clipboard or a hard book to lean on
How to do it
- Sit in the room to be mapped and look around together before drawing anything.
- Ask your child to choose three landmarks they can see, such as the door, the sofa and the toy box.
- Draw a rough outline of the room's edge, then add the three landmarks as simple shapes or symbols.
- Add a starting dot and a small cross where the treasure is hidden (a soft toy works well).
- Walk the map together, pointing at the paper each time you pass a landmark.
- Let your child correct anything that turned out wrong, and redraw just that part.
Make it your own: Three-year-olds can manage two landmarks and a single arrow. Older children can add a dotted route, a scale of footsteps, or map a second room and join the two sheets with tape. If drawing is frustrating, cut out paper rectangles for furniture and arrange them instead.
Fold-and-reveal surprise scene
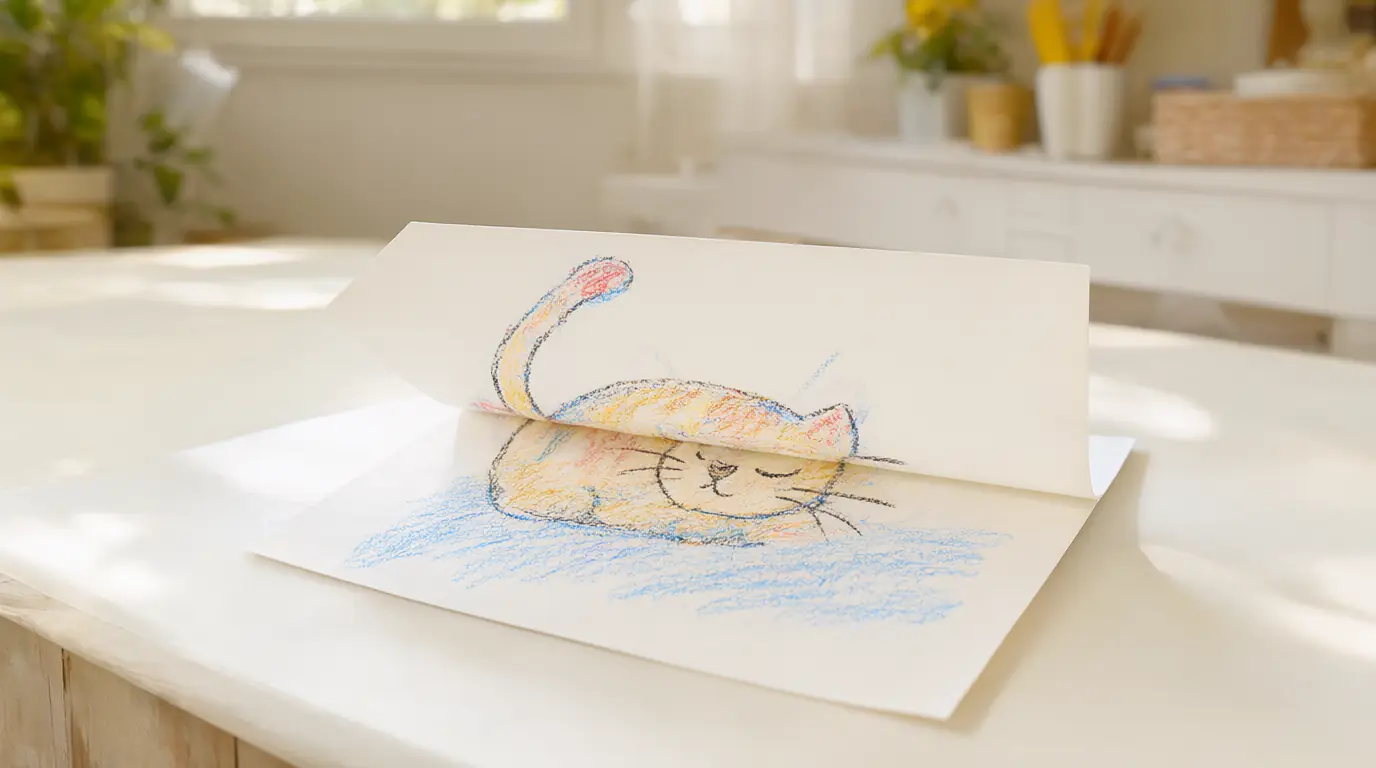
A folded flap gives paper a hidden side, which is irresistible to most young children. Drawing a scene that only appears when the flap lifts turns a flat sheet into a small piece of theatre, and the questions another player asks before opening it are half the game.
You’ll need
- 1 sheet of paper
- Crayons
- Child-safe glue stick (optional)
How to do it
- Fold the paper in half, then fold one half back on itself to make a door-like flap.
- Ask your child to draw a plain outside on the flap: a wall, a cave mouth or a closed curtain.
- Open the flap and draw what is hiding behind it, on the paper underneath.
- Hold the flap closed and invite another player to ask two questions about what might be inside.
- Answer the questions with clues, then lift the flap to reveal the picture.
- Swap roles and let the other person make the next one.
Make it your own: Younger children can use a single fold with a big scribbled surprise. Older ones can add a second flap, or draw three doors in a row with something different behind each. Children who dislike guessing can simply open the flap straight away.
Home-made matching cards
Making the cards is part of the game, and children who drew the pictures remember them better. Start with the pictures face up so the matching is visible, and only hide them once your child is the one suggesting it.
You’ll need
- 8 squares of card or thick paper, roughly the same size
- Crayons or markers
- An adult-prepared stack with the edges trimmed
How to do it
- Cut or tear eight squares of roughly equal size and put them in a pile.
- Choose four simple pictures together, such as a sun, a house, a cat and a boat.
- Draw each picture twice, one on each of two squares.
- Lay all eight squares picture-side up and take turns finding a pair.
- When your child is ready, turn them face down and play again from memory.
- Keep the cards in a small envelope with a scribble on the front so they are easy to find.
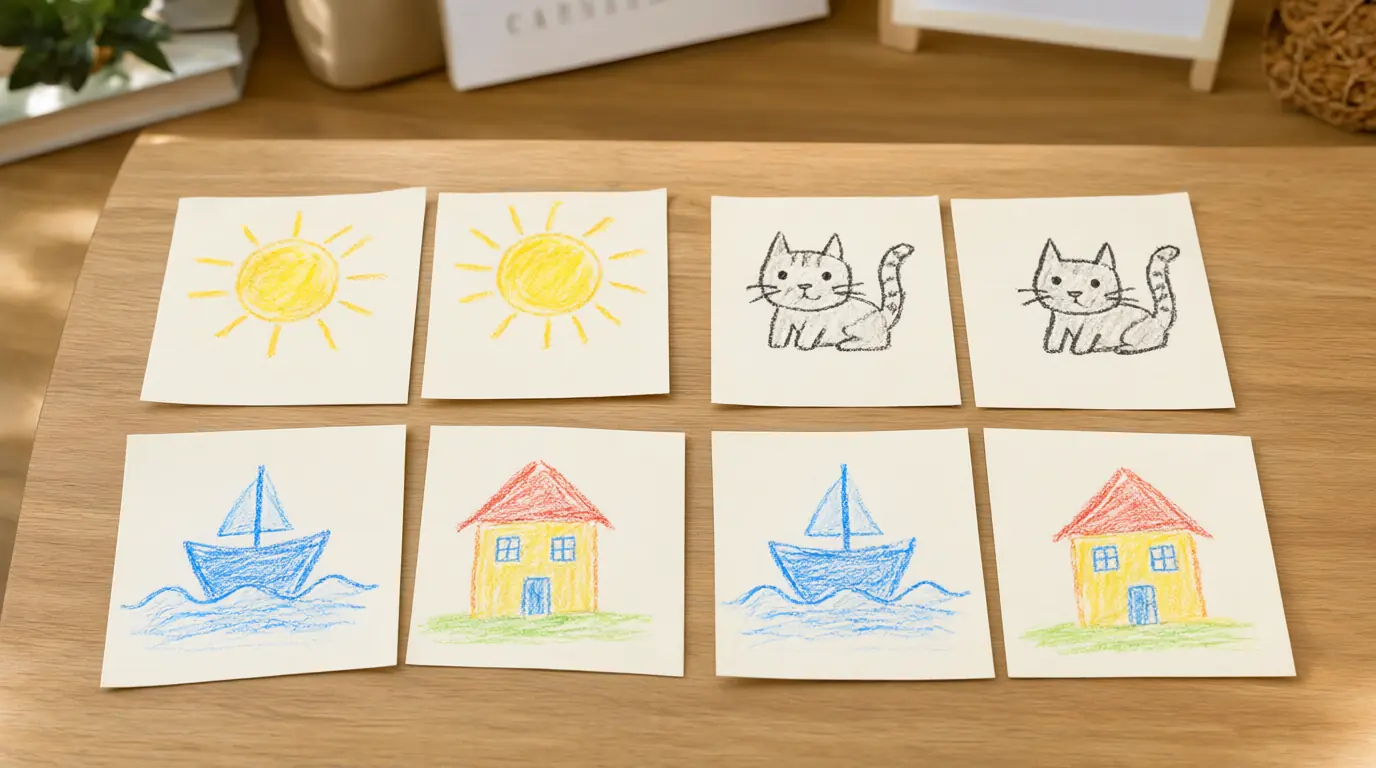
Make it your own: For two-year-olds, use four cards and keep them face up. For older children, add six or eight pairs, or make pairs that go together rather than match exactly, like a cup and a teapot. Draw on the back of each card in one colour to stop see-through paper spoiling the game.
Message detective with drawn clues
This one teaches that a message has to work for the person reading it, not just the person writing it. Drawing the clue rather than writing it keeps the game open to children who cannot read yet, and testing the clue is the interesting part.
You’ll need
- Small strips of paper
- Crayons
- One soft toy to hide
How to do it
- Hide the soft toy somewhere safe and easy to reach while your child closes their eyes.
- Draw one clue on a strip, such as a picture of the place it is near.
- Hand over the clue and let your child follow it to the toy.
- Swap: your child hides the toy and draws the clue for you.
- Follow the clue exactly as drawn, even if it sends you the wrong way.
- Talk about what would have made the clue clearer, then draw a better one together.
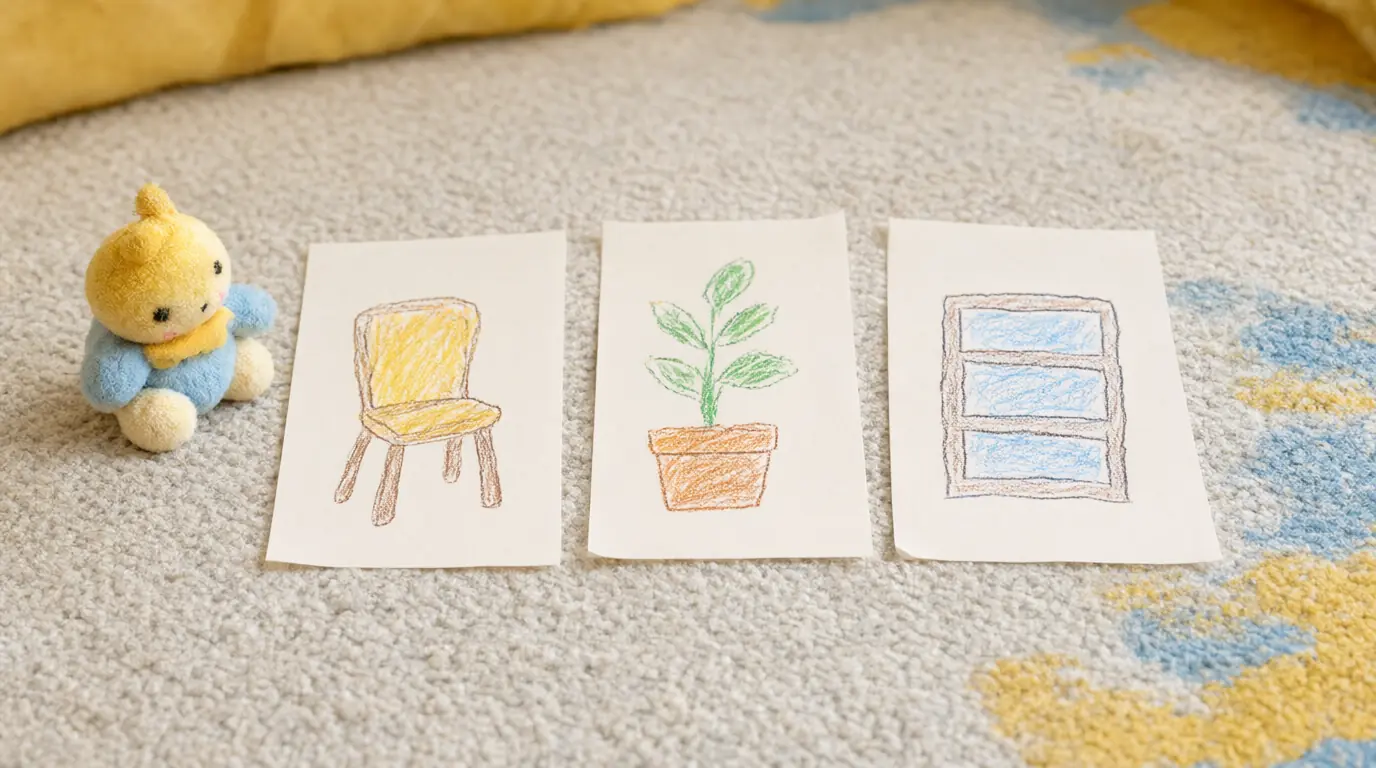
Make it your own: Younger children do better with a clue that shows the hiding place itself. Older children can draw a two-step trail, with the first clue pointing to the second. If your child is writing, let them add one short word beside the picture.
A rolling paper maze
A maze drawn on paper becomes a game when a marble-style ball has to travel through it. Tilting the sheet teaches gentle hand control and cause and effect, and it is a satisfying thing to watch work after several attempts.
You’ll need
- 1 sheet of card or thick paper
- A marker
- A large play ball that cannot be swallowed, or a crumpled paper ball
- A shallow tray or box lid to act as a wall
How to do it
- Draw two lines from one edge of the card to the other, leaving a gap between them as a track.
- Add two or three curves or corners, keeping the track wide for the first version.
- Place the card inside the tray so the ball cannot roll off the table.
- Put the ball at one end and show how tilting the tray moves it.
- Let your child steer the ball along the track to the far end.
- If the ball keeps escaping, widen the track or straighten one corner and try again.
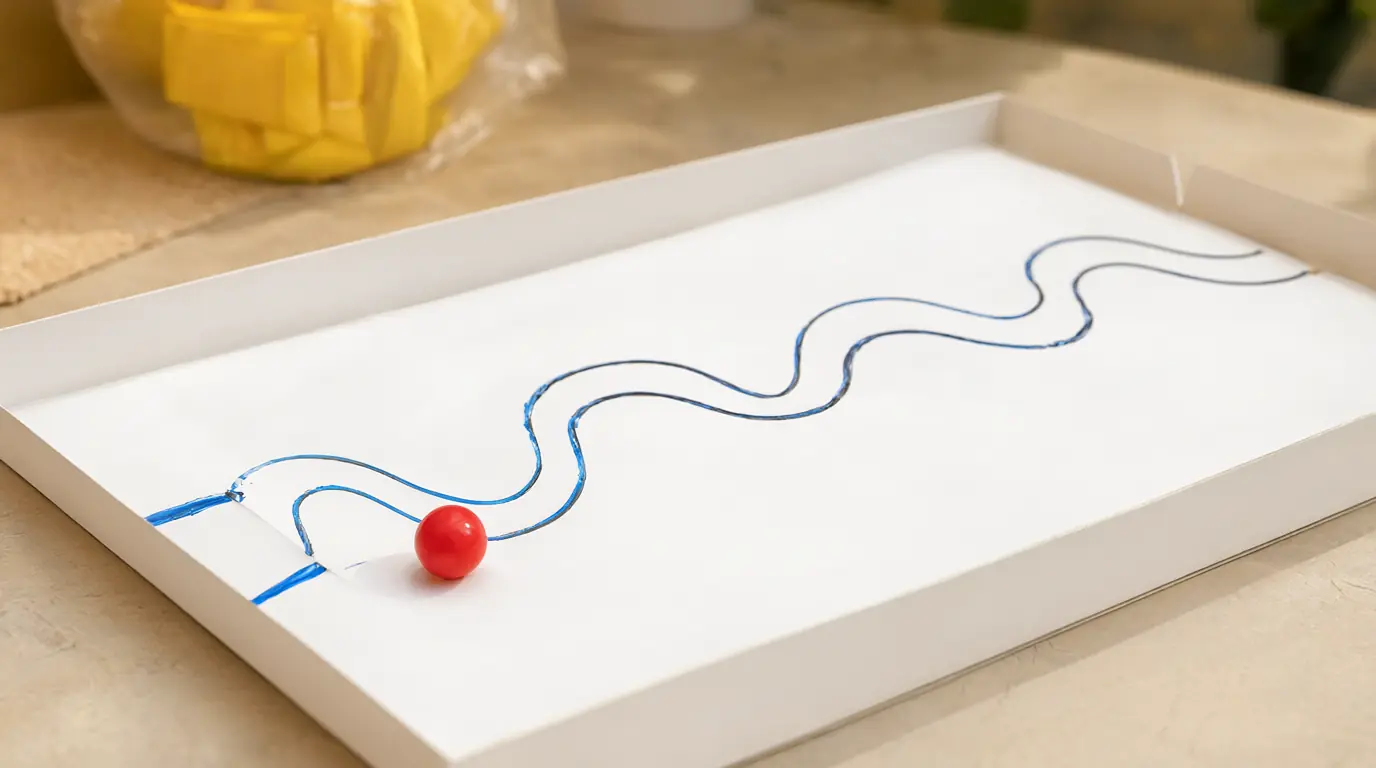
Make it your own: For younger children, draw one wide straight channel and let them roll the ball back and forth. Older children can add a branch that leads nowhere, or draw a start and finish circle at each end. A crumpled paper ball moves more slowly and is easier to control than a smooth one.

Make it work for your family
If a game stalls, check the clue rather than the child. A map that is hard to follow usually needs one landmark near the start, not more drawings. For a child who loses interest halfway through drawing, offer to finish the boring part yourself so the fun part still happens.
Keep finished games in a shallow box or a paper folder; maps and cards get played with again weeks later. If your child wants to change a rule mid-game, let them and play the new version. For more drawing-based play, try these drawing games beyond copying a picture, and for children who like following instructions, these screen-free coding games build on the same idea of a clear sequence.

Parents also ask
What paper games can a 3-year-old play?
A folded flap picture, matching four cards face up, and following a single drawn clue all work well at three. Keep the drawing simple, do the cutting yourself, and expect the making to take longer than the playing.
How do you make a simple treasure map for kids?
Draw the outline of one familiar room, add two or three landmarks as simple shapes, then mark a start dot and a cross where something is hidden. Walk the route together and correct any part that does not match the room.
What can kids make with paper and no glue?
Folded surprise scenes, drawn treasure maps, matching cards, clue strips and a rolling maze all need only paper and a crayon. A fold or a tear along a crease replaces glue in most of them.
Choose materials and activities that suit your child, supervise as needed and adapt the ideas to their interests and abilities. About our editorial approach