Weebou Editorial Team
 8 min read
 In this article
A little preparation
Seat your child at a stable table with feet supported if possible, and set out only the materials for one activity. Wrist and elbow movements should be comfortable, so adjust the height of the table or use a cushion if needed. Check that all items are suitable for their age: pegs should be large and easy to open, and anything small enough to swallow, such as pompoms or buttons, should only be used with children who no longer put objects in their mouths.
Keep sessions short, around ten to fifteen minutes, and stop when hands look tired or interest fades. Offer the larger or easier option first; the aim is to get the hands working, not to get the task finished quickly. Whole-hand play such as squeezing dough, tearing paper or pushing a sponge strengthens the muscles needed later for writing. If you notice that your child avoids using their hands, seems very tired or is much clumsier than other children their age, mention it to your doctor or health visitor.

Ideas to try together
A peg picture line
Opening a peg uses the thumb and first two fingers together, which is the same pinch needed to hold a pencil. Clipping pegs on a card strip also gives the child a visual goal: they can see the line of pegs grow. A picture on each peg turns the exercise into a little story.
 You’ll need
- 6 large wooden pegs
- A strip of stiff cardboard about 40 centimetres long
- Crayons
- 6 small paper pictures such as a sun, a tree and a cat
How to do it
- Cut the cardboard strip and tape it to the table edge so it does not slide.
- Draw a simple picture on each of the pegs, or stick on small paper shapes.
- Show how to squeeze the peg open with a pinch and clip it onto the strip.
- Let your child clip them on in any order, then retell the pictures as a story.
- Ask them to take the pegs off and put them in a bowl, using one hand at a time.
- Try sorting the pegs by colour or picture on the way back.
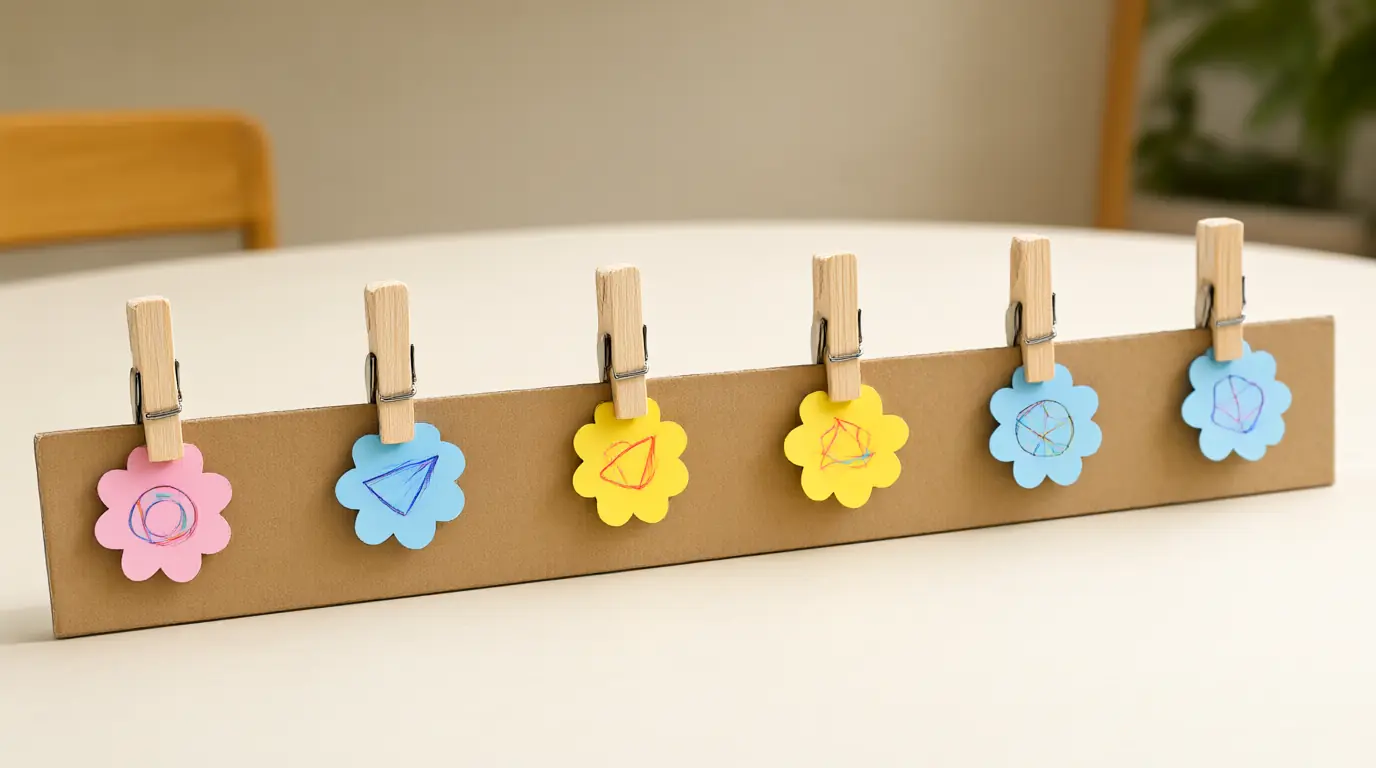
Make it your own: Use looser pegs and fewer for a younger child; tighter pegs and a thinner strip for an older one. Let them hold the strip with their other hand for coordination.
A posting box with a wide slot
Posting cards into a slot combines reaching, aiming and letting go. The child learns to control the force of their grip and to turn a card to match the opening. Opening the box afterwards gives a sorting and counting moment that feels like a delivery.
You’ll need
- A shoebox or cereal box with the lid taped
- Sturdy paper cards in two colours
- Scissors for an adult to cut the slot
- A bowl
How to do it
- Cut a slot about two centimetres wide and long enough for a card to fit without bending.
- Fold the card edge back to make a handle if the cards are too thin to hold.
- Let your child post one card at a time, turning it to line up with the slot.
- When all cards are inside, open the box and sort them by colour.
- Count each pile together and compare.
- Make the slot slightly narrower next time for an extra challenge.
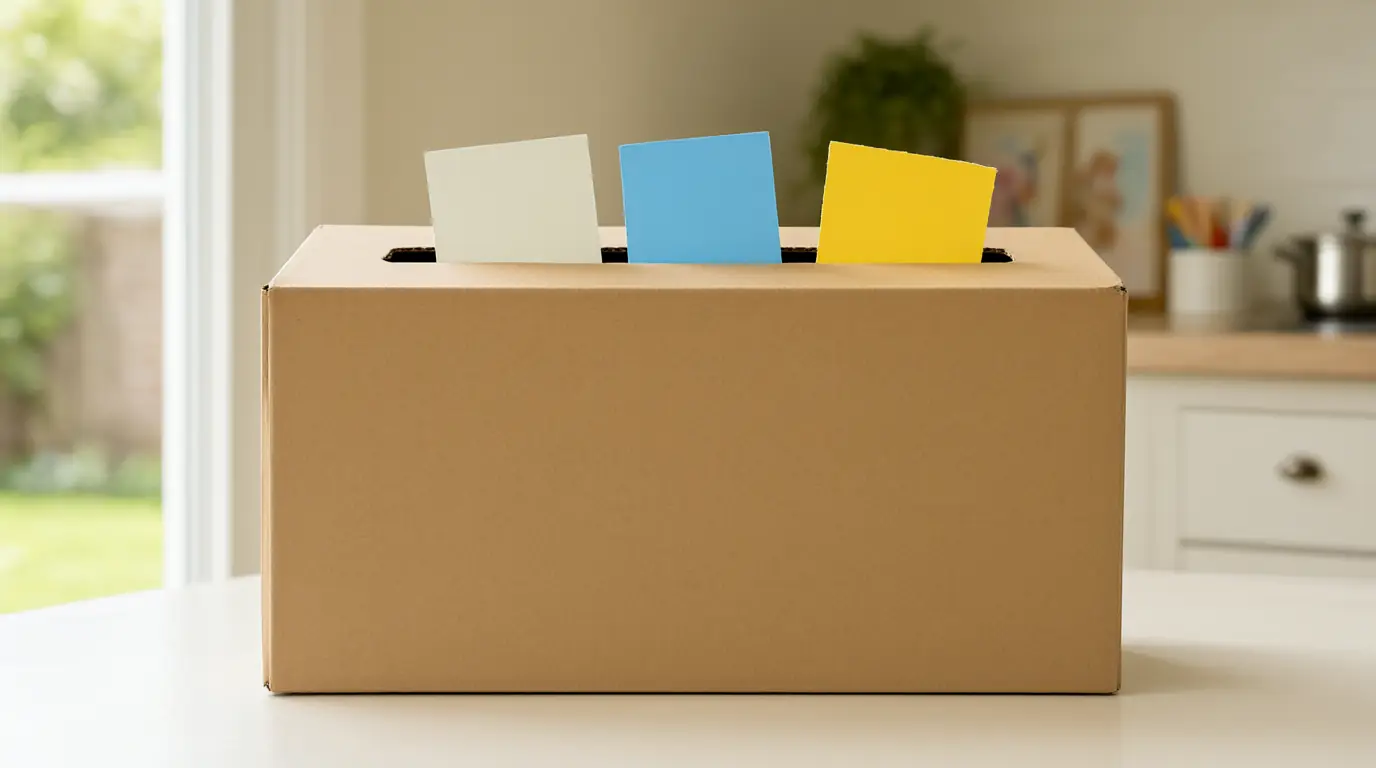
Make it your own: Widen the slot if cards get stuck. For older children, add a second slot for a different colour and ask them to decide which goes where.
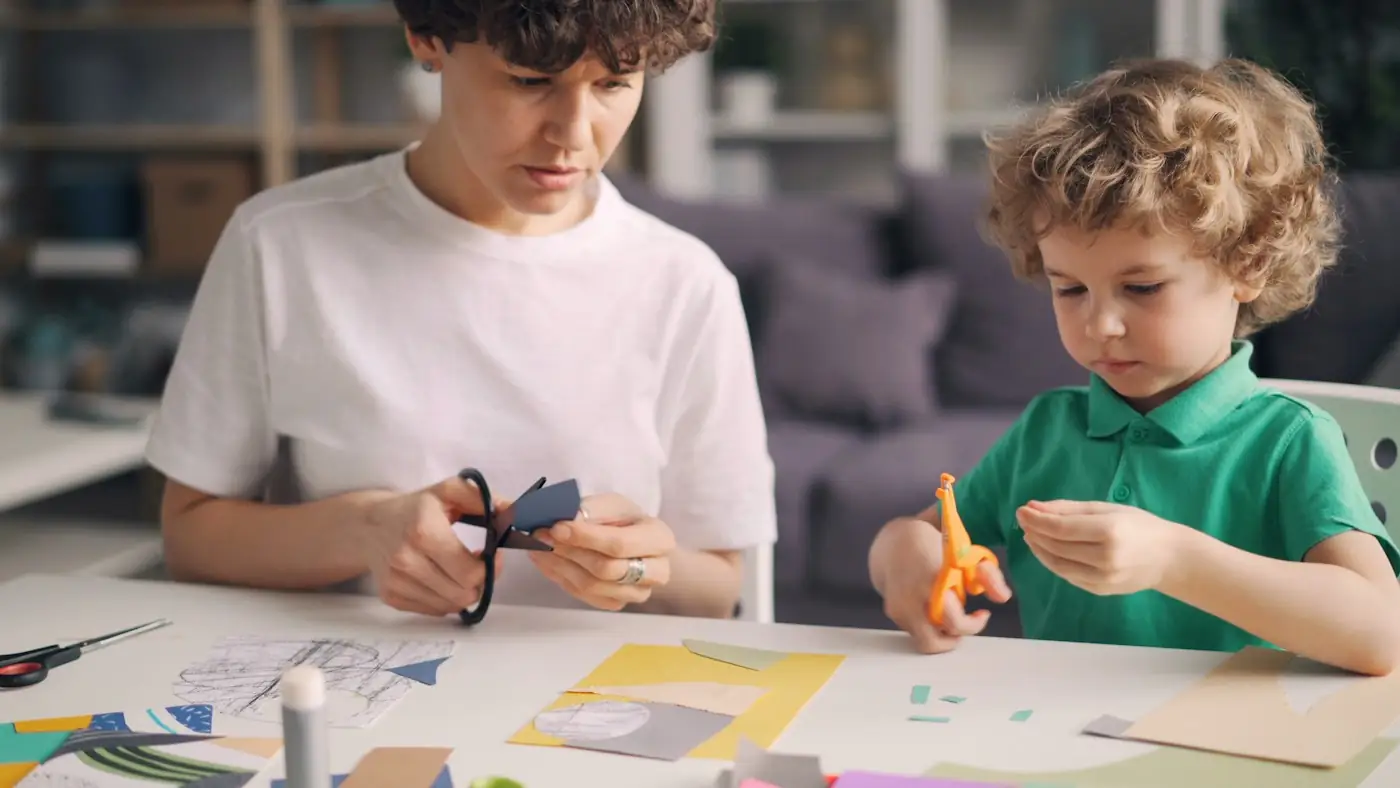
A torn-paper landscape
Tearing paper uses both hands in opposite directions, which is a good bilateral task. The ragged edges make interesting hills and clouds, and gluing the pieces into a picture adds a purpose. There is no right answer, so every child can succeed.
You’ll need
- Old magazines or sturdy coloured paper
- A large sheet of paper as the background
- A glue stick
- Chunky crayons
How to do it
- Show how to hold the paper with two hands and tear slowly, like opening a letter.
- Tear pieces for hills, sky and a sun, and sort them into piles.
- Arrange the pieces on the background before gluing.
- Press them down with the flat of the hand, then use a glue stick to fix them.
- Add details with a chunky crayon: roads, birds, rivers.
- Hold the finished picture up to the window and describe what you can see.
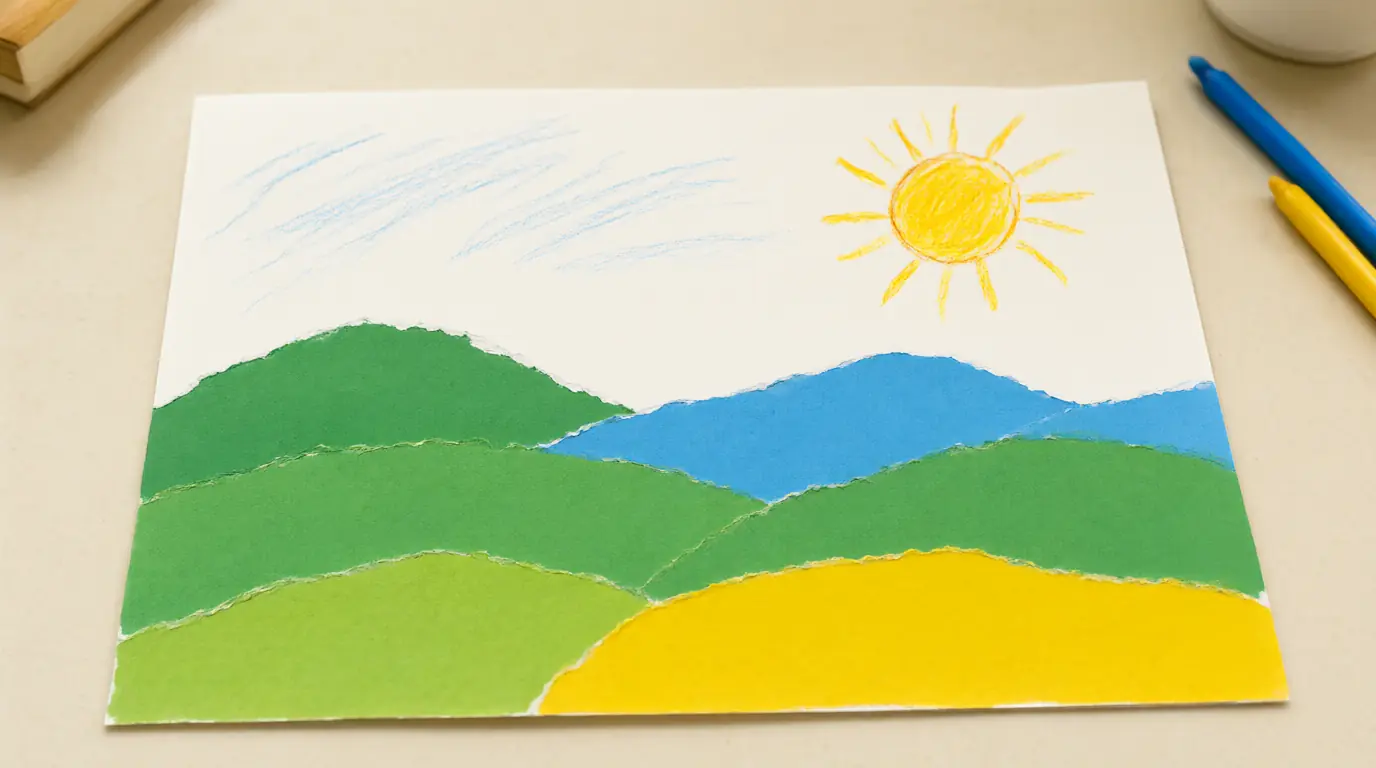
Make it your own: Pre-tear a few strips for a child who finds it hard to start. Older children can tear along a drawn line or make a pattern with repeated shapes.
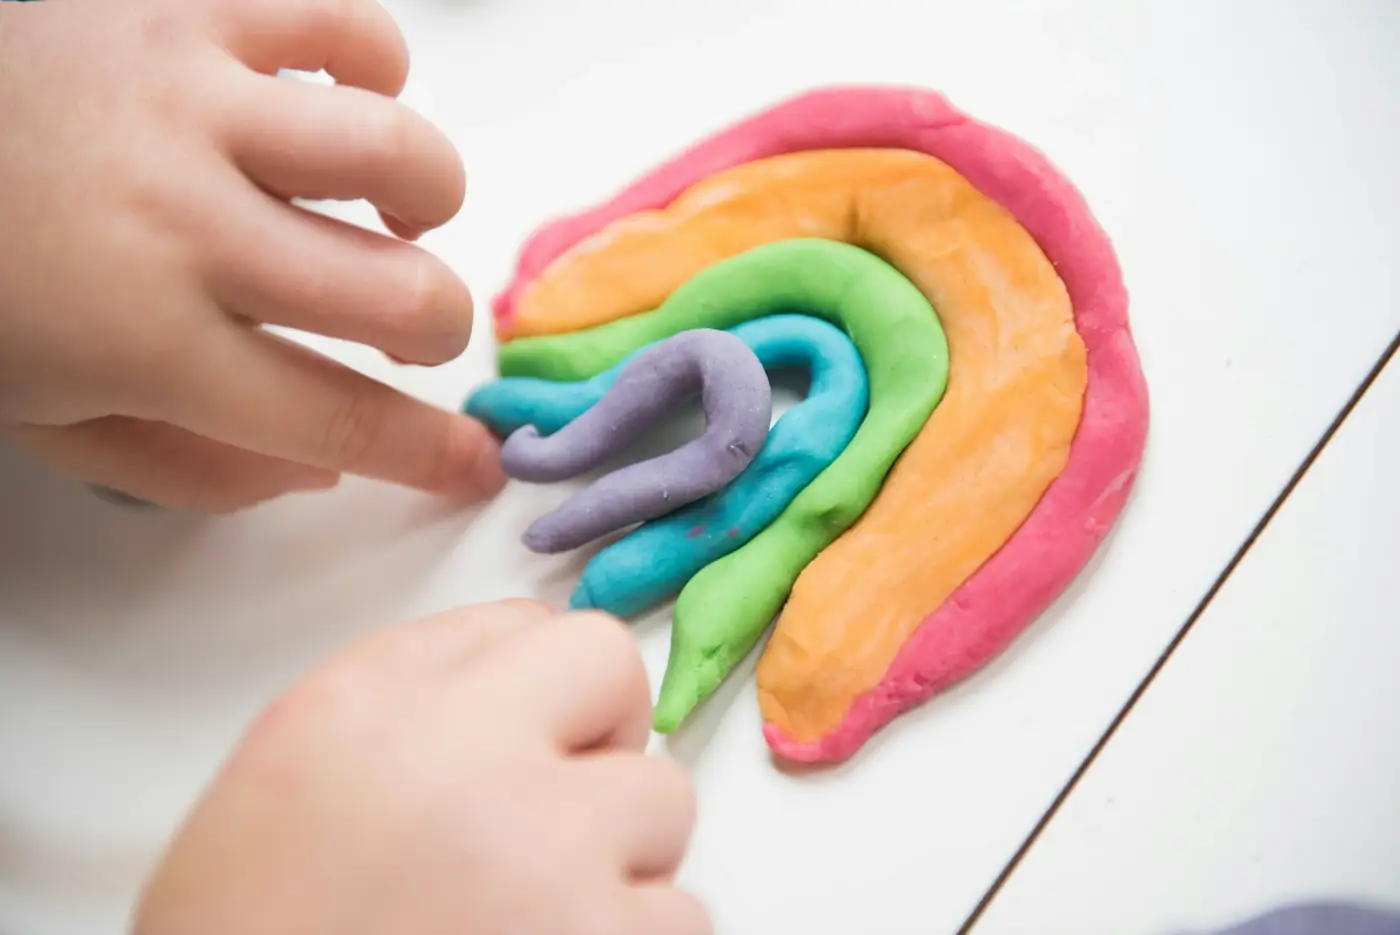
A play dough bakery
Squeezing, rolling and pinching dough builds hand strength more gently than almost any other activity. Pretend baking gives children a reason to keep going, and they can use their imagination to turn lumps into buns, snakes or loaves.
You’ll need
- Play dough
- A rolling pin or cardboard tube
- A blunt plastic knife
- A tray
- A muffin tin or paper cases
How to do it
- Give your child a ball of dough and show how to squeeze and pinch it.
- Roll it flat with a rolling pin or a tube, then cut shapes with a blunt knife.
- Roll small balls with fingertips for buns and place them in the muffin tin.
- Press a thumbprint into each bun for a pretend jam.
- Set up a counter and ask for an order: 'I would like three buns, please.'
- Put the dough back in its tub and wash hands together.
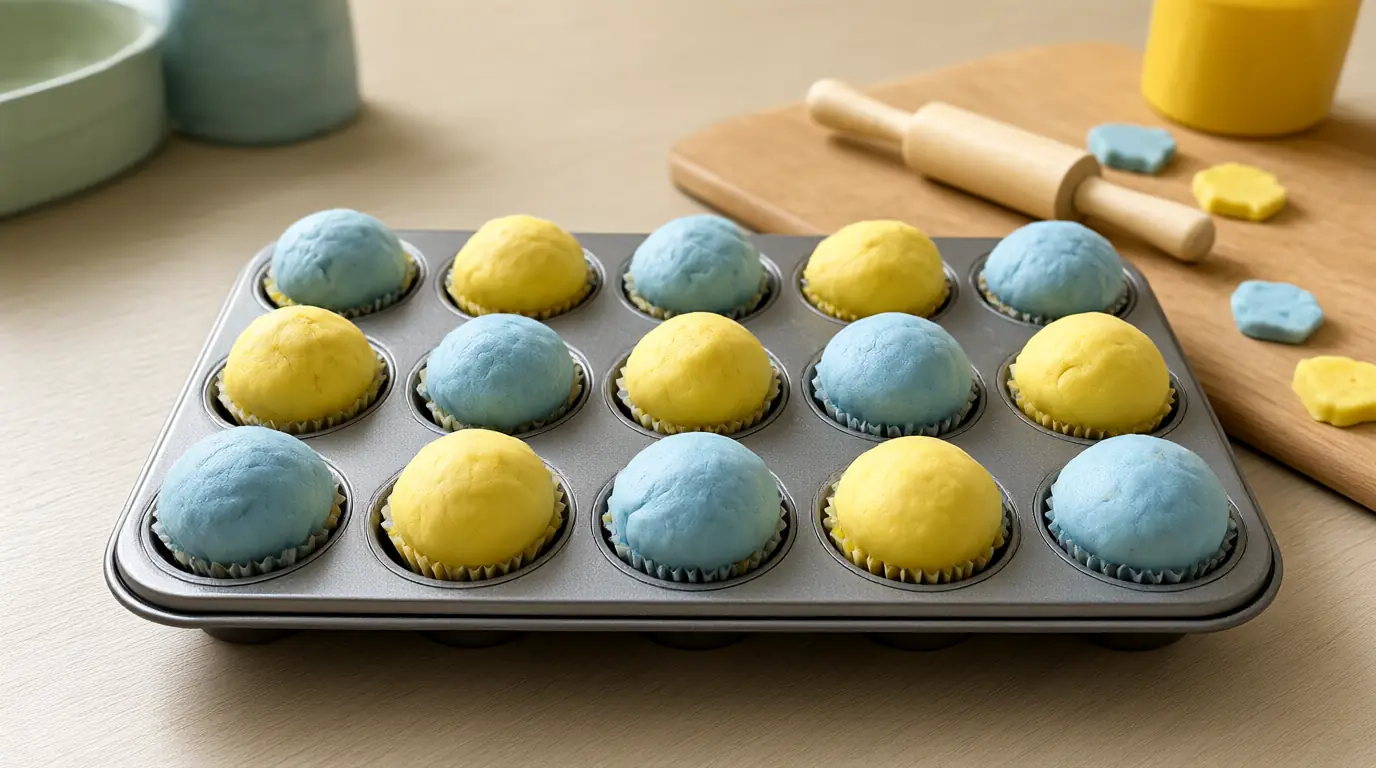
Make it your own: Use larger lumps for younger children and let them squash freely. Older children can make a pattern of twist shapes or follow a picture recipe.
Tongs and pompoms rescue
Using tongs to move small objects trains the same grip used for pencils and scissors. A little game with a goal, such as rescuing pompoms from a bowl, gives the child a reason to repeat the movement again and again without it feeling like practice.
You’ll need
- Large kitchen tongs or tweezers with a wide grip
- 20 large pompoms, bigger than a coin
- 2 bowls
- An egg carton
How to do it
- Put the pompoms in one bowl and the egg carton on the table.
- Show how to squeeze the tongs and let go to pick up a pompom.
- Ask your child to move each pompom into a cup of the egg carton.
- Count them as they go and match the colours if you like.
- Swap hands halfway and notice if one feels easier.
- Tip them back into the bowl and play again with a timer for fun, not speed.
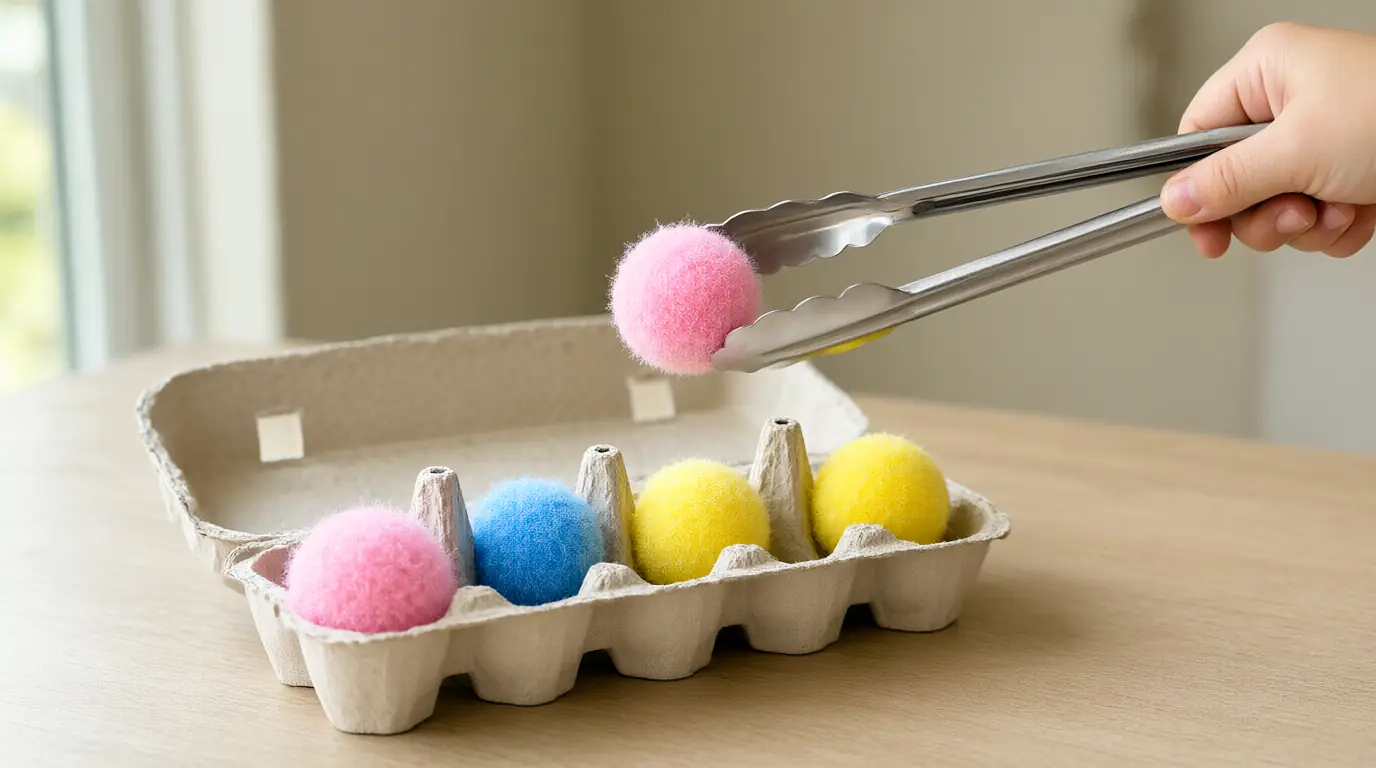
Make it your own: Use larger tongs and bigger objects, such as scrunched paper balls, for a younger child. For older ones, use tweezers and smaller items under supervision, or sort into colour groups.

Make it work for your family
If an activity is too hard, change the material before asking for more effort: thicker pegs, softer dough, larger tongs or firmer paper. Let your child use both hands, change hands or switch to a different movement. Watch for tiring hands and offer a break with big arm movements such as pushing a hand flat against a wall. A child who avoids small tasks may simply prefer movement, so mix in more energetic play.
Daily life gives plenty of practice: fastening a coat, opening a snack pouch or turning pages in a book. For more ideas, see these first scissor activities, try an easier crafts for toddlers set-up for younger siblings, or follow up with writing activities for preschoolers when your child is ready for marks.

Parents also ask
What are fine motor skills in preschoolers?
Fine motor skills are the small movements of the hands and fingers used for holding a crayon, using scissors, fastening buttons and feeding yourself. They develop through everyday play such as squeezing dough, tearing paper and building with blocks. Children develop at different rates, so some practice and patience go a long way.
How can I tell if my child's fine motor skills are delayed?
Look at the whole child over time: do they try new tasks, use both hands and improve with practice? If you are worried about persistent difficulty with holding objects, drawing or dressing, speak to your doctor, health visitor or an occupational therapist, who can assess properly.
How long should a fine motor activity last?
Ten to fifteen minutes is plenty for most preschoolers, and shorter is fine. Stop when hands look tired or interest drops, and come back later. Several short sessions during the week work better than one long one.
Choose materials and activities that suit your child, supervise as needed and adapt the ideas to their interests and abilities. About our editorial approach