Weebou Editorial Team
 6 min read
 In this article
A little preparation
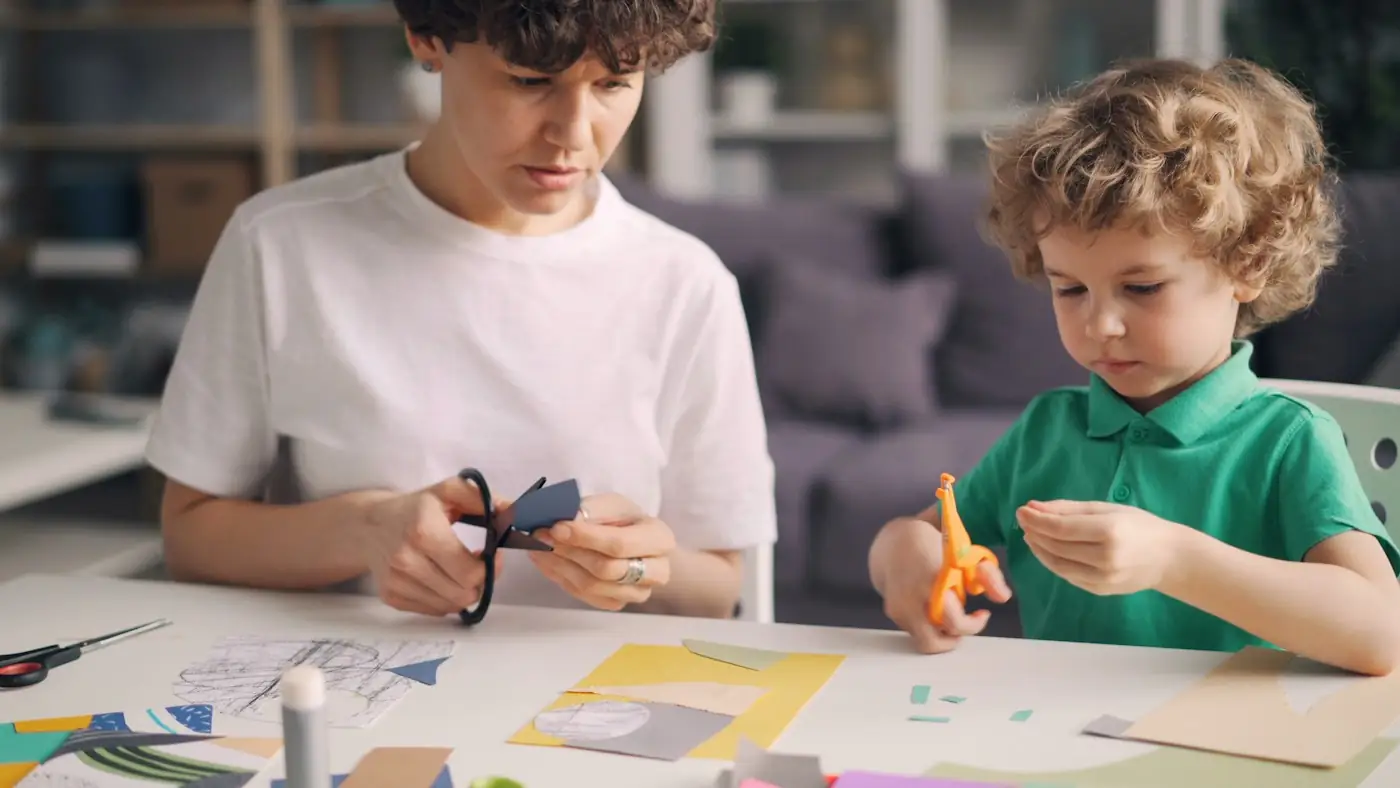
Seat your child at a stable table with feet resting on the floor or a step and show how to hold the scissors with the thumb in the top loop and one or two fingers in the bottom. Use child-sized safety scissors that cut paper cleanly and check they are not too stiff. Stay beside your child, keep fingers out of the cutting path and put the scissors away out of reach afterwards.
Offer firm paper such as a cereal-box piece or thin card, since flimsy paper folds instead of cutting. Put a tray in front of your child to catch scraps and clear them promptly, especially if a younger sibling is nearby. Practise the opening and closing movement on a thick strip before cutting along any line. Children who find scissors tiring can tear paper instead. If you are looking at hand strength more widely, these little-hand activities offer other options.

Ideas to try together
Edge fringe with stopping lines
Short snips toward a drawn stopping line teach the open-close action without a long path. The fringe that results looks like grass or hair, so the cutting has a purpose, and the line shows children exactly when to stop.
 You’ll need
- A strip of sturdy paper about 5 cm wide
- A thick crayon
- Child-safe scissors
- A scrap tray
How to do it
- Draw a thick line along the strip about 2 cm from one long edge.
- Hold the strip steady with the helping hand and put the scissors at the edge.
- Make one short snip toward the line and stop before it.
- Rest the scissors open, move the paper along and snip again.
- Continue along the strip to make a fringe.
- Glue the fringe to a sheet of paper to make grass or a fur collar.
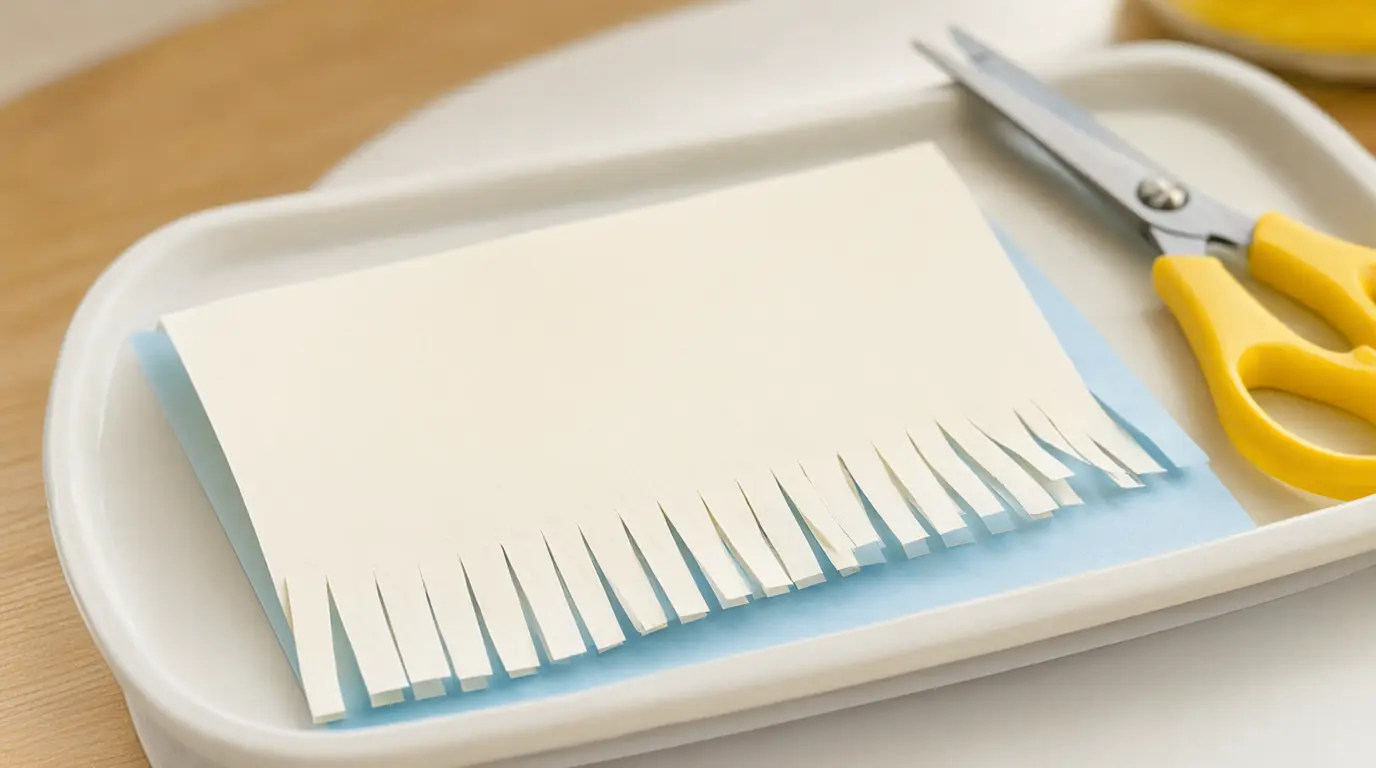
Make it your own: Younger children can snip a single edge a few times with adult help steadying the paper. Older children can cut fringes of different lengths or add a curved line.
Paper road to cut along
A wide, straight road gives children a clear path to follow with the scissors. Starting short and wide builds confidence, and adding a gentle curve another day lets them take the next step when they are ready.
You’ll need
- A sheet of sturdy paper
- A thick crayon or marker
- Child-safe scissors
- A small toy car (optional)
How to do it
- Draw a wide road about 3 cm across, running from one edge of the paper to the other.
- Hold the paper with one hand and place the scissors at the start of the road.
- Cut slowly along the road, stopping to reposition if needed.
- Cut as far as the child can manage and stop where they say.
- Drive a toy car along the finished road.
- Keep both parts of the paper for a collage.
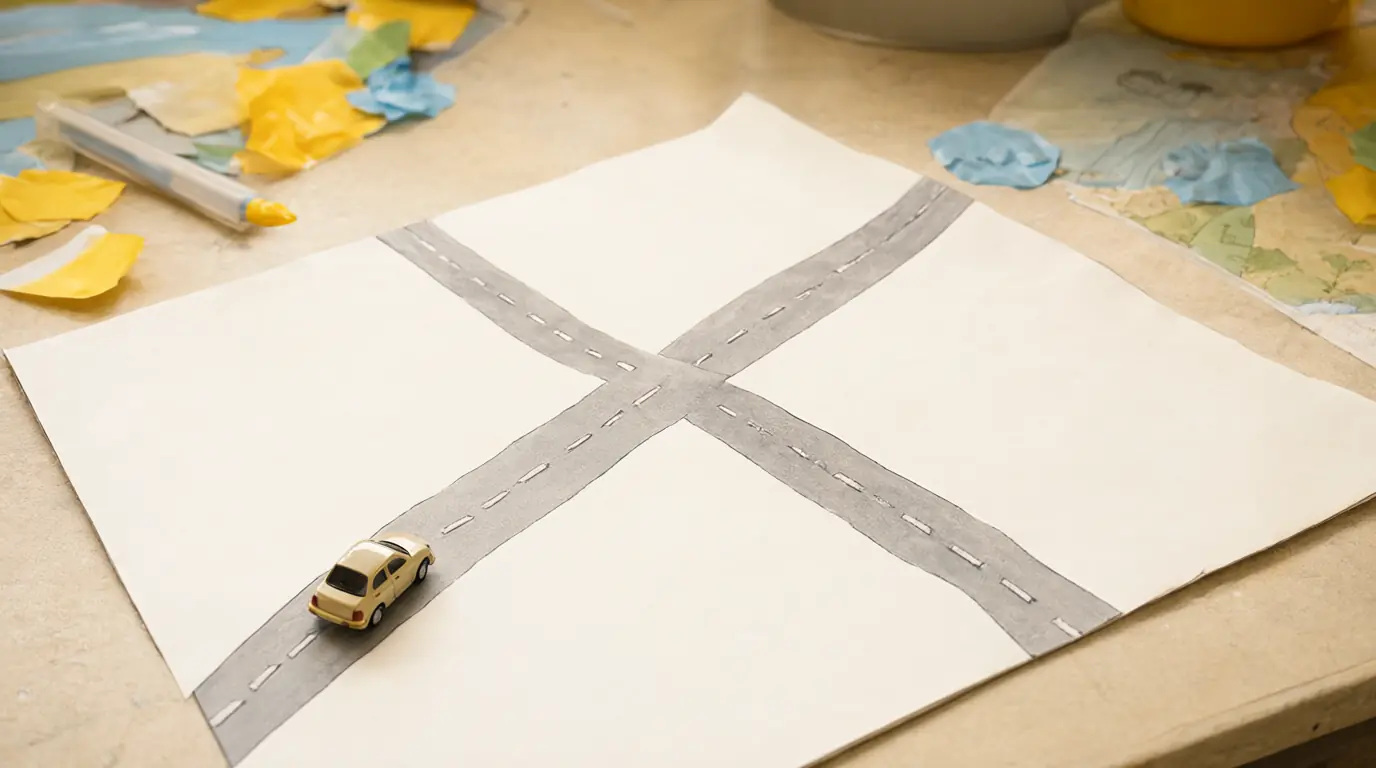
Make it your own: Younger children can cut a very short road of one or two snips. Older children can try a gentle wave or a corner once the straight road feels easy.
Collage pieces to snip and stick
Snipping broad strips into large pieces and gluing them down gives cutting a clear end product. The pieces can be any shape, so the focus is on the action and the arrangement rather than neat edges.
You’ll need
- Several broad strips of coloured paper
- A sheet of card as a base
- A glue stick
- Child-safe scissors and a scrap tray
How to do it
- Give your child a few broad paper strips and show how to cut across them.
- Let them snip each strip into two or three large pieces.
- Drop each piece into the scrap tray as it is cut.
- Spread glue on the base card with the glue stick.
- Arrange the pieces on the base to make any picture they like.
- Press each piece down and talk about what the picture shows.
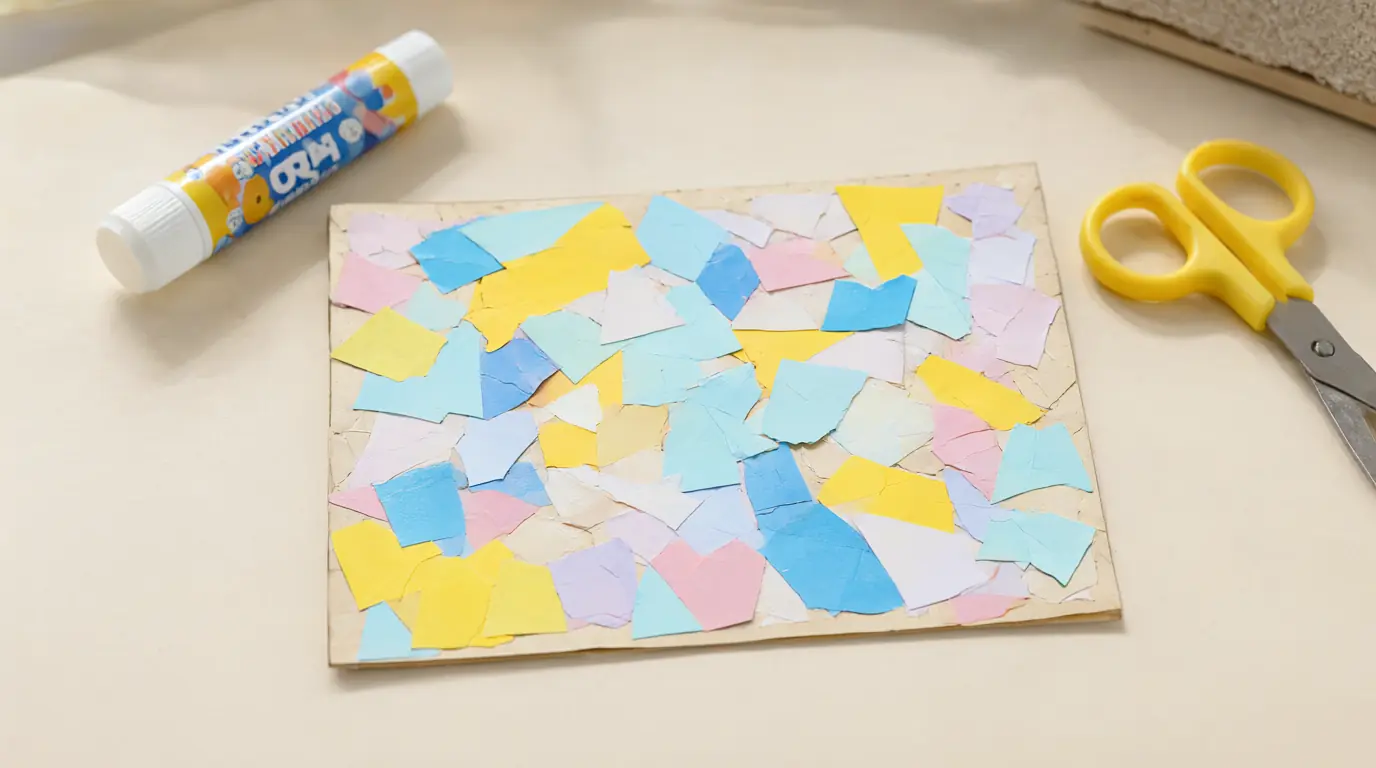
Make it your own: Younger children can use pre-cut pieces and focus on gluing. Older children can plan a picture, such as a house or a fish, and cut pieces to match.
Cut or tear comparison
Comparing a cut edge with a torn edge lets children see two ways of changing paper. Using both in the same artwork shows that neither is the right method, and tearing is an excellent option for children not ready for scissors.
You’ll need
- 2 paper strips of the same kind
- Child-safe scissors
- A sheet of card
- A glue stick
How to do it
- Give your child one paper strip to cut across and one to tear across.
- Look closely at the two edges and feel the difference.
- Say which edge is smooth, which is rough and which they like.
- Repeat with a second strip of each kind if they want.
- Glue both kinds of pieces onto the card side by side.
- Make a picture using the cut and torn pieces together.
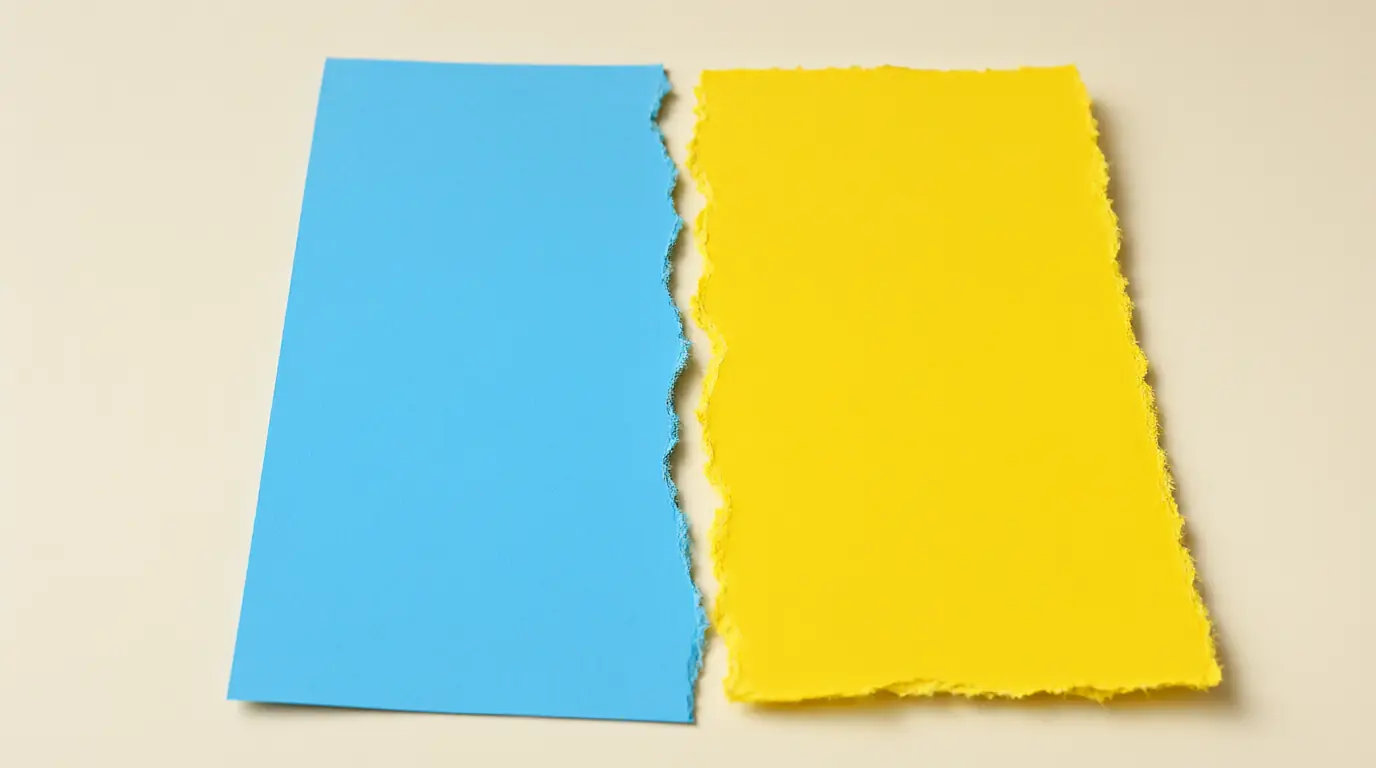
Make it your own: Younger children can tear only and describe the sound. Older children can tear along a drawn line and compare it with cutting along the same line.

Make it work for your family
If paper folds or tears, try a smaller piece of firmer paper rather than asking for more force. Turn the paper, not the scissors, when the line curves, and hold the paper with the helping hand. Tearing paper or drawing a route with a crayon is a good alternative whenever scissors are not suitable.
Short sessions work best, five to ten minutes at first. Notice which hand your child prefers and let them choose. Tell them you are interested in what they made, not whether the line is straight. If concerns about hand skills continue, mention them to a paediatrician or occupational therapist. For further ideas, try some easy art projects that use the cut pieces, or writing activities for preschoolers that build the same hand control.

Parents also ask
At what age can children start using scissors?
Many children begin snipping with child-safe scissors around two and a half to three years old, with an adult beside them. Readiness varies, so follow your child's interest and hand strength, and offer tearing or other hand activities if scissors are not yet comfortable.
What kind of scissors are best for a preschooler?
Choose child-sized safety scissors with rounded tips that cut paper cleanly; if they chew paper, they are too blunt. Left-handed children need left-handed scissors. Test them yourself before you give them to your child.
What if my child holds the scissors in a different way?
Many children try different grips while learning. Show the thumb-up position and let them practise, but do not worry about a perfect grip at first. If you have concerns about hand use, mention them to a doctor or occupational therapist.
Choose materials and activities that suit your child, supervise as needed and adapt the ideas to their interests and abilities. About our editorial approach