Weebou Editorial Team
 In this article
A little preparation
Start by choosing one or two activities rather than all five, and gather the materials before you mention the day. A wipe-clean table, a shallow tray for glue and a clear shelf or windowsill for the finished work are enough; you do not need a party. Set aside 20 to 30 minutes per activity, with the paper flowers taking longest. Read a short, reliable description together first — a museum page, a library book or an account from someone who celebrates — and let your child ask questions before anything is made.
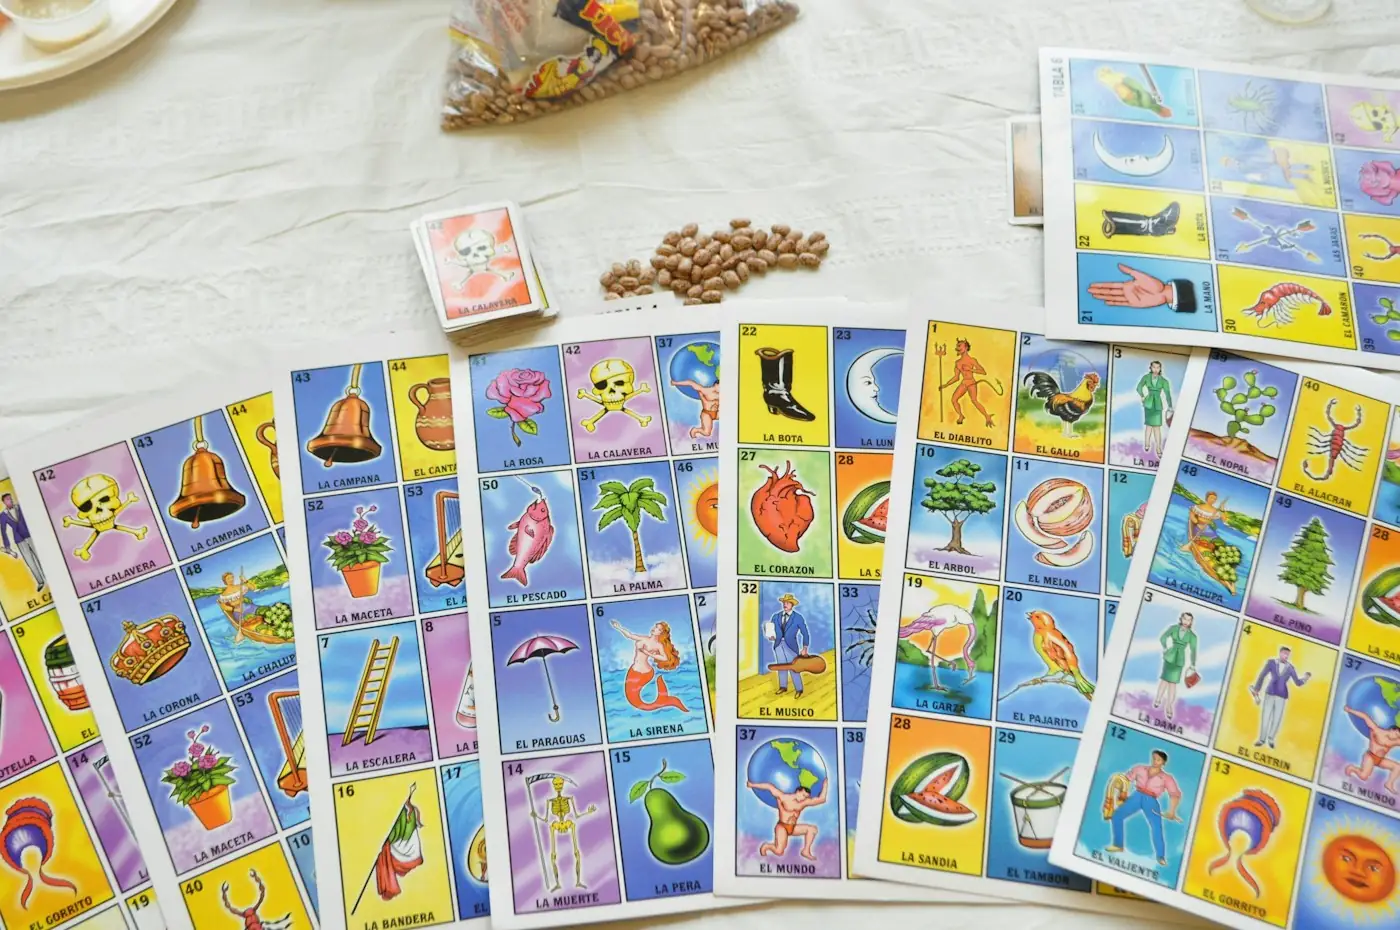
Explain the day in one or two sentences: on 1 and 2 November, many Mexican families set out photographs, flowers and favourite foods to remember people who have died, and the details differ from household to household. Keep your tone ordinary rather than spooky, and treat the day as a living tradition rather than a historical scene; Mexican games and the family stories behind them show how much variety that involves. Use child-safe scissors and leave out small beads or sequins for children who still mouth objects. Some children will want to talk about a person they have lost and others will not; both are fine, and a general invitation to remember someone keeps the door open.

Ideas to try together
Paper marigolds for the table
Marigolds, called cempasúchil, are strongly associated with the day, and a paper version is forgiving enough for small hands. Layering tissue squares and then fluffing the petals gives a satisfying result in about ten minutes, and a jar of them makes a table look like a celebration rather than a lesson. Talk about the flower's colour and its strong scent while you work.
 You’ll need
- Orange and yellow tissue paper cut into 10 cm squares
- Green pipe cleaners or paper straws
- A glue stick
- Child-safe scissors
How to do it
- Cut or tear about eight tissue squares per flower, roughly the width of your child's hand.
- Stack the squares loosely and pinch the middle of the stack between finger and thumb.
- Wrap a green pipe cleaner around the pinch and twist once to hold it; an adult can help here.
- Fan the layers out one at a time, lifting gently from the outside edge so they do not tear.
- Squeeze the base of the petals up towards the stem to make the flower fuller.
- Stand the flowers in a small jar or lay them along the remembrance shelf.
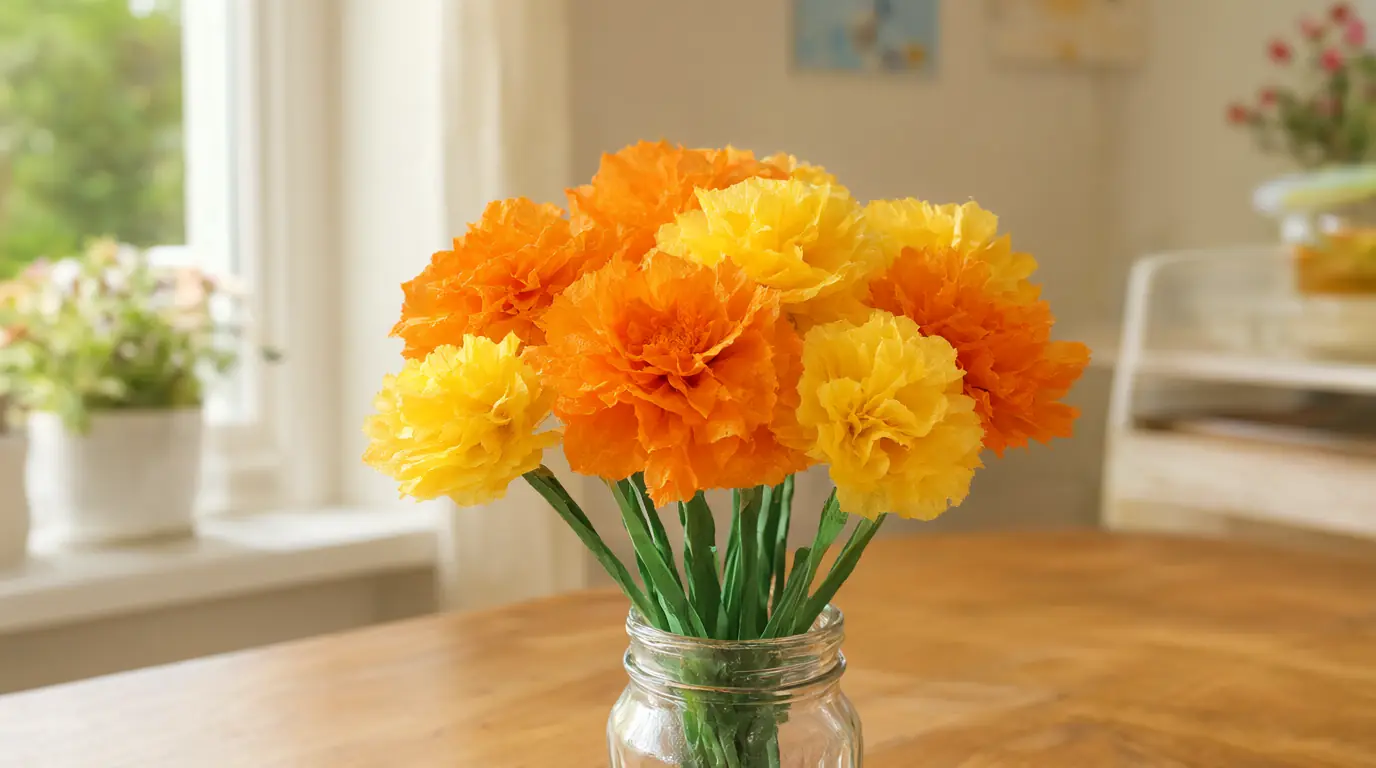
Make it your own: Younger children can tear the paper and stop after fanning two layers. Older ones can cut pointed petals, make a whole garland, or tie flowers to a string at intervals for a doorway.
Cut-paper banners with a hidden pattern
Cut-paper banners are hung across streets and altars during the festival, and a folded paper version is one of the few crafts with a built-in surprise: you cannot see the pattern until the paper opens. It practises careful scissor work without demanding precision, because almost every cut produces something worth hanging up.
You’ll need
- Thin coloured paper or tissue, about A4 size
- Child-safe scissors
- String and tape
How to do it
- Fold a sheet in half, then in half again, keeping the folded edge on one side.
- Cut a few notches along the open edges, or draw shapes first and cut them out.
- Leave at least a finger-width of paper at each fold so the banner does not fall apart.
- Open the paper slowly and look at the pattern that appeared.
- Make three or four in different colours.
- Tape each one to a length of string and hang it where light comes through.
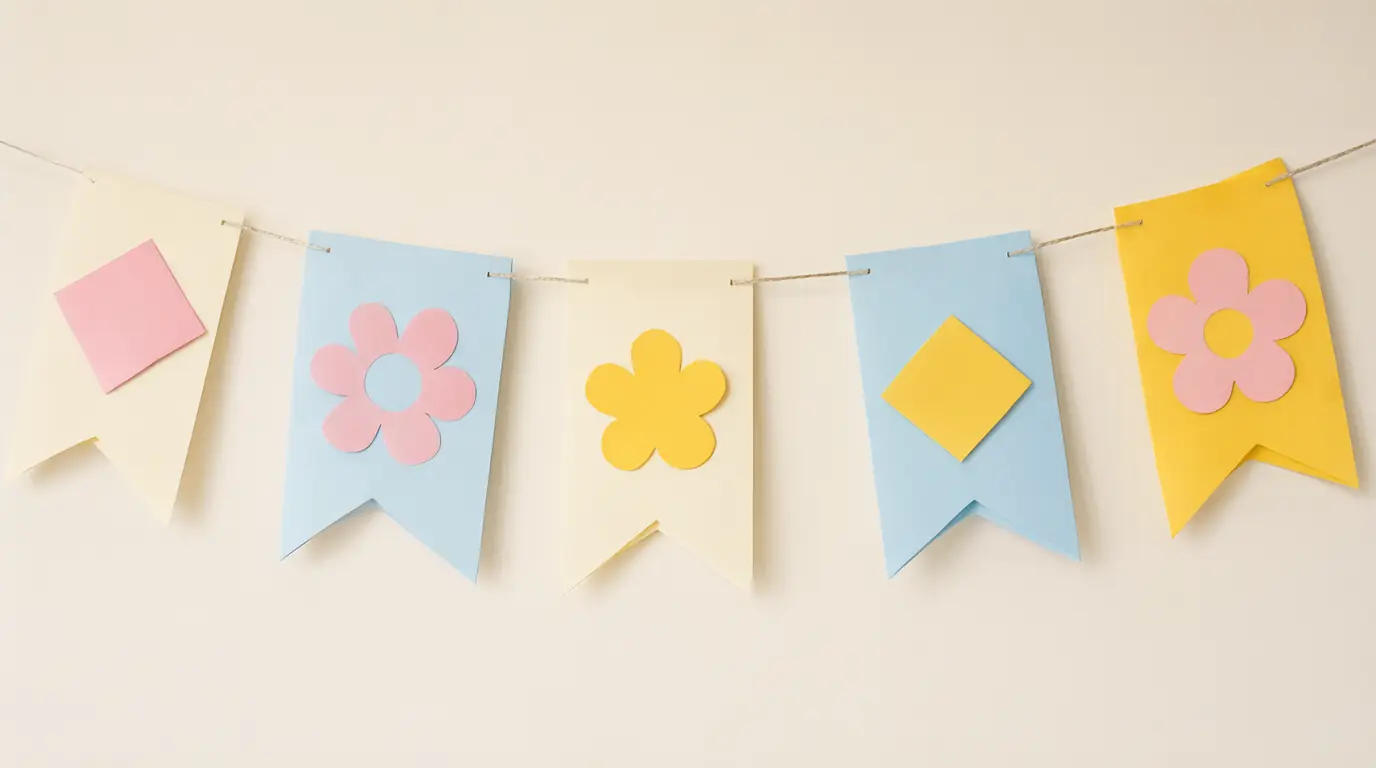
Make it your own: Younger children can snip the edge of a single fold and stop there. Older ones can plan a repeating row of triangles down the middle, or make one long banner to stretch across a doorway.
Decorated paper skulls, not scary masks
Decorated skulls, calaveras, appear as sugar sweets, papier-mâché figures and printed designs, and they are usually bright and ornamental rather than frightening. A flat paper skull gives a child a shape to fill with flowers, dots and swirls, which stays closer to the tradition than a spooky mask and is much easier to display afterwards.
You’ll need
- A skull outline printed or drawn on thick white paper
- Markers, coloured pencils and a few stickers
- Sequins or glitter only for children past mouthing
- Scissors, used by an adult
How to do it
- Show one or two photographs of decorated calaveras and point out the flowers, dots and repeating patterns.
- Print or draw a simple skull outline about the size of a hand on thick paper.
- Let your child fill the forehead and cheeks with patterns of their own rather than copying a design.
- Suggest one flower shape beside an eye or across the forehead, with symmetry left optional.
- Cut the shape out once the colouring is finished, if your child wants it cut.
- Write the maker's name on the back in pencil.
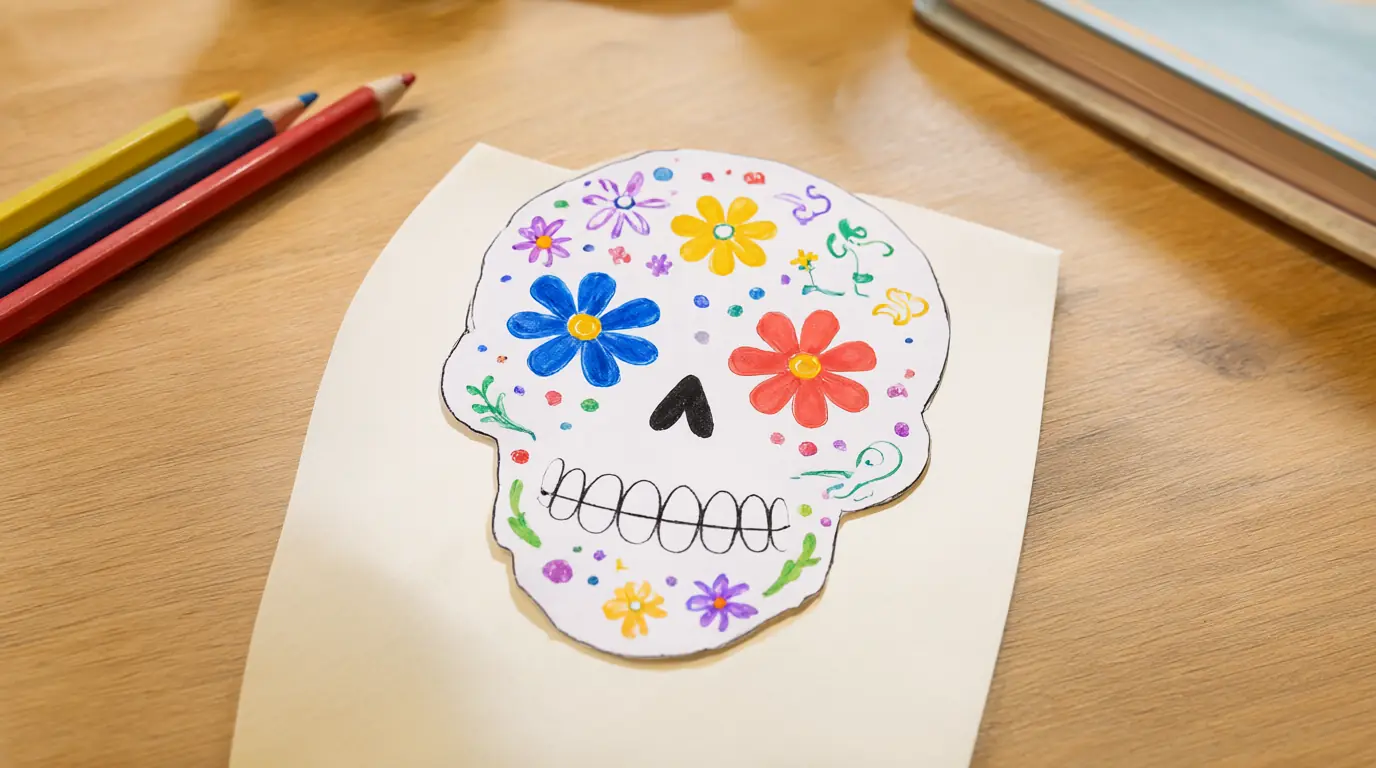
Make it your own: For younger children, colour a pre-cut shape with three fat markers. Older ones can try a symmetrical design, mirroring the same pattern on both sides, or write a short rhyme underneath it.
A small remembrance shelf
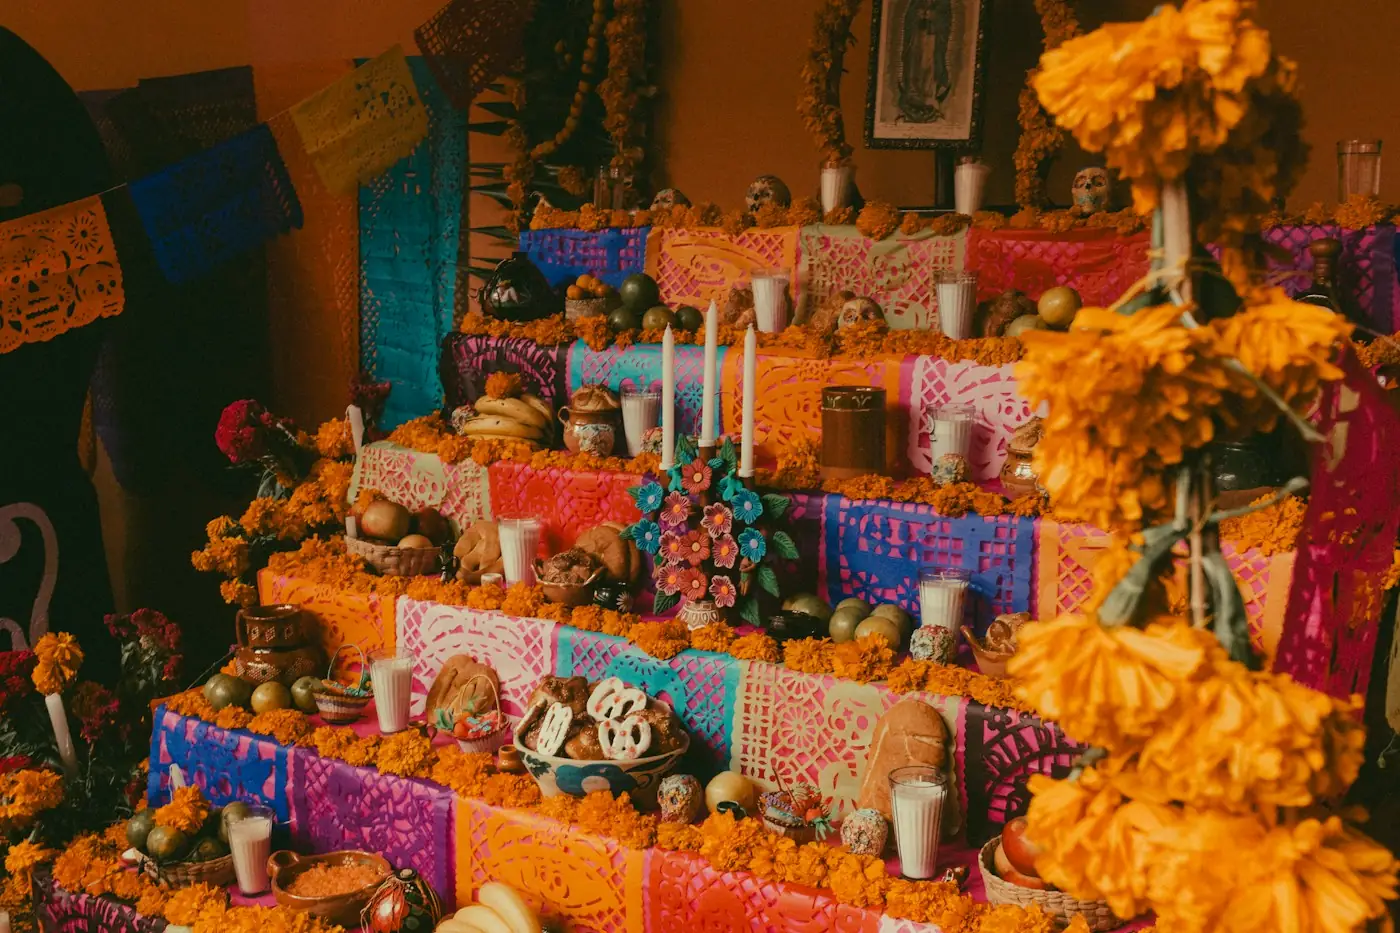
An ofrenda is a space a family builds to remember people who have died, and a shelf-sized version lets a child take part without pretending to reproduce someone else's home. Photographs, a favourite food, flowers and a glass of water are common elements. What matters is the conversation the shelf makes possible, not how closely it matches a picture you have seen.
You’ll need
- A clear shelf, table corner or windowsill
- A photograph or a drawing
- Paper flowers from the first idea
- A small plate and a glass
How to do it
- Choose a shelf or table corner and clear it together.
- Ask whose photograph or drawing your child would like to place there, without requiring a particular person.
- Add one paper flower, a small plate with a biscuit or fruit, and a glass of water.
- Let your child arrange the objects and decide where each one goes.
- Tell one short story about the person, or ask your child for a memory of their own.
- Leave the shelf up for a day or two, then pack it away together.
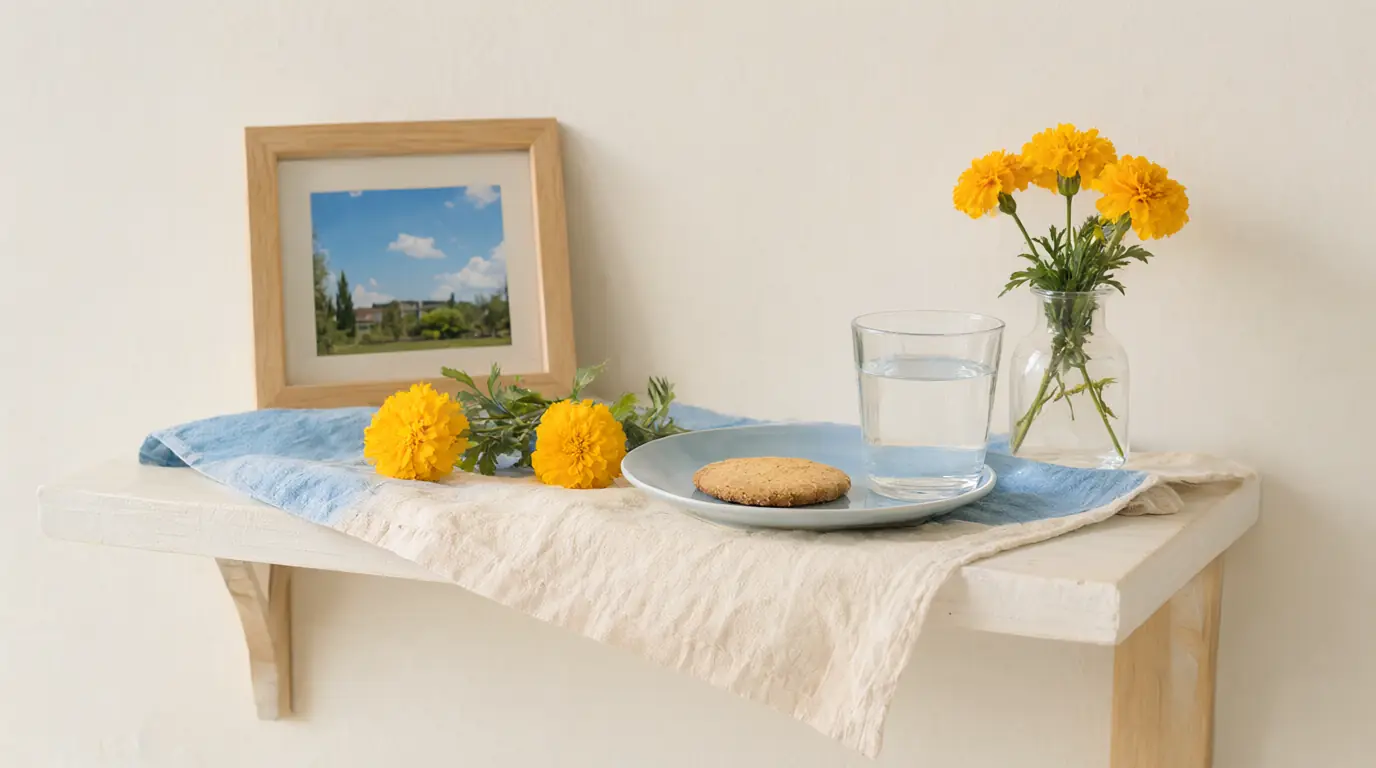
Make it your own: If a child has no one they want to remember, they can choose a pet, a place or a person they have only heard about. Older children might add a handwritten label explaining why each object is there.
Silly four-line calavera rhymes
Calaveras literarias are short humorous verses written for the festival, often imagining a person or a job in a funny situation. A child's version is simply four lines about someone in the family doing something absurd. Humour sitting alongside remembering is true to the tradition, and a rhyme is far easier for a young child than a solemn speech.
How to do it
- Choose someone in the family and one silly thing they might do, such as losing a shoe at a party.
- Say the first line aloud together: My uncle lost his left green shoe.
- Find a word that rhymes with the last word; two or blue will give you a final line.
- Build four short lines: who it is, what happens, one more detail, then the rhyme.
- Write it down exactly as your child says it, even if the rhythm wobbles.
- Read it aloud once, then let them decide whether to perform it or keep it private.
Make it your own: Younger children can supply the silly idea while you do the writing. Older ones can try a rhyme about a pet or a favourite toy, or keep the same verse and swap the final word for a better rhyme.

Make it work for your family
If your child asks whether any of this is scary, answer plainly: Día de los Muertos is a family occasion for remembering, and the skulls and skeletons are decorations in the same way that flowers are. Avoid mixing the activities with Halloween costumes or jump-scare props, which blur two very different traditions. If someone in your family has died recently, keep the remembrance shelf optional and let your child decide how much to say. Never press a child to talk about a loss in front of other people.
Paper flowers and banners keep well if stored flat and away from damp; a glass of water on a shelf should be changed daily, and any food should be replaced or removed after a day. If you want to go further, look for a local event led by Mexican families or a museum display, and go as a listener rather than a spectator. All Saints' Day falls on the same dates and offers a natural point of comparison, and these small gratitude rituals suit the rest of November.

Parents also ask
Is Día de los Muertos the same as Halloween?
No. Halloween on 31 October comes from different traditions and is built around dressing up and playful scares. Día de los Muertos is on 1 and 2 November, when many Mexican families remember people who have died with photographs, flowers, food and visits to graves. The dates sit close together, which is why shops mix them, but the mood and meaning are not the same.
What can children make for a Day of the Dead altar?
Paper marigolds, a small cut-paper banner, a decorated paper skull and a drawing of the person being remembered are all manageable for young children. A plate of fruit, a glass of water and a photograph are traditional additions. Let your child arrange the shelf themselves; it does not need to match a picture you have seen.
At what age can children learn about Día de los Muertos?
From around four or five, most children can grasp the simple idea that a family remembers people who have died on two special days. Keep explanations short and concrete, follow the child's questions and leave out frightening imagery. Older children can compare how different families mark the day and wonder why practices vary.
Sources & further reading
Explore these primary sources for further context on this topic.
Choose materials and activities that suit your child, supervise as needed and adapt the ideas to their interests and abilities. About our editorial approach