Weebou Editorial Team
 In this article
A little preparation
Choose one short story from a children's Bible or storybook that your family or group uses, and read it aloud before the game starts so everyone knows what happens. Keep the version age-appropriate and, if the story contains frightening or sad events, decide beforehand how you will describe them. Check that the activity matches your family's or congregation's tradition; different Christian communities understand and teach passages in different ways.
Say clearly when you are pretending, for example now we are using the figures to retell the story, so children can tell the difference between playing with a story and claiming facts about it. Prepare materials in advance: cardboard figures, a large sheet of paper and crayons. Allow about fifteen to twenty minutes, leave time for questions, and let children say they are not sure. A child who asks why something happened is thinking about the story, and that is a good start.

Ideas to try together
Retell with paper figures
Moving paper characters through a story lets children rehearse the order of events and notice who is in each scene. Because they handle the figures, they usually remember more detail, and they can change speed or stop to ask a question whenever they like.
 You’ll need
- 4 to 6 cardboard figures with a character drawn on each
- A sheet of paper as a stage
- Crayons for drawing the figures
- Sticky tack for holding figures upright
How to do it
- Read a short story aloud once before starting.
- Together, choose the main characters and draw each one on a card.
- Stand the figures on the paper stage with a little sticky tack.
- Retell the story one scene at a time, letting your child move the figures.
- Pause after each scene and invite them to add a detail or a question.
- Finish by asking which character they would like to meet.
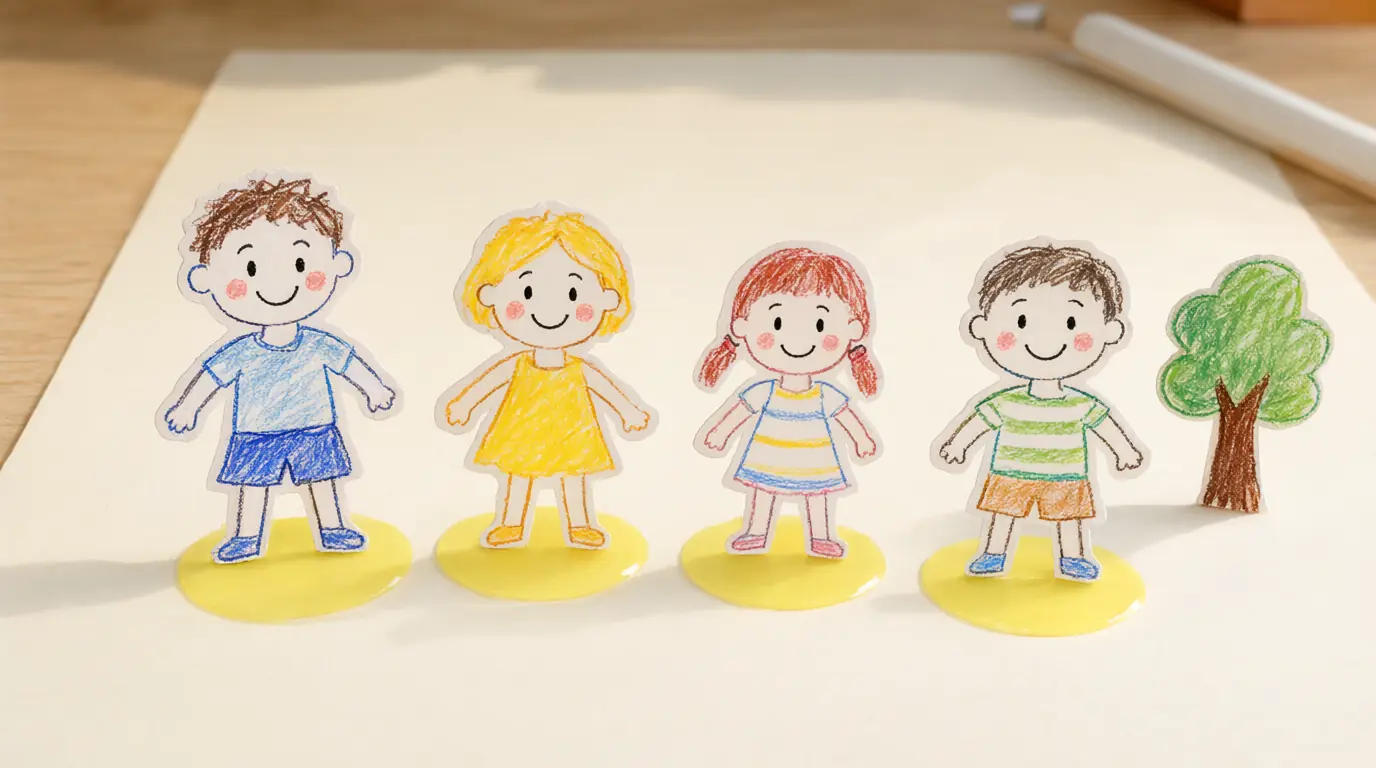
Make it your own: Younger children can handle only one or two characters and a single scene. Older children can retell the story in their own words, or switch roles and let someone else play the narrator.
Make a setting map
Drawing where a story happens helps children understand how places connect: why a journey is long, or why the characters stood where they did. A simple map gives a child something to point at while telling the story and keeps the focus on understanding rather than memorising.
You’ll need
- 1 large sheet of paper
- Crayons or markers
- Small cards to label places with a picture
- Toy figures or paper characters
How to do it
- Read the story and list the places it mentions, such as a house, a hill or a road.
- Draw the places on a large sheet, leaving space between them.
- Connect the places with a path or a line.
- Place the characters on the map and move them as the story unfolds.
- Ask why the characters moved from one place to the next.
- Add one place your child thinks is missing.
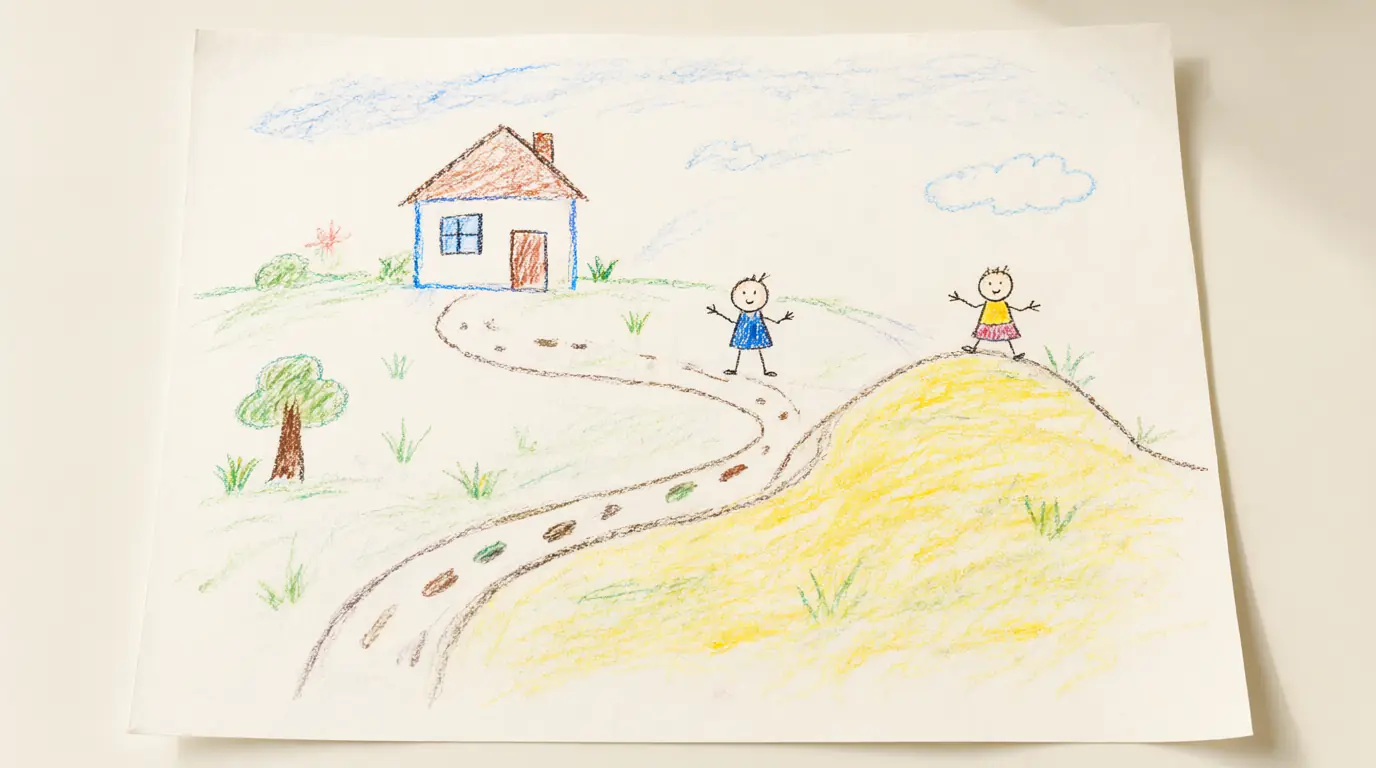
Make it your own: For younger children, draw two or three simple places and let them add colours. Older children can add a start and an end, or draw the route taken by a different character.
Pause at a choice
Stopping a story before a character acts invites children to think about what could happen and why. It is a gentle way to explore decisions and feelings without treating an imagined alternative as a wrong answer, and it keeps the child actively listening rather than waiting for the ending.
You’ll need
- A children's Bible story with a clear choice
- 2 paper cards, one for each option
- Crayons
How to do it
- Read the story up to the moment a character makes a choice and stop.
- Ask what the character might do and write or draw two possibilities on the cards.
- Talk about how each choice might feel for the character and for others in the story.
- Read on to find out what the character actually chose.
- Compare the real choice with the cards without saying one is right.
- Ask how the choice changed the story.
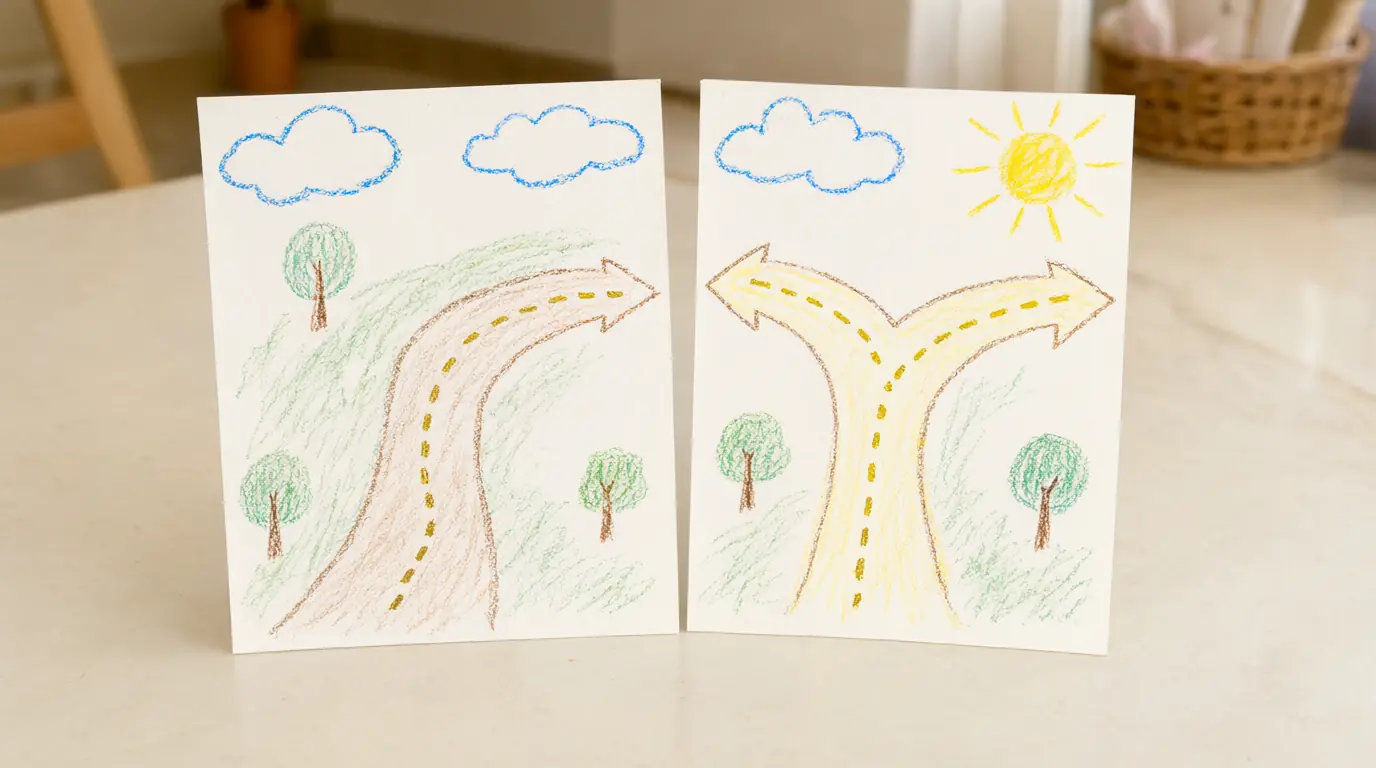
Make it your own: Younger children can point to the card they prefer. Older children can think about how a different choice would affect the people around the character, or invent a third option.
Shoebox story scene
Building a small scene turns a story into something a child can see and touch. Shoebox scenes encourage children to decide what the setting looks like and what the characters might notice, and they can be revisited again and again for retelling.
You’ll need
- 1 shoebox on its side
- Coloured paper, cotton wool and scraps of fabric
- Child-safe glue stick
- Paper characters on cardboard stands
How to do it
- Choose one scene from the story, such as a boat on a lake or a garden.
- Line the inside of the box with coloured paper for sky and ground.
- Add details with paper scraps, such as a blue strip for water or green fringe for grass.
- Stand the characters inside the scene.
- Tell the scene aloud and ask what each character can see.
- Leave the box where your child can revisit it.
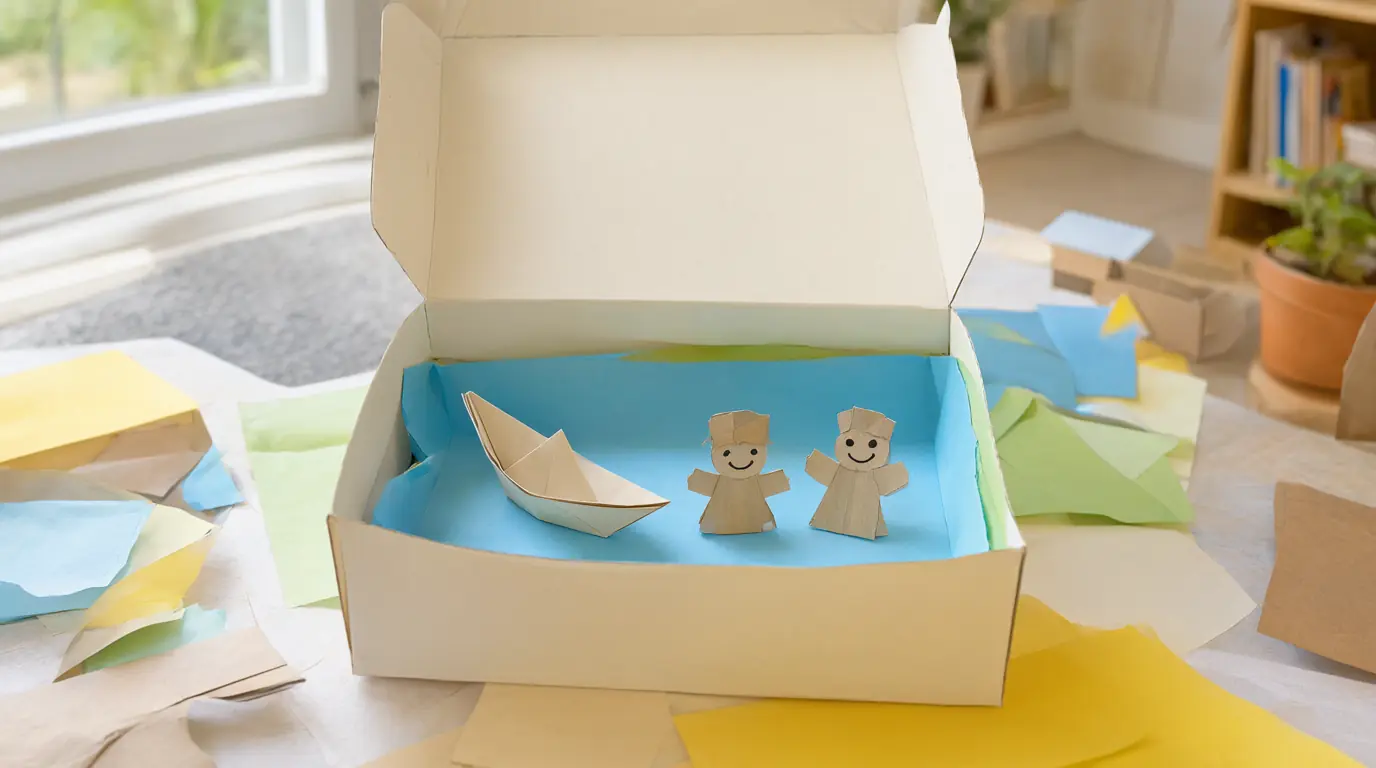
Make it your own: Younger children can add only a background colour and one character. Older children can create two scenes in separate boxes and show how the story moved from one to the other.
Find a small real-life action
Linking a story's theme to a tiny action helps children see how an idea works in everyday life. Keep it specific and optional, such as sharing a snack or saying hello to a new classmate, so it feels like an invitation rather than a rule.
You’ll need
- 1 sheet of paper
- Crayons
- A small sticker or star to mark the chosen action
How to do it
- After the story, name one theme the story showed, such as welcome or sharing.
- Ask your child what that could look like at home or at school.
- Draw the idea together on a sheet of paper.
- Choose one small action for the week and mark it with a sticker.
- Check in a few days later by asking what happened.
- Talk about how it felt, without judging how well they did.
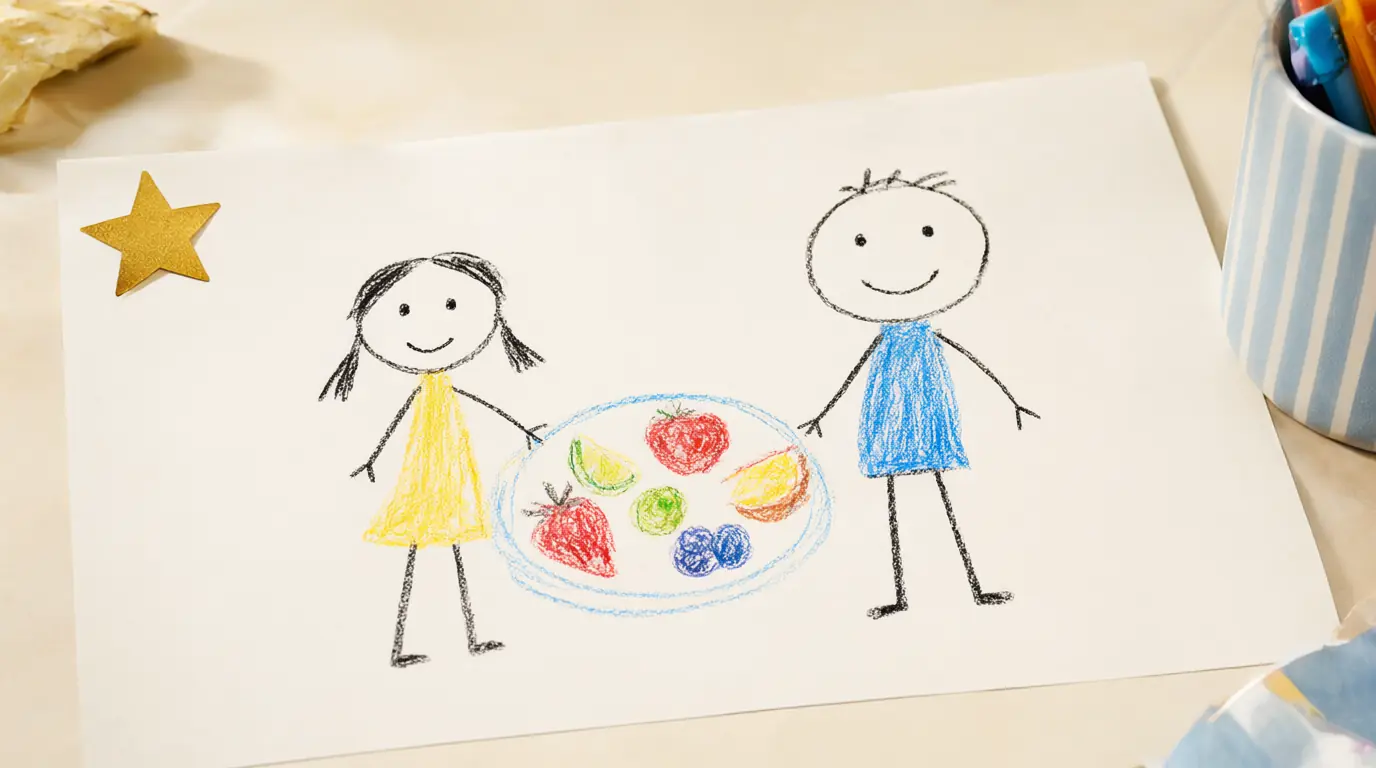
Make it your own: Younger children can act out the idea with toys. Older children can write or dictate a sentence about what they chose and why, and pick a new action next week.

Make it work for your family
Children often ask big questions that have no quick answers: why did that happen, where was God then, was that fair. It is fine to say that is a good question and that you would like to think about it together or ask someone at your church. You do not have to settle every question in one conversation, and different Christian traditions explain some passages differently.
Avoid turning every game into a test or a moral lesson. Let the story, the pictures and the child's own words do most of the work, and keep any practical connection small and specific. If your child enjoys retelling stories with props, you might also try pretend play and dress-up games or some kindness activities to link a story's theme to everyday life.

Parents also ask
What are good Bible games for young children?
Retelling a story with paper figures, drawing a map of where it happens, pausing at a character's choice and building a scene in a shoebox all work well. They keep the story at the centre and give children room to ask questions rather than memorise lines.
How do I explain difficult Bible stories to a young child?
Use a children's version, describe hard events simply and honestly, and say when you are not sure. You can tell your child that different churches and families understand some passages in different ways, and that you can learn more together or ask someone at your church.
Should Bible games include prizes or competition?
It is usually better to avoid them. A story invites listening, imagining and asking questions, which are harder when children are racing for points. Shared activities such as drawing a scene together keep everyone included, whether or not they are confident speakers.
Choose materials and activities that suit your child, supervise as needed and adapt the ideas to their interests and abilities. About our editorial approach